

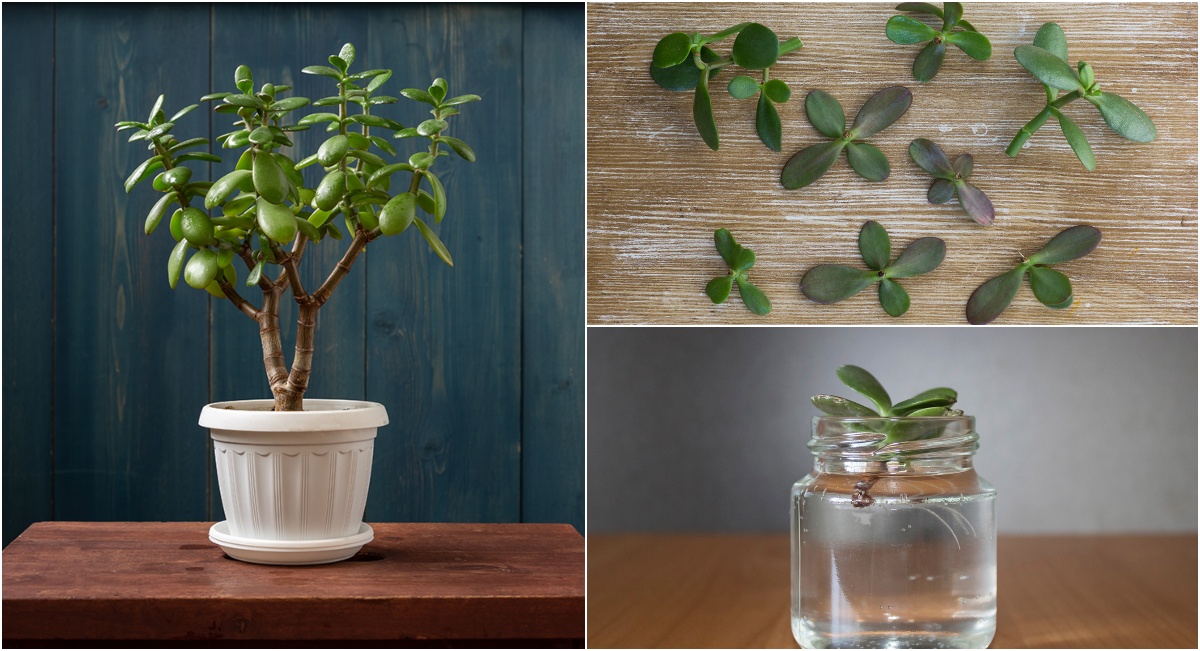
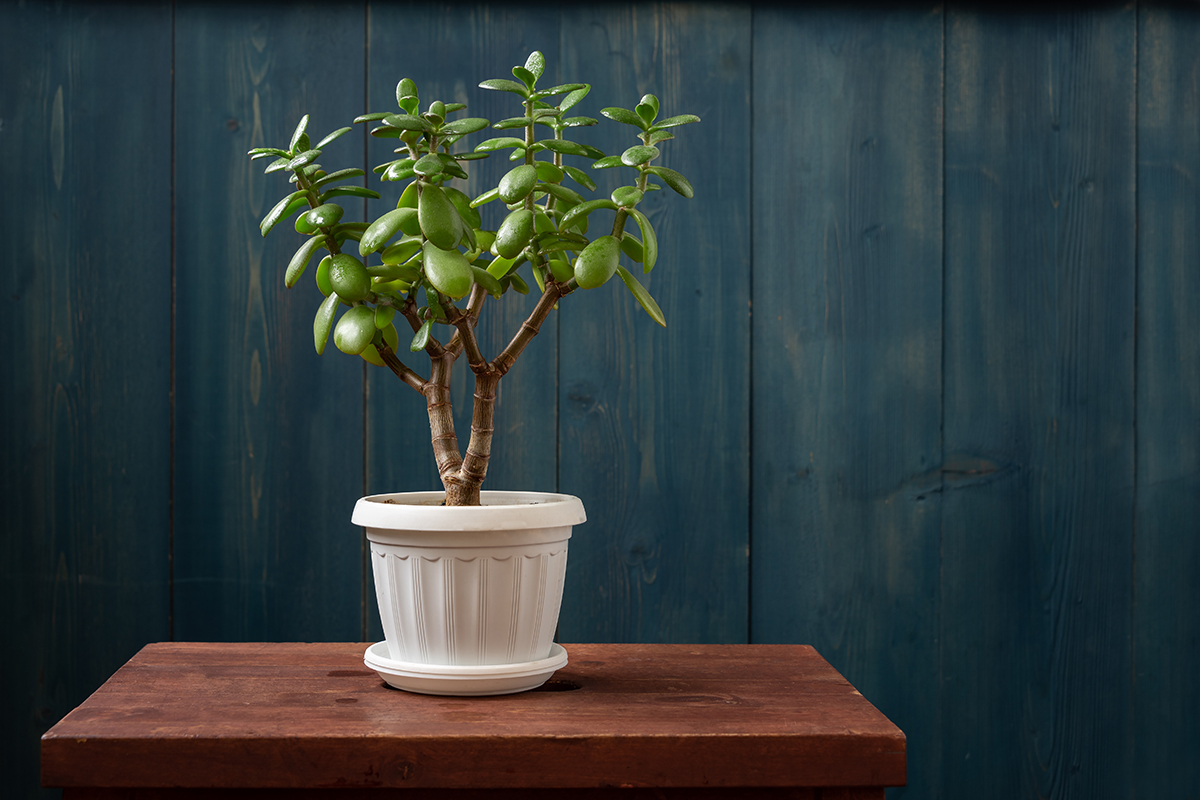
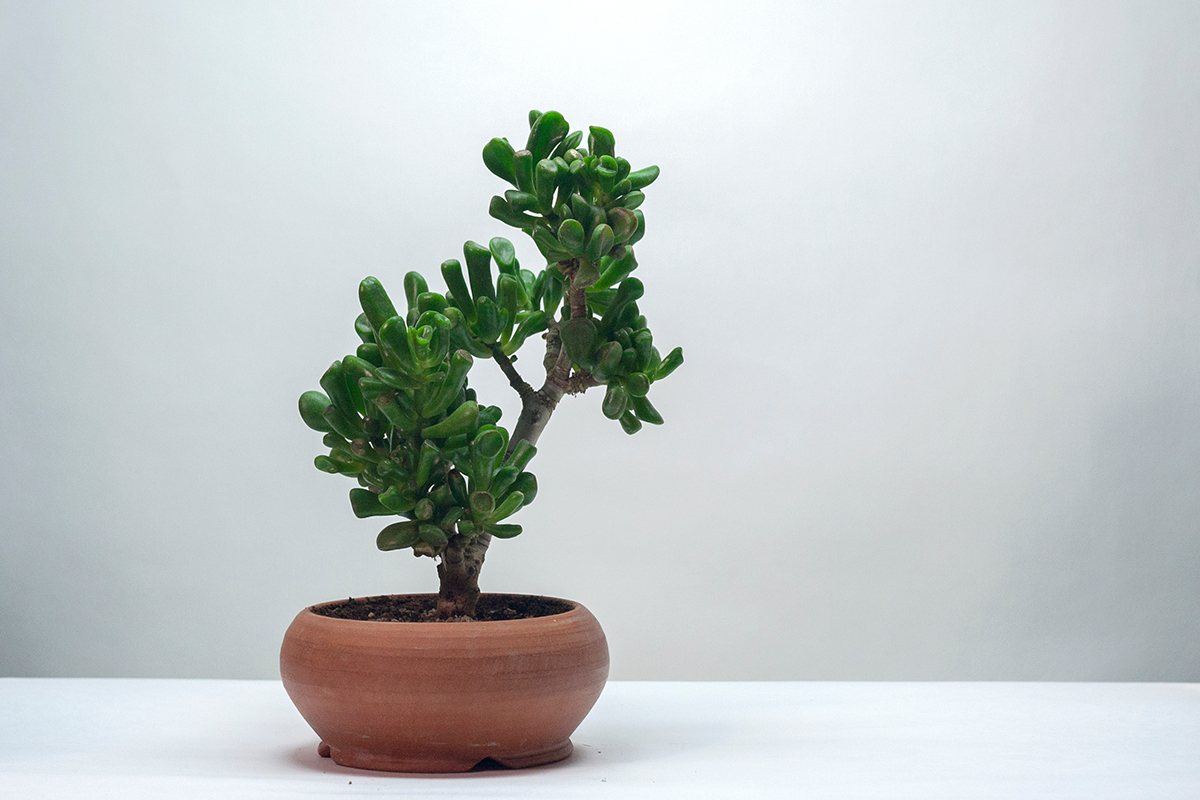
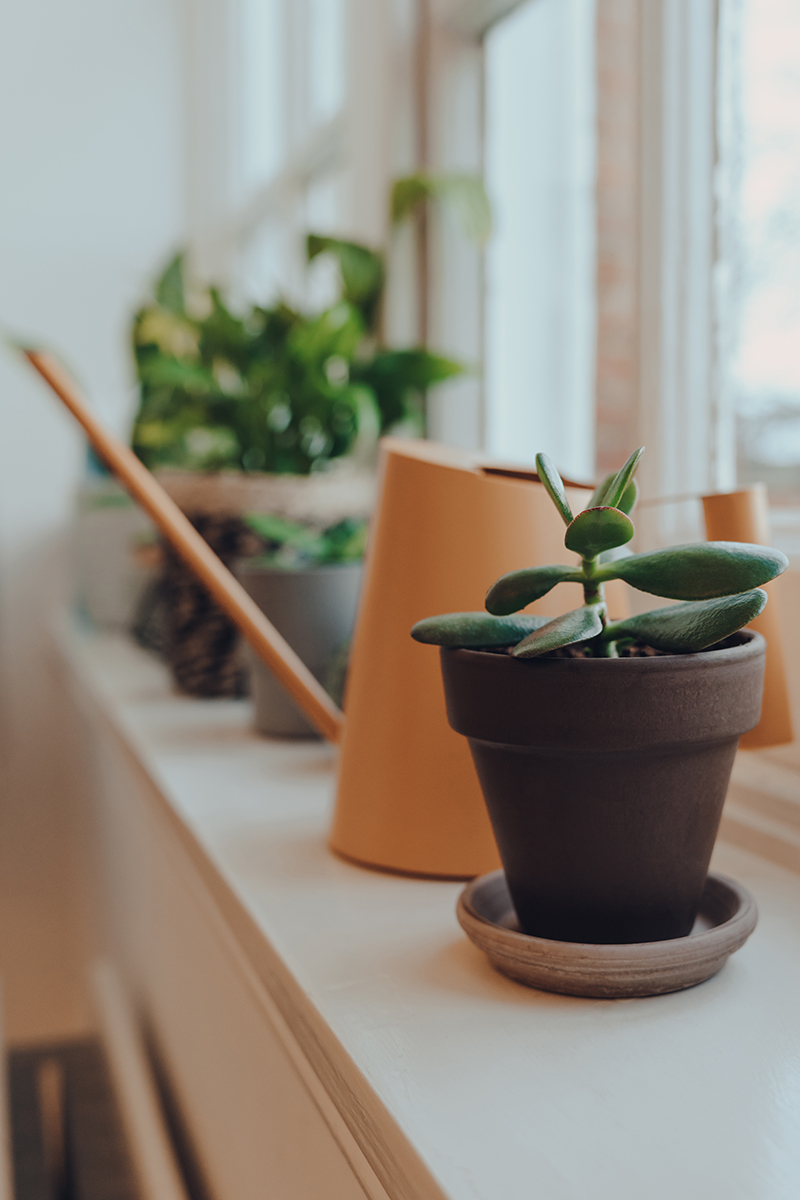
Jade plants are one of the most popular succulents kept as houseplants today. Also known as the lucky plant or money plant, Crassula ovata is native to South Africa.
Its natural, tree-like shape, ease of care, and longevity make it easy to understand its popularity.
And I’m going to show you how to make more by propagating your jade plant.
Jade plants are incredibly easy to propagate, even making it onto our list of the top 9 easiest to propagate houseplants.
Water or Soil?
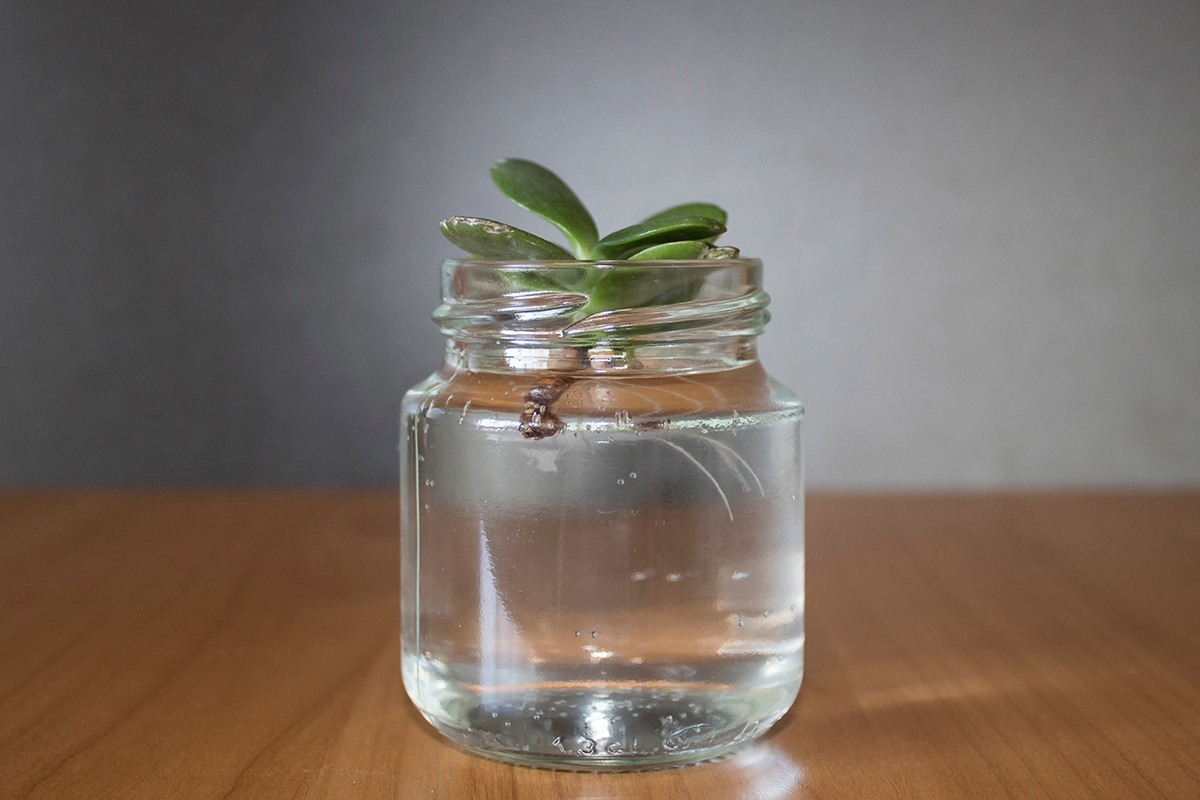
I’ll show you two methods of taking cuttings to propagate your jade plant – stem or leaf cutting. Either can be propagated using soil or water. However, I’ll show you soil propagation because it’s faster and has better results.
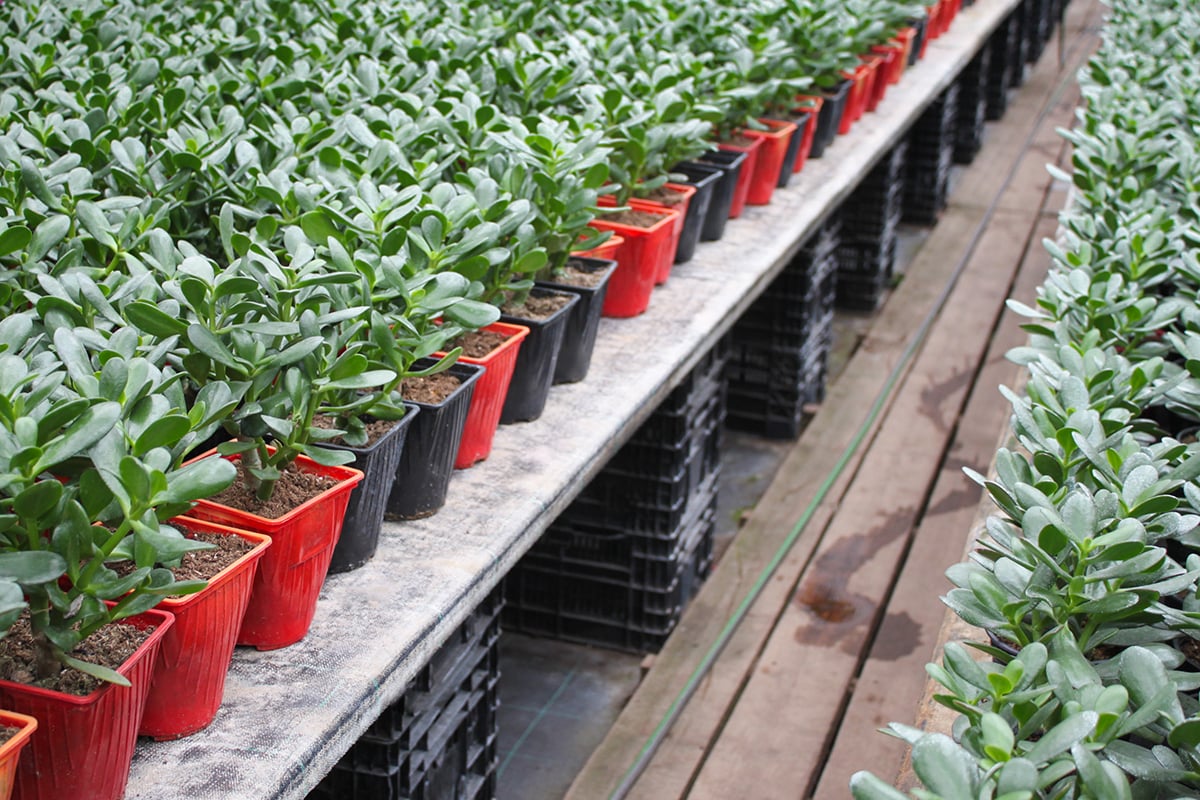
Water propagation is incredibly popular among home plant enthusiasts, but it’s rarely used among commercial growers because of the ease and speed of soil propagation. And that’s the beauty of keeping plants at home; you get to do what you want for your own enjoyment. So, you do what you like best.
When Is the Best Time to Propagate a Jade Plant?
While you can propagate a jade plant any time of the year, the ideal time to do it is in the spring or summer. You’ll have a much better success rate during these warmer months.
You can still propagate jade plants during the fall and winter, but this time of year comes with its challenges.
Mainly those are less light during the day and usually much dryer inside air because of heating. While your plant is growing new roots, it can easily get dried out and die before the roots form. Or worse, if your home is too cold, the cutting could rot in the damp soil before it roots.
Safety First
As always, you get the cleanliness spiel. Whenever you’re cutting your plant, make sure your tools are cleaned and sterilized, so you don’t accidentally introduce harmful bacteria or disease to your plant. It’s all fun and games until someone’s calathea dies.
Stem or Leaf Cutting
You can propagate a jade plant by taking either a stem or leaf cutting. In general, the stem cutting will give you more predictable results, as well as a much larger established plant. Stem cuttings seem to root better, too; very rarely will you have a failed stem cutting.
Leaf cuttings are easy to propagate as well; however, they take much longer to get going and develop into an established jade plant. Because you’re dealing with a single leaf rather than a fully-formed stem, they’re also more likely to rot or shrivel up and dry out before rooting.
Don’t let this discourage you, though. Leaf cuttings are still pretty easy to propagate and may be just what you want if you’re looking for a tiny fairy garden plant, a future bonsai, or if you enjoy the process of seeing a plant form from a single leaf. (It is pretty cool.)
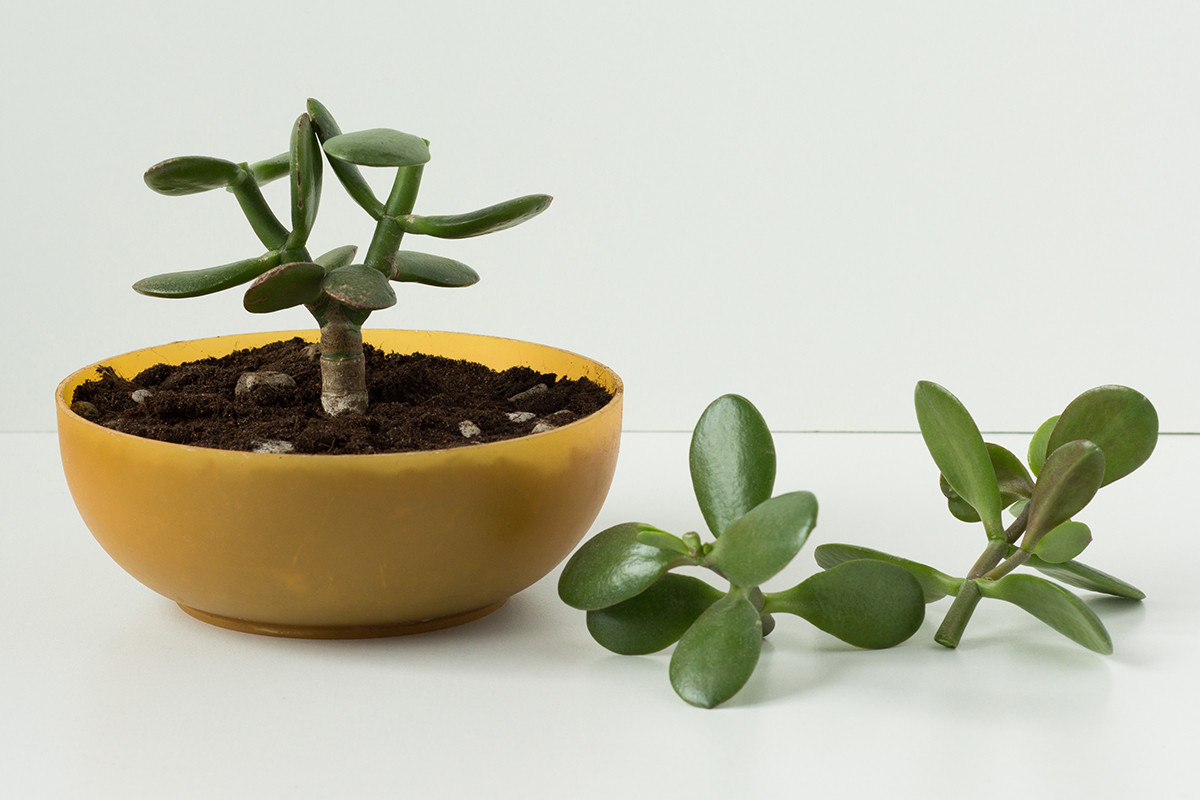
1. Propagate Jade from Stem Cutting
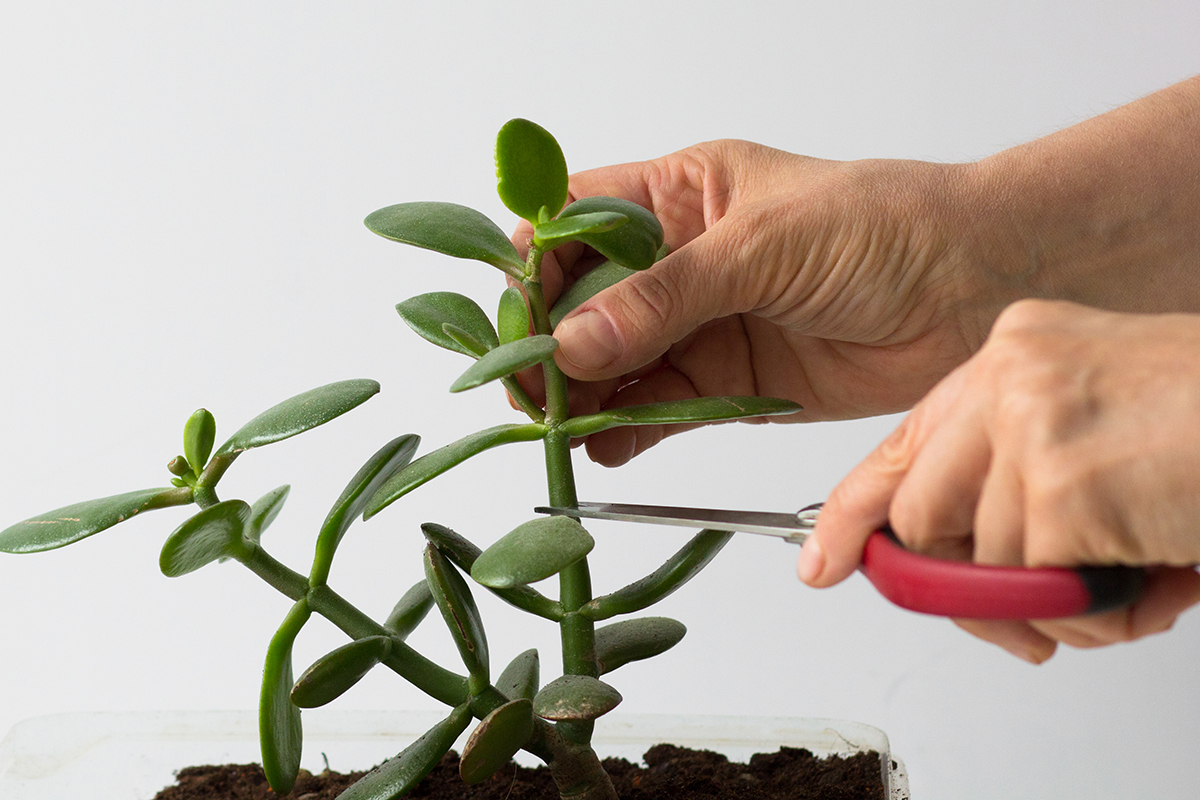
Whenever you’re going to take a stem cutting, take a moment to look over the mother plant to decide the best place to cut.
There may be new growth at the plant base that you wish to trim away to keep the stem clean and tree-like. In that case, cut these stems as close to the base of the parent plant as possible.
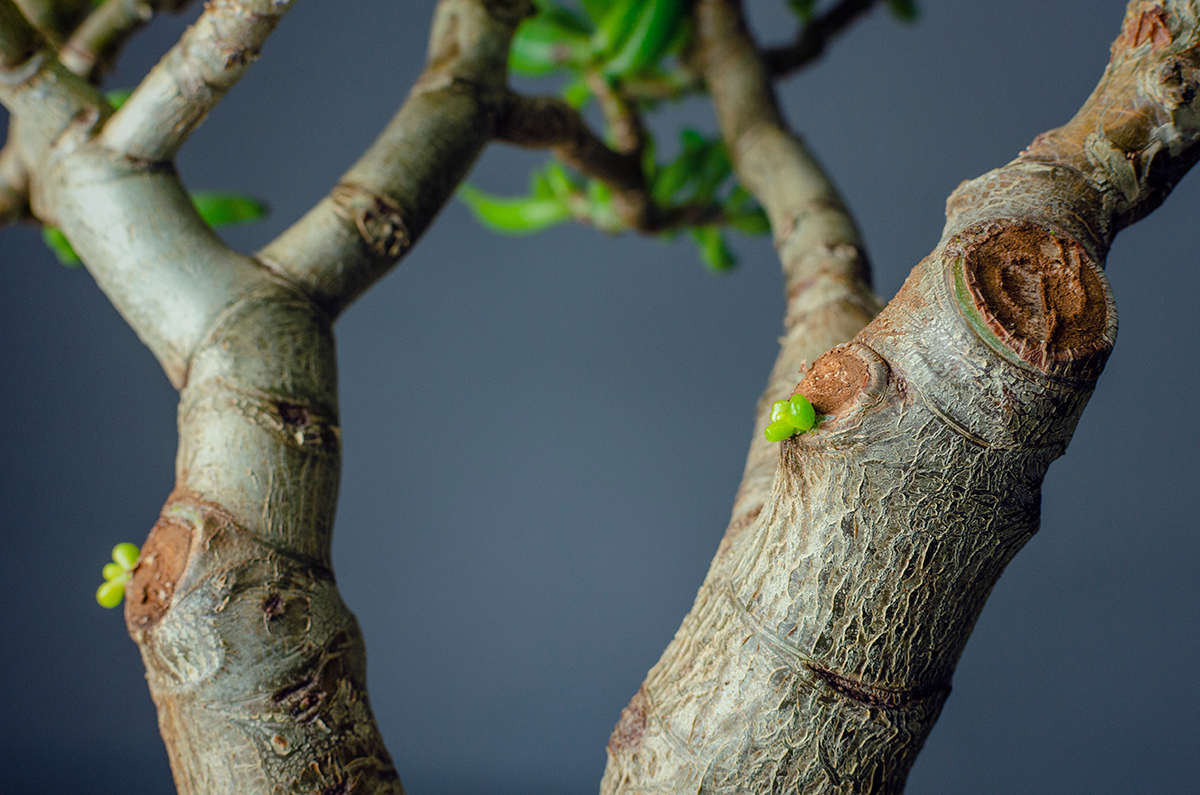
If you’re cutting a portion of the stem instead of taking the whole thing, be sure you cut just above one of the rings of the stem. This will make the site of the cutting less unsightly as it scabs over. You won’t end up with a withered stump that will eventually fall off. New growth will begin to regrow at the site as well, giving the end of the stem a bushy appearance.
Length
Wherever you decide to cut, you’ll want to take a stem cutting that’s anywhere from 2”-4” long.
At this size, the piece of the stem is well developed and will root easily. Any smaller, and you risk the plant drying out and dying before it can root. You can absolutely take longer cuttings, which will give you a larger plant; however, they generally take much longer to root.
Let it Rest
Remove all but the top 2-3 sets of leaves from the stem. It’s important to let the cutting and the spots where the leaves were removed callous over for a few days to a week before you plant it; otherwise, you risk rot or infection.
Soil-less Growing Mix
Use a soilless growing medium to start your new plant in, such as a seed-starting mix or coconut coir. Dampen the growing medium and put it in a small pot. Push your cutting into the growing medium submerging 1”-2” of the stem and two or more of the stem rings.
Place your new cutting somewhere it will receive bright, indirect sunlight, but not hot, mid-day sun. A windowsill that gets direct morning or afternoon sun is a good spot.
Be Careful With Water
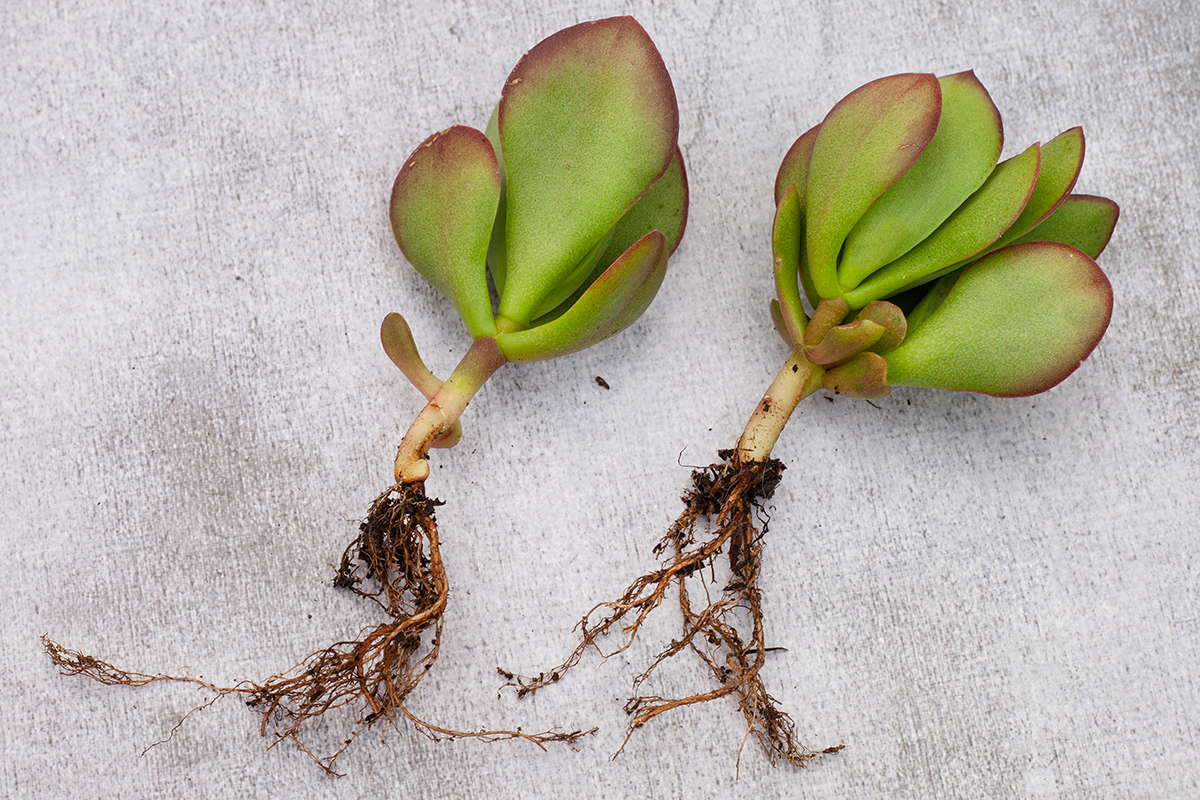
It’s okay for the soil to dry, but water it sparingly, just a little bit, when it does. Remember, there are no roots yet, so it can’t absorb water from the soil yet. As your new jade cutting is developing roots, don’t be concerned if it starts to shrivel a bit. It is slowly losing moisture, but once the roots begin to form, the plant will plump up again. This is a great indicator that your jade has successfully rooted.
You’ll know you’ve got a successfully established plant when it begins to put out new leaves. At this point, you can repot it into a quality succulent mix and put your newly propagated jade plant where it will receive more sun.
You may even want to trick your jade plant into turning red for a fun and interesting houseplant project.
2. Propagate Jade from Leaf Cuttings
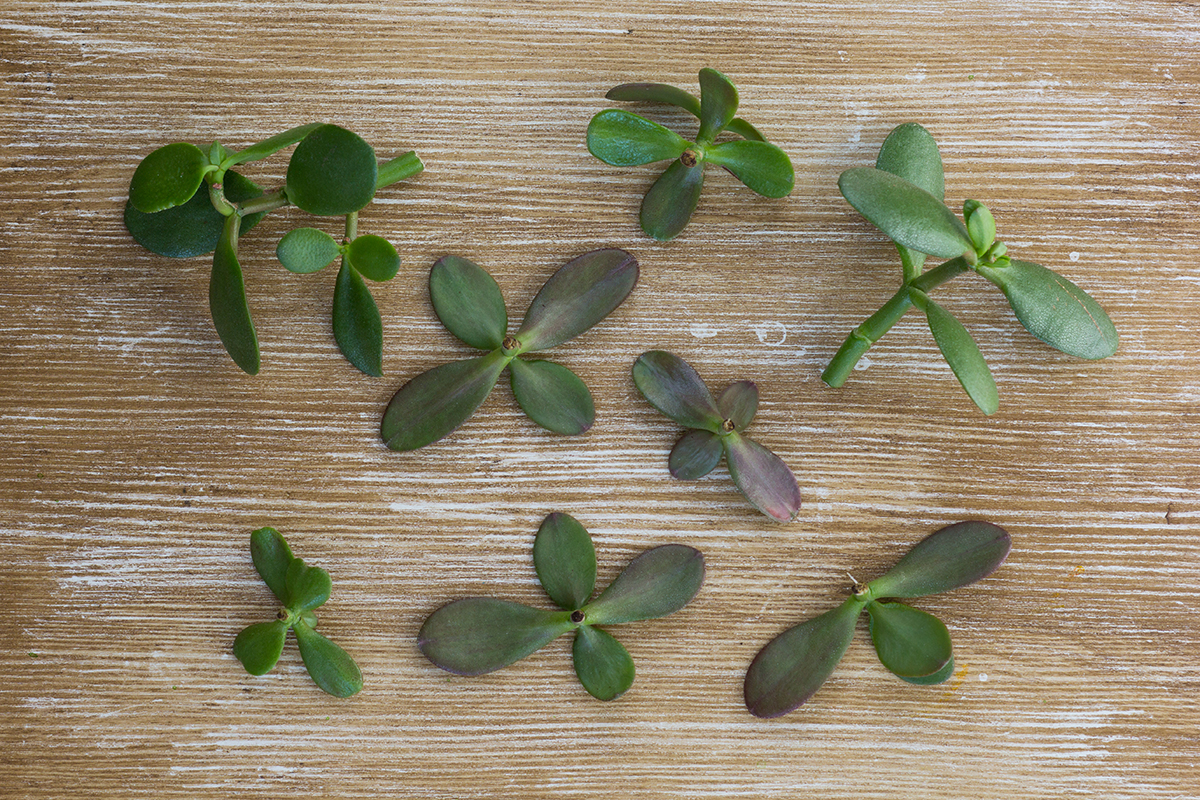
When taking a leaf cutting, it’s important to make sure you get the entire bottom of the leaf in one piece. When you snap it off of the main stem cleanly, the leaf should have a slight C-shape to it where it was attached to the stem. Making sure you get the entire piece of the leaf ensures that you will have the node needed for the leaf to root.
You may find it easier to pinch close to the bottom of the leaf and slowly twist it away from the stem.
Let it Rest
Again, you’ll need to let the leaf dry out a bit so that it can scab over; it only takes a few days with a leaf cutting.
Soil-less Growing Mix
Use the same dampened soil-less growing medium used for the stem cutting. Only for this, you’ll want a shallow dish of growing mix. Once your leaf cutting has scabbed over, you can simply lay the leaf down, pressing it into the dirt slightly, or you can tuck the tip of the leaf where it was attached to the stem down into the dirt a bit.
Be Patient
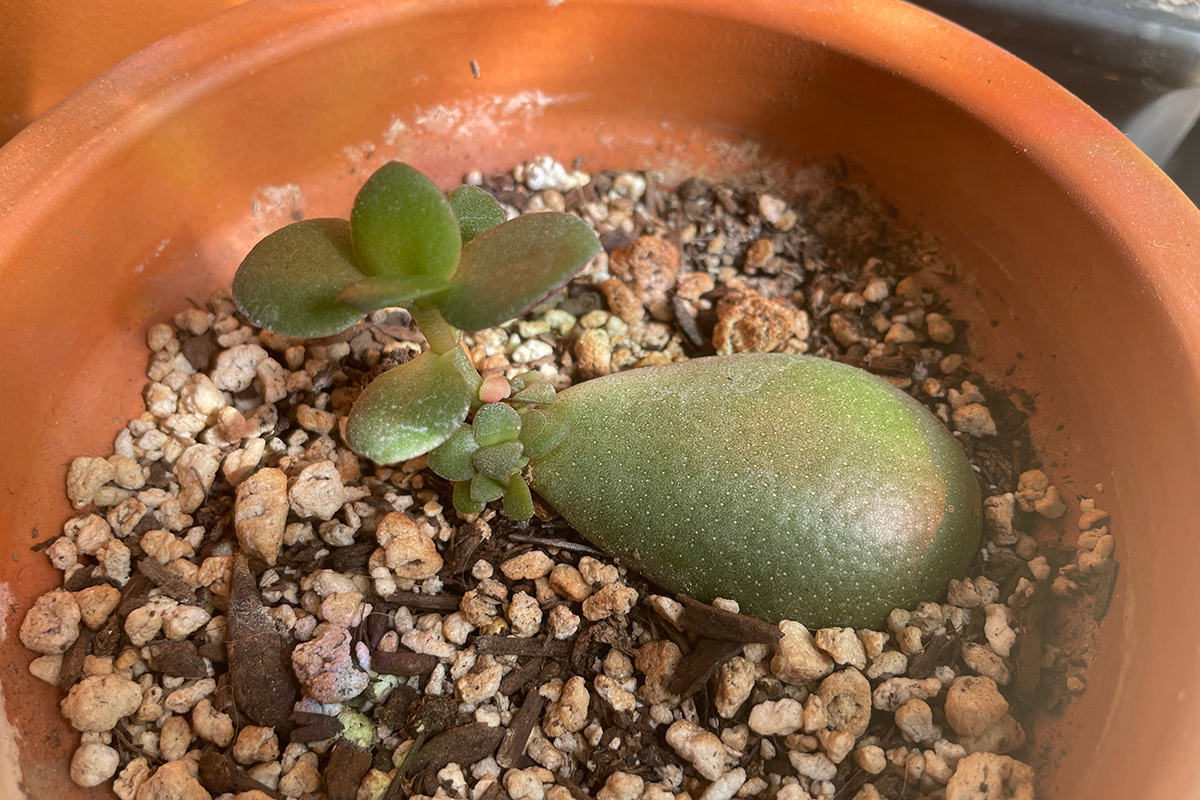
The process is much slower, but eventually, you will be greeted with the teeniest (and cutest) little green leaf peeking up from the base of the leaf.
And like the stem cutting, the leaf will wither and dry as the new plant develops. That’s okay.
Unlike the stem cutting, the leaf usually won’t bounce back as the new plant develops. This, too, is okay, and once the new plant is established, you can even remove the old shriveled leaf it grew from.
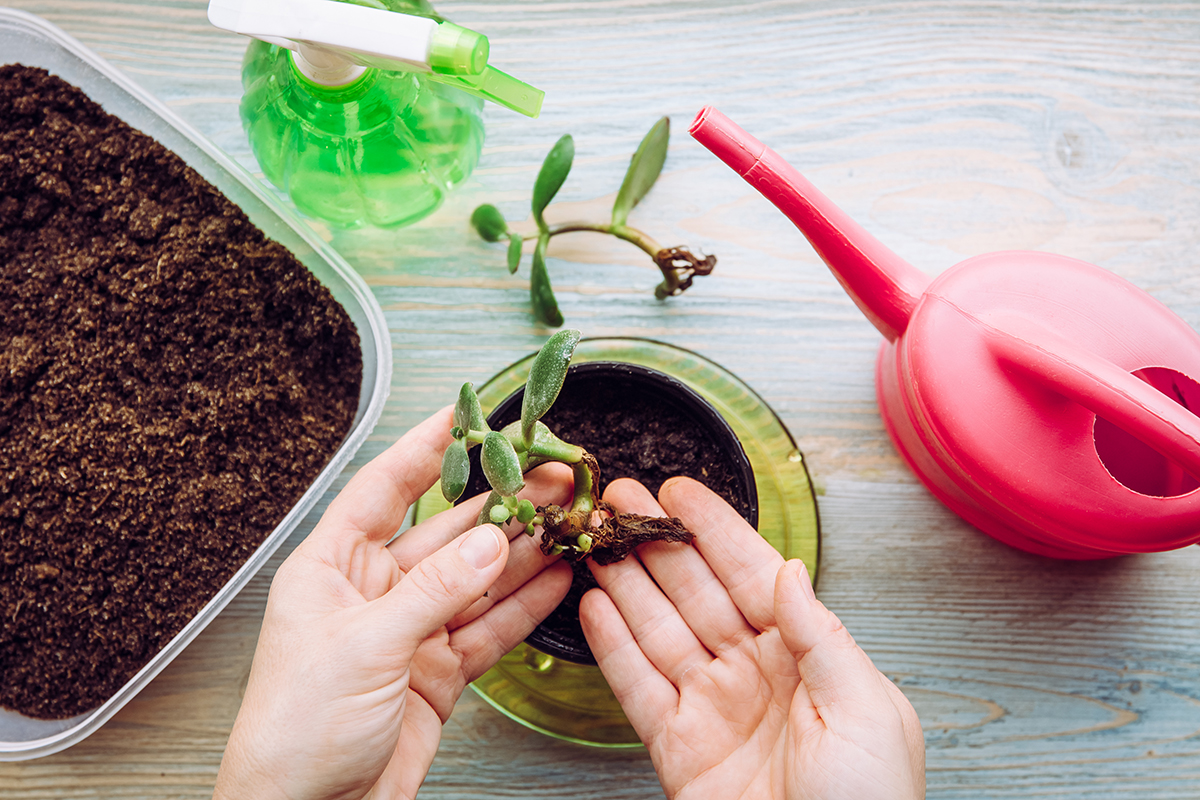
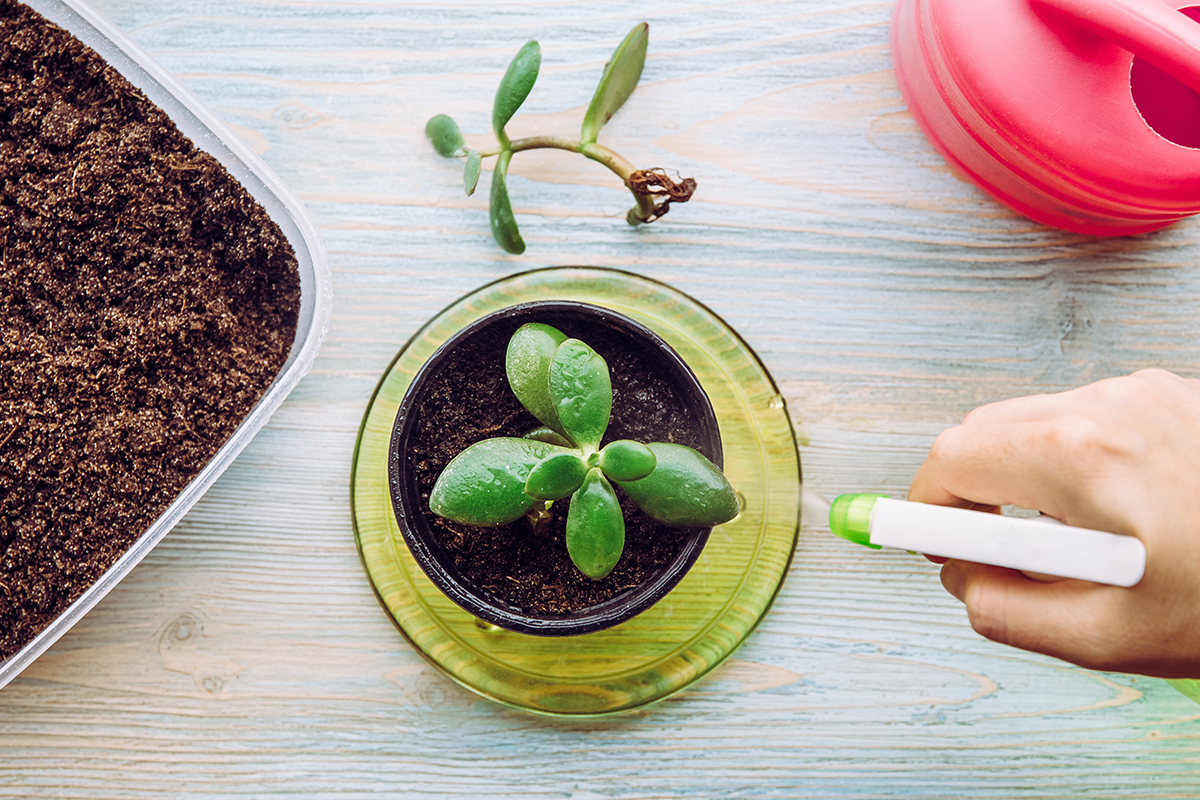
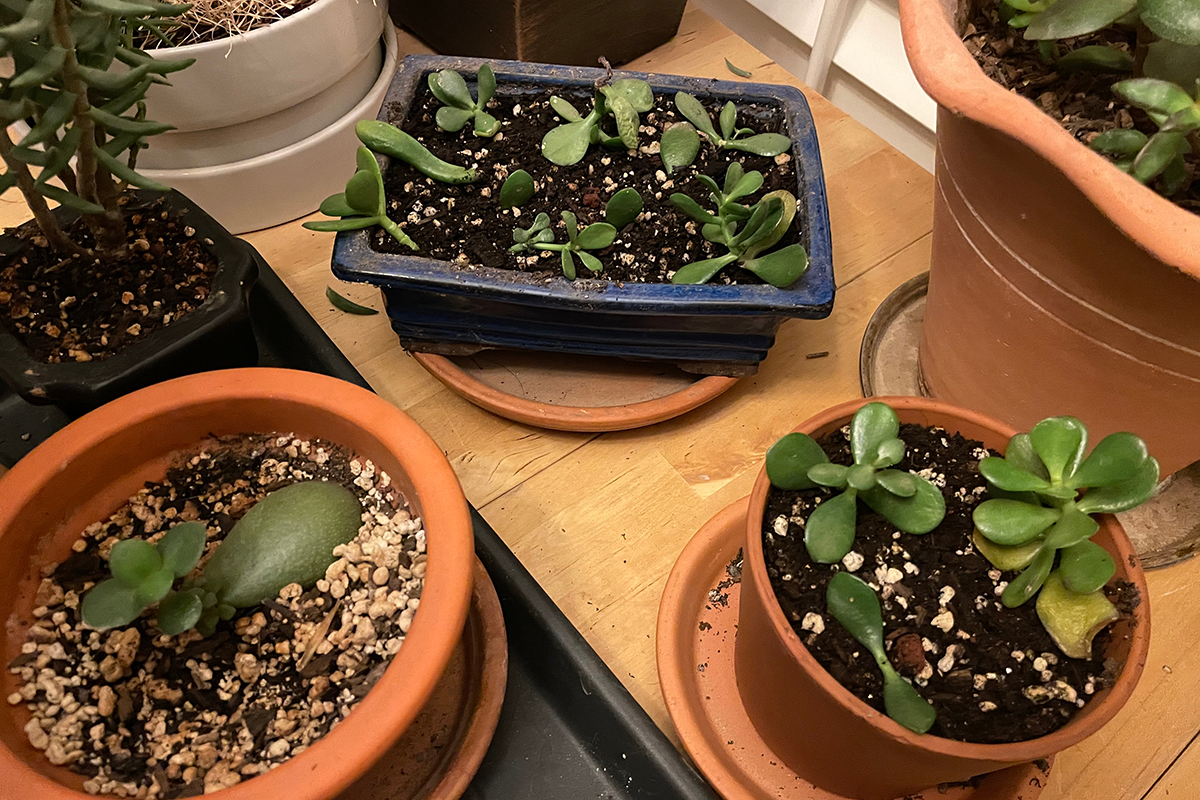
Repot
Once the leaf cutting has grown about 1”-2”, you can gently pull it up from the soil-less growing medium and replant it in a pot with a succulent mix. Be gentle when removing it, so you don’t damage the new roots. A chopstick works well to lift the tiny plant out of the dirt.
Pinch it Back
After you’ve repotted your newly propagated jade plant, you can place it where it will get more bright light.
As your leaf cutting starts to grow in length a bit, developing a stem, you’ll want to pinch back the topmost leaves. Pinching off the top one or two sets of leaves will encourage your new jade to push out side growth, rather than growing tall and lanky.
Once your jade plant starts to grow larger, you’ll want to learn how to prune it so it grows bushy.
And that’s that.
Propagating a jade plant is incredibly easy to do whether you choose a stem or leaf cutting.
With a little time and patience, you’ll be well on your way to having many new jade plants to grow and gift to family and friends.
More Houseplant Propagation Guides
How To Propagate Christmas Cactus & 2 Secrets To Big Plants With Lots of Flowers
4 Easy Ways To Propagate Snake Plant
How To Propagate Spider Plant – With or Without Spiderettes

Get the famous Rural Sprout newsletter delivered to your inbox.
Join the 50,000+ gardeners who get timely gardening tutorials, tips and tasks delivered direct to their inbox.