


Planting a new plum tree is an exciting experience. They say that the best time to plant a tree is twenty years ago, but the next best time is today.
Whenever a new tree is planted, it is an act of hope and anticipation.
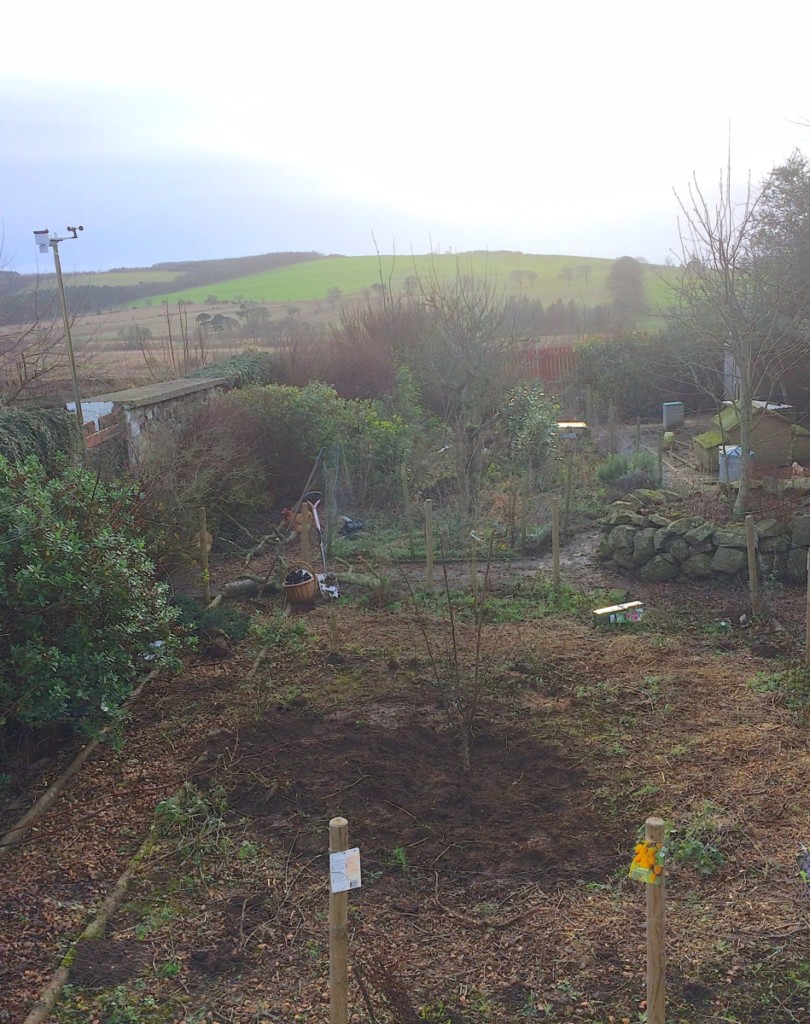
Our new plum tree is the latest addition to my forest garden. It will become the heart of a fruit tree guild that will complement the other existing plants in this part of our property.
We are lucky, since we already have a range of mature trees. These include an existing heritage plum tree, several apple trees, and two sour cherry trees. There are also smaller trees including a damson, a mulberry tree, and a new addition – a Siberian pea tree.
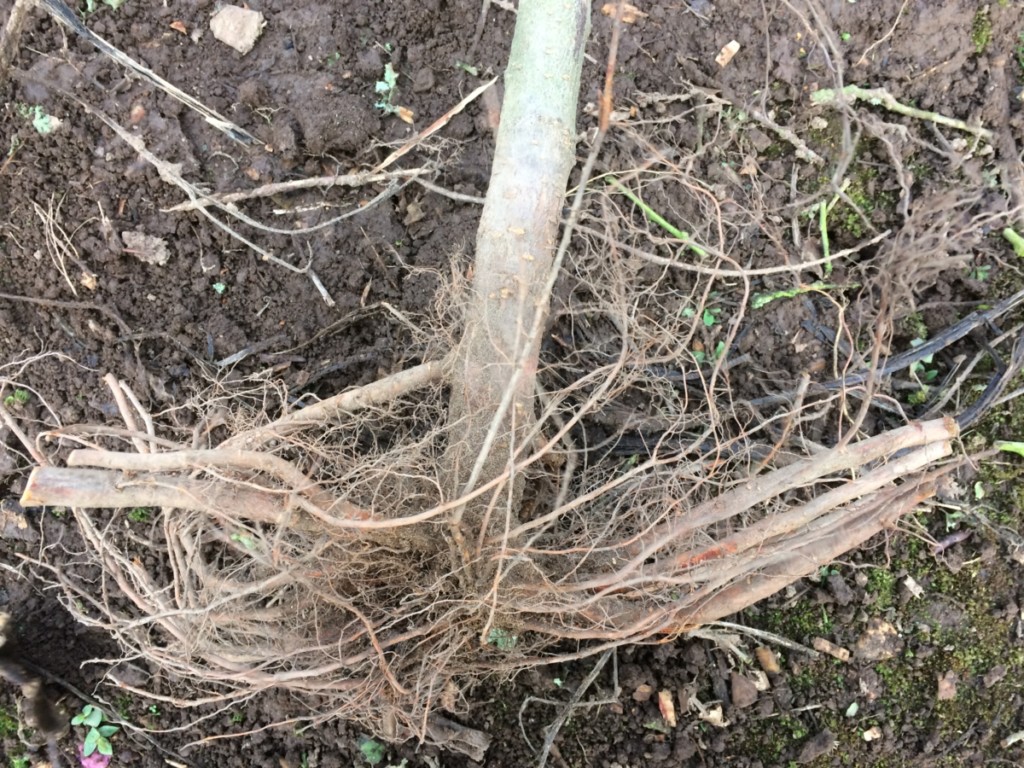
The new plum tree is filling the space vacated by an elderly plum tree that sadly died last year. Before we could plant the new plum tree, we had to remove this dead one.
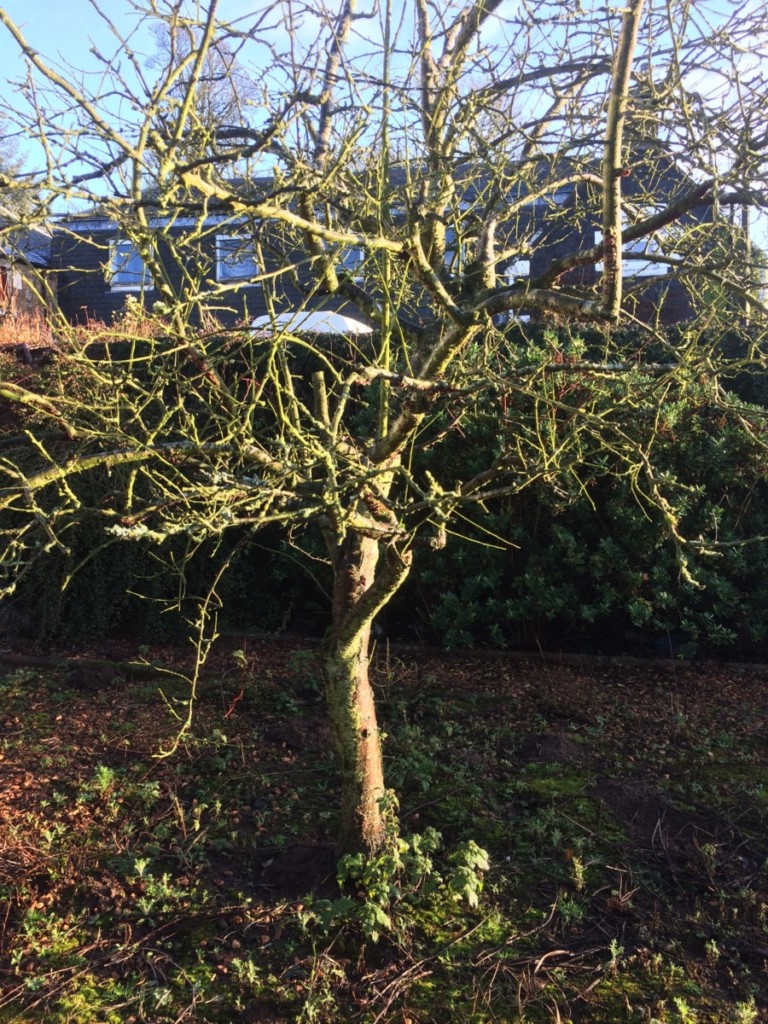
Our new plum tree will be a companion for the other mature plum tree on the site. (This is of an unknown variety but may be a cultivar known as ‘Opal’.)
Since the other plums are harvested slightly earlier (often August-early September) this new tree should extend the length of our plum harvest.
Before Planting a New Plum Tree – The Design Process
The process of planting a new plum tree should not begin with the physical labor. It should begin long before you make any purchasing decisions. Whenever I create a new planting area in my garden, I begin by a careful process of observation and design, following the principles of permaculture.
Permaculture is a blueprint for sustainable design and practice. It is a series of ethics, principles and practical techniques that allow us to care for planet and people and create gardens and growing systems that will endure.
The design process is not a complicated one. But anyone who is considering planting a new fruit tree in their garden should undertake this process before they buy and plant their tree. Simple common sense will provide many of the answers you need.
Observation & Interaction
The design process begins with observation. Simply take some time to consider the location and the characteristics of the site. Think about:
- Climate and microclimate.
- Patterns of sun and shade.
- Whether the site is sheltered or exposed.
- Patterns of rainfall and water flow.
- The soil type and soil characteristics on the site.
- Other existing plants (and wildlife) in the area.
The environmental factors on the site will help you to come to decisions about how to make best use of the space. Think about the ‘big picture’ and natural patterns before zoning in on details.
Zoning Your Garden
One other pattern is also vitally important to good garden design. You should think about patterns of human movement. Consider, therefore, how you and other members of your household will use your garden. Permaculture zoning is designed to make sure these patterns of movement are taken into account.
Zoning is all about practicality and begins with the simple premise that the elements on a site that we visit most often should be closest to the centre of operations. In a domestic setting, this centre of operations, zone zero, as it is sometimes called, is your home.
Permaculture designers usually define up to five zones on any site, though smaller sites will usually only include one or two of these zones.
Zones spread out sequentially, larger numbers used to designate areas visited less and less frequently, though the zones may not be placed strictly in order moving out from the centre. Some areas closer to the home but less accessible, for example, may belong to a higher zone.
My plum tree is within zone two – in my orchard or forest garden. It is visited more often than wilder zones. But it is visited less frequently than annual vegetable growing areas. Thinking about zoning will help you decide where to position a new plum tree of your own.
Systems Analysis
Systems analysis involves looking at all the elements in a system, the inputs, outputs and characteristics of each. Then thinking about how they should all best be positioned to minimise the time and effort required to keep the whole system functioning. Think about convenient pathways between different elements, and how frequently you will travel between them.
One of the key things in a permaculture system is joined-up thinking. All the elements are considered holistically, not just in isolation. A broad view is taken. All the interconnections are taken into account.
For example, before deciding where to place my new plum tree, I thought about where it would sit in relation to the compost heap and my home.
I created a path with wood chips that will allow me to easily access this part of the forest garden.
I tried to ensure that it will be easy to maintain the system, and harvest fruits as my plum tree grows. Another thing I considered was the fact that this plum tree will be a major part of the view from a summerhouse overlooking the orchard.
Choosing a New Plum Tree
The tree that I chose is a Victoria Plum. This is a type of English plum, a cultivar of the ‘egg plum’ group of trees (Prunus domestica ssp. Intermedia). The name comes from Queen Victoria.
Its true origin is unknown but it is believed to have originated in England, But it was introduced commercially in Sweden in 1844. And became very popular there and elsewhere in the late 19th century. It is one of the most common varietals now grown in the UK.
In The US, the plum tree varieties available will depend on where you live.
The tree is suitable for my climate zone and quite hardy. It is rarely attacked by diseases and is self-fertile. The blooms come medium early, but not so early that they will be endangered by a late frost in my area.
The greenish yellow fruits bloom to a rich red-purple colour, and mature in mid to late September. They are abundant, and considered to be sweet and tasty. This is why these plum trees are a popular option for the home grower.
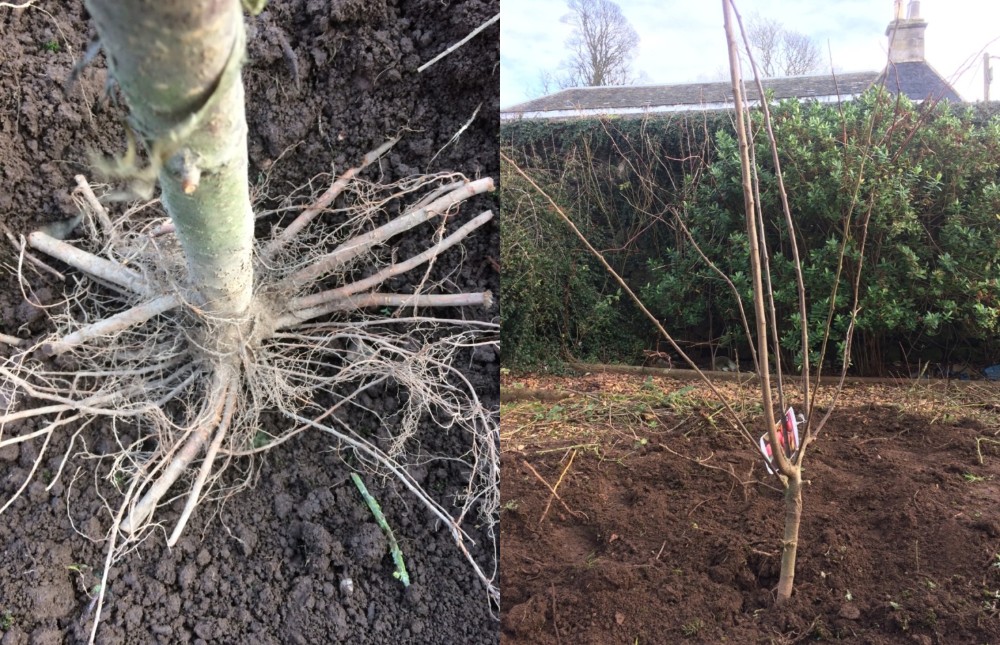
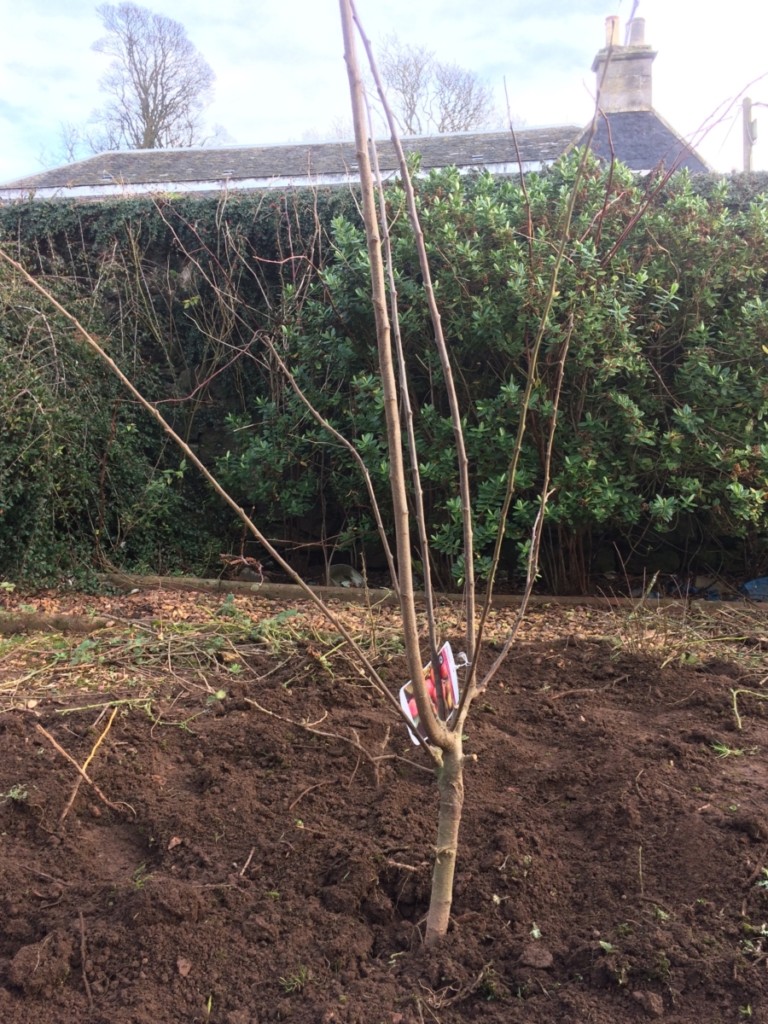
The tree I have chosen is grafted onto a suitable rootstock. The tree is a standard form and expected to grow to an eventual size of around 3m in height.
I purchased a bare root tree, which is two years old. It will begin to fruit when it is 3-6 years old, so we could see fruit as early as next year.
Preparing the Planting Area
The planting area for my new plum tree is in the north eastern quadrant of a south-facing walled orchard. First, we removed the dead plum and any other vegetation from the immediate area.
Fortunately, we were able to lessen the workload of creating this section of the forest garden by introducing chickens, which significantly reduced the grass cover in the area.
It is best to get rid of grasses around a new fruit tree, since they will compete with the new tree’s roots. When making a forest garden, you want to encourage a move from a grassy, bacteria-dominated system to a humus rich fungi-dominant soil system.
If you do not have chickens or other livestock to get rid of the grass, you should suppress it. You can do so by covering the area with a layer of cardboard. You can also inhibit grass growth by planting a ring of bulbs (alliums, or daffodils, for example) around the drip line of your new tree.
Since the orchard is still home to our rescue chickens, we have temporarily fenced off this zone to allow the system to become established. Once the tree and surrounding planting has become established, the chickens will be allowed to free range and forage in this area once more.
If the chickens were allowed free access all the tender young plants would be gone in next to no time! But when the plants are more mature, the chickens will be able to eat without destroying the plants.
As you can see, we have also created a rough pathway with wood chip. We took care to avoid compacting the soil by walking on the new planting area as little as possible.
Creating the Planting Hole
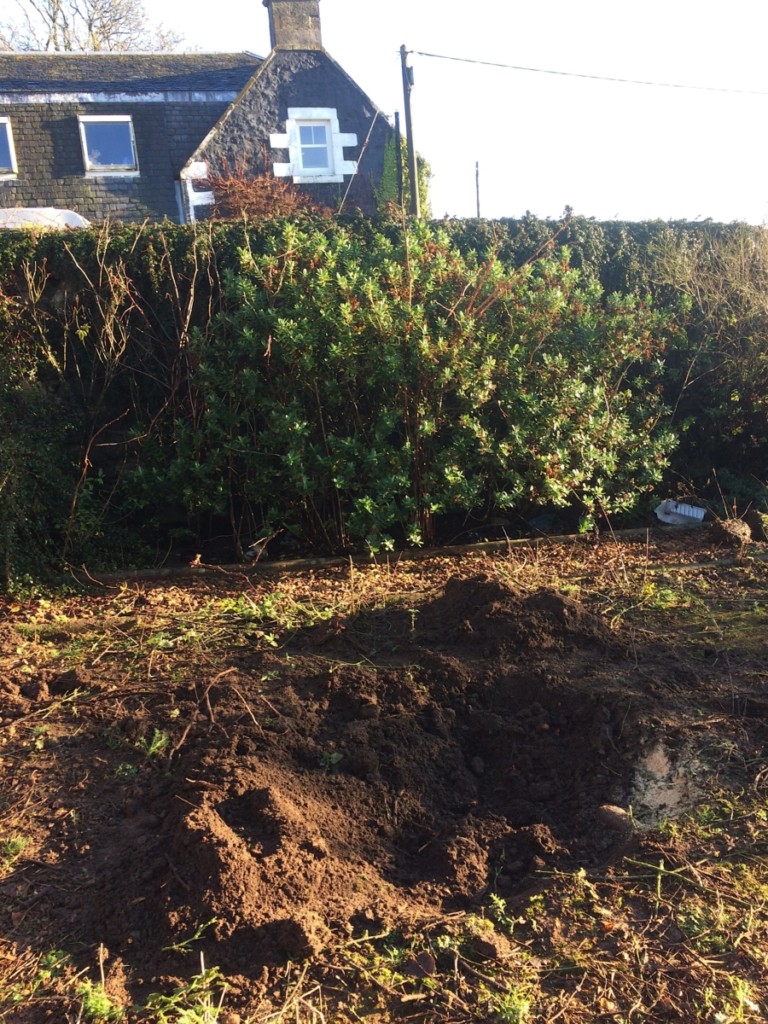
We already had a hole for our new plum tree after removing the old one. Obviously, in other situations, the next step would be to dig a hole.
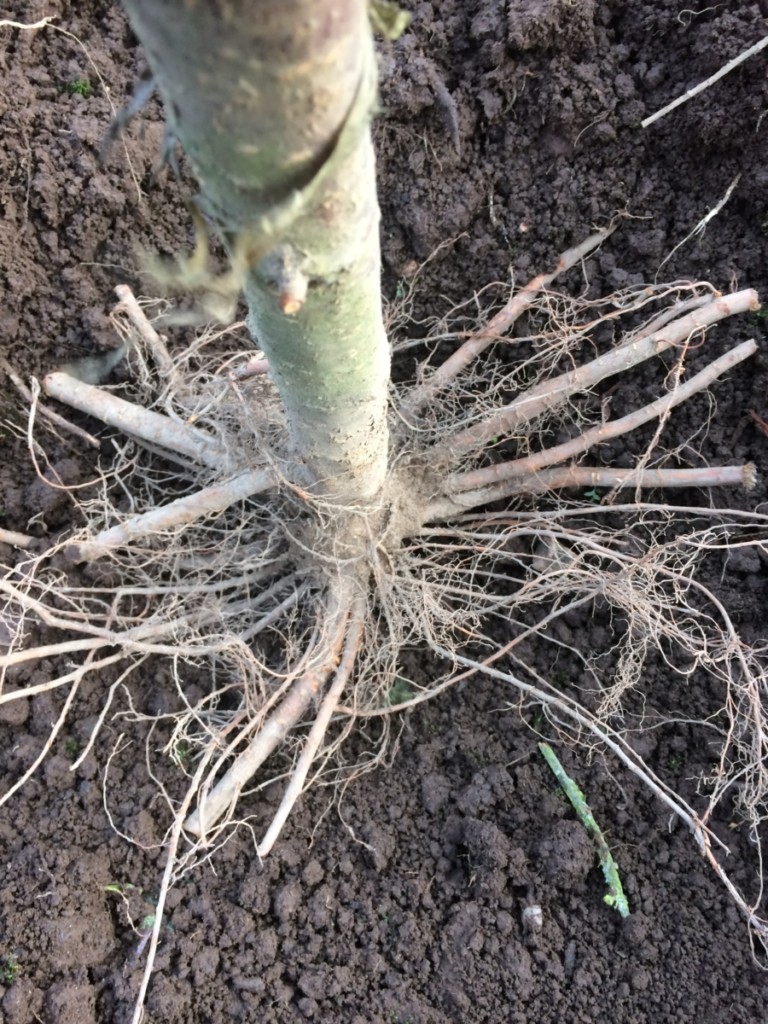
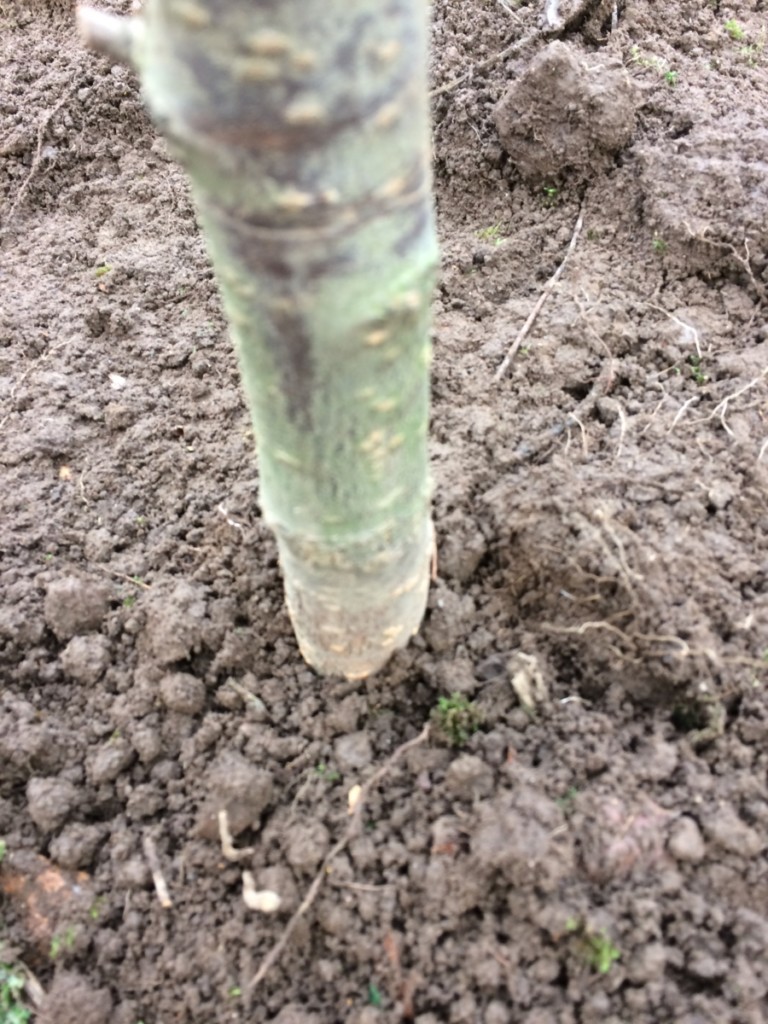
The hole must be deep enough to accommodate the roots. I made sure that the soil would come up to the same depth as before it was uprooted. The planting hole should be around three times the width of the root system.
Our soil is a clay loam, and retains water well. Plum trees love our fertile, rich loam, but do need a free-draining growing medium. Fortunately, the addition of plenty of organic matter means that the soil of the area is already relatively free-draining.
Planting the New Plum Tree
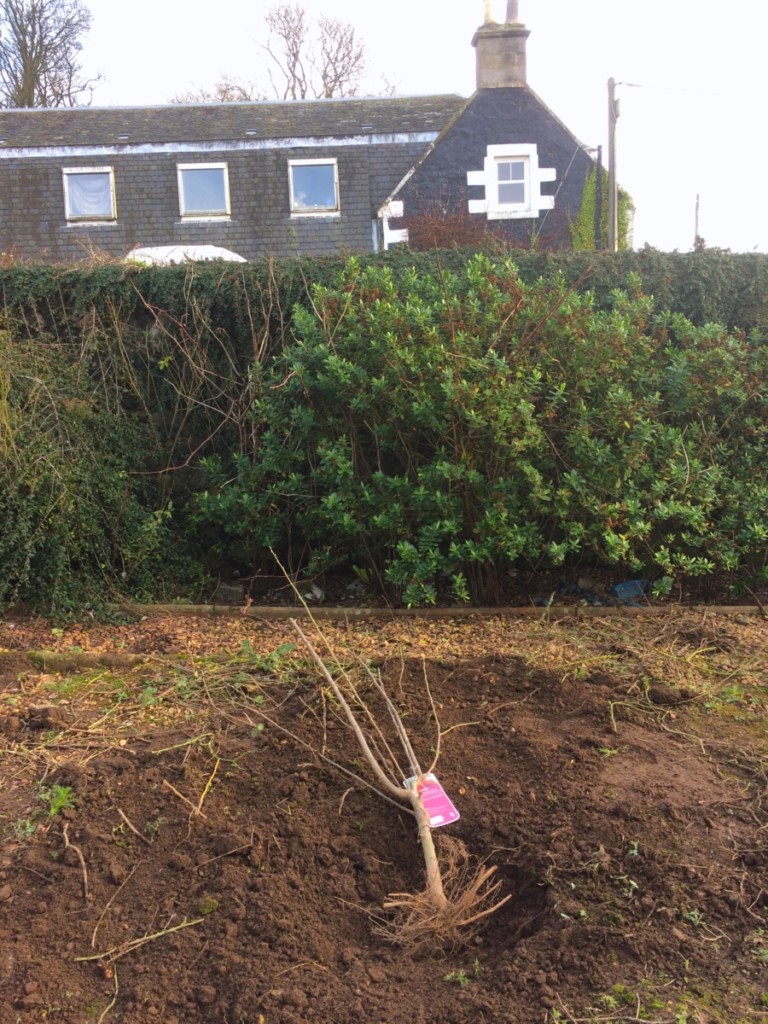
I positioned the new plum tree in the planting hole, taking care to ensure that the roots were spread out as evenly as possible.
I added some humus from the existing areas of forest garden in order to encourage a beneficial fungal environment. The mycorrhizal fungi should develop beneficial connections beneath the soil that will allow the new fruit tree and its guild to thrive over the coming years.
I then filled back in the soil around the roots, and firmed it gently back into place. Since the weather has been wet of late, and more rain expected shortly, I did not water in the new addition. I simply waited for nature to take its course.
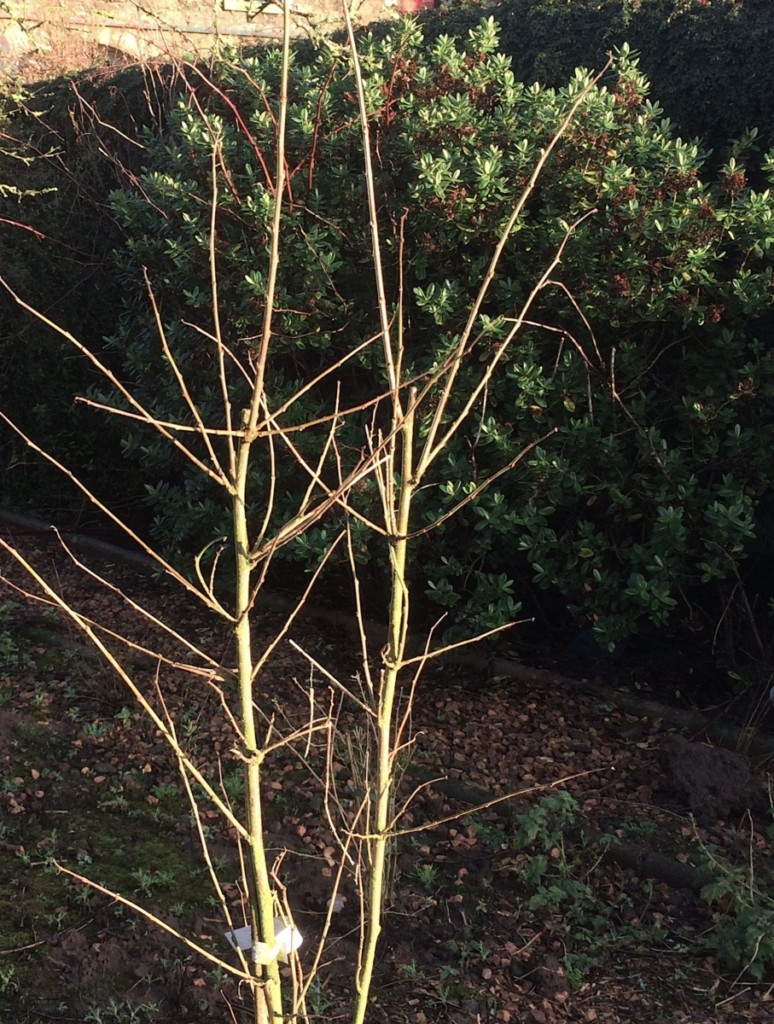
If your tree is in a more exposed location, you may wish to stake the tree at this stage. Since my new plum tree is in a sheltered spot in a walled orchard, this was not necessary in this case.
You may also need a tree guard around your young sapling if deer, rabbits or other pests will be an issue. Again, this was not required here, as the area is already fenced off.
Mulching & Maintenance
After planting the plum tree, I brought over plenty of compost from the compost heap at the far end of the orchard, and spread a layer of mulch around the tree. I took care, however, to avoid piling any mulch around the trunk of the tree. Mulch against the trunk could cause it to rot.
I will continue to add organic mulch to the area around the tree each year, and will water the tree well in dry weather until it becomes established.
Chopping and dropping the foliage of guild plants around the plum tree will help retain the soil quality and fertility over time. This will keep my plum tree growing strong.
The Plum Tree Guild
It is too cold, as yet, to add the companion plants to form a guild. But over the coming months, as spring arrives, I plan to add under-storey plants that will help the new plum tree to thrive. I plan to add:
- Shrubs – cuttings from existing Elaeagnus (nitrogen fixers)
- Comfrey – a dynamic accumulator with deep roots, to be chopped and dropped. It will also serve as chicken forage.
- Herbaceous plants such as yarrow, chickweed, fat hen, perennial alliums etc..
- Ground cover plants – clover, wild strawberries.
The edges of this part of the orchard have already been planted up with gooseberries and raspberries that will eventually also become part of the wider system along with the plum tree, and its closest neighbours the Siberian pea tree (to the west) and the small mulberry tree (to the south).
Over time, the forest garden system will mature. The chickens will also be allowed to return, to forage, and to play their role in the system.
Now, in mid-winter, the new plum tree and the forest garden may not look like much. But looking forward with hope and anticipation, we can begin to imagine what summer, and the coming years will bring.
Read Next:

Get the famous Rural Sprout newsletter delivered to your inbox.
Join the 50,000+ gardeners who get timely gardening tutorials, tips and tasks delivered direct to their inbox.