

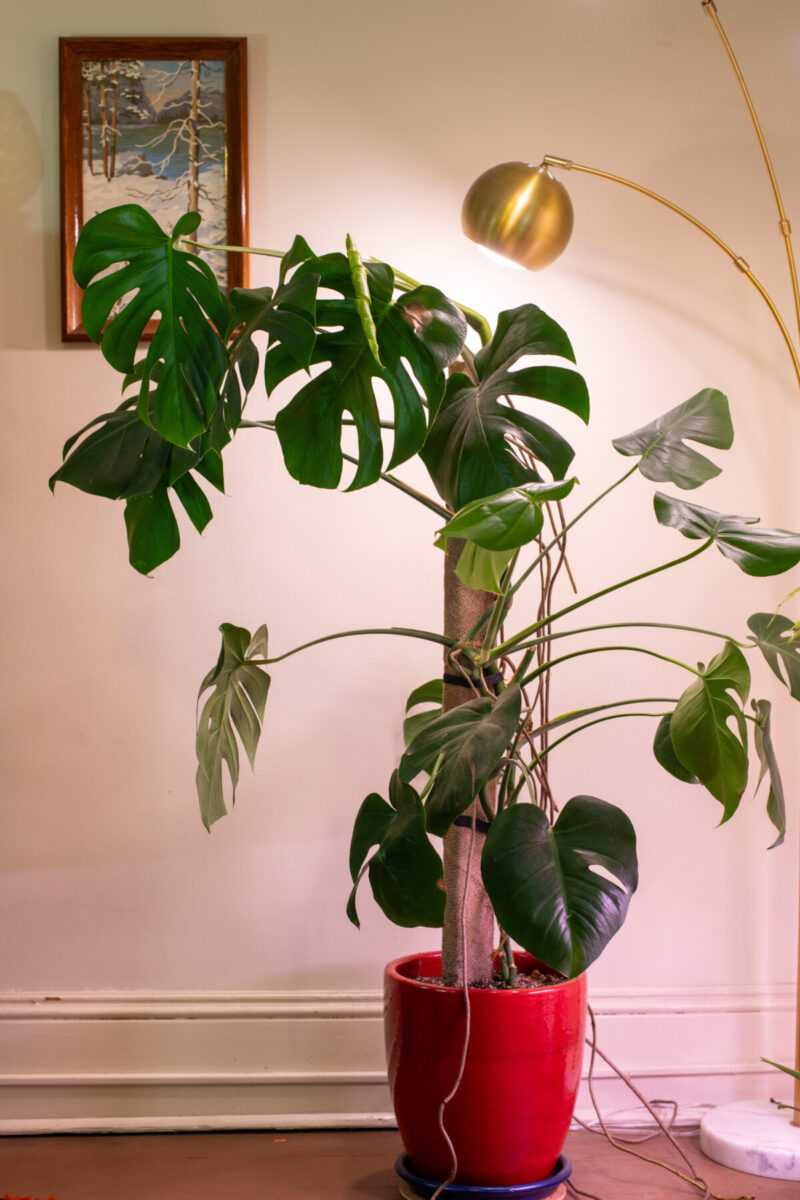
Create a weighted monstera pot with an embedded support pole in an afternoon, and grow the monstera of your dreams.
There is great pride in growing a massive Monstera deliciosa that creeps and climbs up a tall support. It can take years to grow one to that point. And there’s nothing quite as heartbreaking as hearing a crash from the other room and finding your beloved monstera lying mangled on the floor because the pot has tipped over or the support pole failed.
Avoiding Disaster with a Planter Made for a Monstera
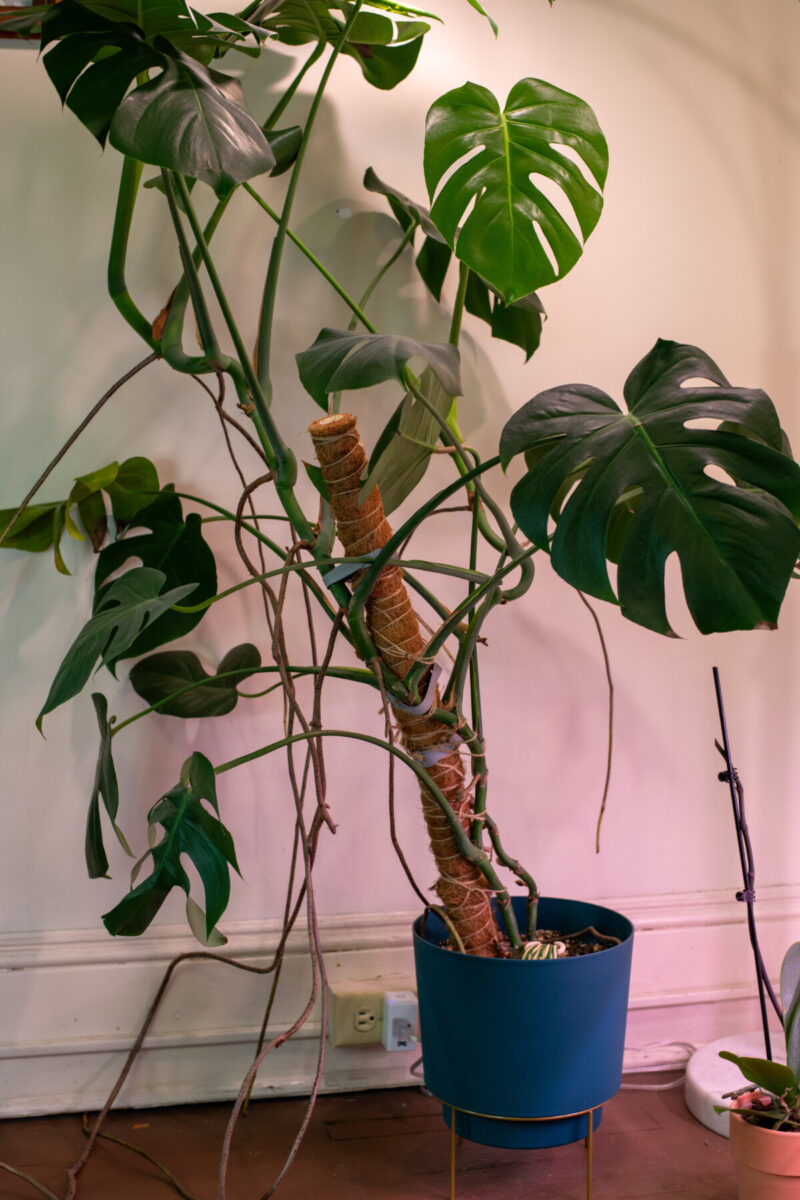
I’ve been watching the coconut coir pole in my Monstera planter slowly tipping sideways for months now. I knew it needed repotting and a better support structure to climb. So, I decided to head disaster off at the pass and make a planter setup specifically for my monstera.
Everything you need can be found at your local hardware, except for the pot. But even the big home improvement chains have started carrying nice clay planters these days.
No special skills are needed to make the planter, and you only need a few basic tools. While one person can tackle this job by themselves, having an extra set of hands certainly comes in, well, handy. Because we’ll be using concrete, this is definitely an outdoor project.
Let’s jump in.
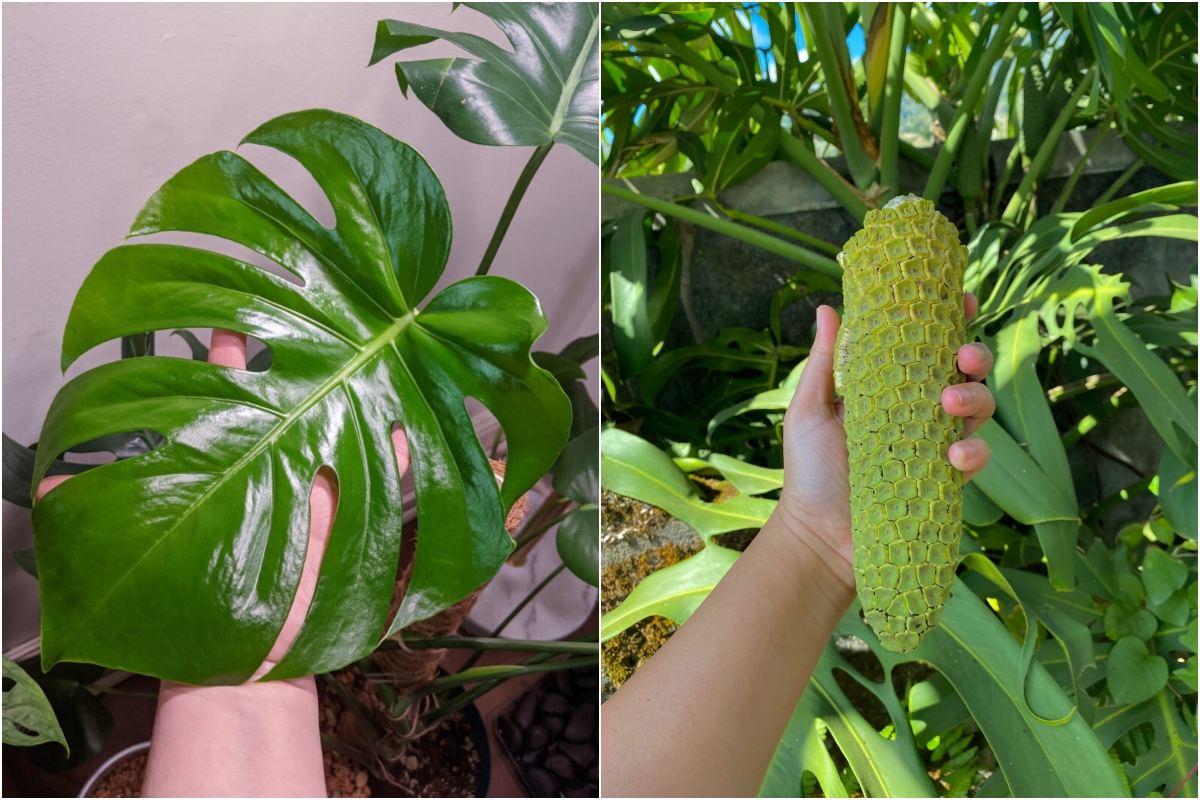
Related Reading: 7 Things Everyone with a Monstera Deliciosa Needs to Know
What You’ll Need
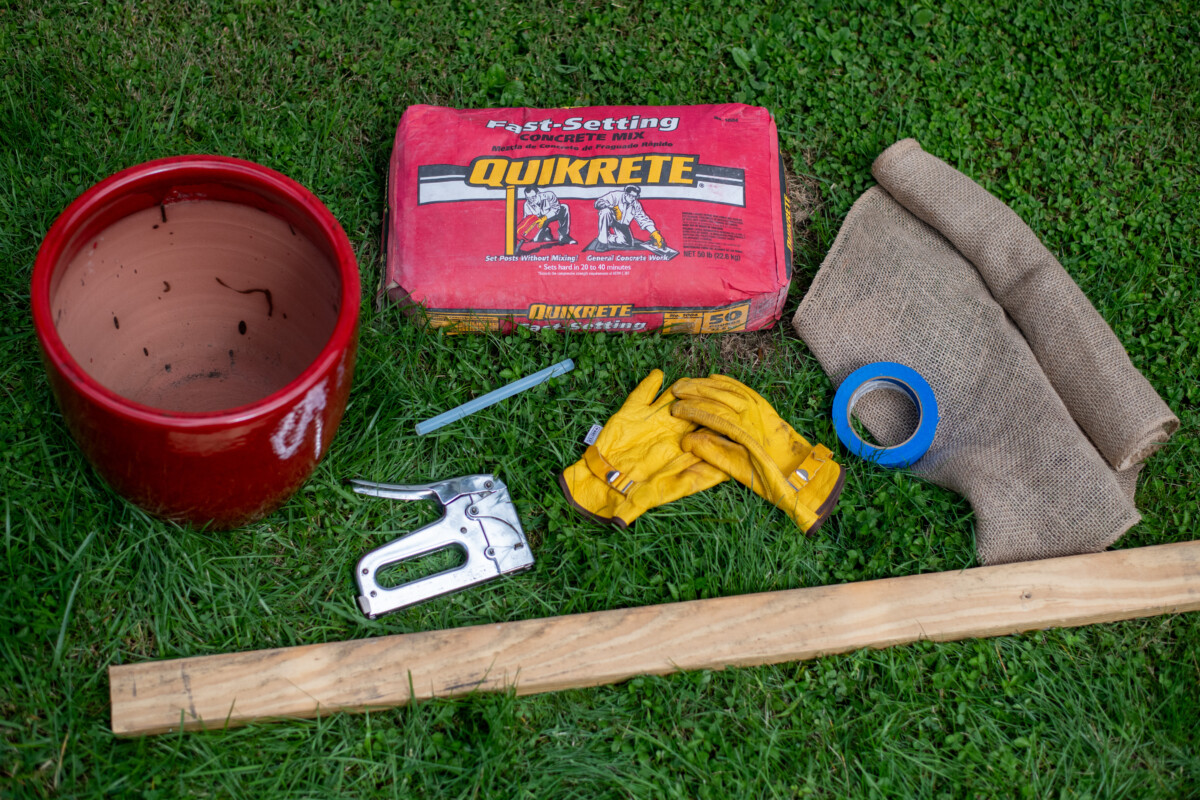
Sourcing a Clay Pot
You want to choose a large clay pot for this project as they’re quite heavy. The whole idea is to make something that a top-heavy plant won’t tip over. Choose a pot at least an inch or two wider than the current planter your monstera is in.
You’ll also need to choose a pot that’s a minimum of 12” tall, as we’ll be adding 3-4” inches of concrete to the bottom. Something a little taller would be even better. You should opt for a clay planter that’s slightly narrower in height than in diameter. Be sure it has a drainage hole.
Tubing
Next, you’ll need some tubing to make a new drainage hole. Most drainage holes in clay pots are roughly ½” in diameter, so 6” of ½” outer diameter tubing should work fine. Many hardware stores sell tubing by the inch or foot.
Quikrete Fast-Setting Concrete Mix
We’re using a quick-setting concrete mix for this project. Be sure you won’t be distracted so you can mix up the concrete quickly and get it in the pot before it begins to set. The brand of Quikrete sets within 20-40 minutes, so you’ve got plenty of time to mix it up and get it in the pot, but you don’t want to dawdle.
4’-5’ Piece of 2”x2” or 2”x4” Lumber
This piece of lumber is your stake. We’ll be wrapping it with burlap. This setup is much sturdier than coconut coir poles.
Burlap
The wider you can find it, the better. It’s easy to find in the craft section at Walmart or your big box home improvement stores.
As far as tools go, you’ll need a staple gun and ½” staples, painters or masking tape, a bucket to mix the concrete in and a trowel to mix it. You’ll also need a face mask and gloves to work with the concrete.
Related Reading: 9 Underrated Houseplants That Deserve A Spot On Your Shelf
Let’s Make a Monstera Planter
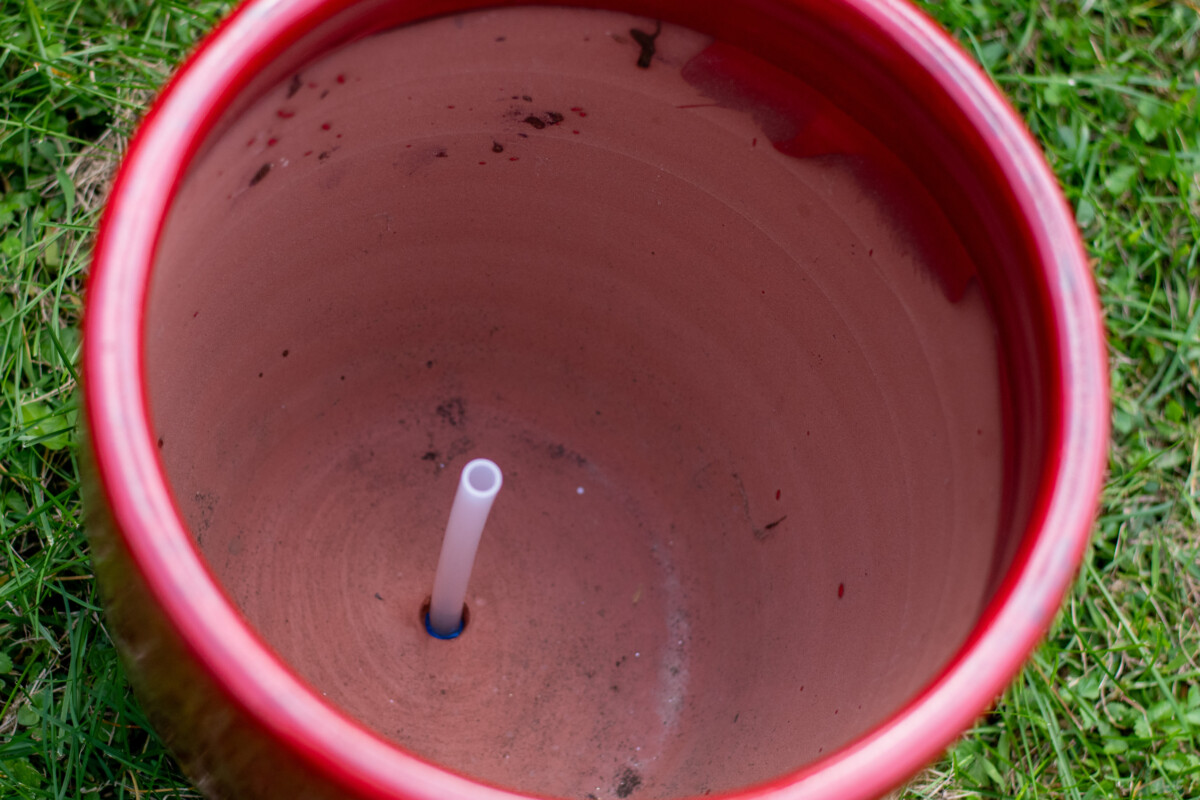
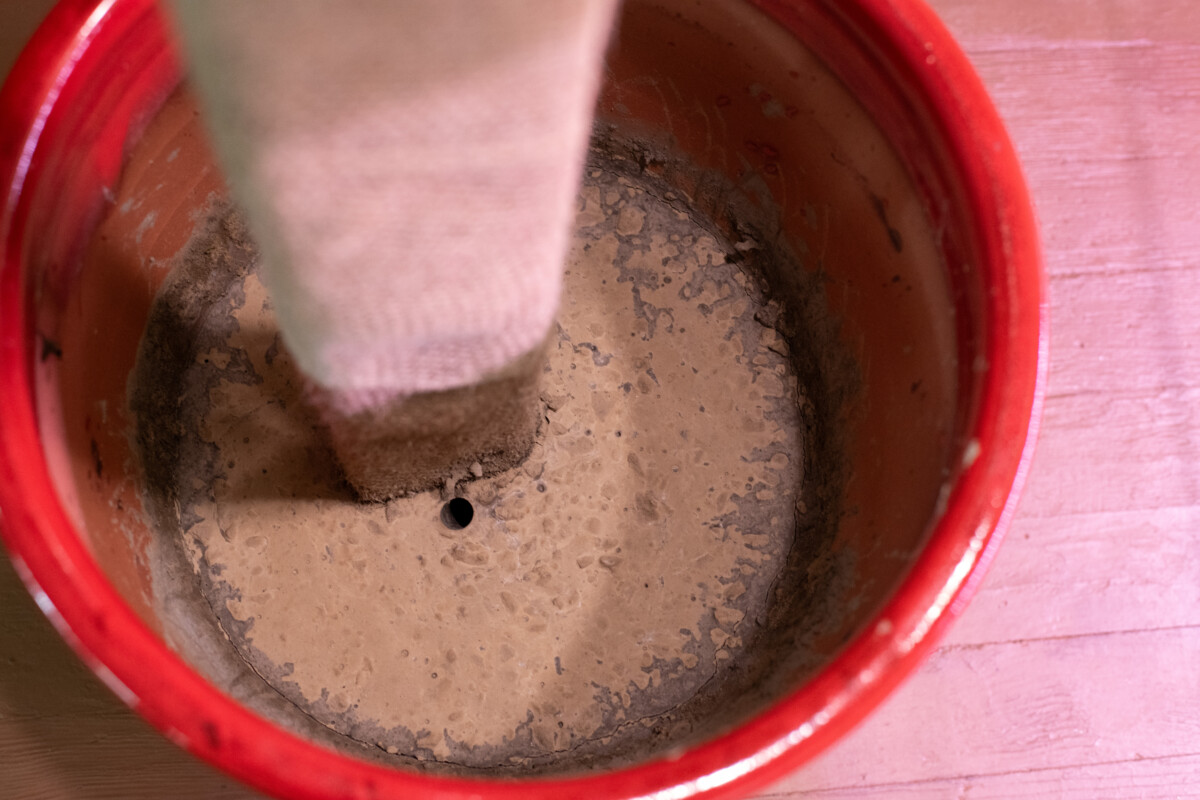
Put the tube in the existing drainage hole so that it protrudes out of the bottom of the pot by about an inch. Tape the tube in place on the bottom of the pot with masking or painter’s tape. This will create a new drainage hole once the concrete has set.
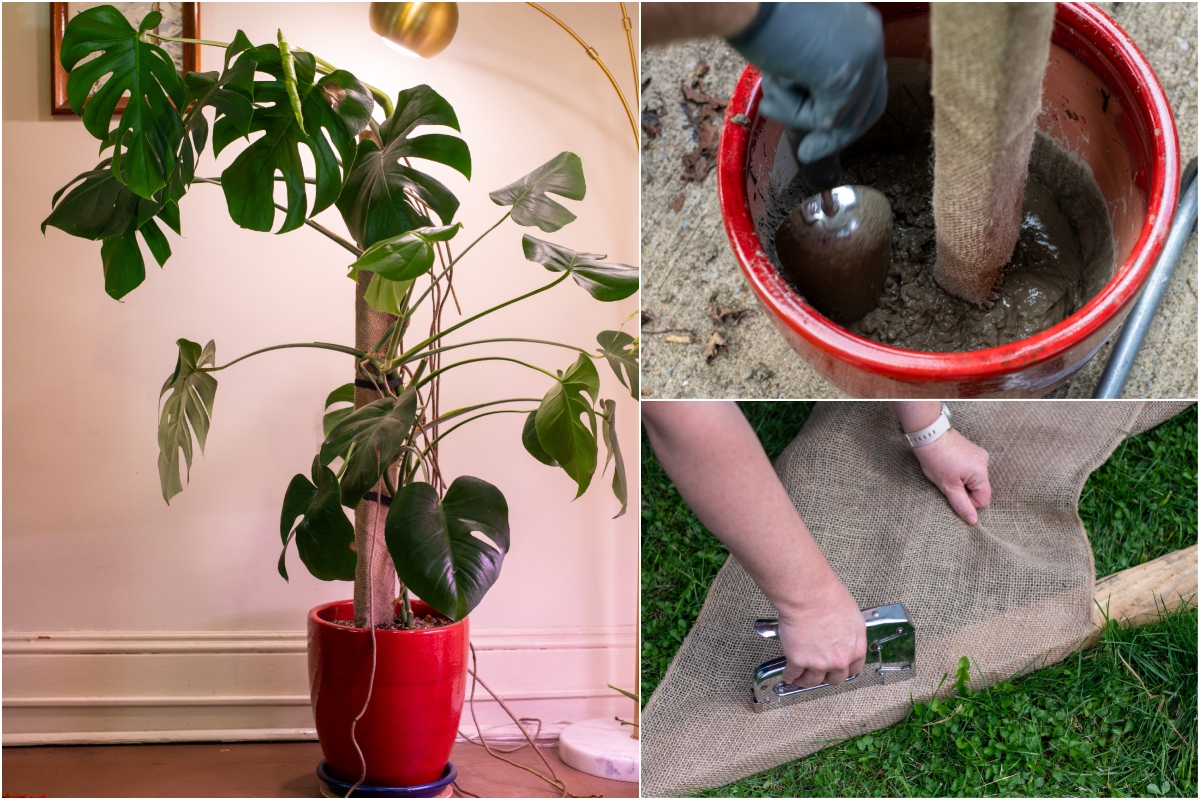
Wrap the burlap around your lumber diagonally, starting a few inches up from the bottom. Secure the burlap with ½” staples, pulling the burlap snug as you continue to turn the lumber and wrap the burlap around it. I found spacing staples close to one edge every six inches works well.
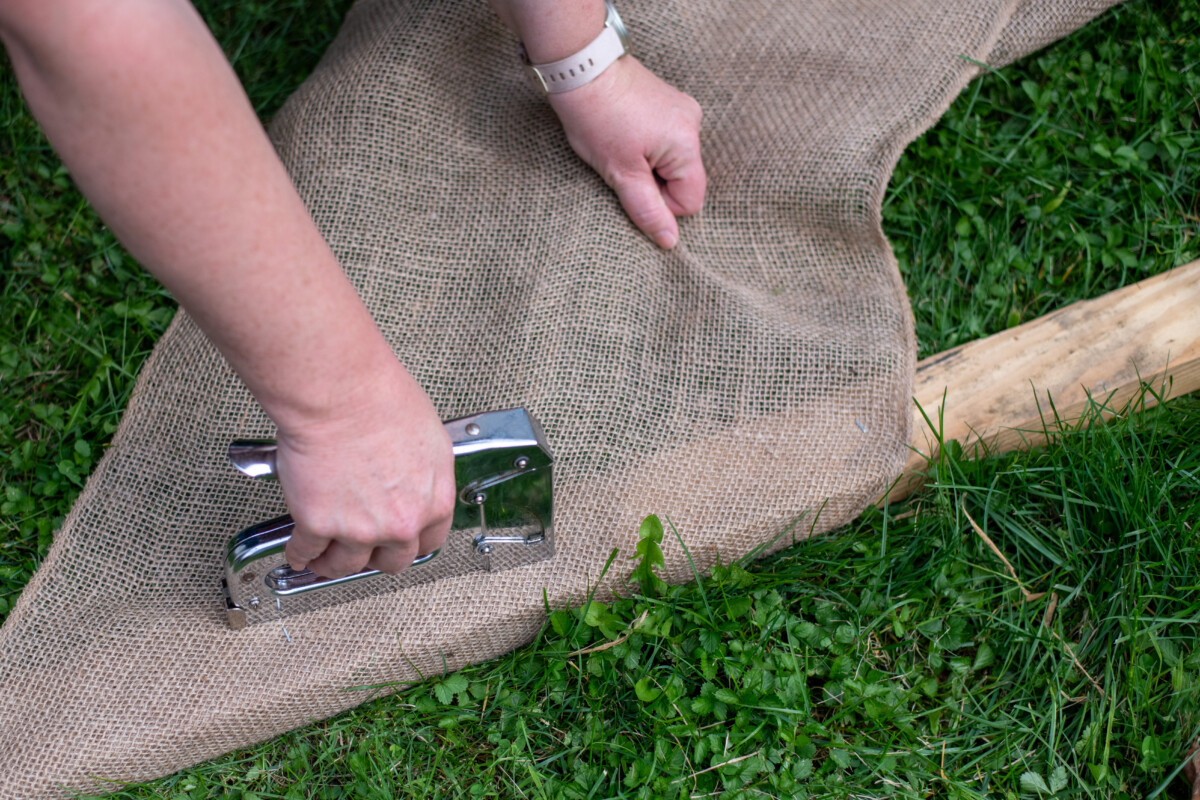
Finally, when you reach the top, cut the burlap, leaving a salvage edge. Fold this edge under and staple, leaving a neat seam rather than the cut edge of the burlap. Do the same at the top of the post, folding the burlap and stapling it in place.
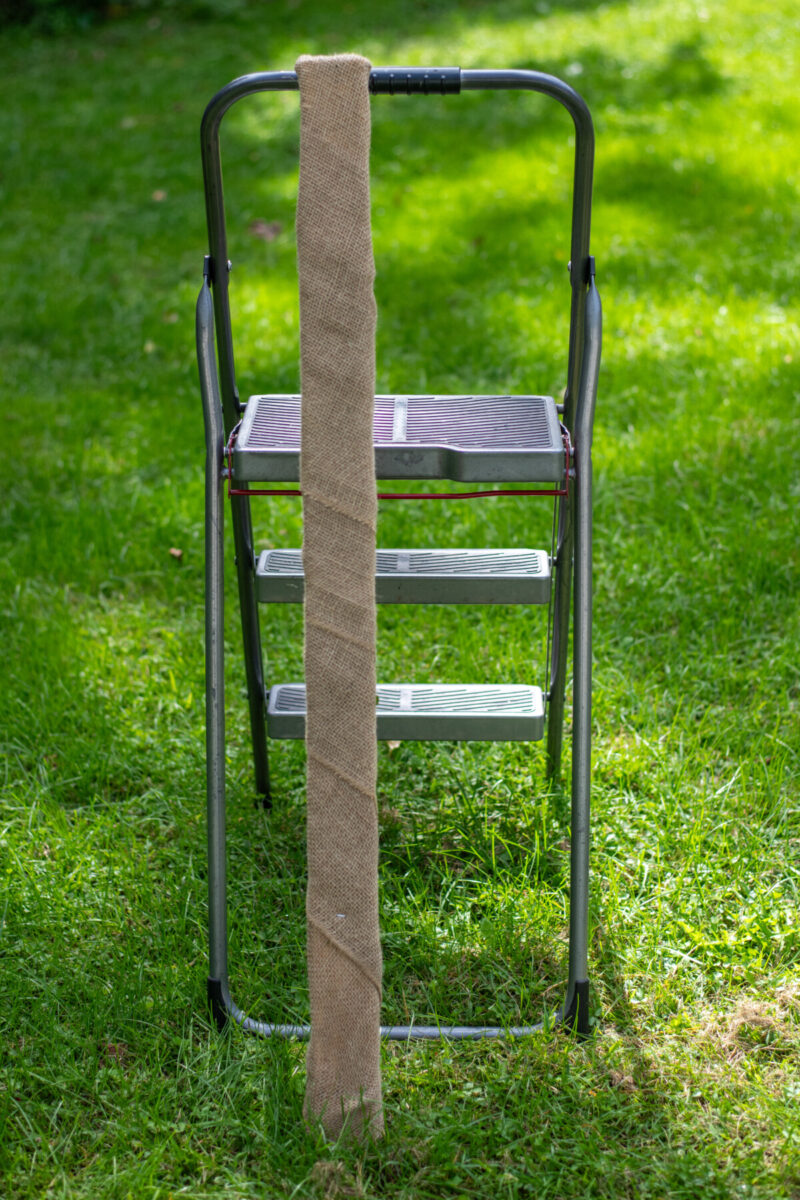
Setting up Your Support
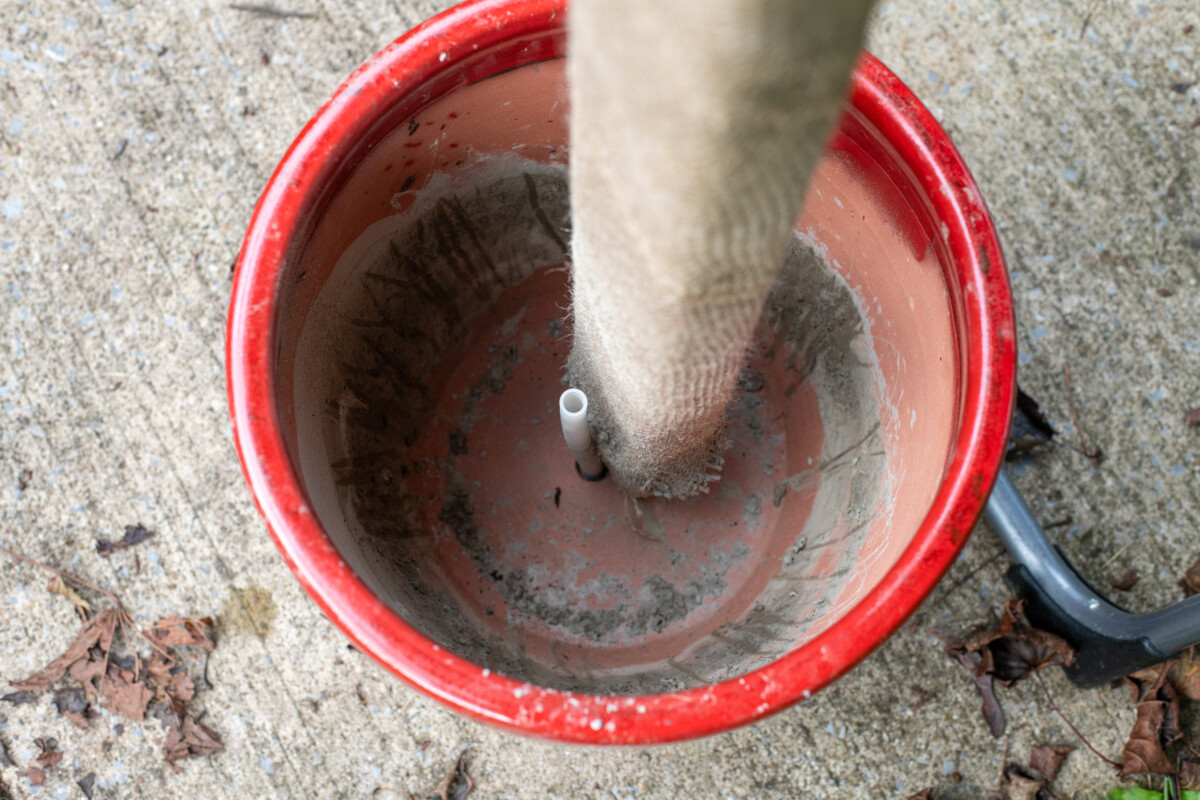
You can either place the support pole in the pot as close to the drainage tubing as possible, so it’s roughly centered or move it to one side so the pole is towards the outer rim of the pot.
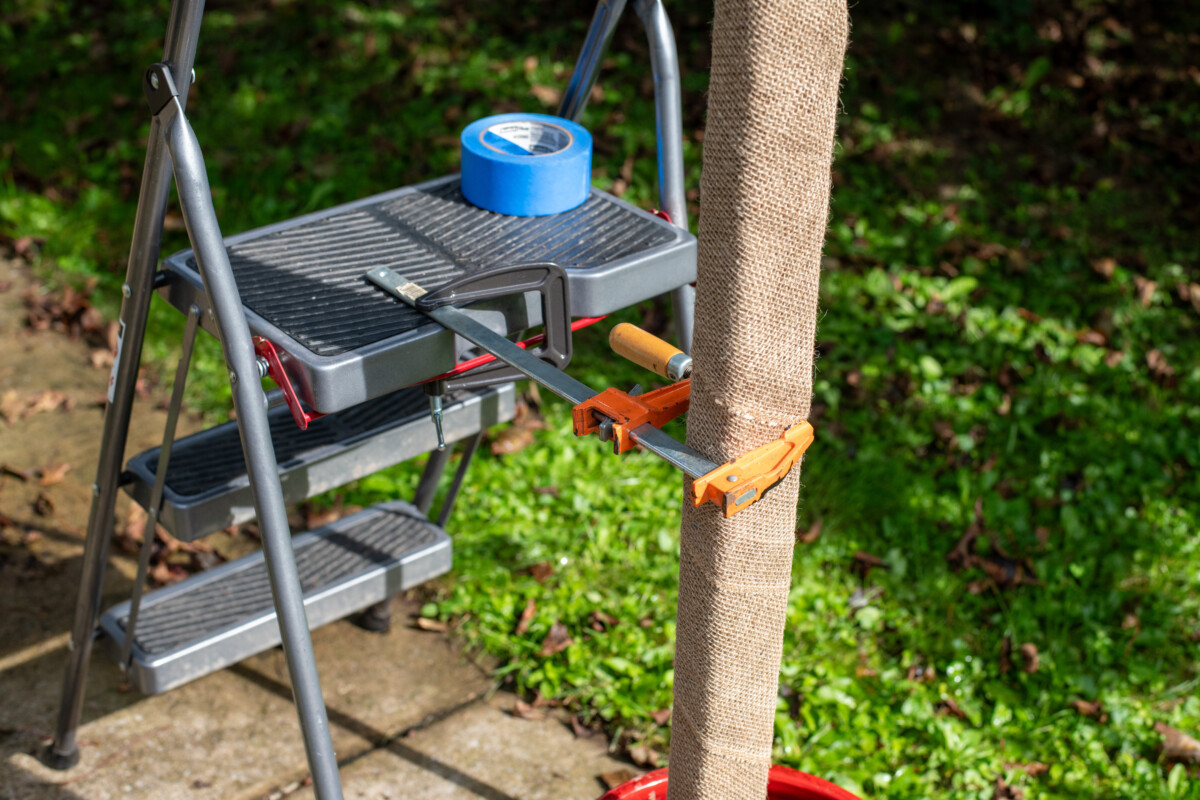
You’ll need a way to secure the pole upright in the planter while the concrete sets. I used a step ladder and a couple of clamps. If worse comes to worst, you can always have someone hold the pole in place until the concrete sets, which could be a long and tiresome twenty minutes.
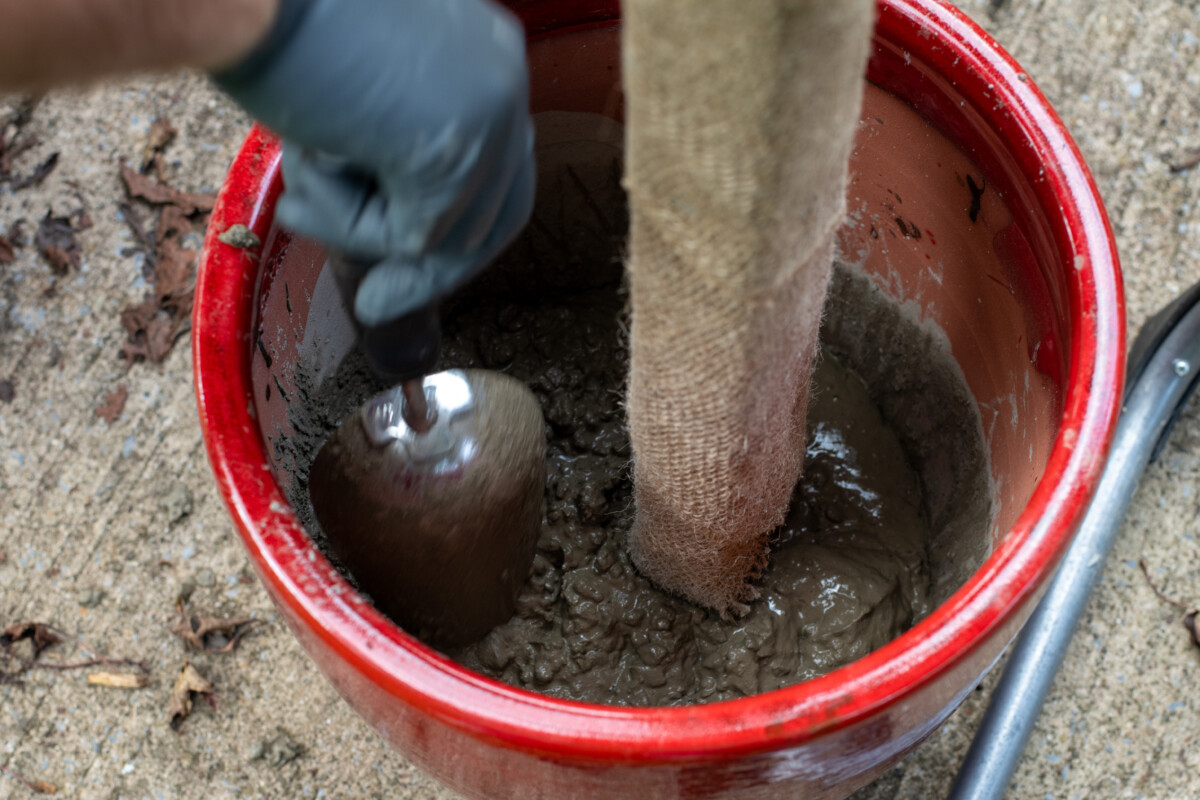
Working with Quick Mixing Concrete
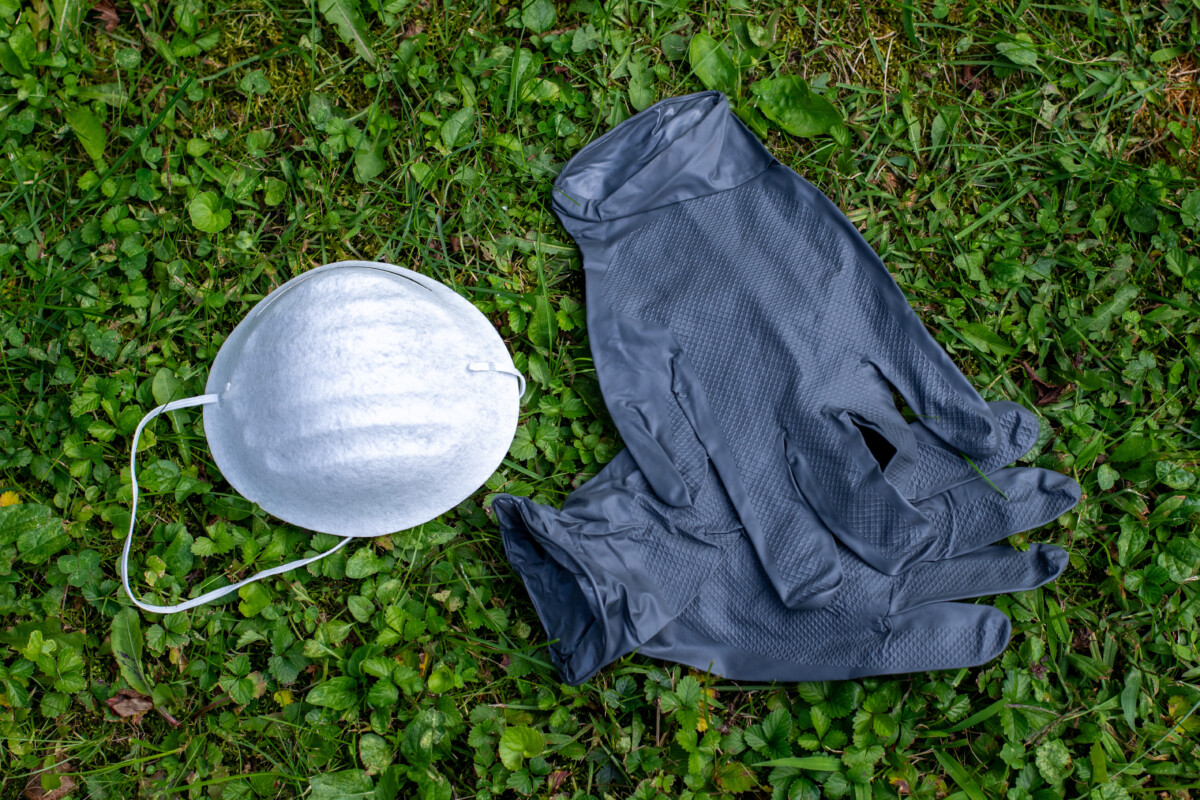
Concrete is highly alkaline, so you should always wear long sleeves, gloves and a mask when working with it. You don’t want to breathe in the fine powder. I used roughly 1/3 of the bag to mix up enough concrete to fill the bottom of my pot about 3” deep.
Pour the dry mix into the bucket and add water, mixing well with the trowel. When mixing concrete, you want it to be the consistency of soupy oatmeal.
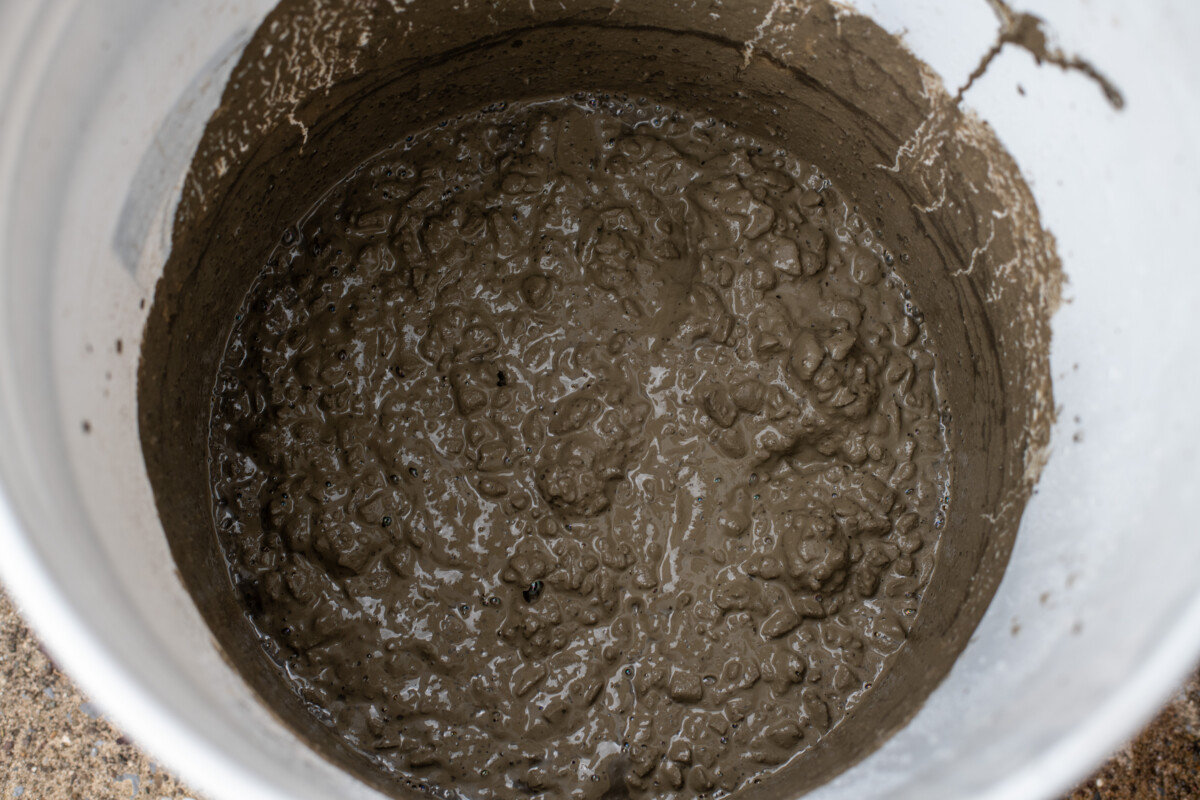
There shouldn’t be standing water, nor should it be dry and crumbly. It’s always easier to add more water than to try and wrestle with the bag to add more concrete mix.
Mix the concrete thoroughly with the trowel for several minutes, ensuring you get all the cement wet and mixed in. You don’t want any dry patches.
Working quickly, pour the cement into the bottom of the planter a little at a time. Use the trowel to press it into place and make sure there are no air pockets before adding more.
You want to fill the bottom of the planter up about three inches. The concrete will self-settle. Clean off your trowel and bucket right away.
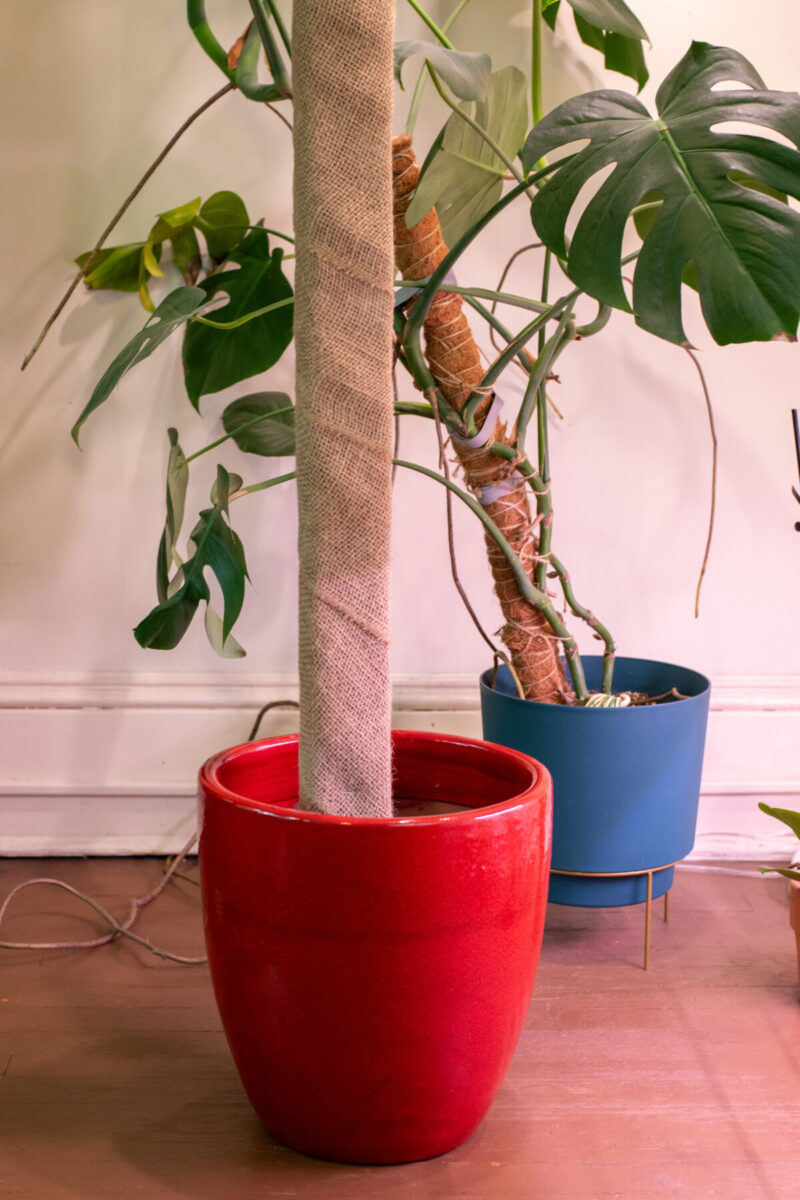
Let the planter sit and dry. While the fast-setting mix will set in about 40 minutes, it’s best to let it cure for 2-3 days before you put a plant in it. Once it’s cured, you’ll have a hefty planter just right for large monsteras. You won’t have to worry about your beautiful plant tipping over anymore.
Note: If you need to move your planter regularly, you might want to put the heavy planter up on a plant dolly.
Read Next:

Get the famous Rural Sprout newsletter delivered to your inbox.
Join the 50,000+ gardeners who get timely gardening tutorials, tips and tasks delivered direct to their inbox.