

For many gardeners, it’s quite common to enjoy freshly picked green beans at the dinner table. (We like ours tossed with olive oil, chopped fresh garlic, and then roasted.) But it’s less common for those same gardeners to enjoy black bean soup or pinto beans on tacos made with dried beans from their garden.
Growing beans to dry has fallen out of fashion, and I can’t understand why.
Homegrown dried beans are great! My dad grew them every year on our homestead.
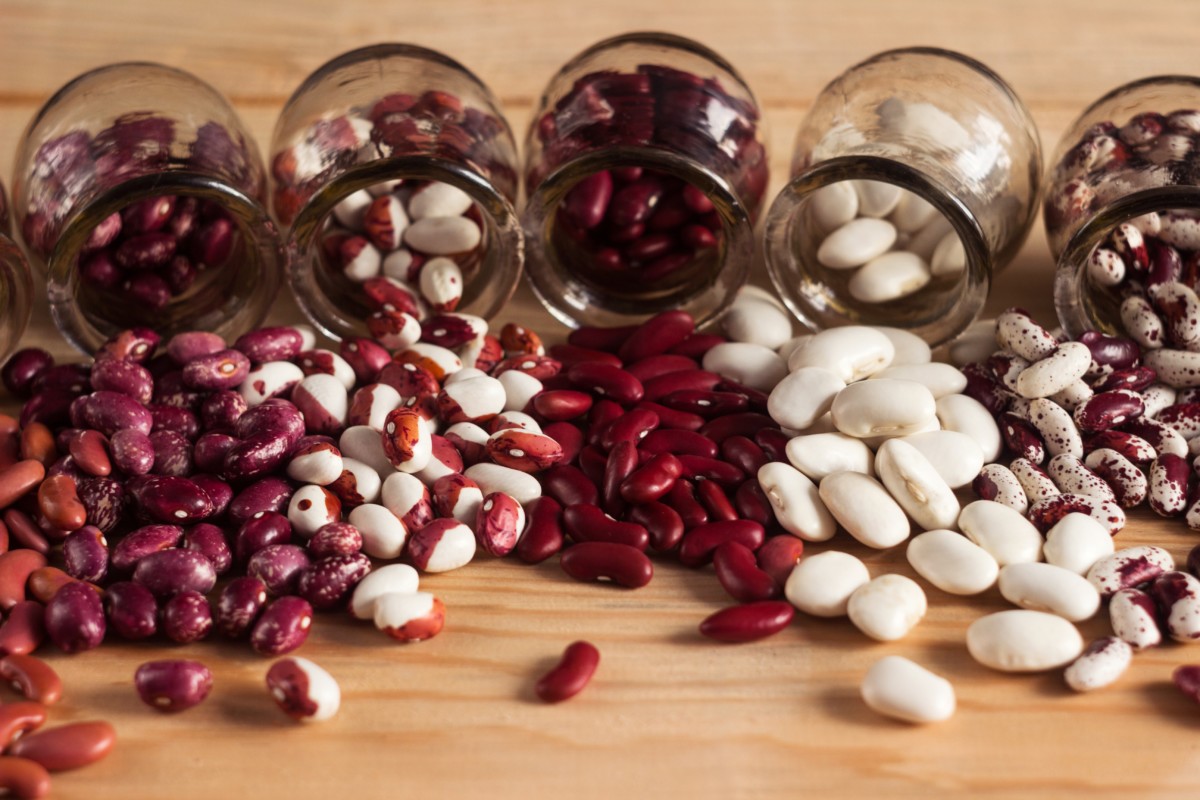
We had a couple of one-gallon glass jars, and all of the beans we grew went into them. I remember eating plenty of soups that started with the beans in that jar. And as a kid, I would spend hours running my hands through the dried beans, sorting them on a tray or making shapes and pictures with them.
They were a great way to beat boredom on a rainy day.
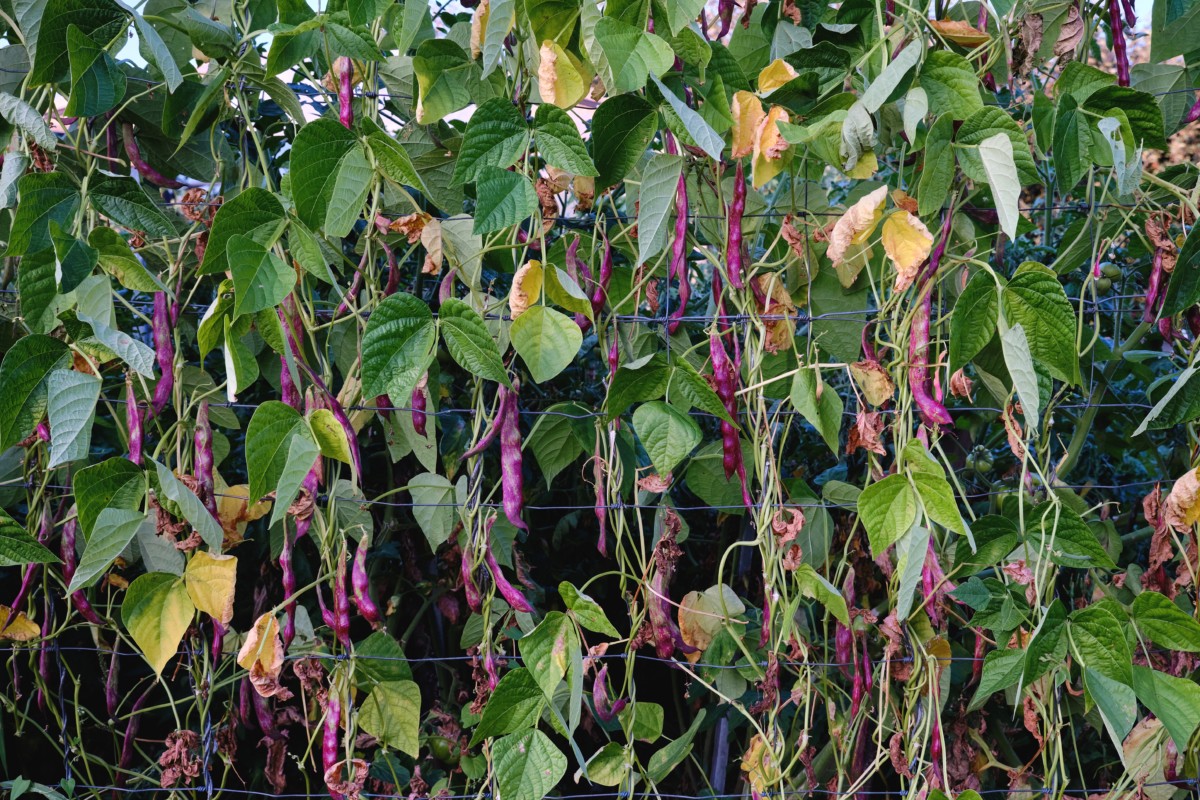
Growing shell beans to dry isn’t any harder than growing green beans; in fact, it’s easier.
And there are some great reasons to grow shelling beans, so let’s take a look at why you should grow dry beans in your garden this year.
Then we’ll look at how to grow, dry and store them so you can make wonderful tacos, soups, and even black bean chocolate cake! (Don’t knock it until you’ve tried it.)
1. Beans Are Good for You
I’ll spare you the rendition of Beans, Beans the Magical Fruit, and just say you should eat your beans at every meal. Beans are a nutritionally dense food that’s inexpensive to buy or grow. They’re full of B vitamins, loaded with fiber and are one of the few veggies that pack a big protein punch. Beans can reduce cholesterol, help you maintain or lose weight by keeping you full longer, and despite what the song says, the more you eat them, the less gassy you are.
You should definitely make room for them on your plate and in your garden.
2. Homegrown Dried Beans are Quicker (and taste better)
If you skip out on dried beans because they take too long to cook, then it’s time to make room for them in your garden. Homegrown dried beans cook quicker than storebought beans. Storebought beans are drier (older) than your homegrown beans, so they take longer.
Another reason to grow your own shell beans is the flavor and texture are infinitely better than any bean that came out of a plastic bag or can from the supermarket.
3. Beans Amend Your Soil Why They Grow
Legumes are an important part of crop rotation in the garden. Beans are a nitrogen-fixing crop, meaning they add nitrogen back into the soil while they grow. If you already practice crop rotation and use green beans or similar varieties as your legume, consider adding some shelling beans to your mix.
For more information on the importance of crop rotation and soil health, you should check out Cheryl’s thorough explanation of the benefits of crop rotation and how to do it.
4. Ridiculously Easy-to-Grow
Did I mention that growing beans to dry is ridiculously easy? In general, you don’t want to let a vegetable ripen all the way on the plant, as this signals to the plant to stop producing. When growing regular beans, you need to pick them frequently to encourage the plant to put out more beans.
For shell varieties, you will be drying them right on the vine, so you don’t need to go out and pick them every day. Just let your beans grow and dry; you really only need to mess with them at the end of the season.
If you’re looking for the ultimate set-it-and-forget-it crop, shell beans are it.
5. Five Years
This is probably my favorite reason for growing shell beans – once they are dry, they can be stored for five years. What other produce in your garden can be stored that long? Even home-canned goods don’t last that long.
Dried beans are where it’s at if you want to grow food that’s easy to store, doesn’t need fancy equipment to preserve it, and doesn’t take up a ton of room. If you’re concerned about rising food prices or preparing for a rainy day, this is the crop to grow.
6. You Only Need to Buy Shell Bean Seeds Once
Yup, that’s right. Once you buy a packet of seeds to grow for shelling, not only are you growing food to eat, but you’re growing next year’s seeds as well. After preparing your dried beans for storage, simply remove enough to save for the next growing season.
7. Food Security
The best reason to grow shelling beans is all of the above reasons rolled up into one. If food security has ever been a concern, dried beans are the best crop to grow. They’re easy to grow and don’t take up a ton of land; they last forever and sustain you nutritionally.
With rising grocery prices and supply chain issues, more and more people are taking food security seriously and looking to their gardens to provide for them. Start right here, with the humble bean.
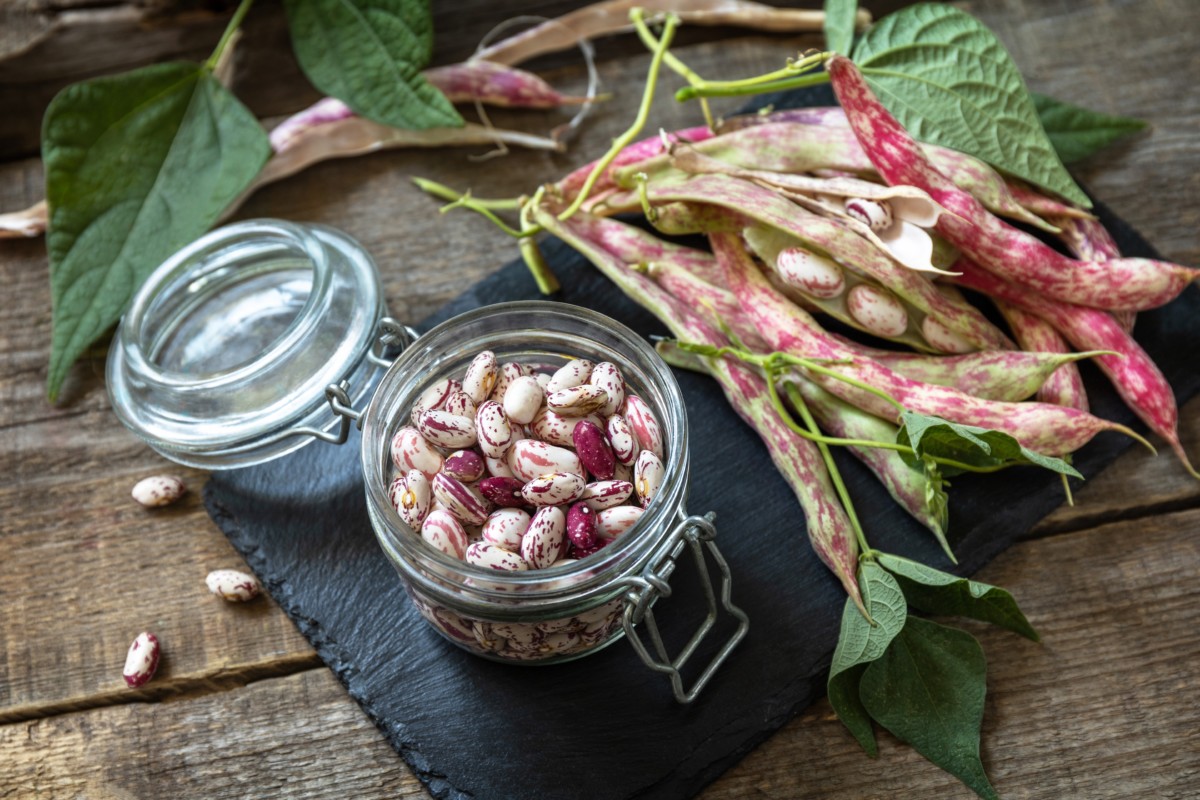
Types of Shell Beans & Varieties
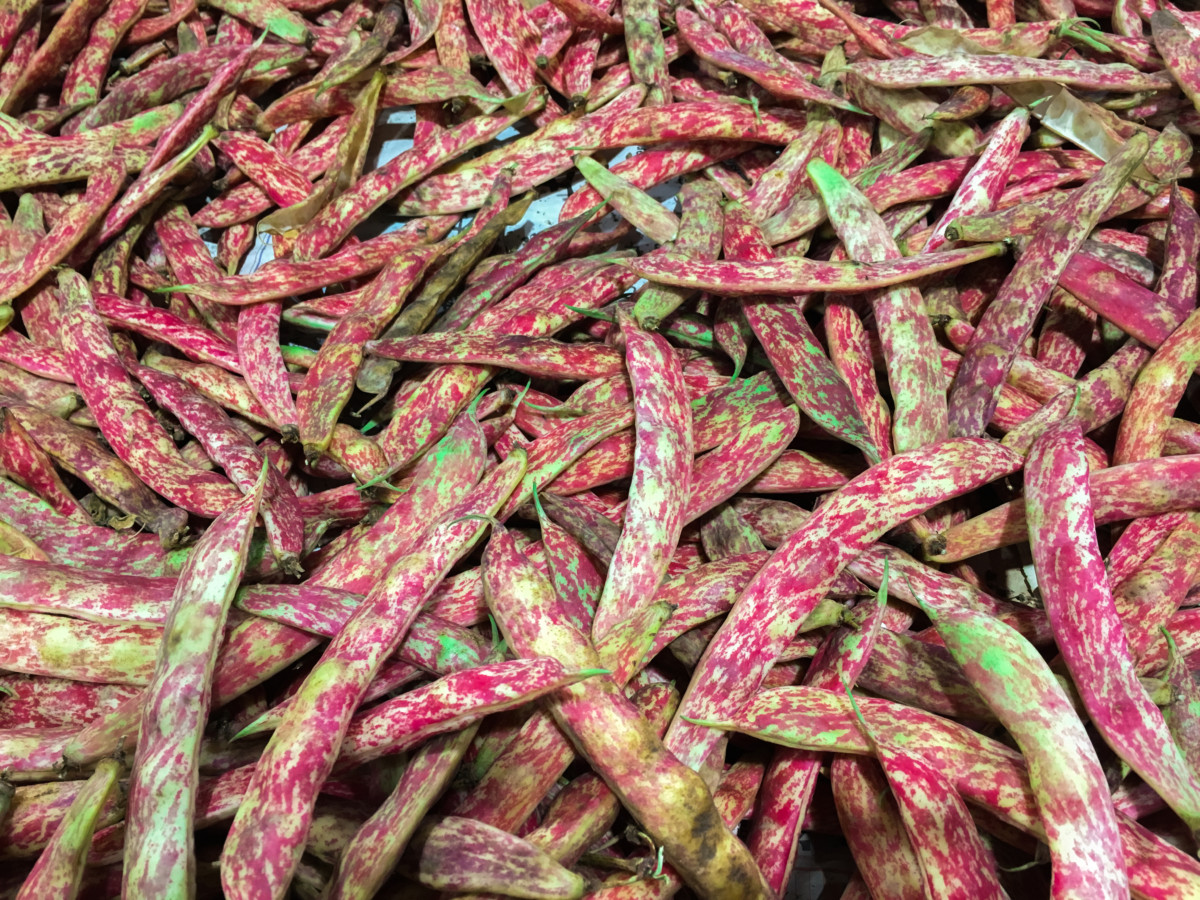
Generally, when we think of beans, a long slender green bean comes to mind when, in fact, the beans themselves are inside, covered by the pod. Most gardeners who grow beans are used to growing and eating beans where you eat the pod, such as Blue Lake, Royal Burgundy or Yellow Wax beans. These types of beans are meant to be eaten or preserved fresh off the vine.
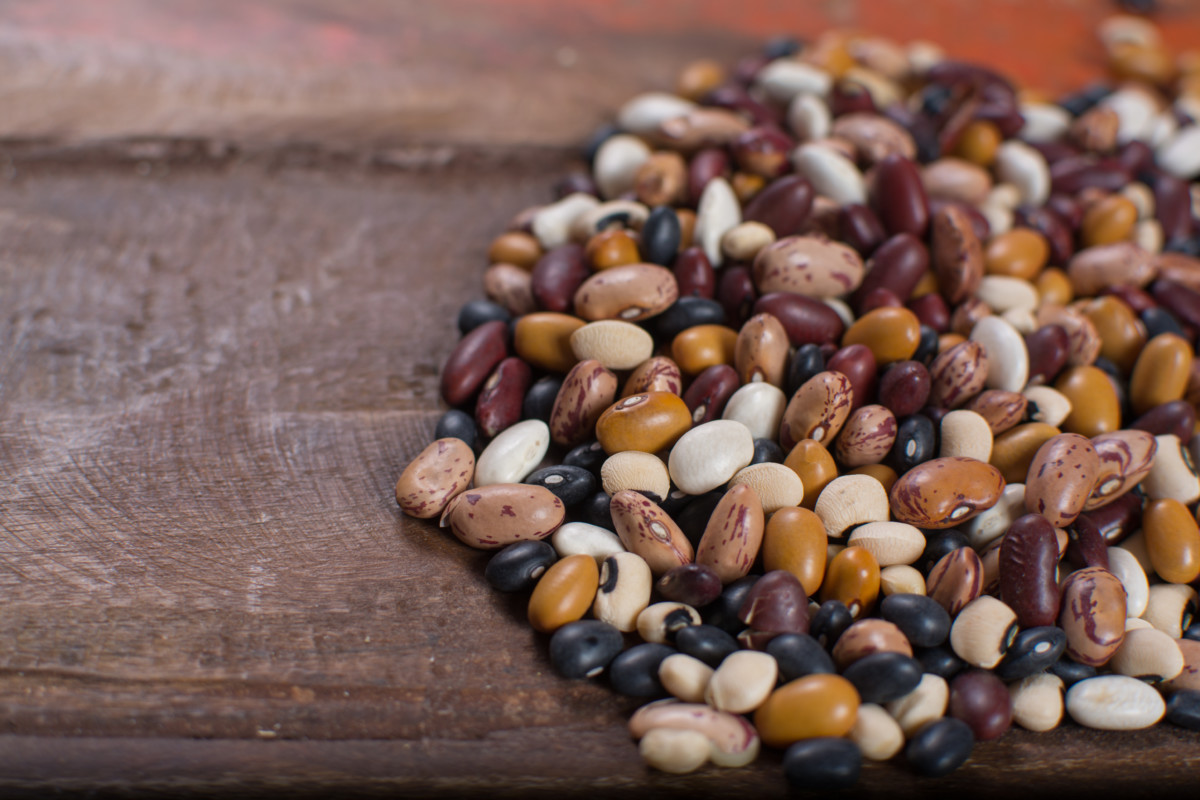
However, certain varieties of beans are grown specifically for the beans inside the pod; these are called shelling beans. Most dried beans are actually derived from the same species – Phaseolus vulgaris, which is known as the “common bean.”
A few shell varieties you’re already familiar with are lima, cannellini, black beans, pinto and kidney beans. I’m sure you could name a few more.
Some you may not be familiar with but should give a try are:
How to Grow Shell Beans
Plant your beans well after the danger of frost to give the soil time to warm up. You’ll want to sow them in a sunny area of the garden that receives around 8 hours of full sun a day.
Follow the directions on the package for spacing and seed depth. But in general, beans are planted 1” deep in the soil, with pole beans spaced 8” apart in rows and bush beans spaced 4” between plants.
The plants don’t need fertilizer; you might want to note that if your soil has too much nitrogen, you won’t get a good harvest. The beans will add nitrogen back into the ground as they grow, so while they don’t need fertilizer, they will naturally fertilize other plants near them.
Shell beans are pretty great as most varieties are drought-resistant.
However, if you get an especially dry summer, you’ll want to water them during long stretches without rain. Reduce watering towards the end of the season so they can start to dry out.
And that’s about it. You can let them be to grow throughout the summer as you’ll be harvesting them all at once at the end of the season.
Eating Fresh Shelling Beans
Of course, you can always pick some to eat fresh. You’ll want to cook them well, but you don’t need to go through all the fuss that dried beans require. You might be surprised at how tasty fresh-shelled beans are compared to the canned and bagged ones you’ve purchased in the past.
How to Harvest Your Beans
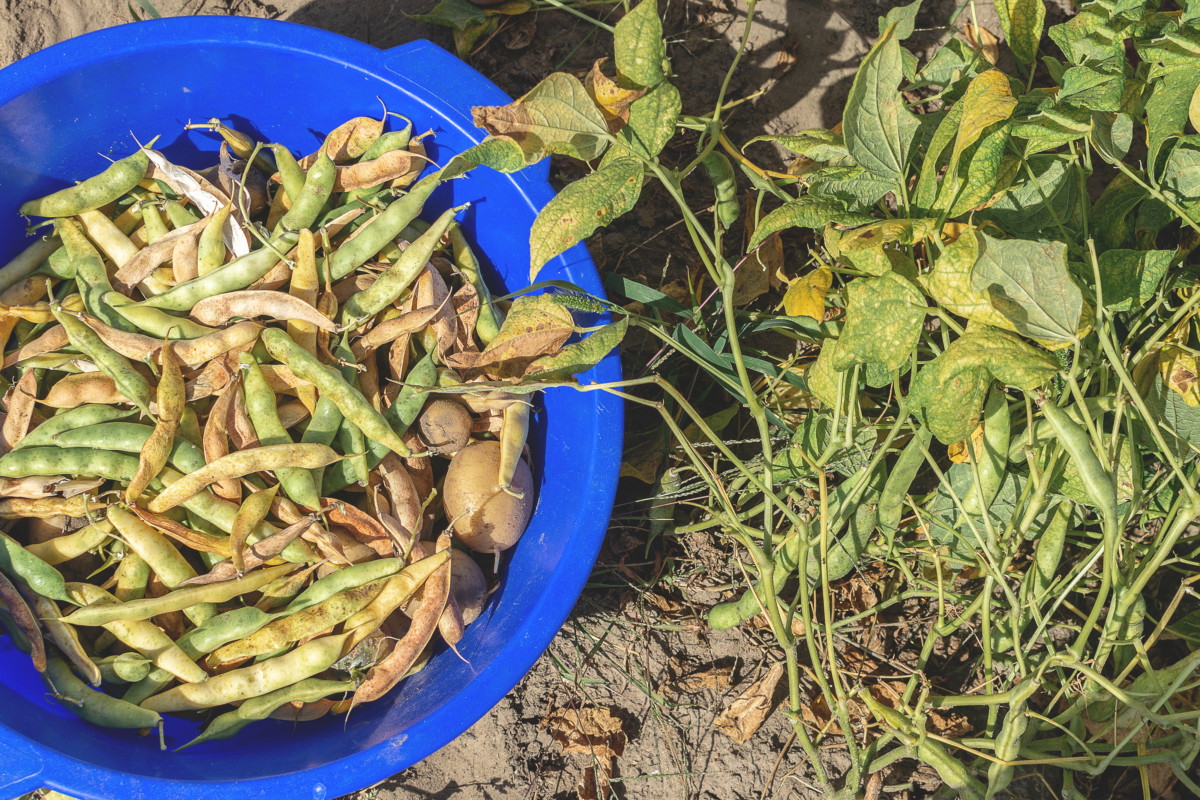
Harvesting beans is just as easy as growing them. You’ll want to let the beans mature and dry on the plant.
Once the plant has completely died back and is no longer supplying the beans with nutrients, it’s time to harvest your dried beans.
The pods will rattle a bit when you shake them.
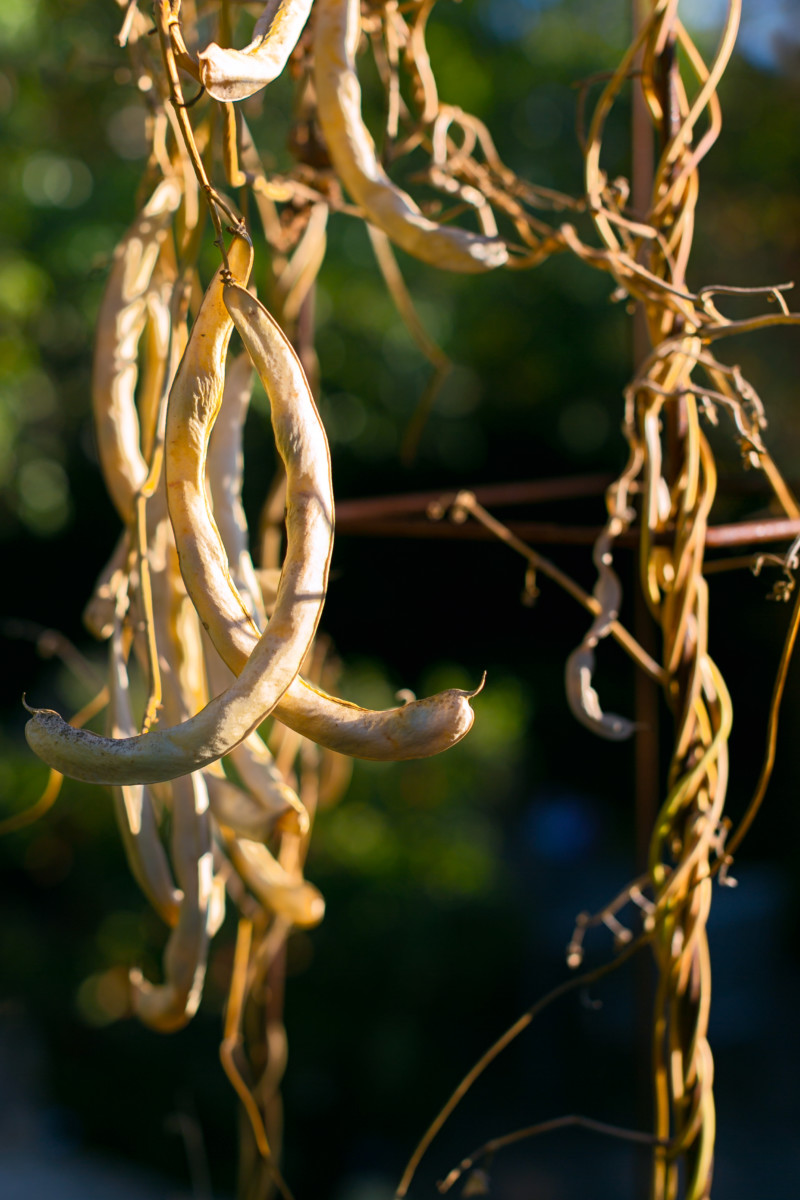
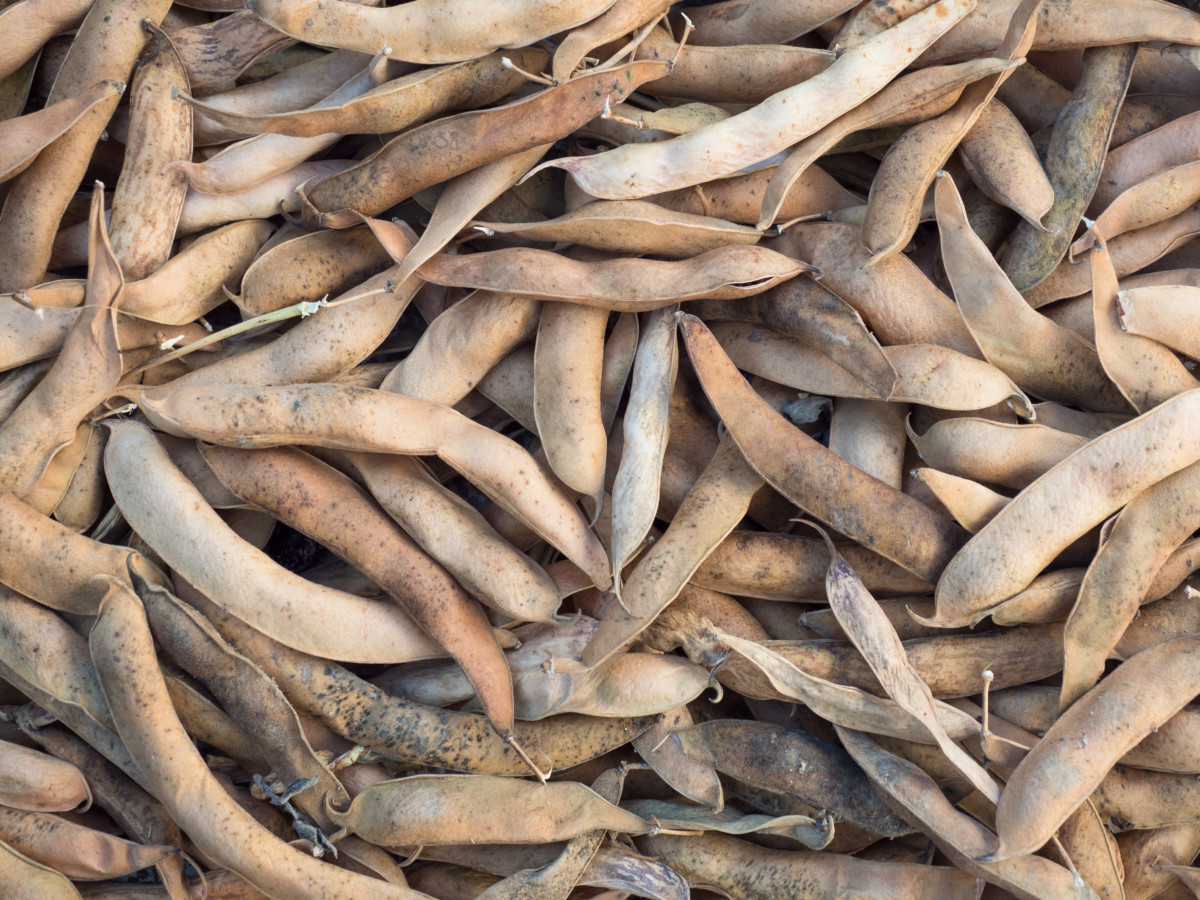
Harvest your beans after a nice dry, warm stretch so that the plants are completely dried out. Moisture in the pods can easily turn to mold if you don’t pick them when they’re completely dry.
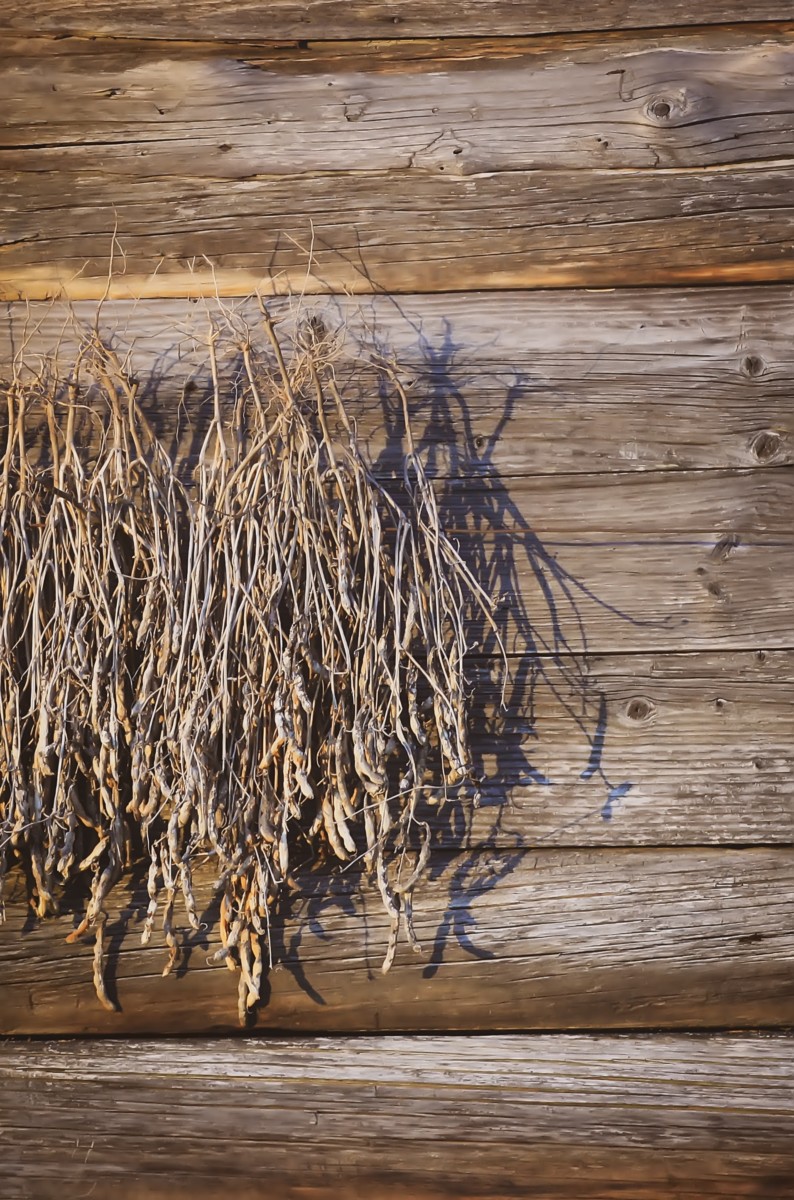
You can simply pick the beans whole from each plant or do what my dad did: pull up the entire plant, beans and all and then pull off the bean pods before tossing the dead stalks on the compost pile.
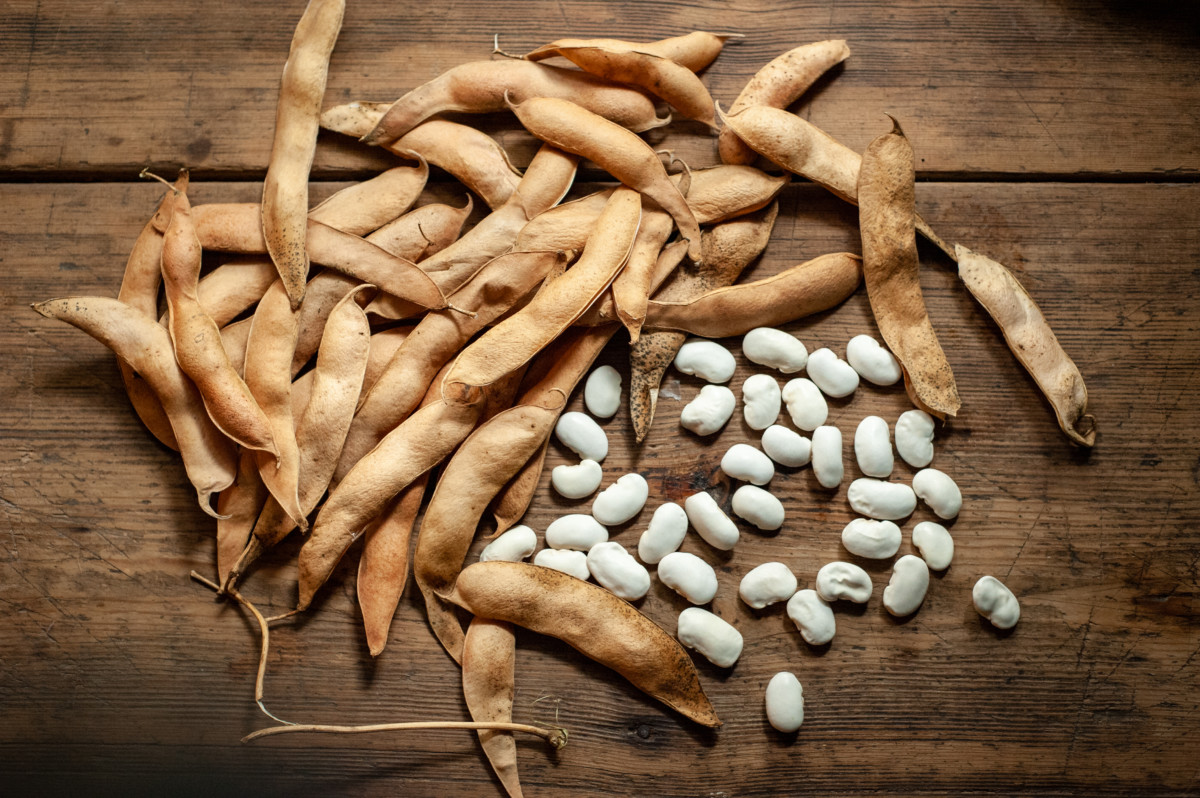
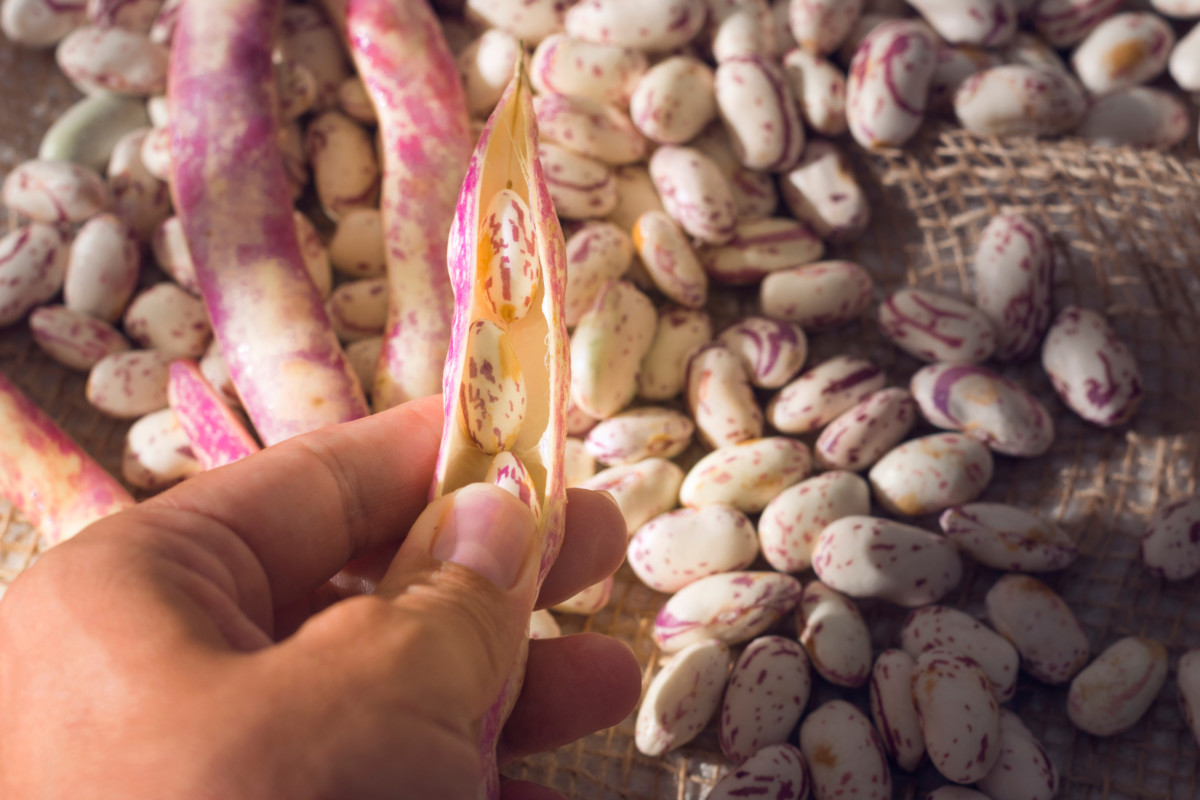
At this point, you’ll need to shuck the pods (remove the dried beans). You’ll have around 8-10 beans per shell, depending on the variety. The nice thing about this step is that it doesn’t have to be done right away. As long as your shells are good and dry, you can leave them and shuck them later after the hustle and bustle of the season has died down.
If you leave them on the plant or can’t get to them right away, you can even hang the plants up in the rafters of your attic, shop or garage to continue to dry. It just needs to be somewhere dry.
Dad and I spent plenty of rainy fall nights shucking beans and listening to A Prairie Home Companion on the radio. It’s a good activity for when you want to keep your hands busy.
If you shuck them right away, you can lay the beans out on rimmed baking trays somewhere warm and dry to continue to dry out. Beans can be stored when they feel light in your hand and make a hard “tick” sound when you tap them with your fingernail.
How to Store Dried Beans
Dried beans can be stored in whatever you have handy that is airtight, whether it’s a mason jar or a plastic zipper-top bag. Store them someplace dark, cool and dry. You’ll want to check them once a week for the first couple of weeks for signs of moisture on the jar or bag, as any residual moisture can mean mold and the loss of your beans.
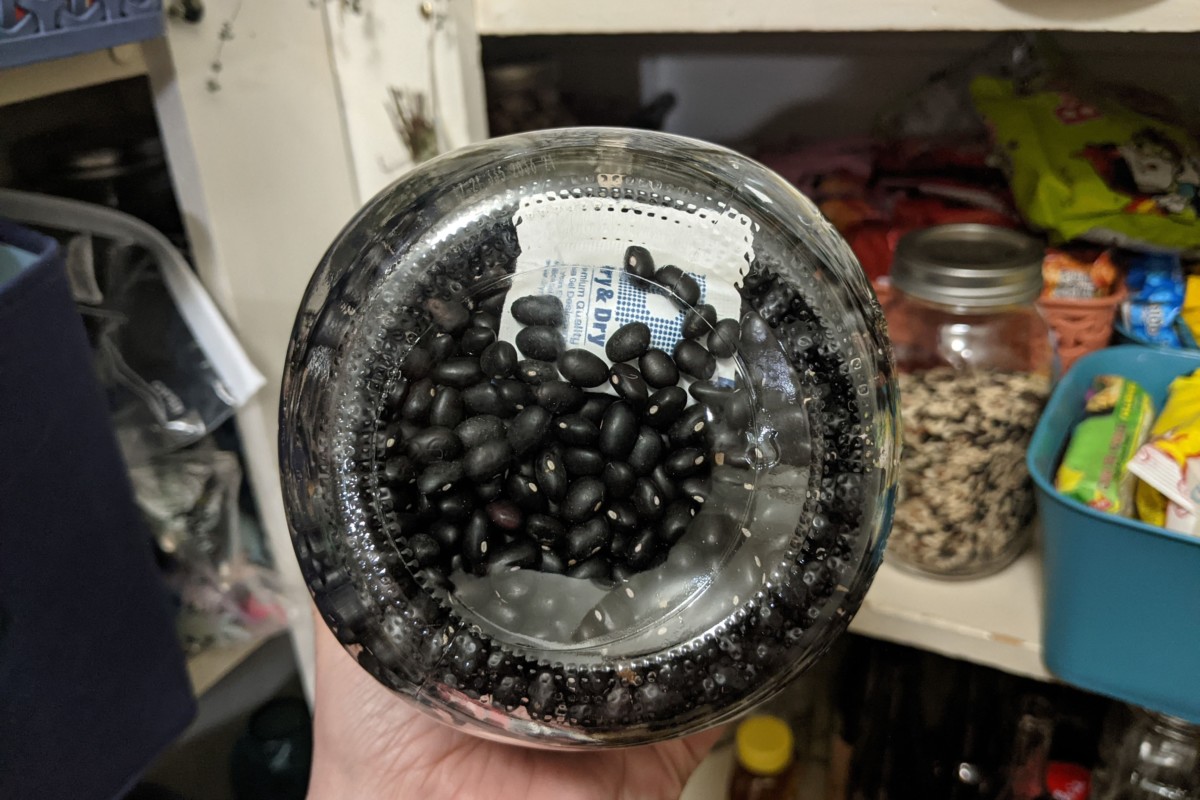
I prefer to toss a desiccant packet into the bottom of my jar before filling it with beans as an added measure of security.
Save out enough dried beans to plant again next year, making sure you keep them someplace dry, dark, and cool. Adding a bit of wood ash to them helps the seeds retain their viability longer.
It only takes a spoonful of delicious black bean soup made with beans from your garden to decide that this easy-to-grow crop has a permanent spot in your garden.
Don’t forget to give this amazing black bean chocolate cake from My Sugar Free Kitchen a try. I think you’ll be surprised at how moist and decadent such a healthy (Shhh, don’t tell!) cake can be. And as always, when you make it with something you grew yourself, it tastes ten times better.

Get the famous Rural Sprout newsletter delivered to your inbox.
Join the 50,000+ gardeners who get timely gardening tutorials, tips and tasks delivered direct to their inbox.