

I have the neatest pet on my counter. It provides me with the most delightful homemade sodas all summer long.
I use this unique pet to give my switchel a boost.
Sometimes, I will use it to start my wild-fermented meads and ciders to provide them with a yeasty little boost.
In the summer, I create artisanal gourmet soda flavors with my pet that rival anything you can find at the store. Plus, I get the added benefit of probiotics in my natural soda.
And I do it all for pennies.
This cool little ‘pet’ is a ginger bug.
What the heck is a ginger bug?
It’s kind of like a sourdough starter, but for soda.
You mix ginger, sugar, and water to create a fizzy fermented starter. You can then use the starter to make tasty homemade sodas from sweetened tea, fruit juices, and homemade syrups.
Starting a ginger bug is easy to do, and the soda it makes is so much cheaper and healthier than what you can get in the store.
Your Ingredients:
- Water – always use filtered, non-chlorinated water. If your town has chlorinated water, you can boil it and cool it first, or let it sit in an open container on the counter for 24 hours for it evaporate.
- Sugar – white sugar works best for a ginger bug, although you can use raw and brown sugar as well. A lot of people are alarmed at the sugar content, but just remember, the sugar is food for the naturally occurring yeast on the ginger. Your finished soda will have far less sugar in it than what you initially put in.
- A note – Honey shouldn’t be used as it has its own yeast colonies, and you can get competing cultures growing.
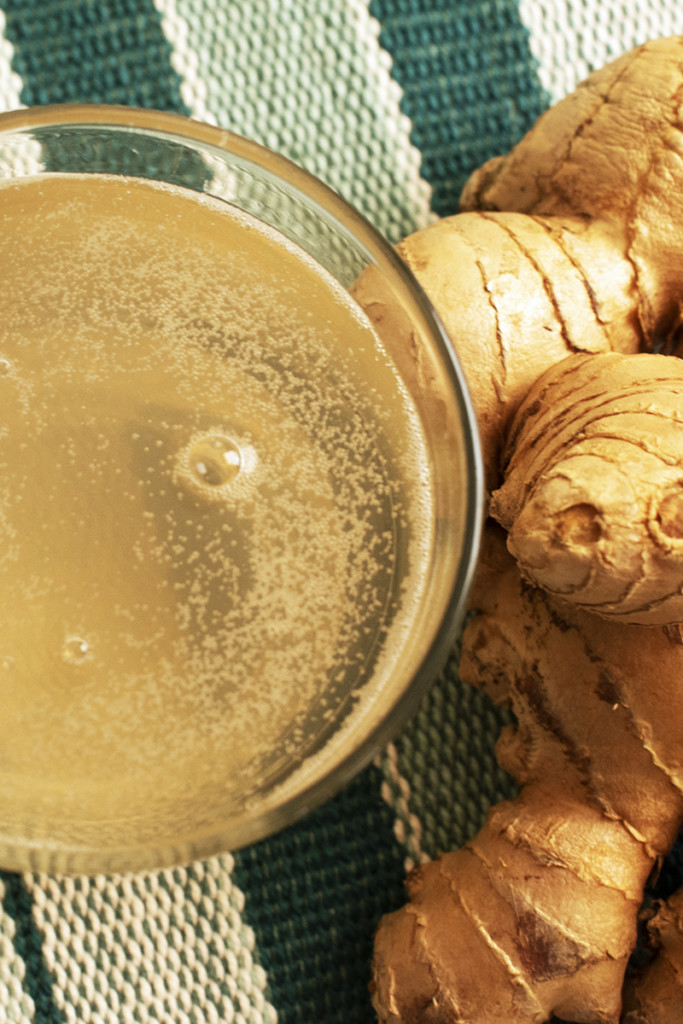
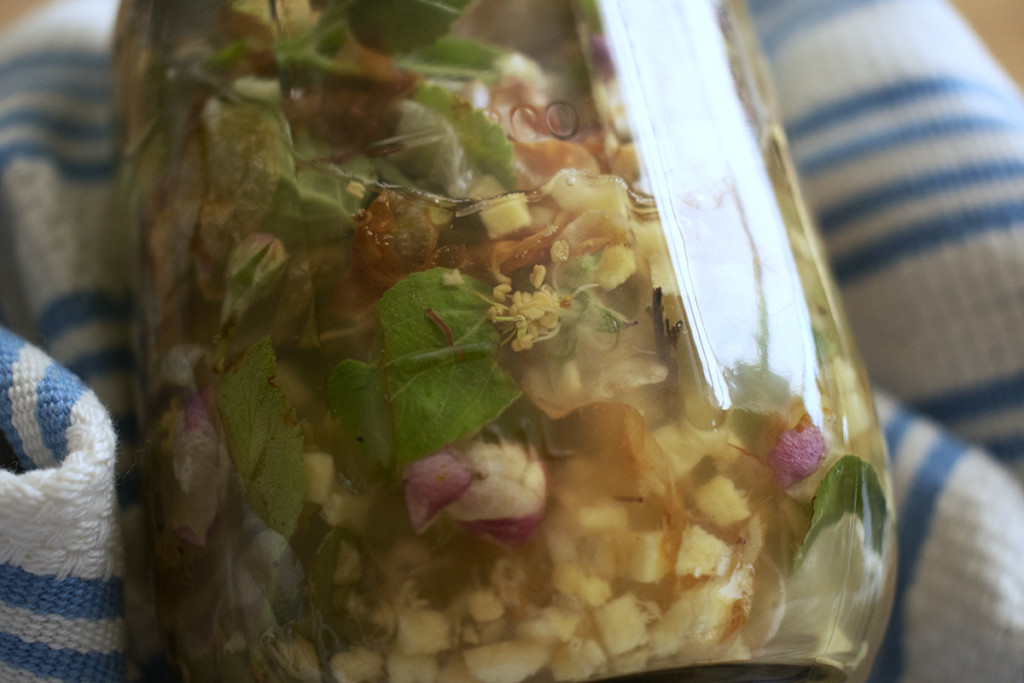
- Ginger – I always try to use organic ginger if I can. Organic ginger can simply be rinsed off well and grated with the skin on, and the skin has lots of the good yeast we are after. Non-organic ginger is often irradiated, so you should always peel it before using it. For that reason, if I am using non-organic ginger, I will usually add flower petals from whatever is in bloom to help add more naturally occurring yeast.
Why not try growing your own ginger at home? Often associated with tropical climates, you can grow ginger yourself with a few little tweaks.
Your equipment:
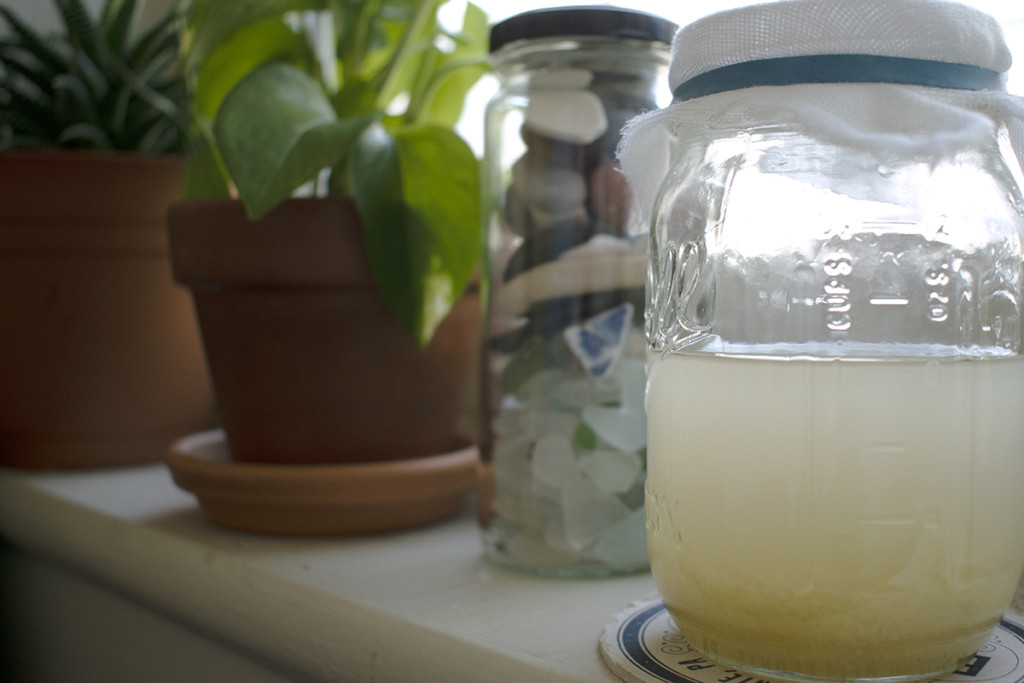
- A pint or quart jar to grow your bug in
- Cheesecloth or a paper coffee filter
- A rubber band
- A wooden spoon
- Grolsch-style bottles or clean, empty plastic soda bottles (1-liter club soda and tonic water bottles work perfectly!) Only use soda bottles if you are using a plastic bottle. Soda bottles can handle the pressure of carbonated beverages.
Whenever you are dealing with fermentation, you should avoid using metal where possible. It can affect the flavor and the fermentation process. Use wooden or plastic utensils and lids.
Starting a Ginger Bug
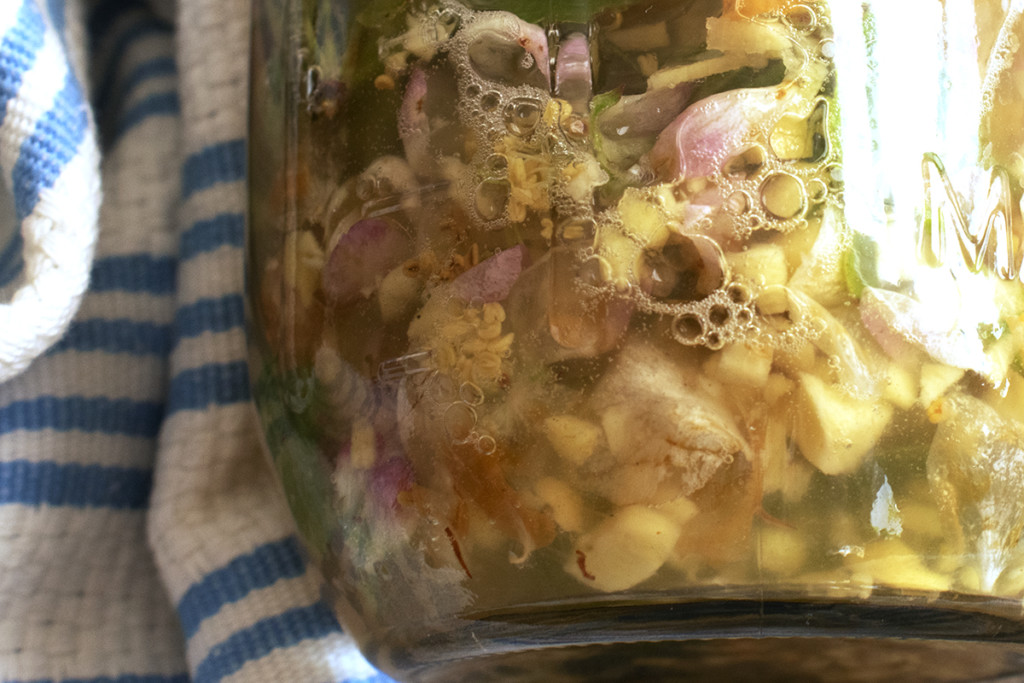
Peel your ginger if it’s not organic or rinse it thoroughly if it is organic. Finely chop or grate your ginger. You want as much surface area as possible for your yeast colony to grow on.
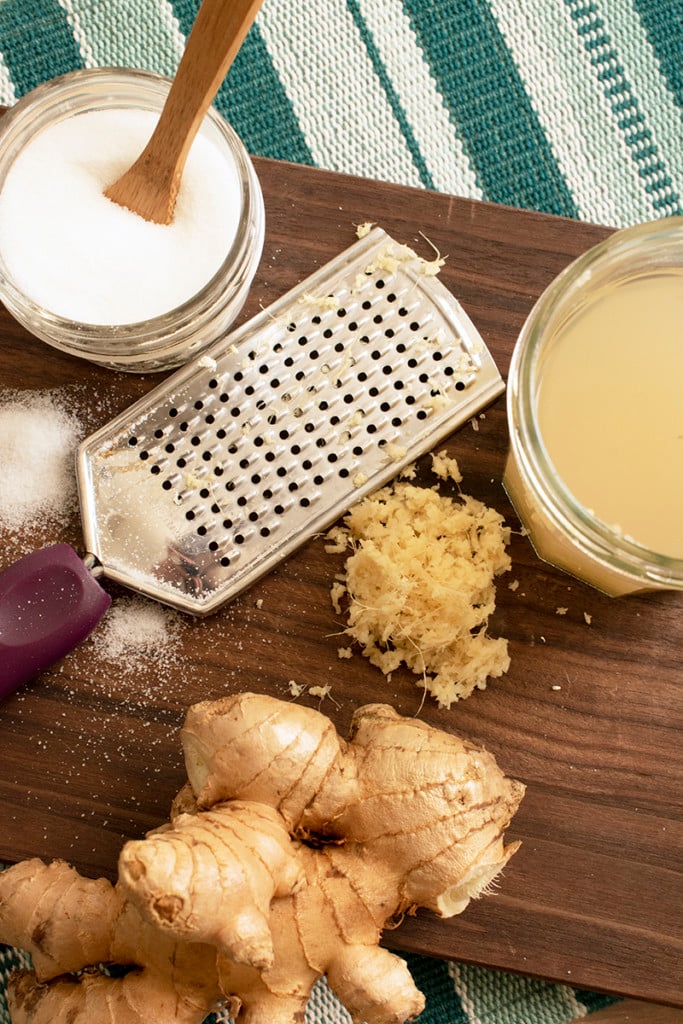
I prefer to use a Microplane or a small cheese grater. Add two tablespoons of ginger to your jar and two tablespoons of sugar. Top up the jar with 1 ½ cups of filtered water. Stir it all well with a wooden spoon to dissolve the sugar.
Now put a coffee filter or a bit of cheesecloth on the jar and secure it with a rubber band. Keep the bug in a warm place out of direct sunlight.
Over the next week, you’ll feed your bug one tablespoon of grated ginger and one tablespoon of sugar every day. Stir it whenever you feed it.
After a few days, you should begin to see tiny bubbles rising inside the jar, and the slurry will become cloudy. You’ll notice the bug fizzes when you stir it. This means you have happy little yeasties!
By day 7, your ginger bug should be ready to make soda.
If you don’t have a fizzy bug by day 9, dump it out and start again. Sometimes fermenting can be fussy.
Keep feeding your bug every day to keep it active and to use it for soda. If you want to take a break, you can store the ginger bug in your refrigerator. Just be sure to feed it one tablespoon each of ginger and sugar once a week.
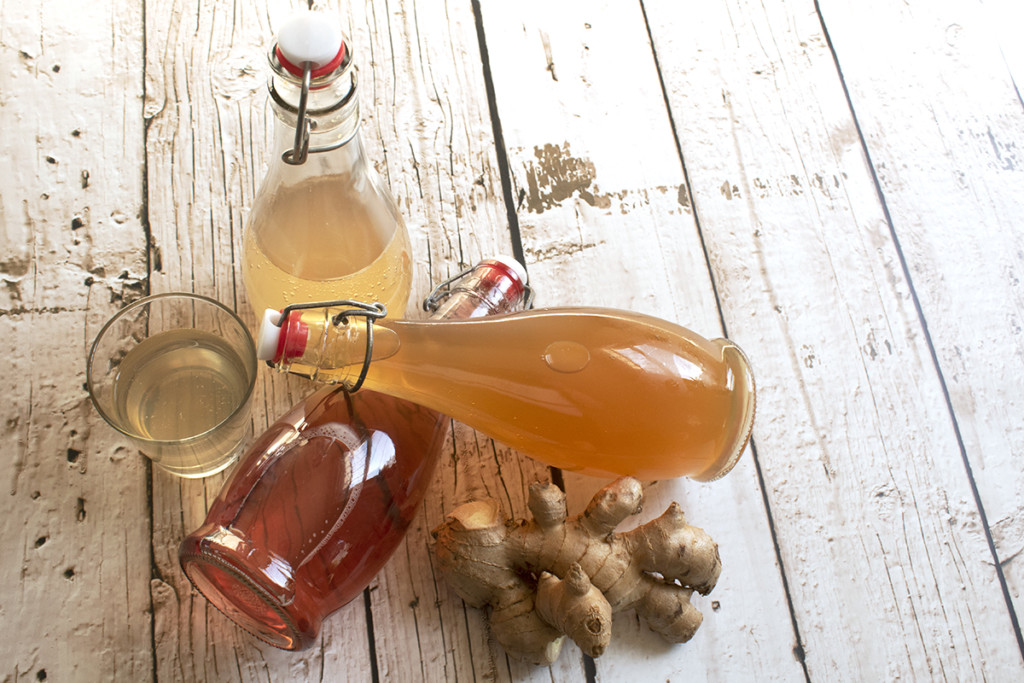
To Make Soda
In your Grolsch or soda bottle, pour 3 3/4 cups of cooled sweetened tea, fruit juice, or fruit/herb-flavored syrup and water.
Add 1/4 of a cup of ginger bug and then seal. Gently turn it upside down a few times to mix and then let it sit on your counter for 2-3 days.
Move your bottle to the fridge and let it sit for another 4-5 days to get a well-carbonated soda.
Enjoy your soda within three weeks of bottling, or it will slowly lose its fizz.
Add as much filtered water back to your ginger bug as you used to make your soda batch and feed it again. I try to let my bug ferment for a day or two before making another batch of soda if I’ve just added water.
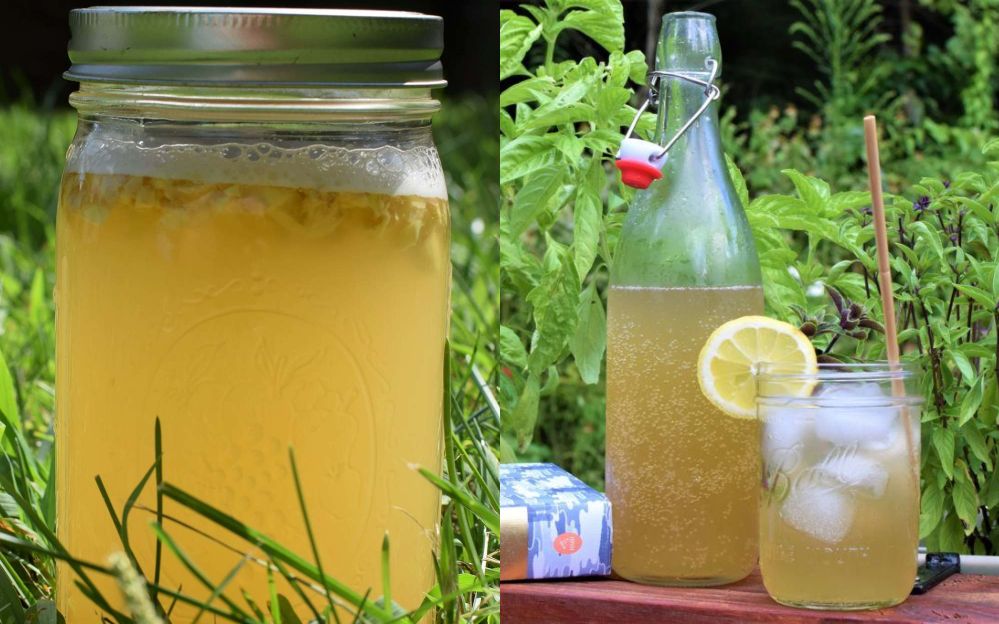
I love to use herbal tea blends to make homemade soda.
Some great combinations that I’ve made in the past were lemongrass and lavender herbal tea and lemon ginger herbal tea. Sweetened black tea also makes a great soda.
One of my kiddos’ favorites is lemonade mixed with a lavender syrup made into soda; it’s a perfect non-alcoholic brunch option too.
Flavored syrups can make impressive sodas.
Mix 1/3 cup of flavored syrup with 2 ½ cups of water before adding the ginger shrub.
Try out our lovely violet syrup for a great springtime soda. Or make a vinegar drinking shrub to make soda with. Alternatively, try making this wild bilberry, or blueberry, syrup.
If you make switchel, add a splash of the ginger bug to it. The bug will speed up the fermentation of your switchel and add a little extra zing.
A ginger bug is the perfect yeast starter when brewing a wild-fermented mead or cider.
Often, I will go for a walk and pick flower petals from whatever is in bloom to add to my ginger bug. Then once it’s good and fizzy, I will use the bug to pitch my mead or cider with. I love wild-fermented brews with all of that lovely local yeast.
Homemade soda is great for your gut.
Because the ginger bug is fermenting the naturally occurring yeast and bacteria that grow on it, you also get the added benefit of a probiotic boost in your soda.
Once you start making homemade soda, you’ll always be thinking of new flavor combinations to try. Often when I purchase an herbal tea, it’s because I want to try it as a soda, not sip a hot cup of tea.
Say goodbye to those sugary soft drinks filled with artificial sweeteners and flavorings and say hello to a summer filled with refreshing drinks made right on your counter.

Get the famous Rural Sprout newsletter delivered to your inbox.
Join the 50,000+ gardeners who get timely gardening tutorials, tips and tasks delivered direct to their inbox.