

Hey there Rural Sprout Readers; with spring in full swing, I thought it would be a great time to give you an update on my Garden Tower 2 project.
If you missed my first update where I talk about what the Garden Tower 2 is and my unboxing and setting up experience, take a look here.
Rooftop vs. Balcony
It’s been quietly hanging out in the corner of my den as I waited for the temperatures to rise and the snow to stop. (Of course, now that I’ve said that out loud, it will snow again.) I’ve been watching my sunlight on the balcony and the rooftop, trying to decide where would be the best place to set my tower up.
I decided it would get the most sun out here with my rooftop garden. Plus, it will get the added benefit of being watered whenever it rains.
Choosing a Potting Mix
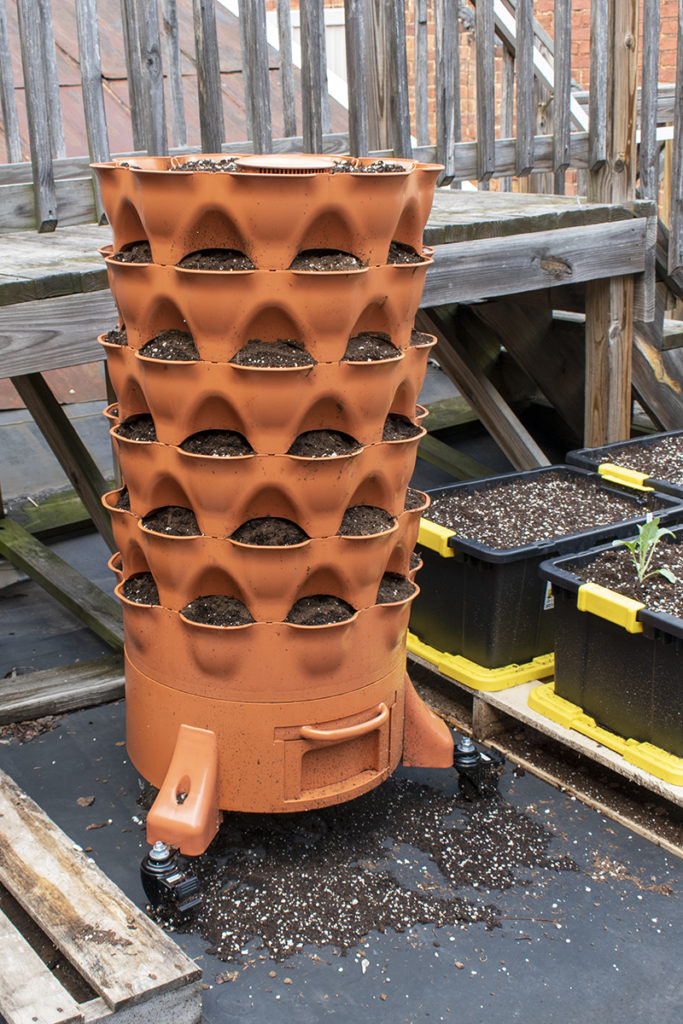
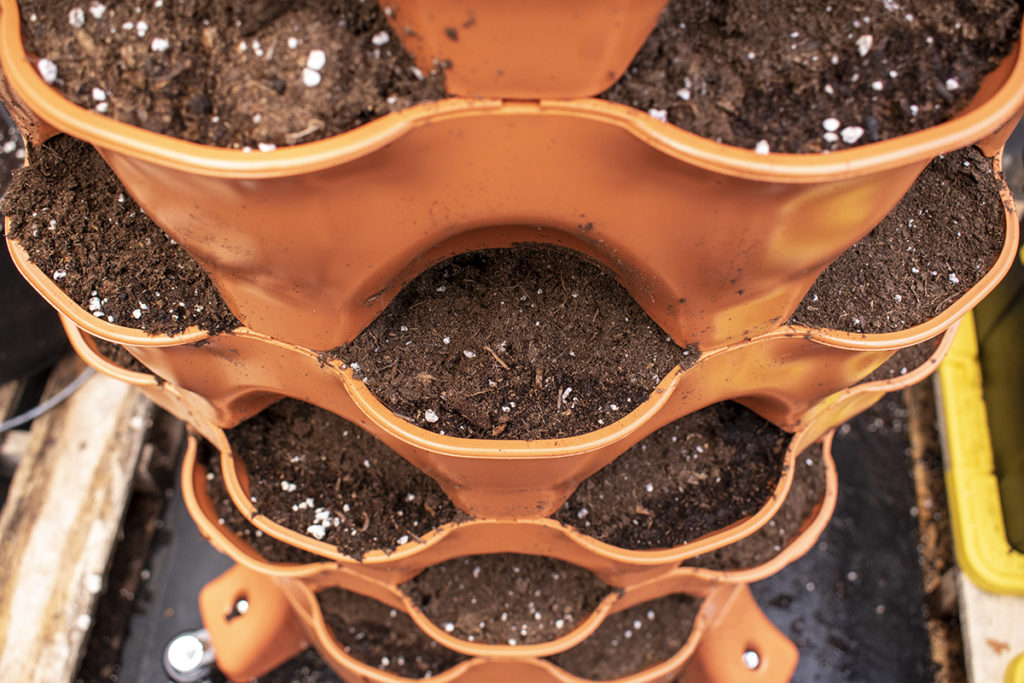
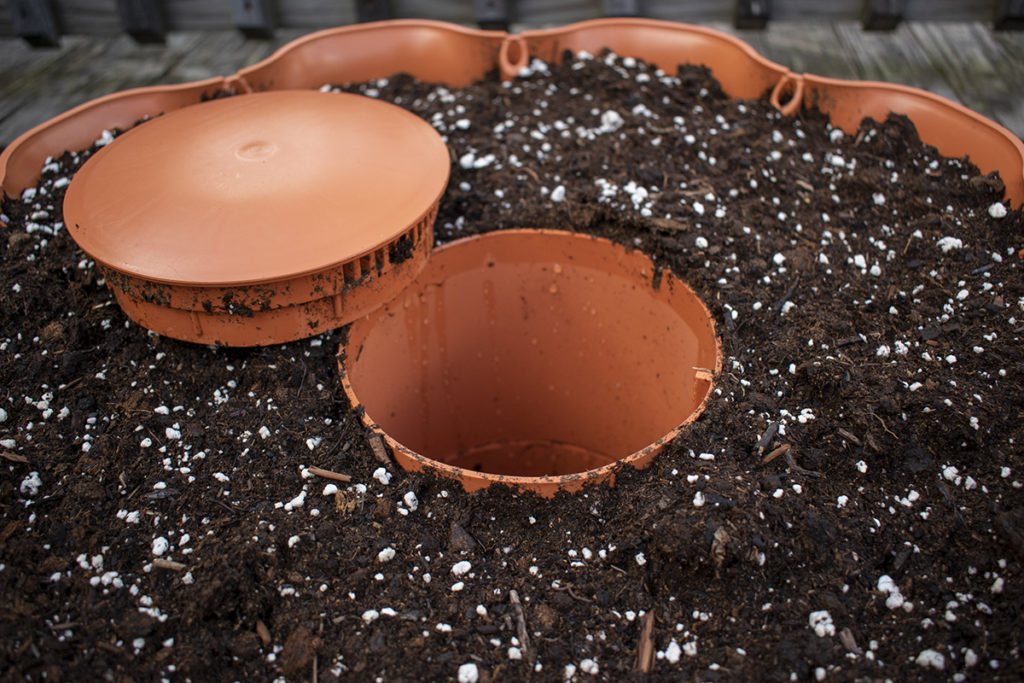
The folks over at the Garden Tower Project page recommend using a “fluffy” growing mix, so I chose to go with Lambert Organic All-Purpose Growing Mix. It’s definitely fluffy. They say the tower will hold between 6-8 cubic feet of growing medium.
I managed to get just under six cubic feet in my tower. The only thing I can think of that would cause such a discrepancy is the growing mix I chose has a high peat moss content, so it’s incredibly fluffy and light. If you were using a much heavier mix, you would probably need that extra two cubic feet.
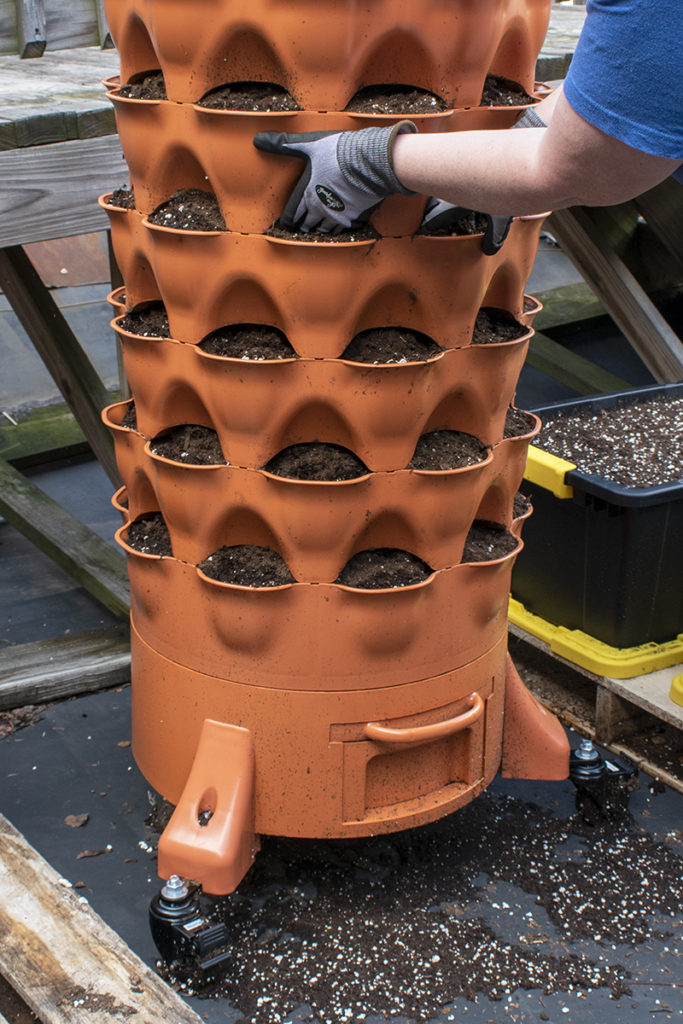
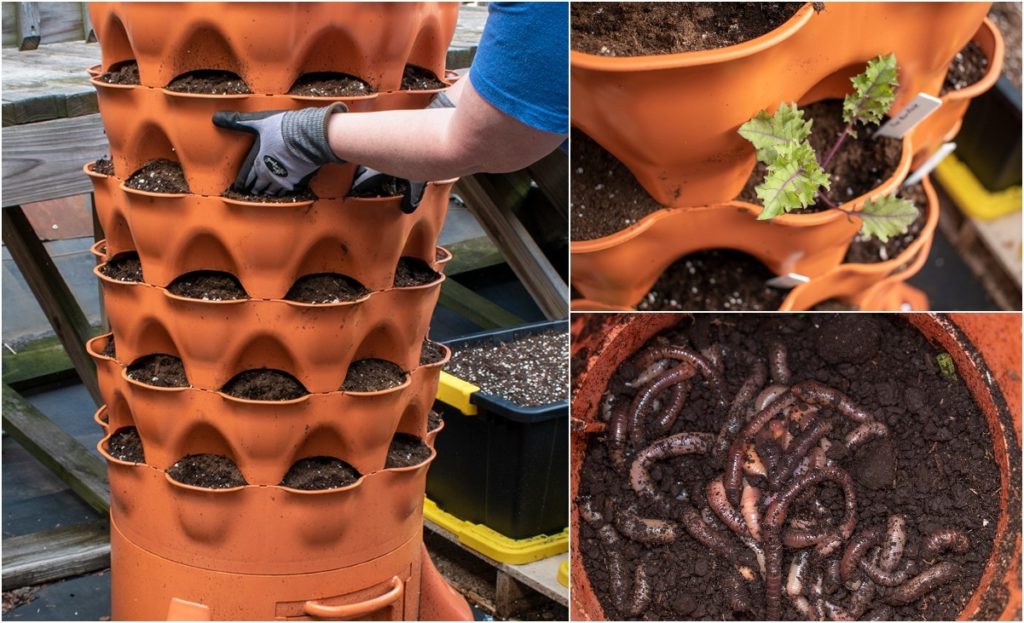
I followed their directions and alternated between pouring about two cubic feet of soil and then adding 3 gallons of water to help the soil settle down well into the tower. I ended up using my hands to reach up inside the pockets and help move the soil down from the rings above.
All in all, filling the tower with soil was pretty easy.
But because it’s me I still managed to spill quite a bit of potting soil.
My only complaint was the inner compost tower felt a little unstable as I was filling the tower. But the soil held it in place as I filled it. And it’s certainly not going anywhere now; it’s nestled in the middle of six cubic feet of growing medium.

And Then It Rained…A Lot
Because I chose a potting mix with a lot of peat moss in it, I knew it would take quite a bit of water for all of the soil in the tower to become saturated.
Lucky for me, mother nature came along and helped out with 48 hours of steady rain. Once the rain let up, I was ready to get some spring plants in.
I have been itching to put some plants in my tower.
I sat down a few weeks earlier and planned out what I was going to plant.
Put a Plant In It
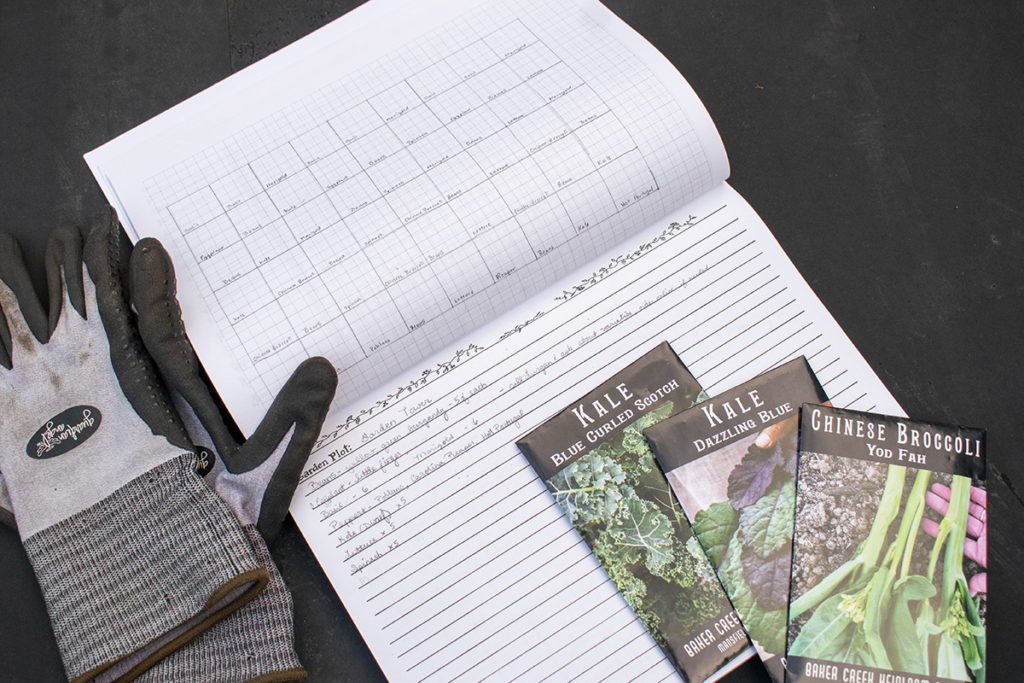
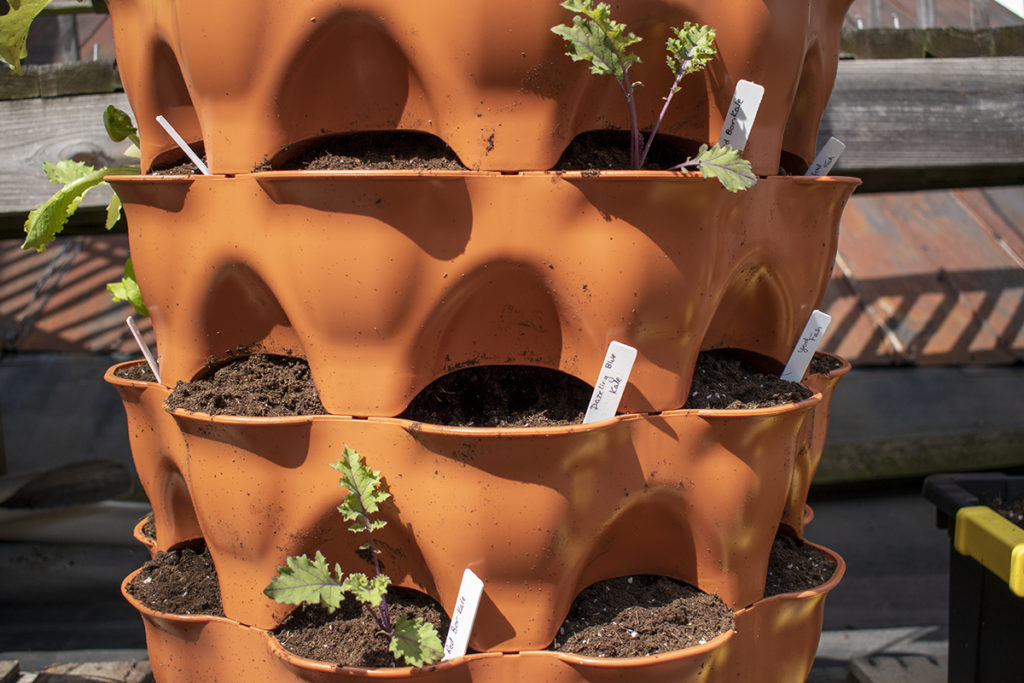
I’ve got a pretty decent mix of cool weather spring plants and summer plants planned. Once the heat kicks in this summer, I’ll pull the lettuces and replace them with more marigolds. Then I’ll harvest the flowers from the marigolds to make wine and put lettuces in again for the fall’s cooler weather.
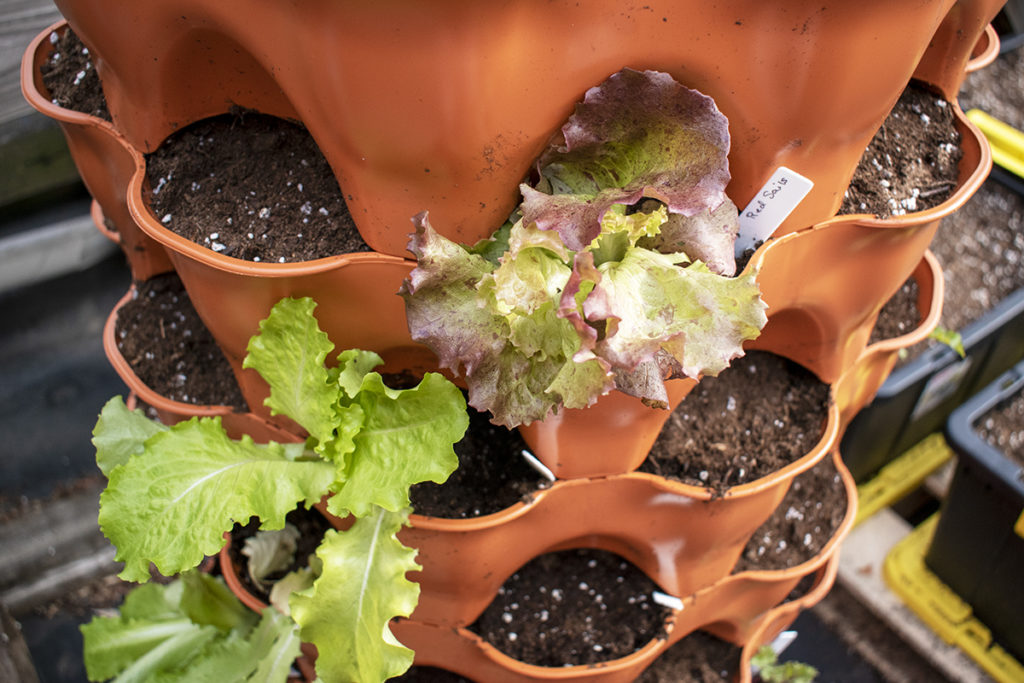
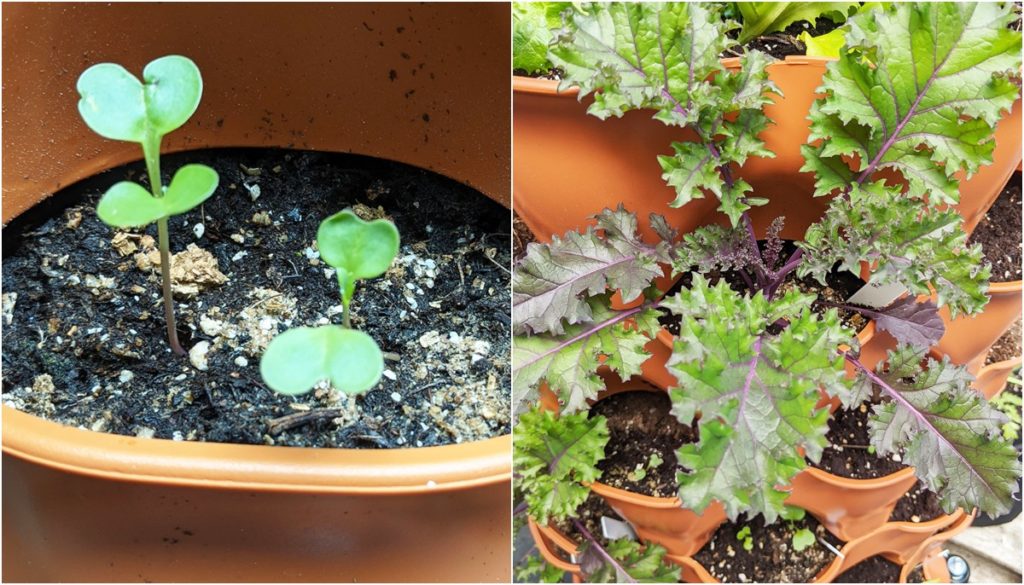
But for now, I’ve planted several types of cut-and-come-again lettuce, two varieties of kale, spinach, and some Chinese sprouted broccoli. Once we get past that all-important last frost date, I’ll be planting even more.
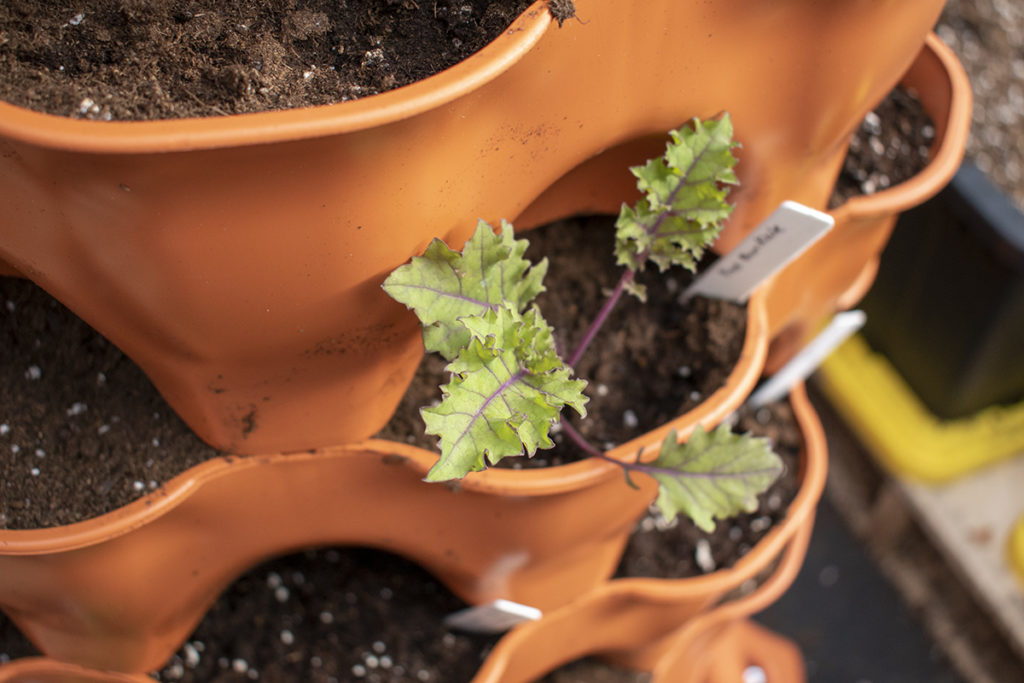
I was amazed at how easy it was to poke the seedlings into the dirt-filled tower. I just wiggled a bit of a hole in the dirt and gently pushed each transplant in on a slight diagonal.
Watering and Fertilizer
The Garden Tower Project page recommends watering the plants directly at the individual pockets. And if you’re planting seeds, spraying them with a spray bottle, so you don’t disturb them until they’ve germinated.
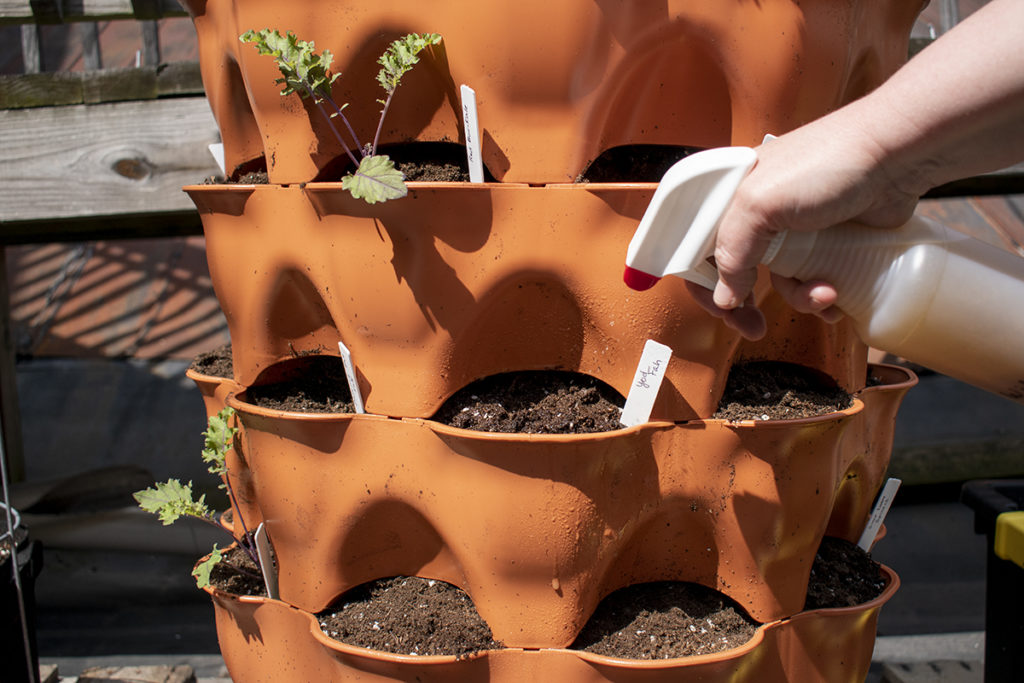
I decided to water my new transplants and seeds with a bit of fish emulsion added to the water. Since the vermicompost tower isn’t ‘functional’ yet, and my soil mix doesn’t have any added fertilizer, I figured my plants could use the boost.
Vermicomposting
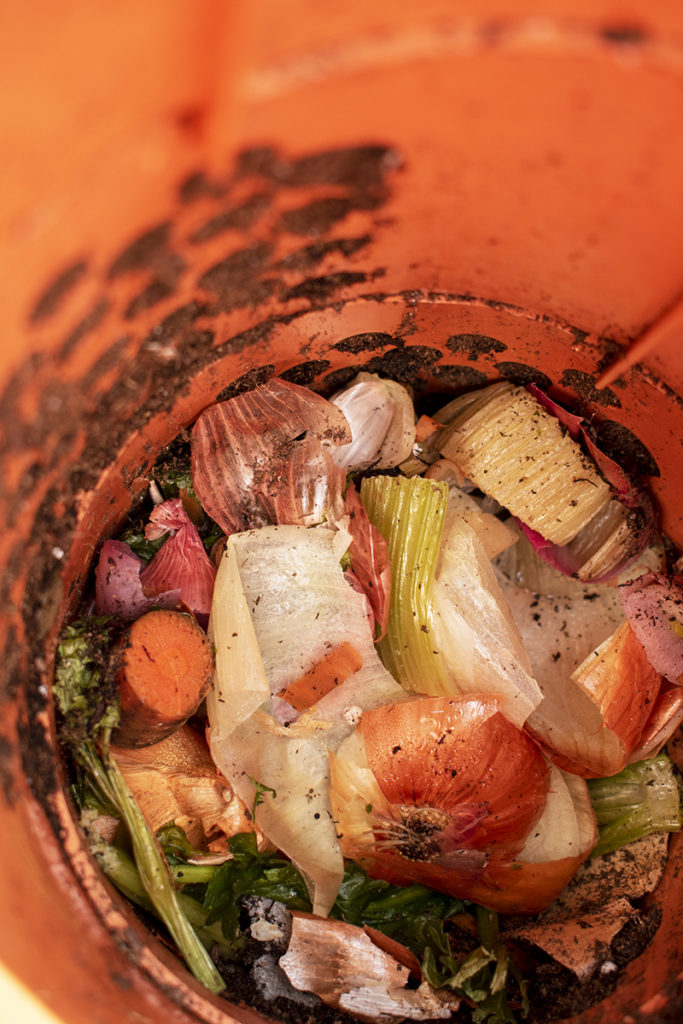
Once everything was planted, it was time to get my compost tower going.
It’s recommended that you fill the tube with at least 6-10″ full of kitchen scraps and then wait a week before adding your worms. This will give the scraps a chance to begin breaking down.
I added some ripped-up cardboard, toilet paper tubes, and some onion tops, carrot peels and celery tops I had from making soup.
This morning I added my worms – 18 nightcrawlers and 30 red wigglers. I don’t know that they were too thrilled about being dumped down a shoot in the dark, but they had a soft, squishy landing.
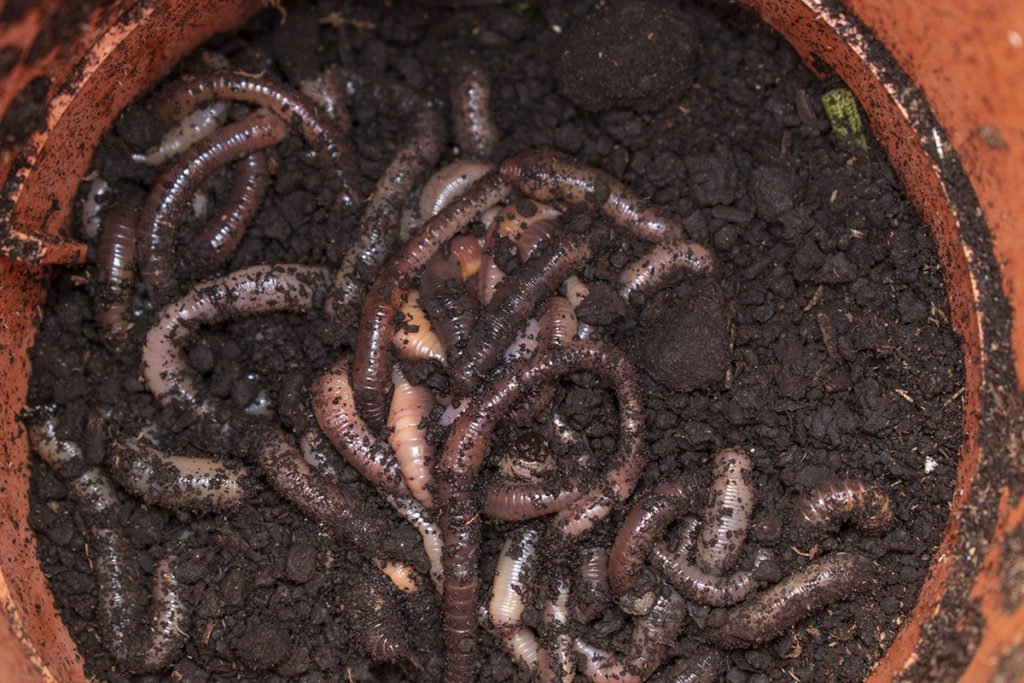
I checked on them again before sundown, and everyone had already tunneled down under all the scraps, so I think they’re pretty happy.
All in all, I’m pretty pleased with how things are going.
I’m seriously impressed with how solid this thing is. I was a little nervous about it being so tall with all of the soil. I was a tad concerned it would be top-heavy and the possibility of it tipping over, but it’s incredibly sturdy. You can tell it’s not going anywhere, and yet the base still turns easily to plant and water.
Everything about this has been easy so far. And I have to say it’s a lot of fun too. I like going out and turning the tower on its base and checking out my transplants.
Even my neighbor thought it was cool.
When I was filling the tower with dirt, she stuck her head out her kitchen window to ask about it.
If you’re thinking about getting one, you should give it a try. I’m looking around at my rooftop garden and all the space my containers take up, and then I have this great tower that takes up much less space and holds almost as many plants.
Amazing!
Stay tuned for my next update as I try out the Garden Tower 2.
Read The Next Instalment:

Get the famous Rural Sprout newsletter delivered to your inbox.
Join the 50,000+ gardeners who get timely gardening tutorials, tips and tasks delivered direct to their inbox.