

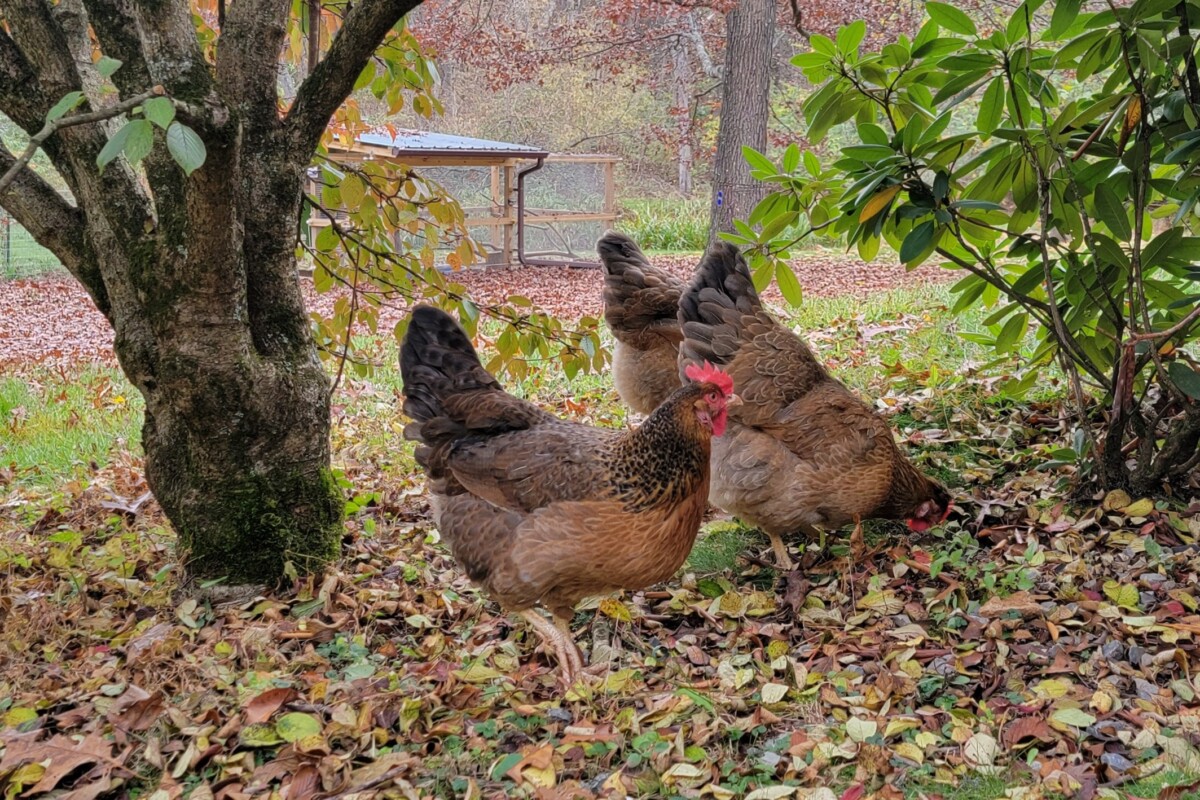
As fall moves into winter, chicken keepers face a seasonal shift — their hens are molting, and egg production slows or stops. Our chickens are molting so hard it looks like one of them exploded in the enclosure. Feathers everywhere!
One key strategy I take to support my small flock this time of year is fermenting chicken feed.
This method not only improves the nutritional profile of the feed but also bolsters the overall health of my hens.
Fermenting chicken feed offers multiple benefits, especially during a molt. While a slow-down of production is normal during the shorter days of the year, excellent nutrition can go a long way in molting recovery and encouraging egg production until spring.
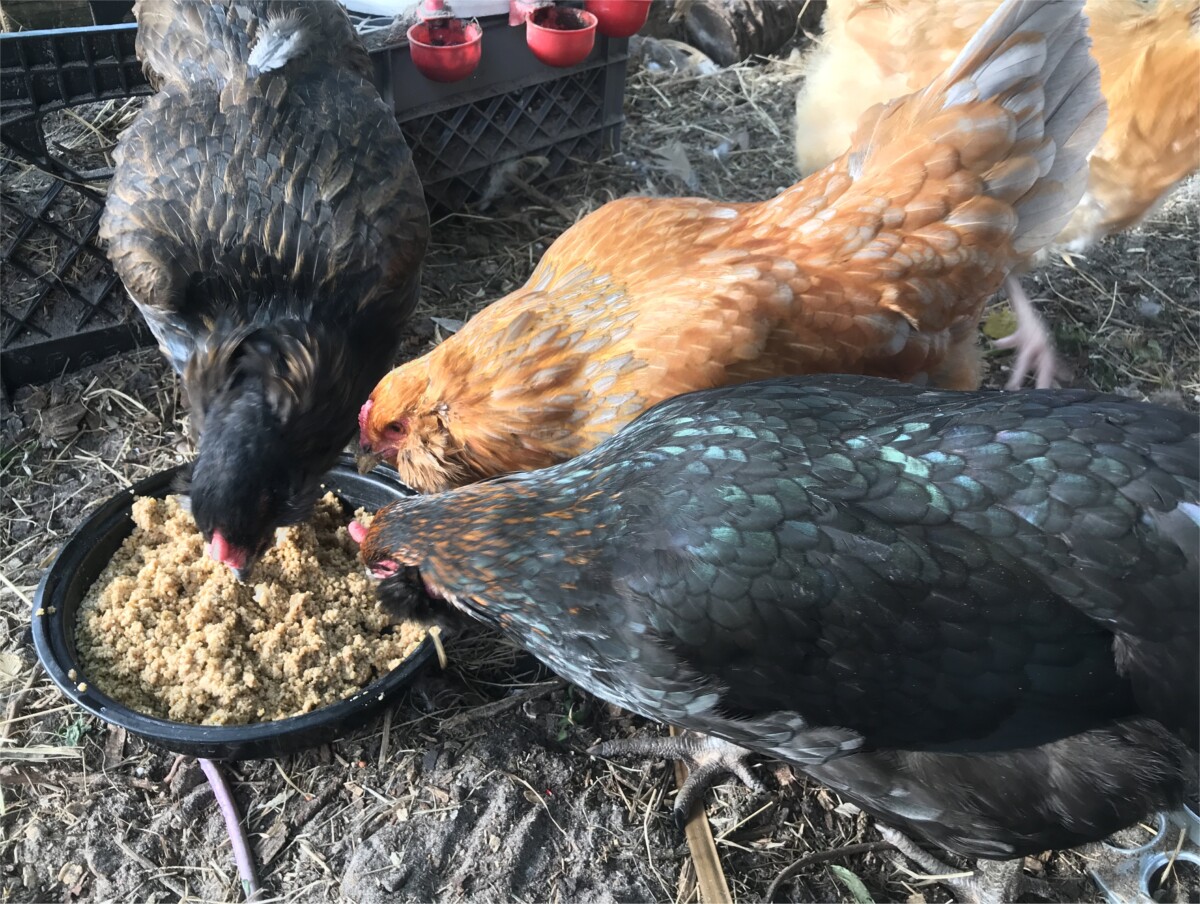
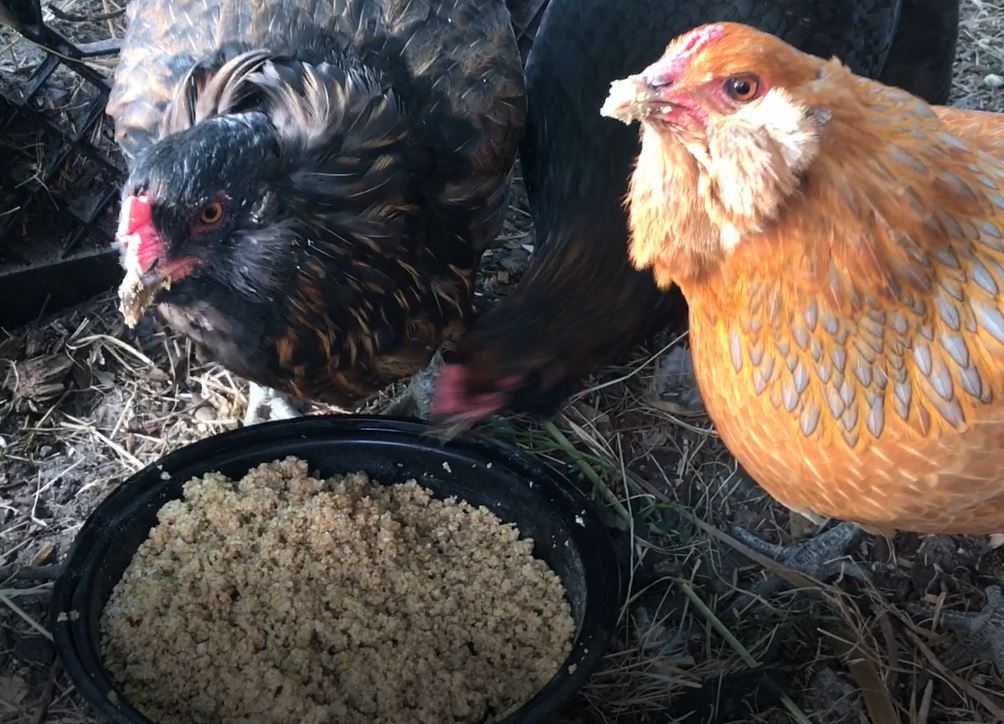
Besides, they absolutely love it! And watching a happy chicken devouring her breakfast is one of the small pleasures that make homesteading such a joyful life.
Why Fermenting Chicken Feed is Better for Your Flock
Fermenting chicken feed isn’t just a trend — it’s a scientifically backed method that can significantly enhance the health and productivity of your flock.
Here are some of the key benefits:
- Improved digestibility of feed
- Better gut health
- Stronger immune system
- Reduced anti-nutrients in feed
- Increased hydration
- Better egg quality
- Lower feed costs
- Less waste
- Better quality of life for hens
- Increased satisfaction for chicken keepers
How Do You Make Fermented Chicken Feed?
Before learning the details of why fermenting feed will benefit your flock, you may want to see all that’s involved.
Luckily, creating fermented chicken feed is a straightforward process. Here’s how you can do it, along with some tips for serving and storing it.
Supplies
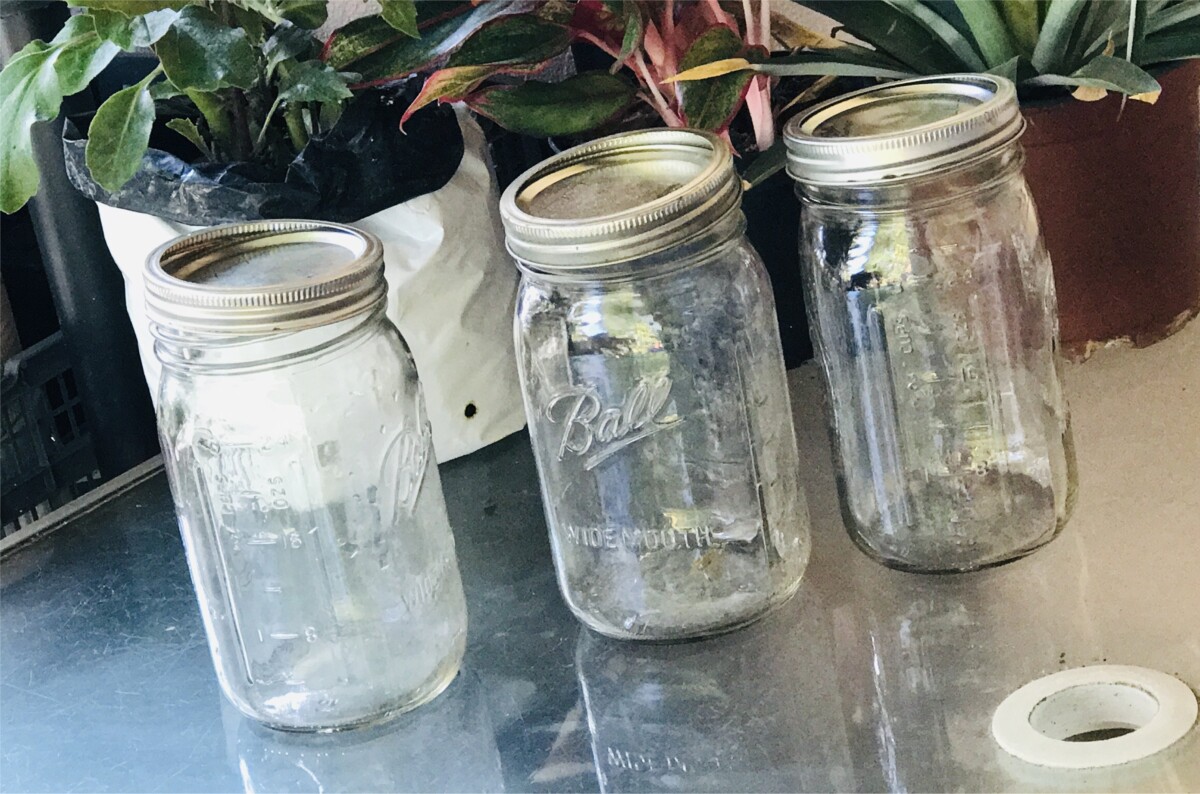
- Three (3) clean, food-grade containers that will hold at least ¼ cup of feed for each bird in your flock, plus water to cover by several inches. I only have five hens (by code), so I make their fermented chicken feed in quart-size, wide-mouth canning jars. If you have a larger flock, you may want to use a bucket.
- Covers for the containers that will allow in some air. I use mason jar lids but don’t screw them down tight. You can also use cheesecloth or some kind of mesh that will allow air in without also allowing in insects.
- Fresh, clean water, preferably dechlorinated. The chlorine or chloramine used to sanitize public water supplies can interfere significantly with the fermentation process. You can use rainwater if you have access to that, or fill a bucket with tap water and allow it to aerate for at least 24 hours. Chlorine usually degrades and dissipates in that time frame, especially in sunlight. Chloramine does not dissipate in such a short time but may be removed by a common household water filter.
- Some kitchen utensils, including a strainer, a bowl or pitcher, a large spoon, and feeding dishes.
- Chicken feed. You can ferment whole grains, layer pellets, or crumbles. If practical, I try to switch to a higher protein chick “starter/grower” feed or “feather fixer” during the fall and winter.
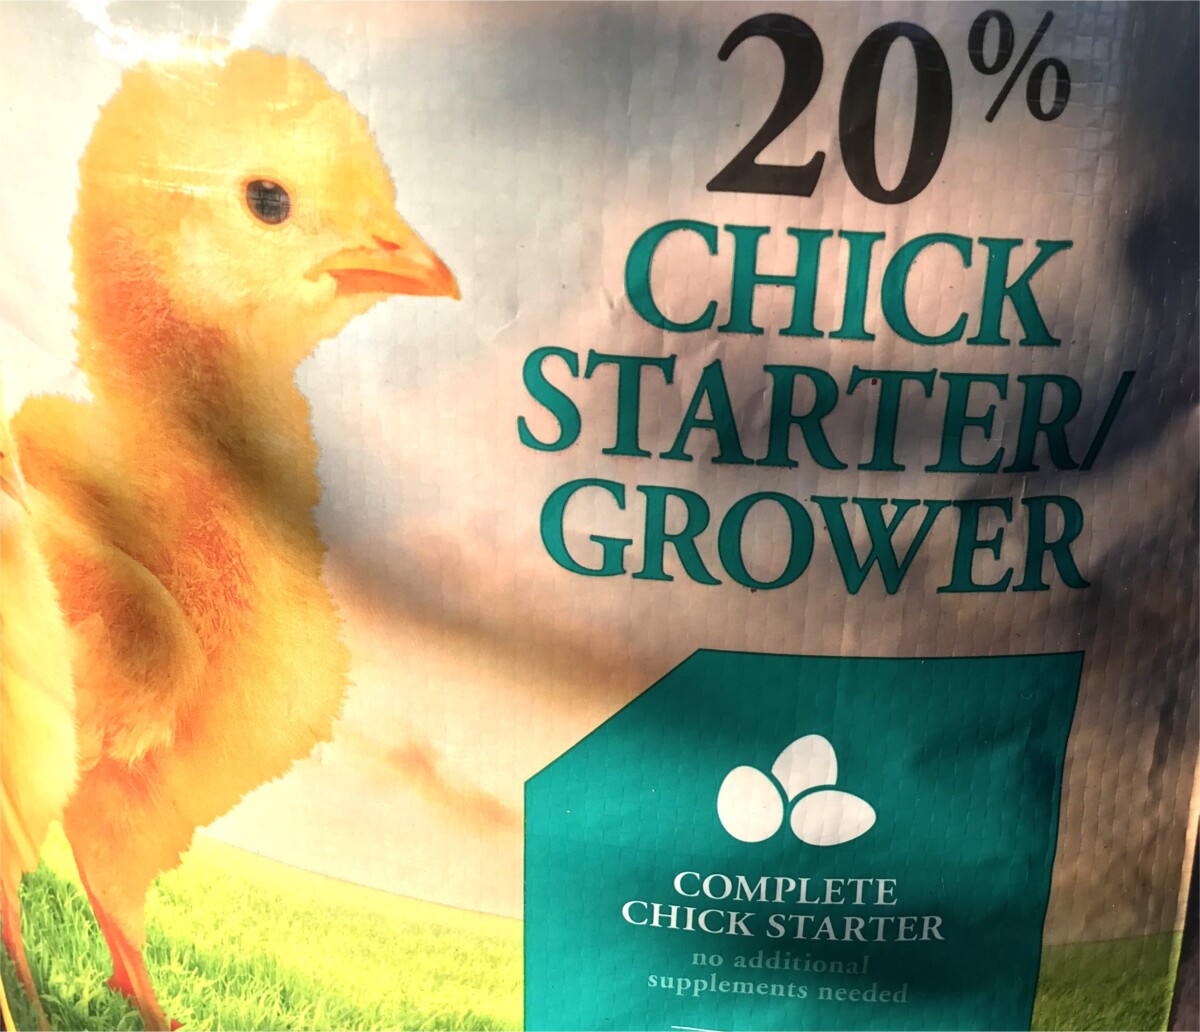
The cost is usually the same as layer feed, but they contain significantly more protein. I also make sure they have a self-serve oyster shell and eggshell feeder at all times. This compensates for the lower levels of calcium found in chick feed.
Instructions for Fermenting Chicken Feed
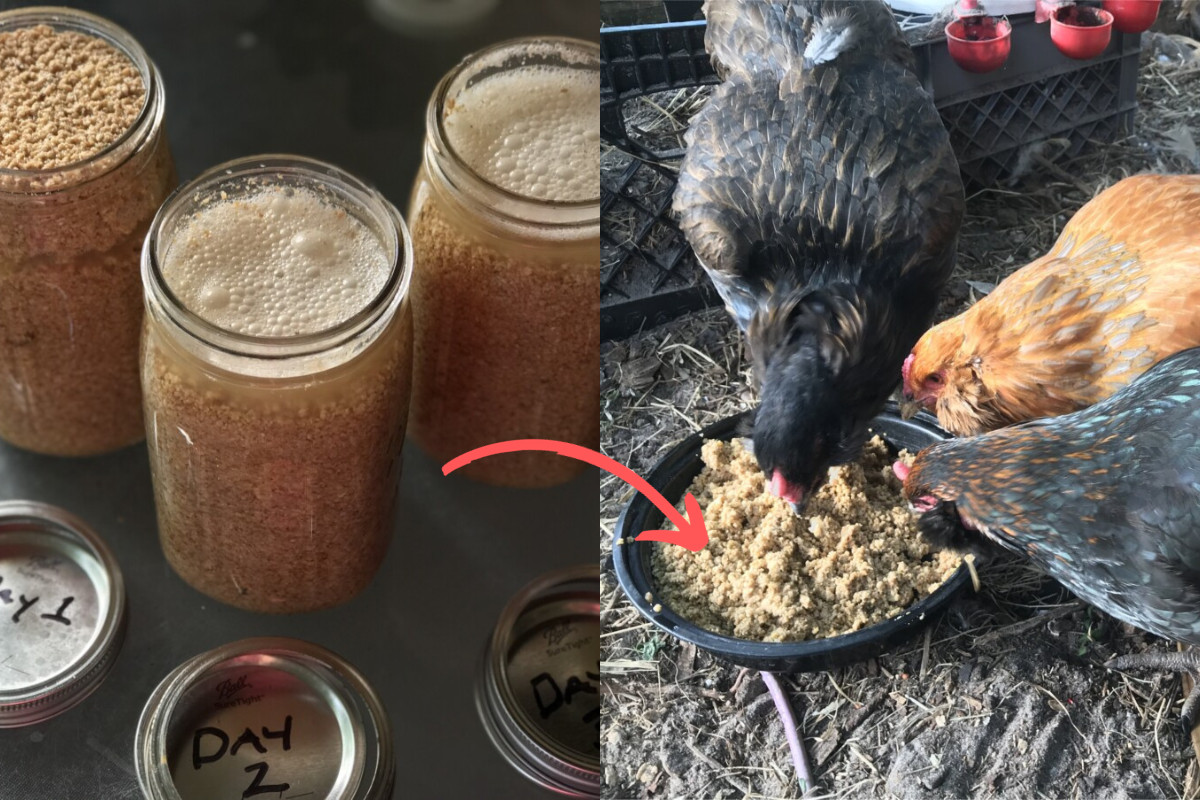
You’ll begin by starting three jars of fermented feed over the course of three days so you can observe your flock and learn how much they will eat.
You’ll also help them get accustomed to the new feed by starting with soaked food at first and then adding the fermented feed over the coming days.
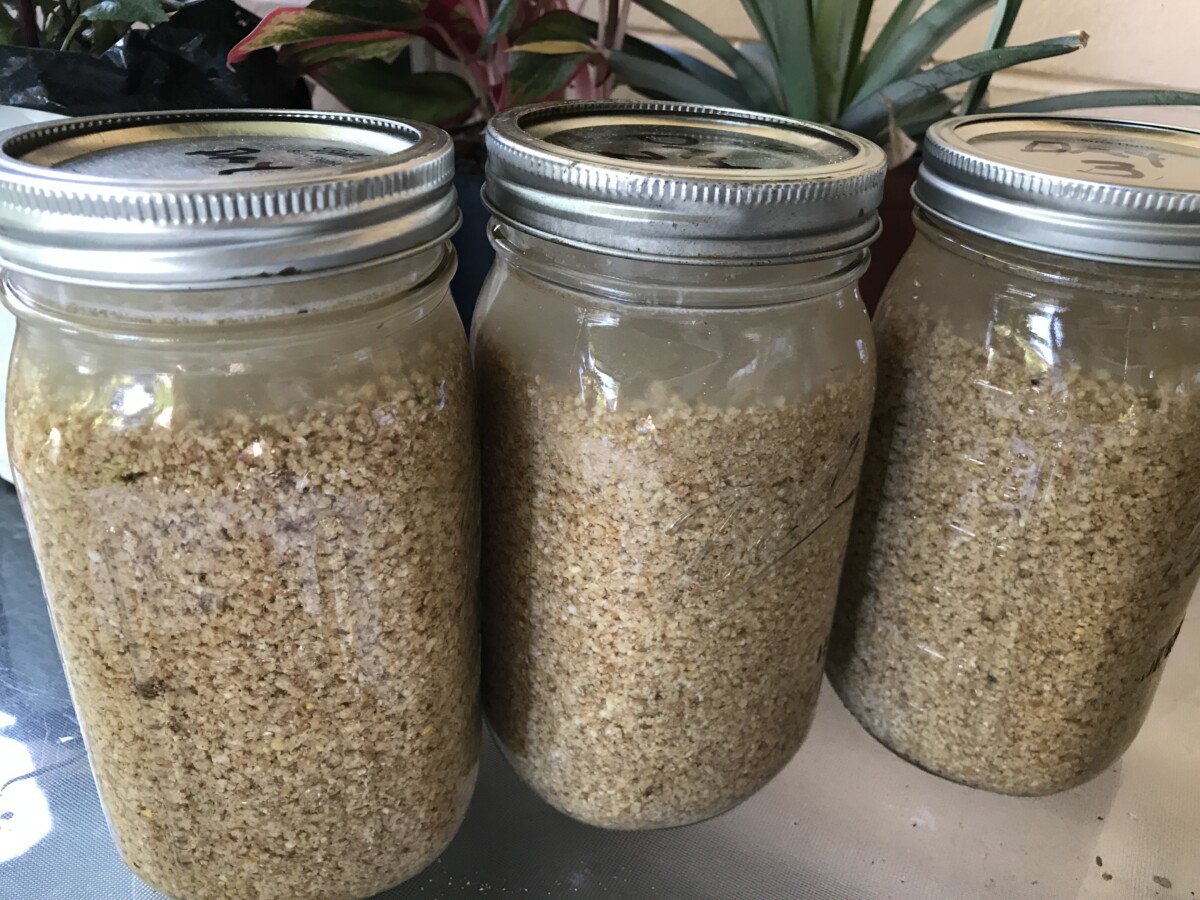
Using a three-container rotation is a good starting point to learn how much feed to use and how long it will take for the feed to ferment.
- Start by filling all three containers with a small amount of your chicken feed. Make sure you leave enough room to cover all of the feed with water.
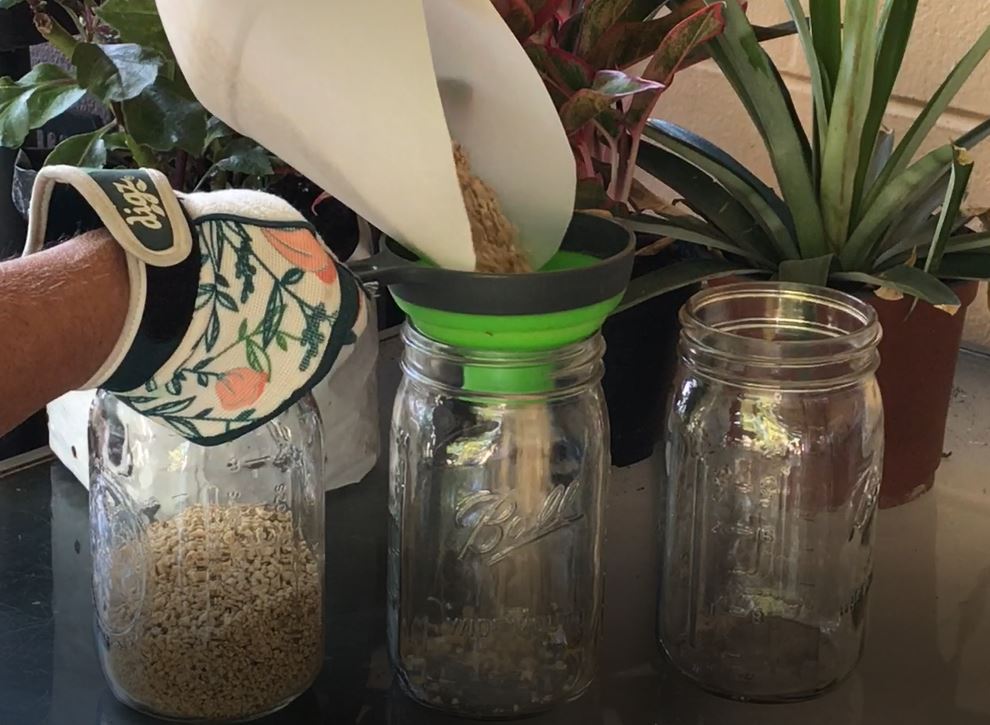
Pro-tip: Start with a minimal amount of feed to start. Don’t use more than a couple of tablespoons of feed for each chicken when you first start fermenting your feed. This reduces waste while you observe and learn how much your girls will consume.
- Add enough water to completely submerge the feed, plus an extra couple of inches to account for absorption.
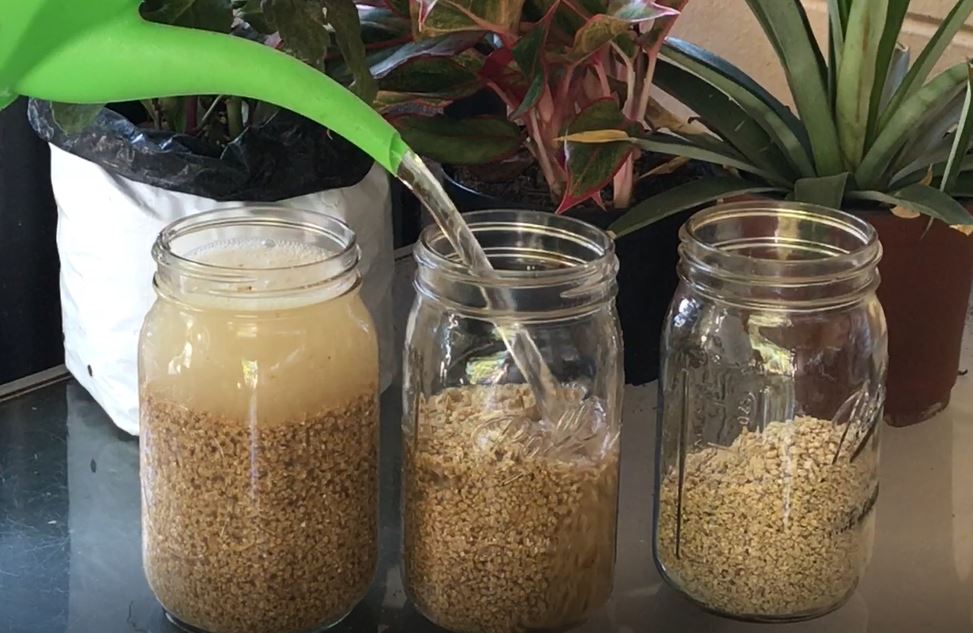
- Stir the mixture thoroughly to ensure all feed is wet in all three containers.
- Cover the containers with breathable covers or set the jar lids on top without tightening them to allow gases to escape but keep contaminants out.
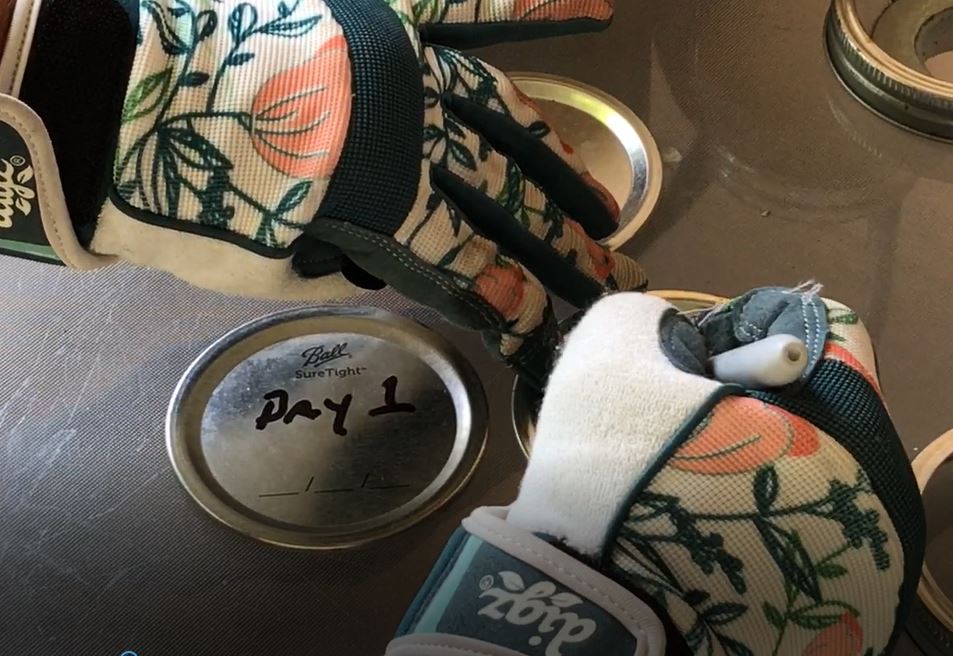
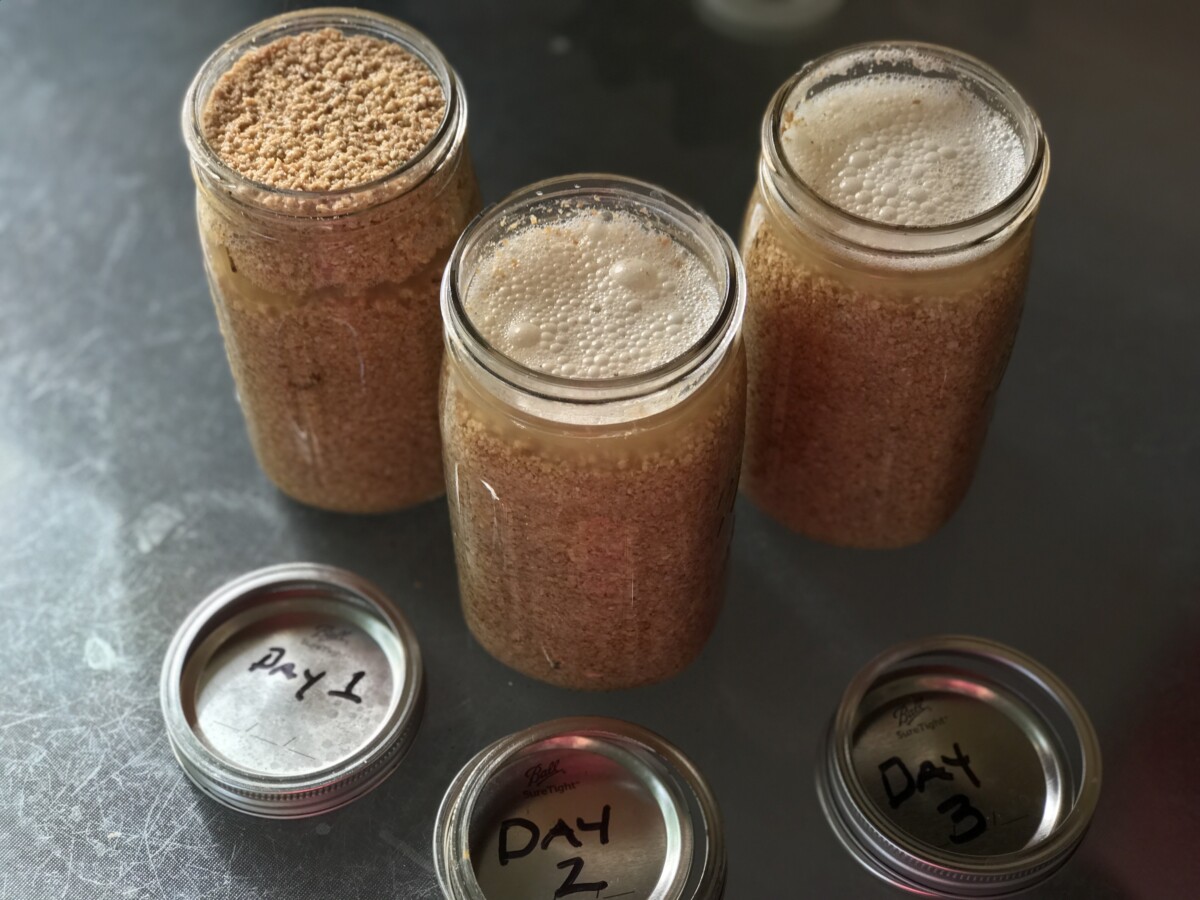
- Mark them Containers #1, #2, and #3.
5. Check back after a few hours to ensure that all of the feed is still covered. It will bulk up as it absorbs the water, so you’ll need to make sure it remains completely covered to prevent bad bacteria from invading the feed.
6. Stir the mixture once or twice a day.
7. After 24 hours, open the containers and check the process of fermentation. If there are bubbles forming on the surface of the water, that means that fermentation has started.
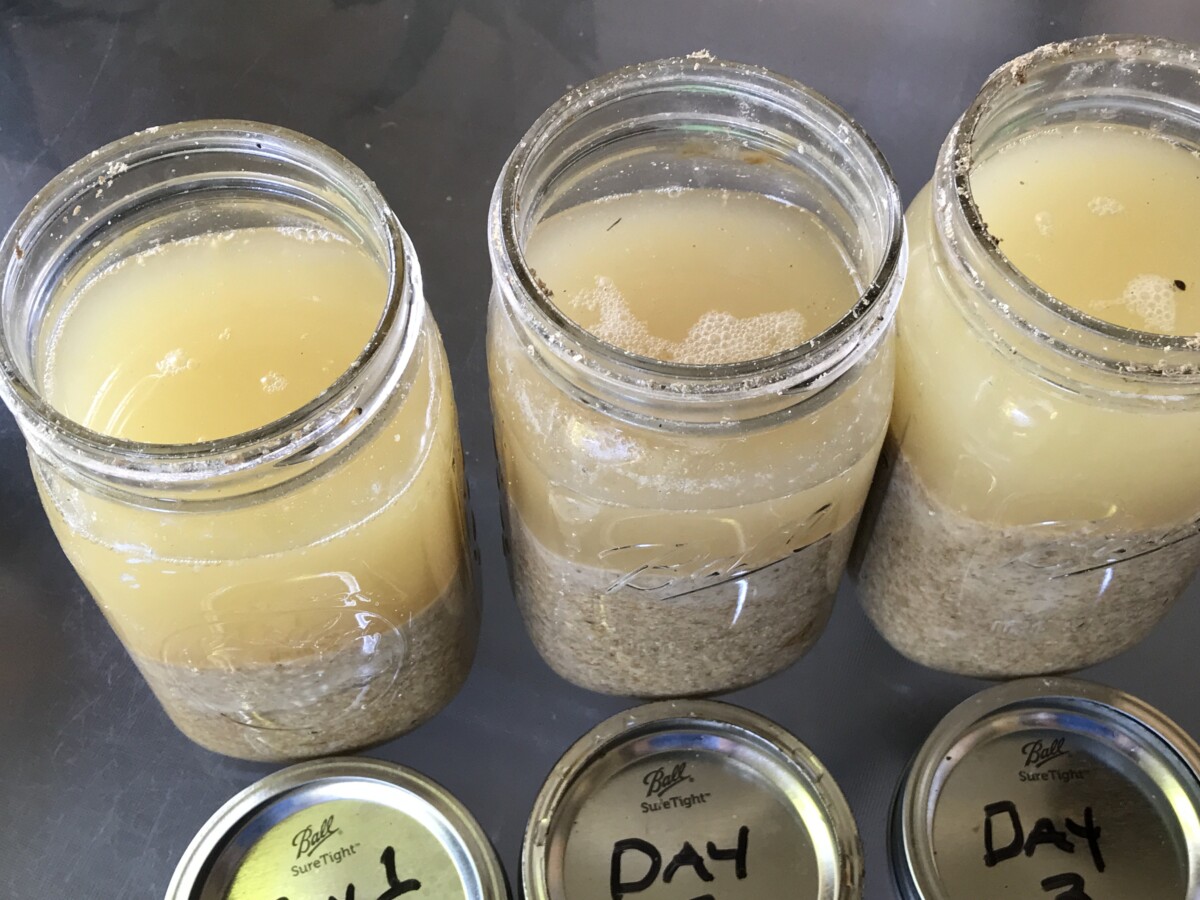
- The feed is ready when it has a slightly sweet-and-sour smell and a small amount of bubbling. I have had some batches fermented in one day during the heat of summer, but usually, you won’t see much, if any, activity after only 24 hours.
- However, to help your chickens transition to this new feeding routine, you’re going to feed them from Container #1 after 24 hours.
- Strain the contents of Container #1 thoroughly while collecting the liquid in a bowl, pitcher, or bucket. Give it time to drain completely, as it is much easier for them to eat if it isn’t too soupy.
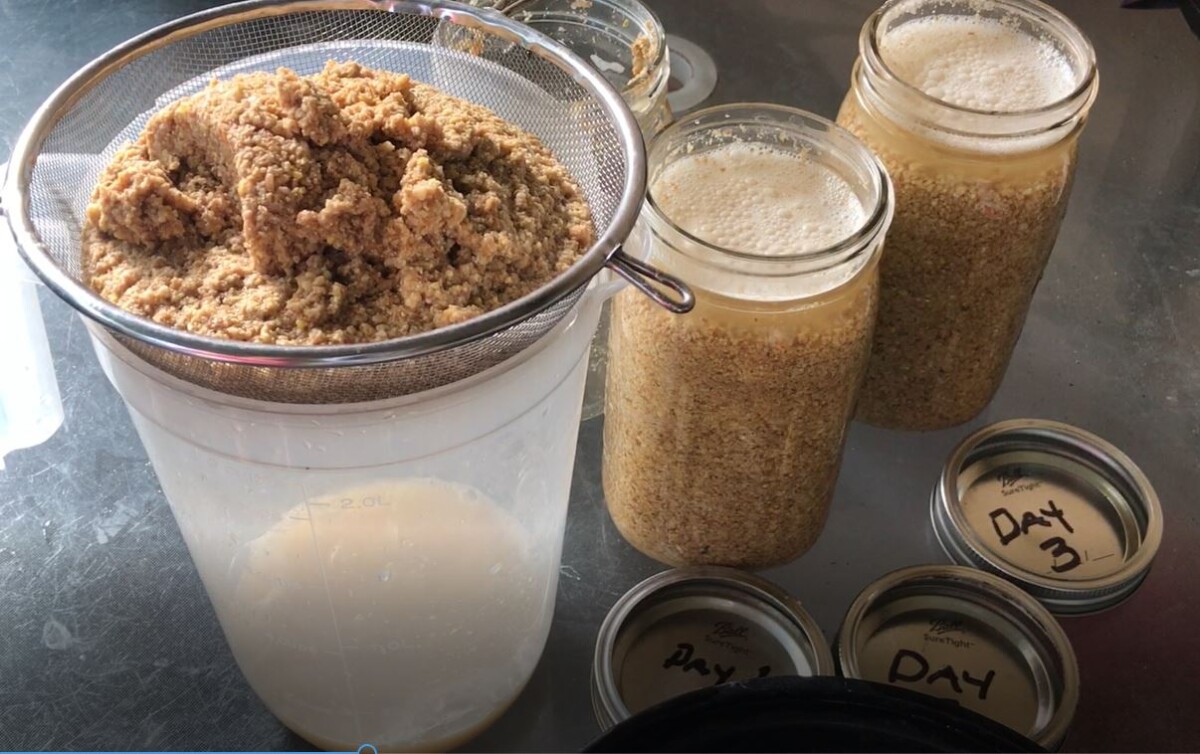
In fact, I sometimes add a bit of dry feed to the soaked feed to improve the texture.
- Once drained, you can feed it to your chickens in a clean feeder or pan.
You only want to feed your chickens as much as they can eat in about 20-30 minutes. Even during the colder months, you don’t want excess food sitting out, getting spoiled, and attracting pests or bears.
- Add another serving of chicken feed to Container #1 and cover it with the water you drained earlier. This water works like a “starter” for the next batch you make. Then, add more dechlorinated water to cover. Make sure you check Container #1 in a few hours to ensure the feed is fully covered after swelling.
- On day two, it’s time to check all three containers again. Again, look for signs of fermentation. Usually, this takes three to four days, but depending on the ambient temperature, it’s possible to reach a good ferment point in only two days.
- This time, you’re going to strain Container #2 and feed it to your hens. Afterward, refill Container #2 with feed, the strained water from before, and top off with clean dechlorinated water as needed.
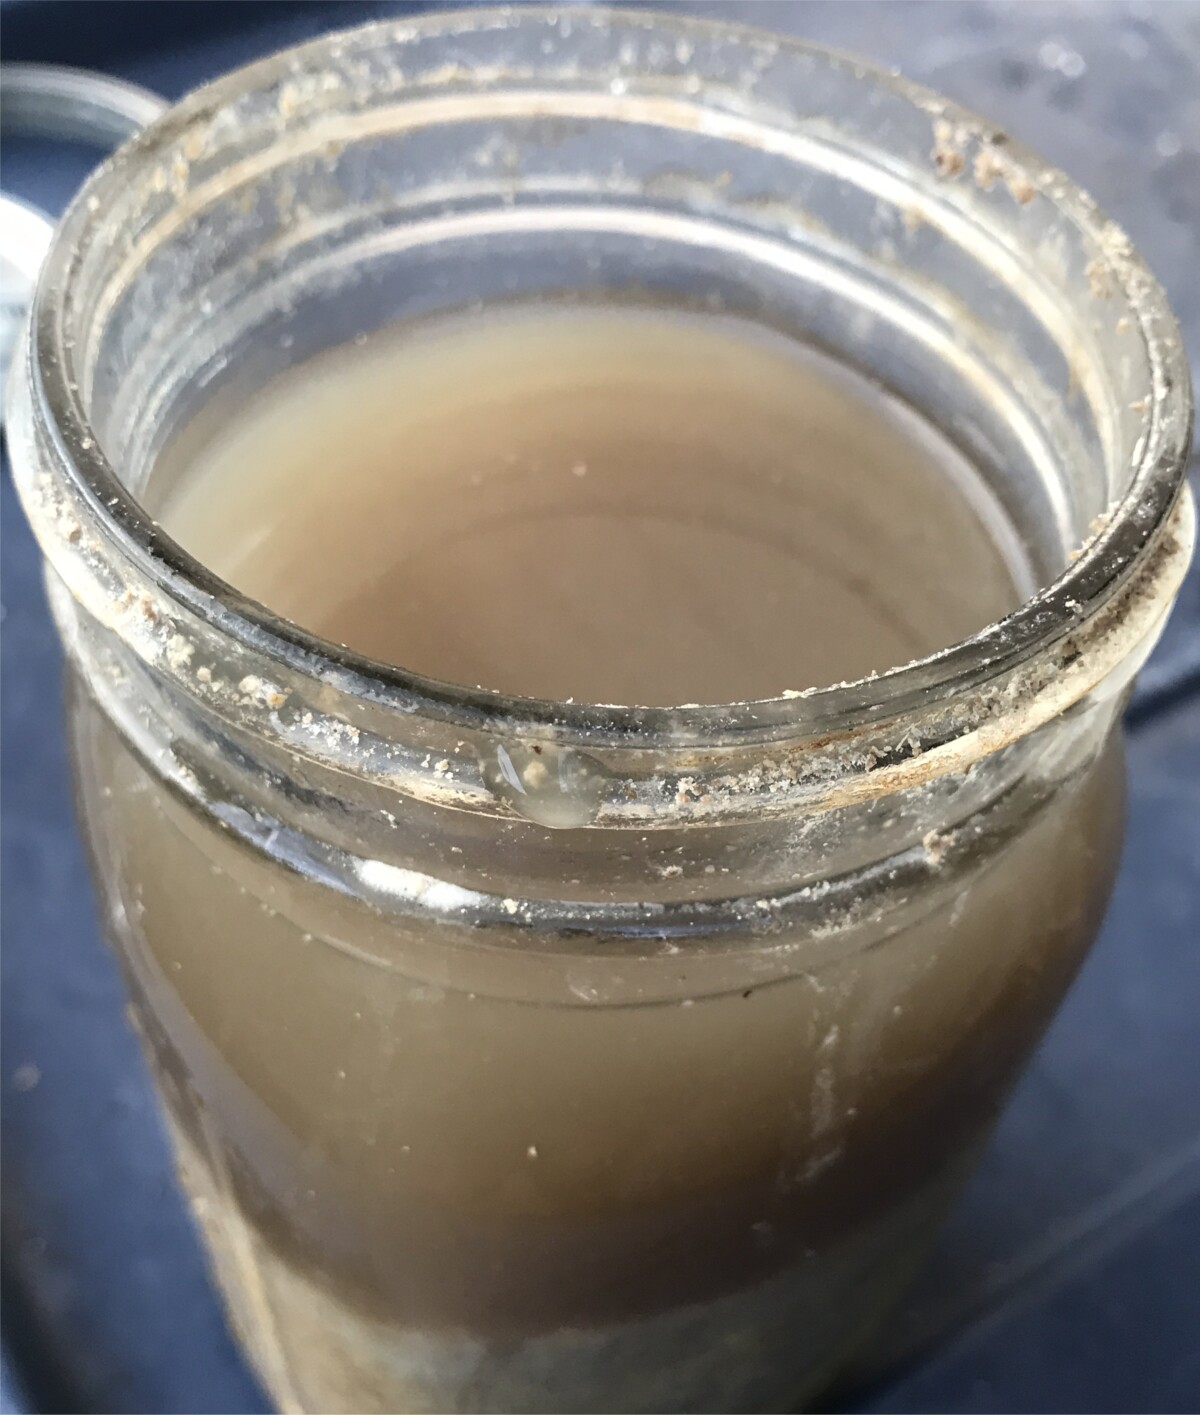
- On day three, you’ll also be checking fermentation in all three containers. You should have reached the fermentation stage in Container #3 at this point. The mixture will be bubbling, maybe even frothy, and have a sweetish-sour odor.
Check for mold or any discoloration. There may be a patch of light “fuzz” on top, which is safe as long as it is light beige or gray in color. Remove it with a spoon and strain out the feed in Container 3 for your hens.
If there are any dark spots or the mixture is a dark color or smells rancid, toss it completely. Wash the container with hot soapy water and allow it to dry. Move on to Container #1.
Learning About Fermenting Chicken Feed
After three days, you may have learned how long it takes to reach fermentation under your current conditions.
If you don’t feel you have reached a significant point of fermentation in three days, you may wish to add another container to the rotation.
You may also want to move your containers somewhere warmer to accelerate the process.
However, if you find that Container #3 has spoiled, you may want to stick with using only two containers.
You can also start each batch with fresh water each time to slow down the fermentation process.
I’ve found that in my subtropical climate, feed will ferment almost overnight during the hottest months of the year. In the summer, I only use one jar!
You may only want to supplement with fermented feed once a week, so they view it as a treat. However, starting with a three-day rotation can help turn it into a healthy daily habit for both you and your hens.
General Fermented Feed Tips
If you’ve made a large batch, you can store the extra in the refrigerator to slow down further fermentation and preserve it longer. Ensure the feed remains submerged in liquid during storage and use it up within a week for the best quality.
You can start with a small batch to experiment and see how your chickens respond.
I’ve found that my girls sometimes get tired of it, so I may skip using fermented feed for a few weeks.
Make sure you maintain cleanliness throughout the process to prevent harmful bacteria growth.
Adjust the amount of feed and fermentation time based on the size of your flock and environmental conditions.
In cold weather, keep the fermenting feed in a warmer spot in your house to maintain the fermentation process.
Nutritional Benefits of Fermented Feed
(Our editor’s Bielefelders.)
Now that you know what’s involved in the process, you may be interested in a deeper dive into the benefits.
Fermenting chicken feed significantly improves its nutritional profile, offering many benefits for your backyard flock:
Reduces Phytic Acid and Enzyme Inhibitors
Fermentation breaks down phytic acid and enzyme inhibitors in grains and seeds. This makes essential minerals like iron, phosphorus, and zinc more bioavailable. In turn, this leads to stronger bones and better overall health in your chickens.
Probiotics and Immune Health
The beneficial bacteria, or probiotics, during fermentation are important for a healthy gut. This helps boost the immune system, making your birds more resilient to diseases and stress.
Improved Digestion and Nutrient Absorption
Fermented feed, being partially pre-digested, enhances the bioavailability of nutrients. This results in improved growth, higher energy levels, and better health. Better nutrition helps chickens efficiently convert that feed into egg production.
Enhanced Protein Quality
Fermentation improves the quality of protein in the feed by making essential amino acids more available. More digestible protein helps them recover from a molt and get back to egg production quicker.
Vitamin Synthesis
The fermentation process can increase the levels of B vitamins, including B12, which are essential for energy metabolism and red blood cell formation in chickens.
Reduction of Anti-Nutrients
Fermentation reduces anti-nutrients like tannins and lectins, which interfere with nutrient absorption and digestion. This improves the overall nutritional value of any chicken feed.
Better Hydration
The higher moisture content of fermented feed aids in keeping chickens well-hydrated. Laying hens require extra water for egg production. And keeping them well-hydrated is critical in my region, where temperatures can hit 90°F (32°C), even in winter.
Reduced Disease Risk from Feed
Fermentation lowers the risk of harmful bacteria and parasites in the feed, contributing to a healthier gut and reducing the likelihood of gastrointestinal diseases.
Happier Chickens
Most backyard chicken keepers and homesteaders consider their flock to fall somewhere between family pets and farm employees. The quality of life we can offer our chicken friends is part of what makes homesteading so pleasurable.
So, it’s worth noting that fermenting chicken feed can substantially reduce stress and aggression in your flock. A study from SARE (Sustainable Agriculture Research and Education ) noted less digging, fighting, and egg hiding in hens fed with fermented feed.
Related Reading: How to Grow Fodder for Chickens and Rabbits
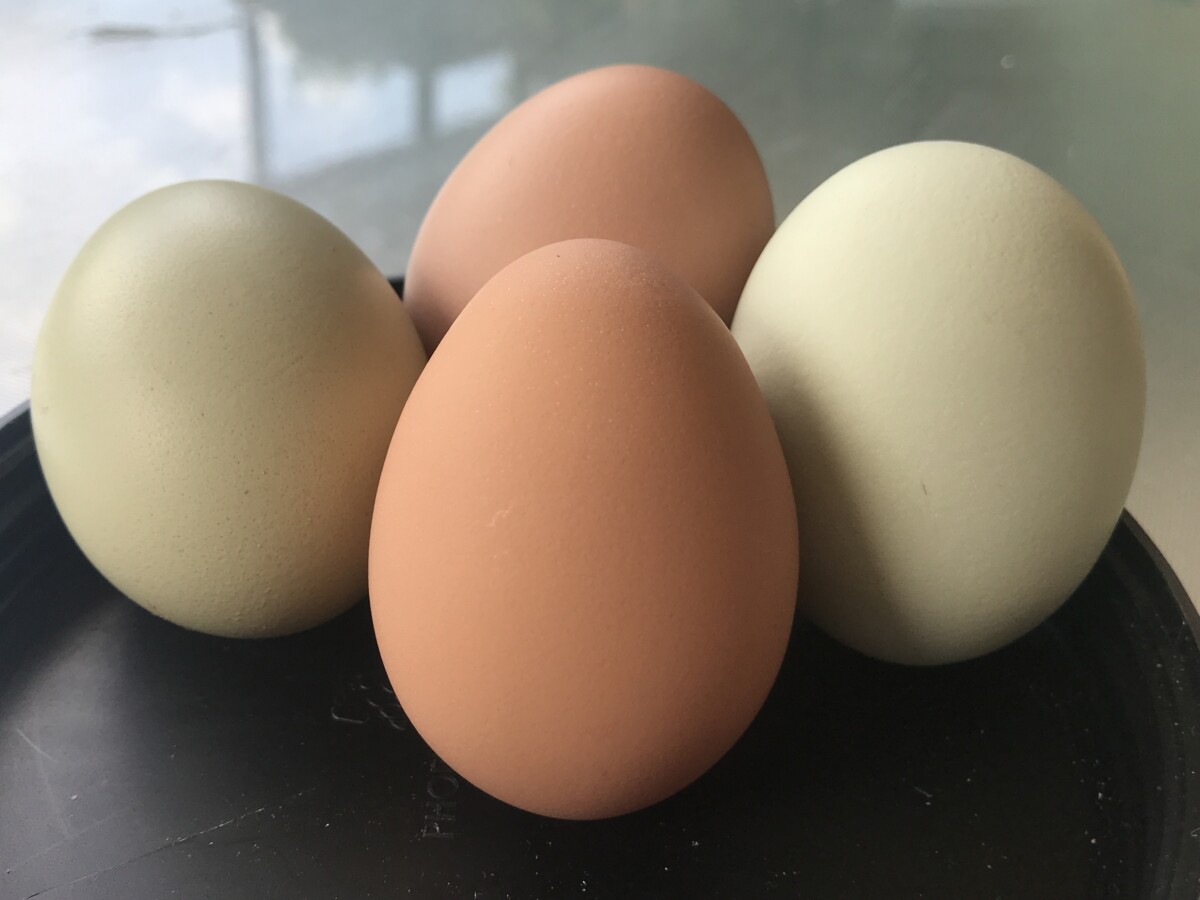
More Eggs and Better Quality Eggs
Fermenting chicken feed can lead to several tangible and measurable improvements in the eggs beyond just the color.
Here are some of the key improvements:
Increased Off-Season Production
The same study from SARE mentioned above also showed how fermenting feed increased egg production during the fall and winter months. This is usually considered “off-season” for laying hens due to molting and shorter daylight hours.
Potential Increase in Size
Some keepers report that their chickens lay larger eggs when fed fermented feed, although this can vary based on the breed and individual chicken.
Stronger Eggshells
The increased availability of calcium and other minerals due to fermentation can result in stronger, more resilient eggshells. This is particularly beneficial in preventing breakage and maintaining the quality of the eggs.
Higher Nutritional Content
Eggs from chickens fed with fermented feed can have a higher nutritional value. This includes increased levels of certain vitamins, such as vitamin E, and potentially higher levels of omega-3 fatty acids, depending on the feed composition.
Improved Yolk Quality
In addition to a more vibrant yolk color, the yolks may also be richer in nutrients. This is due to the enhanced absorption of vitamins and minerals from the fermented feed.
Better Taste and Texture
While subjective, many people report that eggs from chickens fed fermented feed have a richer taste and a creamier texture.
We can attribute these improvements to the better nutrient absorption and overall better health of our chickens eating fermented feed.
The probiotics and improved gut health become significant factors when it comes to how efficient they are in turning grains into eggs.
Cost Savings
Fermenting chicken feed is not only beneficial for the health and productivity of your flock but also offers significant cost savings:
Increased Feed Efficiency
Since fermentation increases the digestibility of their feed, chickens will get more out of what they eat. In most cases, they’ll need significantly less feed overall. That’s due to the increased bulk of the hydrated food as well as the increased digestibility.
Reduced Feed Waste
Many chickens find fermented feed easier to eat, which leads to less wasted food. Chickens are more likely to consume all the fermented feed. With dry food, they scatter and waste quite a bit.
Lower Health Care Costs
The health benefits of fermented feed can also mean fewer health issues in your flock. I can only keep five hens, but I haven’t had many health issues that require vet visits or medication in my flock over the last three years.
Improved Flock Productivity
Healthier chickens with better nutrition from fermented feed often show improved egg production and quality. The SARE study indicated that the switch to fermented feed led to increased profits due to more laying days per year. So, fermenting the food you provide can equal more eggs to sell or fewer you’ll need to buy.
Related Reading: Raising Chickens On a Dime: 14 Ways To Save Money On Your Flock
Fitting Fermented Feed into Your Schedule
Now that you know the how and the why, you may be wondering if you can make fermenting chicken feed for your flock. You can manage this routine along with any other chicken chores, even with a busy schedule.
We started building the habit of fermenting in the instructions above. Now, it’s just a matter of adjusting it to an everyday task.
Here are a few tips to make it easier to work into your routine.
- Keep all the materials you need in one place, preferably near a water source, for topping off containers or cleaning your tools.
- Associate fermenting feed with other tasks nearby. For example, if you keep the containers on your kitchen counter, build the habit of rotating them with another habit you perform nearby. This could be after dinner clean-up or while waiting for your morning coffee.
- Instead of rotating daily batches, make one big batch a week and store it in your fridge once it has fermented.
- Turn feed preparation into a family activity. Little kids love a chance to help, and as long as they have kind guidance, they can easily learn at least some parts of the task.
Fermenting Chicken Feed in a Nutshell
Fermenting chicken feed for your flock offers benefits that will significantly improve their health and productivity. The process boosts the nutritional value of the feed, introduces probiotics, and saves you money. It’s a humane and economically savvy choice for backyard chicken keepers.
You’ll be ensuring your birds get a high-quality, nutrient-rich diet that contributes to their well-being and happiness.
You’ll also be able to enjoy watching them scoff up their rations with gusto. It’s an easy and rewarding “chore” around your homestead that will provide pleasure for both you and your flock.
What to Read Next:
13 Sex Link & Autosexing Chickens – No More Surprise Roosters
17 Reasons to Raise Ducks Instead of Chickens

Get the famous Rural Sprout newsletter delivered to your inbox.
Join the 50,000+ gardeners who get timely gardening tutorials, tips and tasks delivered direct to their inbox.