

From sun up to sun down, bees are doing important work for the health and safety of the hive.
Foraging bees will travel up to 5 miles from the colony to gather up pollen for hungry baby bees back at the nest. Once the pollen baskets runneth over, bees zip back to the hive at 15 miles per hour, drop off the protein-rich pollen to the brood, and off again they go.
A single bee will visit as many as 2,000 flowers each day. Worker bees do other odd jobs too – cleaning out brood cells, making wax and preserving honey, guarding the entrance, repairing cracks in the structure, nursing the wee ones, fanning the hive to maintain proper temperature, and removing the dead. And these are just some of the tasks that need doing.
The job of the worker bee is never done, and it’s certainly thirsty work.
Why Should You Set Out Water for Bees?
When they’re off exploring the wider world, bees are on the lookout for four things: pollen, nectar, propolis (or bee glue), and water.
Bees drink water to quench their thirst, but they also collect it internally, in what is called the honey stomach, and haul it back to the hive. There, water is used in a few different ways.
Along with a healthy diet of nectar, pollen, and royal jelly, the developing larvae need plenty of water to grow from helpless grubs into busy bees.
On the hottest days, bees spread a thin layer of water over the honeycomb cells and fan it with their wings to help keep the hive comfy and cool.
Honey stored in the comb can become crystallized and too thick for bees to eat. When this happens, bees will dilute the hardened honey with water to make it soft and edible again.
Although bees are perfectly capable of finding their own water sources, these aren’t always clean and safe. Polluted waterways, chlorinated pool water, and pesticide-laden runoff are not good for the bees or other wildlife.
Creating a bee watering station is a simple and meaningful way to provide clean drinking water for the bees and support the whole life of the hive.
Bee Waterer Best Practices
Make sure your bee watering station is clean, safe, and bee-approved!
Don’t drown the bees
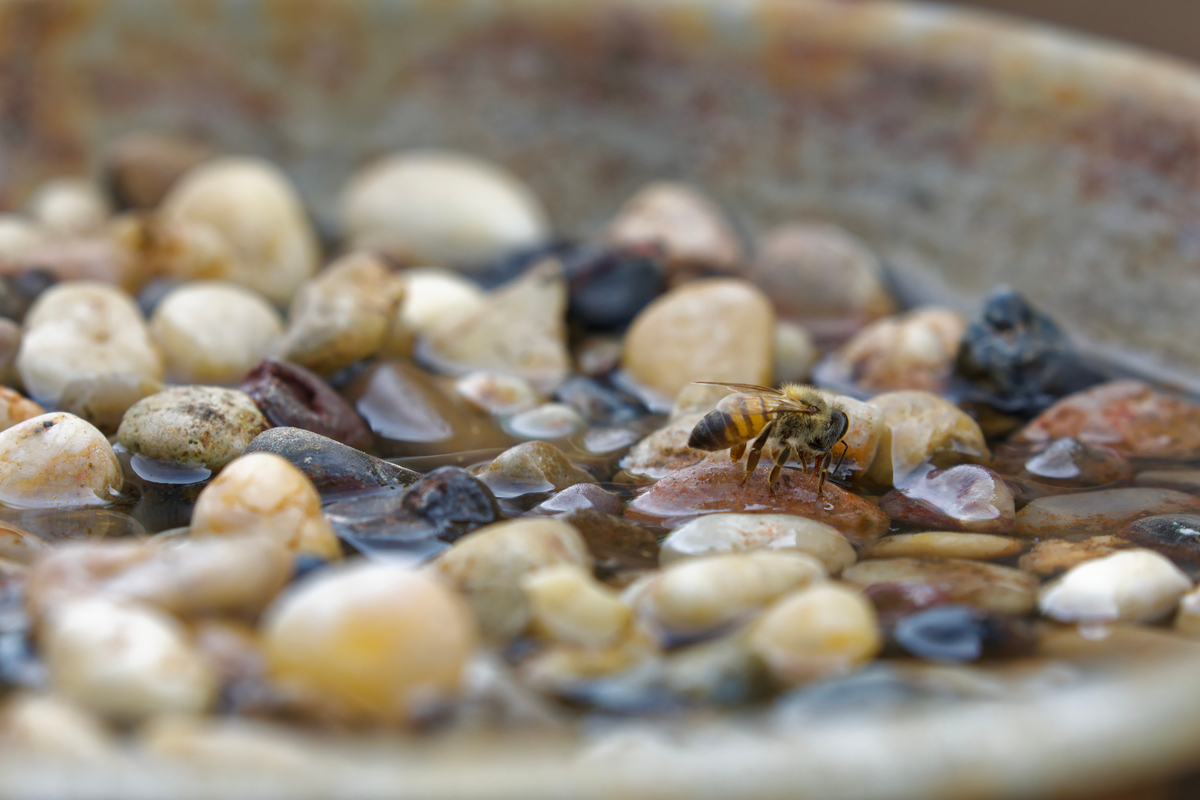
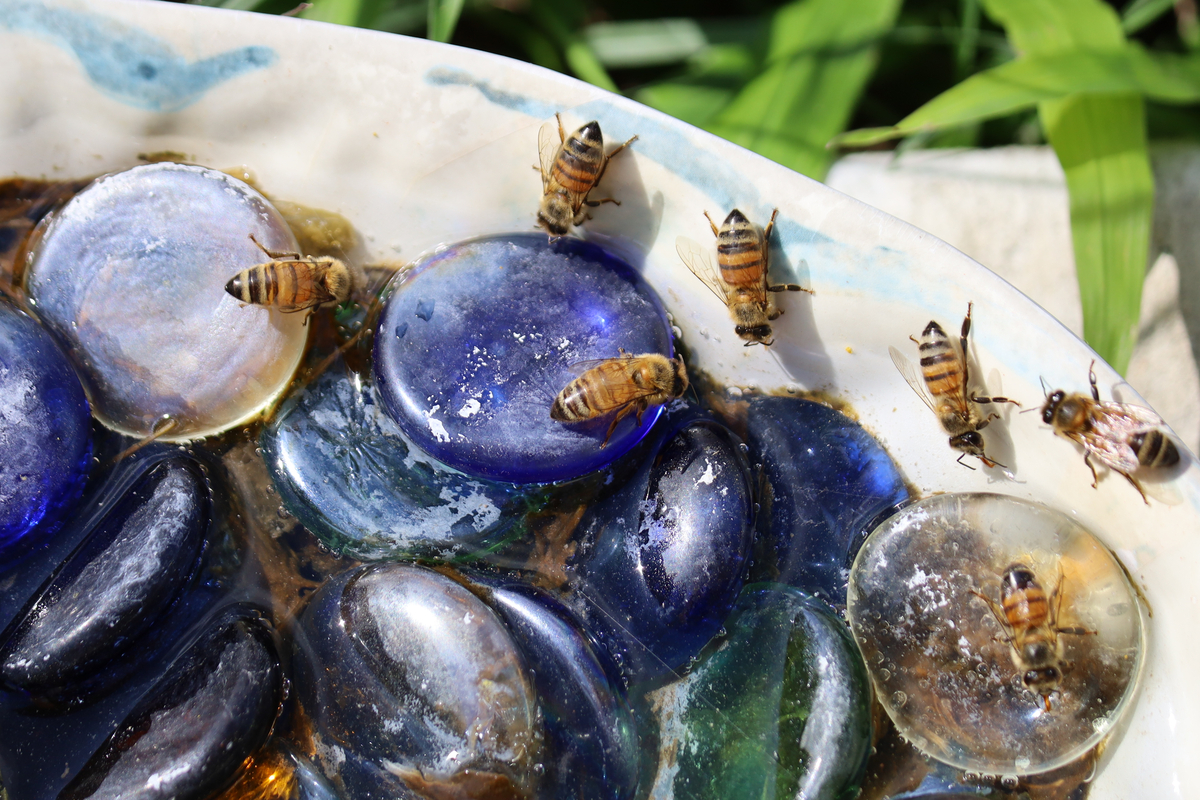
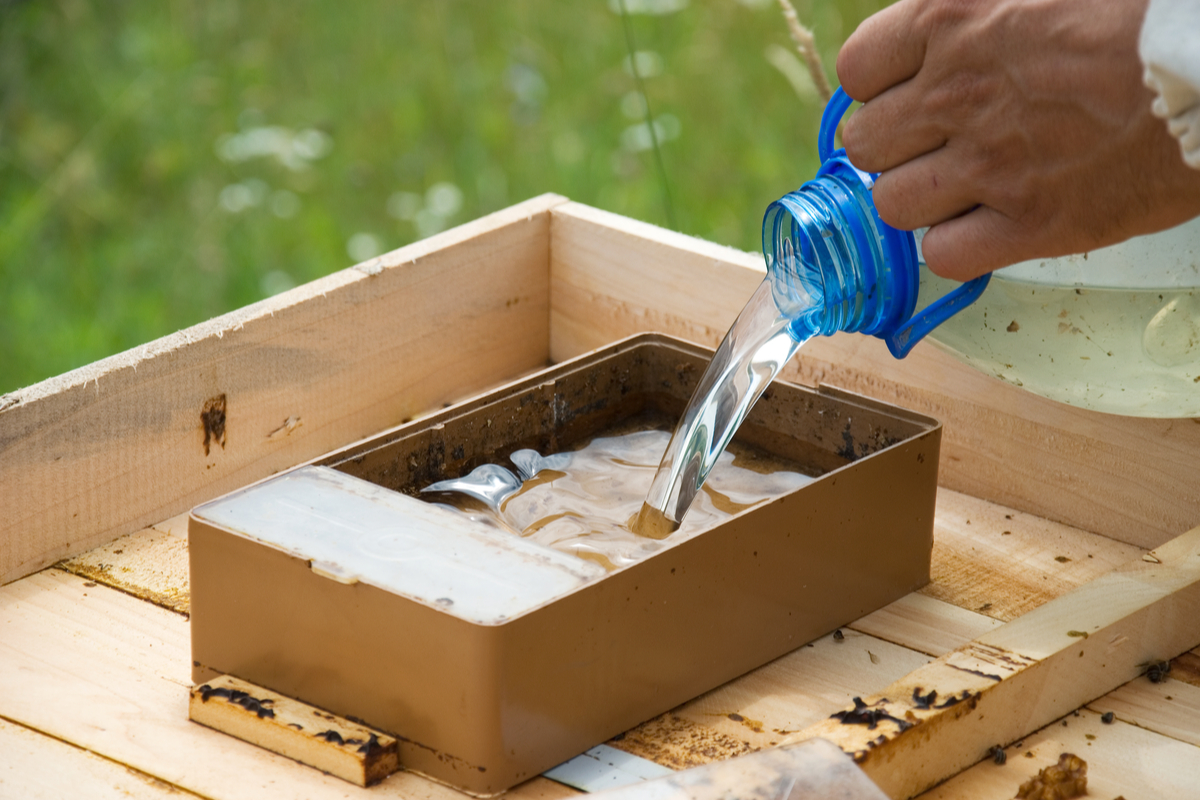
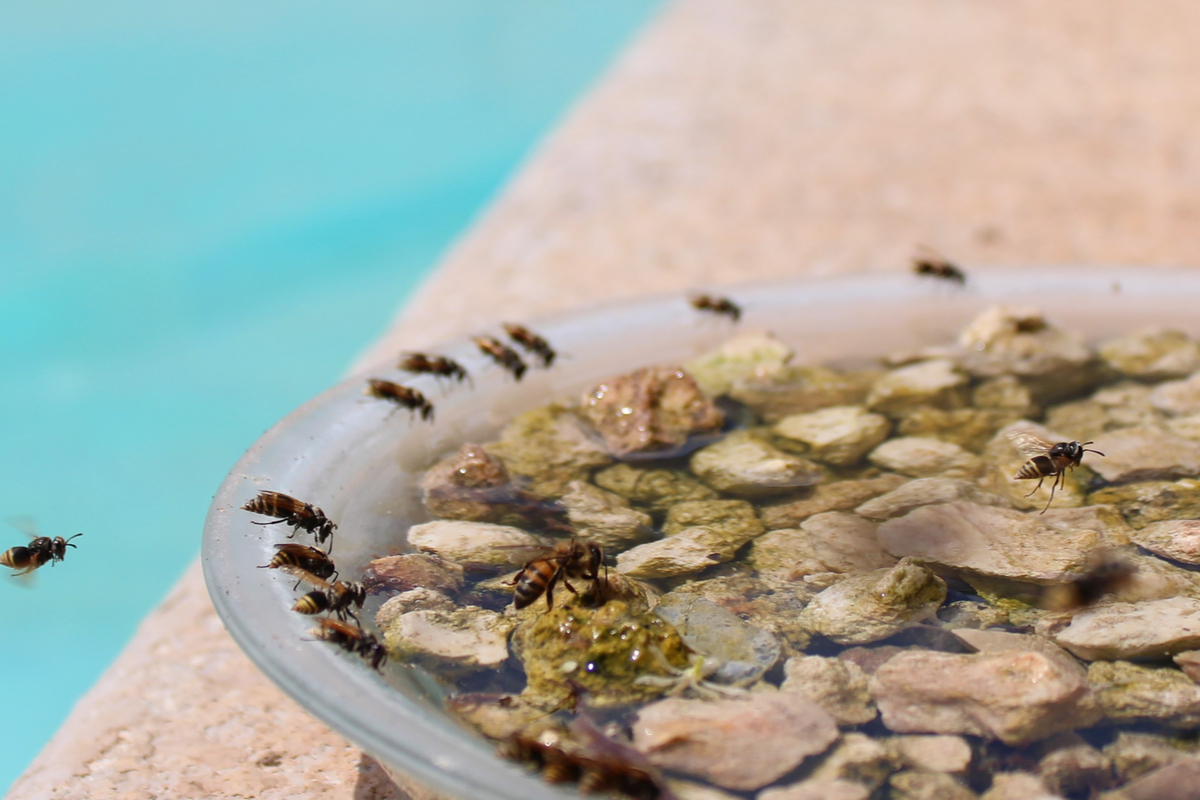
Bees can’t land on the surface of water. To remove the danger of drowning, always add little landing pads for bees to perch from.
Rocks, stones, pebbles, gravel, marbles, sticks, and corks are some of the things you can use to provide a safe harbor for bees to access the water without slipping in.
Use smelly water
Bee scientists believe that bees find water by scent rather than sight, and are most drawn to water that emits the earthy aromas of nature.
Bees are more likely to ignore pristine water straight out of the tap and instead go for sources that smell of wet earth, decomposition, aquatic plants, moss, worms, and salt.
Help the bees find your watering station by sprinkling a little salt into the water. You only need to do this initially – once a few bees discover your waterer, they will remember the location and beeline it back to the hive to tell all their friends.
Find the perfect spot

Once the buzz gets out that your watering station is the place to be, you’ll have throngs of bees – shoulder to shoulder – around the basin.
Before setting out the watering station, choose a spot that is visible but out of the way of high traffic areas of the yard. Placing it in the garden, near flowers bees find delectable, will also help them locate your water source.
Keep it topped up
Replace the water at least once per week, and much more frequently during those really hot and sizzling days when bees need extra air conditioning for the hive.
You don’t need to dump the water out, just top it off with fresh water and let the excess spill out over the edges of the basin. Any mosquito eggs laid in the standing water will be washed away.
7 Bee Watering Station Ideas
1. Make Your Bird Bath Bee-Friendly
The wide and shallow basin of a bird bath can easily double as a bee waterer – simply add pebbles or other perches for bees.
You can pile up the stones or rocks on one side or distribute them evenly along the bottom of the bath, as long as there are several dry landing zones amid the waters.
As an added bonus, you’re likely to attract a fair few butterflies to a bee bath filled with pebbles. Just like bees, butterflies can’t land on water and would appreciate a safe spot to rest and drink.
2. Repurpose a Hummingbird Feeder
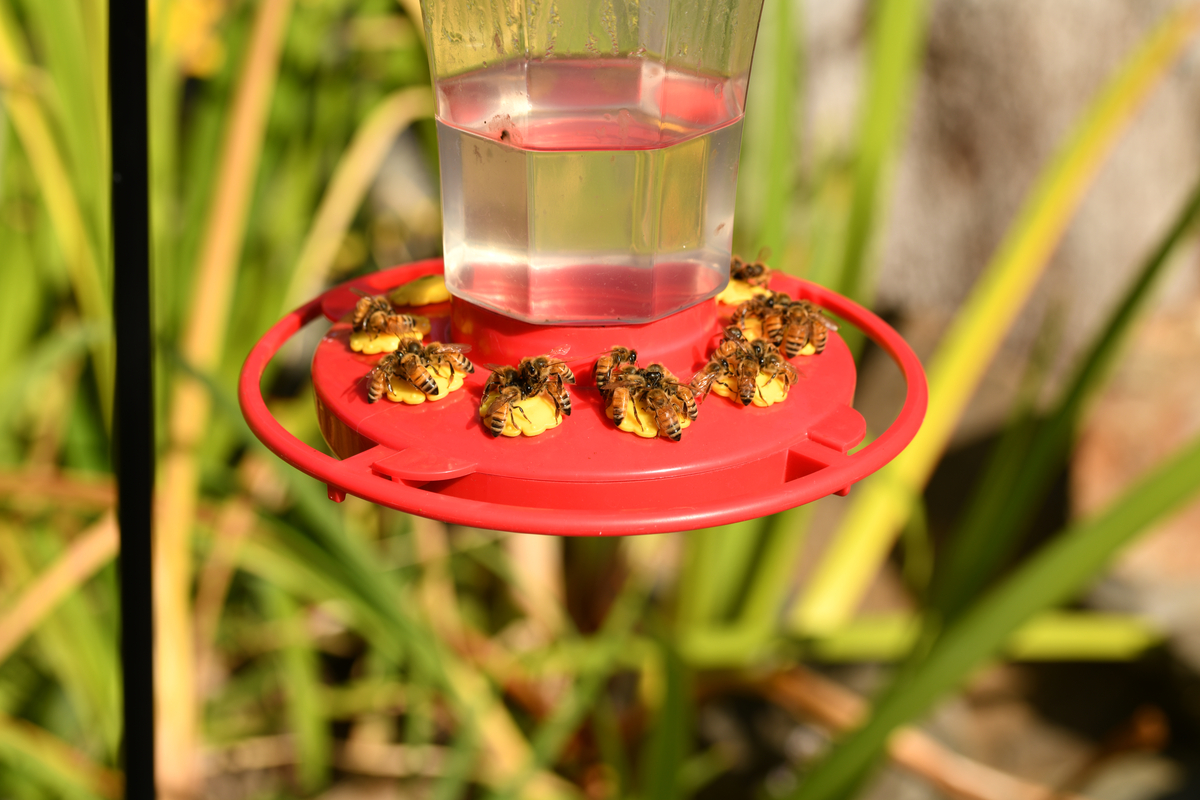
Bees siphon up liquids with a straw-like tongue, or proboscis. When fully extended, the proboscis is roughly a quarter of an inch long so bees can reach into the deepest recesses of flowers and access the sweet nectar – or refreshing water, in this case.
A hummingbird feeder, with its numerous ports, allows creatures with long snouts to sip up the drink. Fill it up with plain water instead of sugar water and it will become a fantastic bee watering station.
Using a hummingbird feeder as a bee waterer will probably attract wasps too – but that is actually a beautiful thing! Wasps also need good sources of water, and in return they will provide stellar pest control and pollinate a good sum of flowers along the way.
3. Use a Self-Filling Pet Water Bowl
Self-filling water bowls for cats and dogs offer the ideal bee watering solution for folks on the go.
These gravity-fed contraptions hold around a gallon of water. As the water is guzzled down, the hopper will automatically refill the bowl to keep everything nicely topped up.
Make sure you add plenty of rocks to the bowl so your resident bees can’t fall in.
4. Hang up a Chicken Feeder
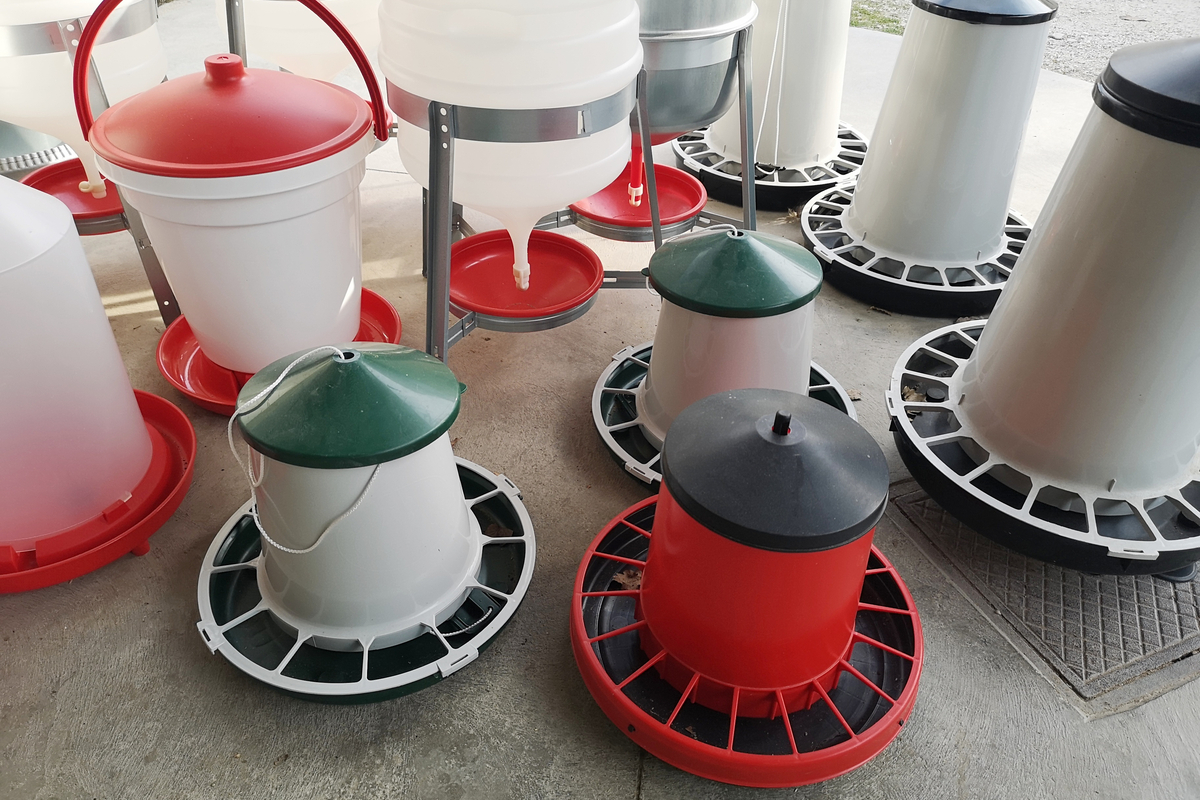
Hanging poultry feeders work the same as self-filling bowls do by harnessing the power of gravity to keep the water levels up. And you can keep it off the ground by stringing it up in a tree.
Poultry feeders tend to be a bit more durable since they are made to be used outdoors.
As always, add pebbles or marbles along the feeder rim to keep the bees dry and safe.
5. Flip Over a Clay Pot
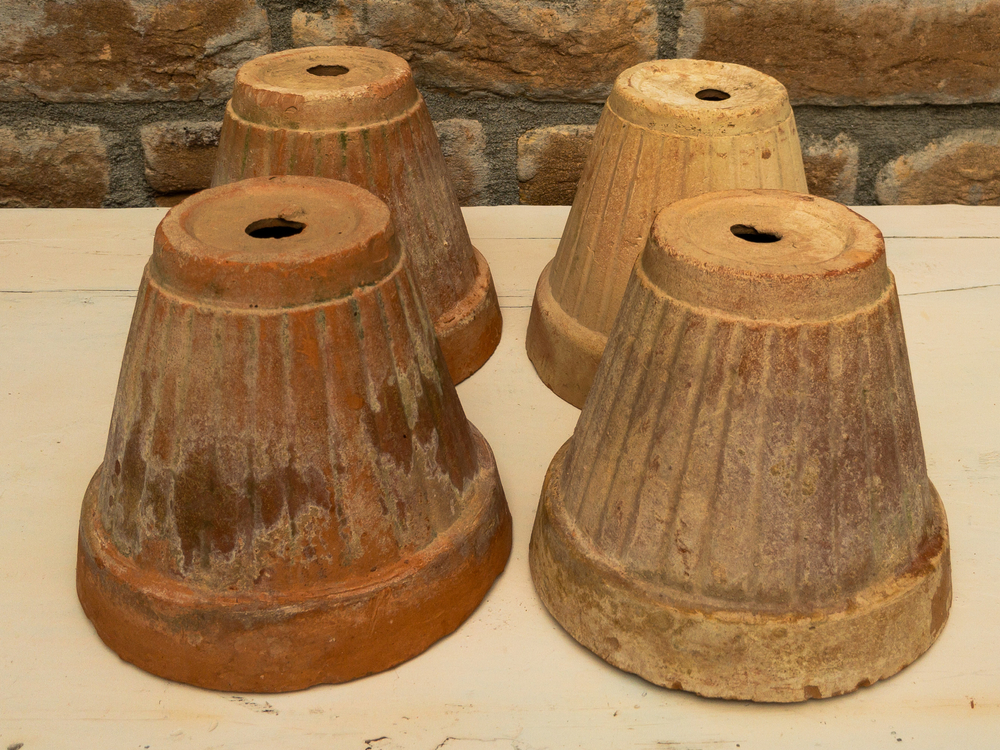
Bee watering station DIYs don’t get much simpler than this. Turn a clay pot upside down and place the accompanying saucer on top. And you’re done!
It’s best to use a pot that’s at least 8 inches wide – though the larger the pot and saucer combo, the more water it will hold.
Terra cotta pots have a wonderful natural look. You can keep it as is or fancy it up with a bit of craft paint.
Nestle it into a flat spot in the garden and fill the saucer with rocks or pebbles. Then pour in some water and enjoy your newfound friends.
Get the DIY from Carolina Honeybees.
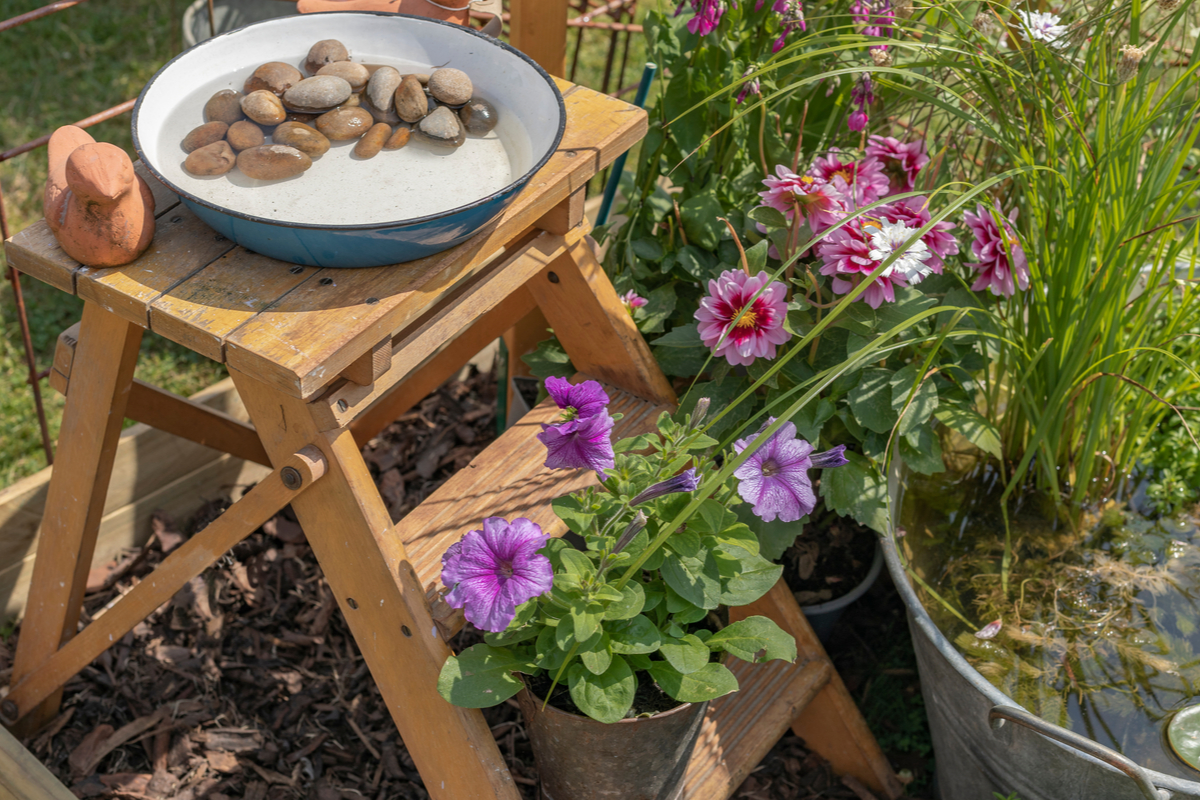
6. Create a More Natural Bee Waterer
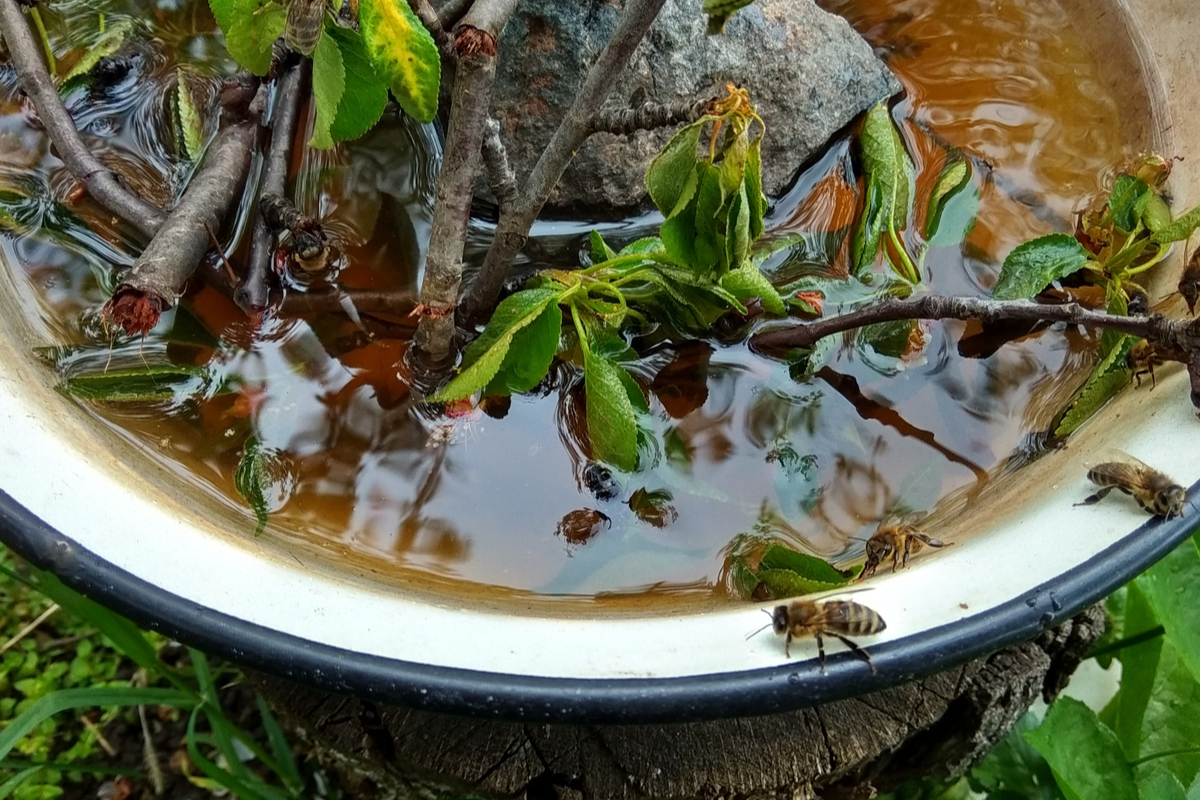

A truly inspired way to make your bees feel right at home, this bee watering station is filled to the brim with things you can pick up from the forest floor.
The mix of stones, moss, grass, leaves, twigs, seashells, pine cones, and flower sprigs are packed densely in the basin so the bees can imbibe without so much as getting their feet wet.
It’s shown in a bird bath, but any shallow dish can be used to house assorted bits of nature’s bounty.
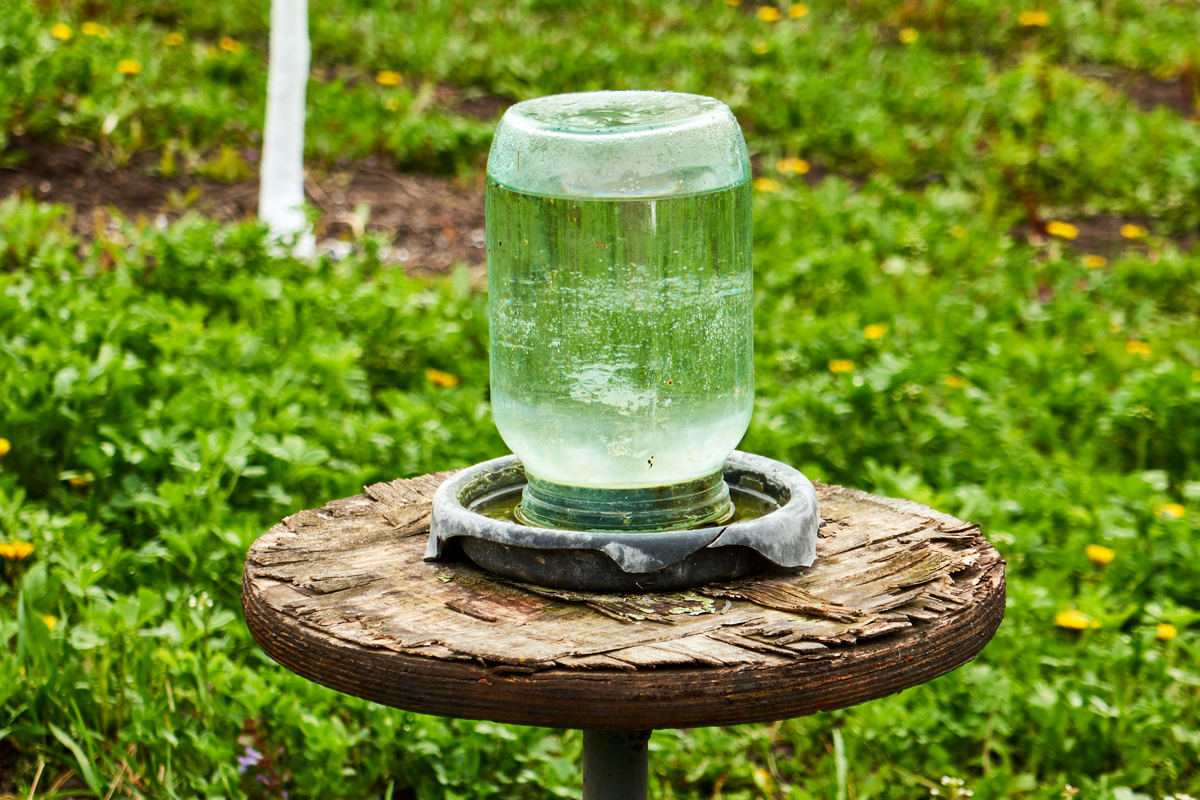
7. Use Any Container You Can Find
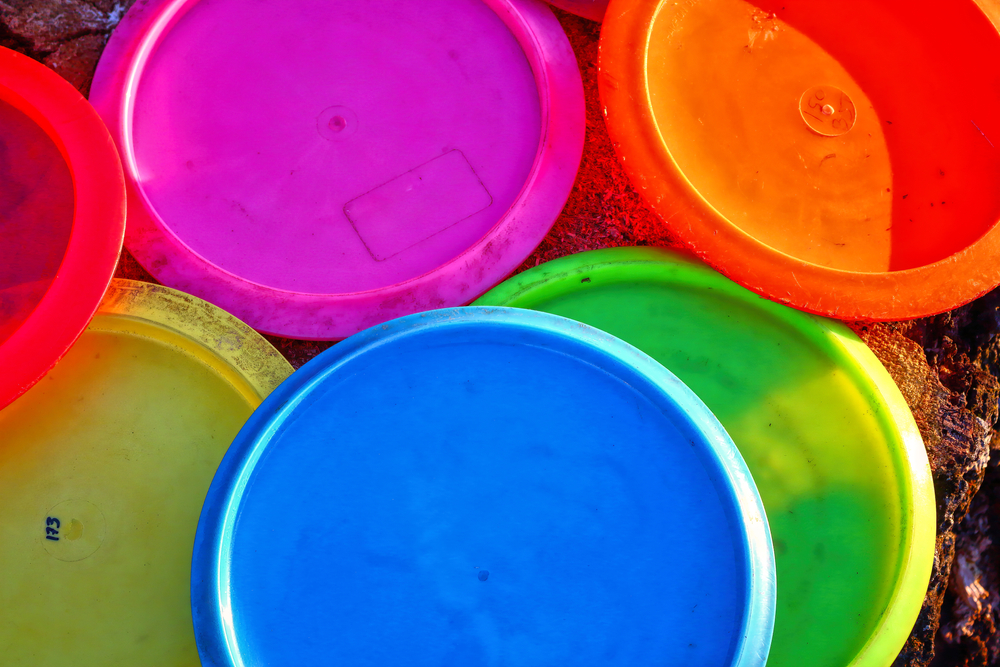
The bee watering station doesn’t need to be an elaborate thing. Any water-tight container will do the trick of getting fresh water out to the bees, pronto.
Look around your home for potential receptacles – shallow pans like casserole dishes, pie plates, and baking sheets would absolutely work.
Don’t overlook deeper containers like buckets or troughs. These are fine to use as long as you fill them with rocks up to the water surface or use floaters like twigs and wine corks.
Even an overturned Frisbee would do in a pinch, so use your imagination when scouting for possible water holders around the house.
Your local bee population will be buzzing in gratitude!

Get the famous Rural Sprout newsletter delivered to your inbox.
Join the 50,000+ gardeners who get timely gardening tutorials, tips and tasks delivered direct to their inbox.