

If you’ve read this article in the past, chances are pretty good you’ve got an amaryllis bulb from the previous holiday season. But what do you do with it now that Christmas is approaching? How do you go about reviving an amaryllis bulb to get it to bloom for the holidays?
The whole process is pretty simple; we’ll go through it together.
An Important Note About Wax-Covered Amaryllis Bulbs
Let’s get one important consideration out of the way before we get started. If your amaryllis bulb is one of the fancy ones dipped in wax, unfortunately, it won’t bloom again.
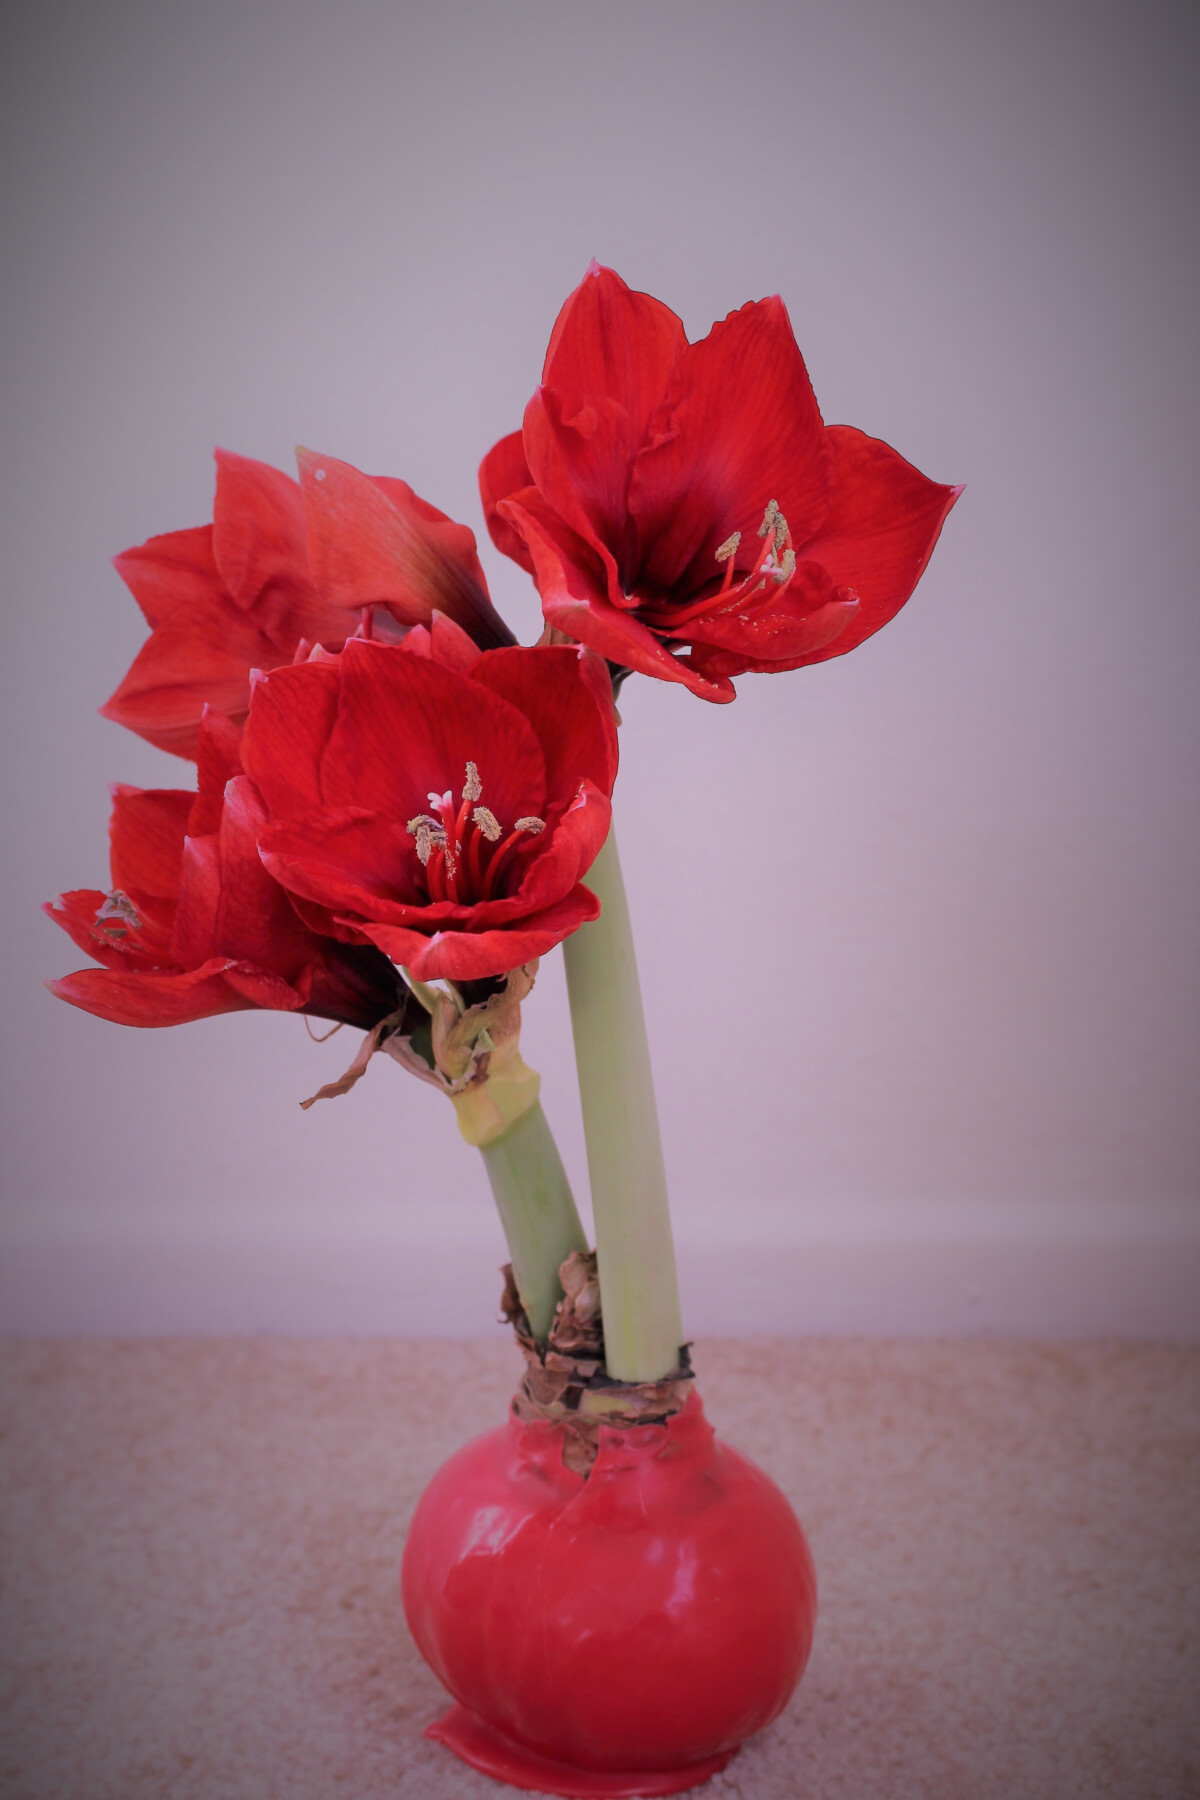
If you saved it hoping you could get it to rebloom again this year, your best bet is to purchase a new – bare – bulb and enjoy it this year and then follow the instructions in the article linked above to save it for next year.
Related Reading: How To Save Paperwhite Bulbs to Bloom Again
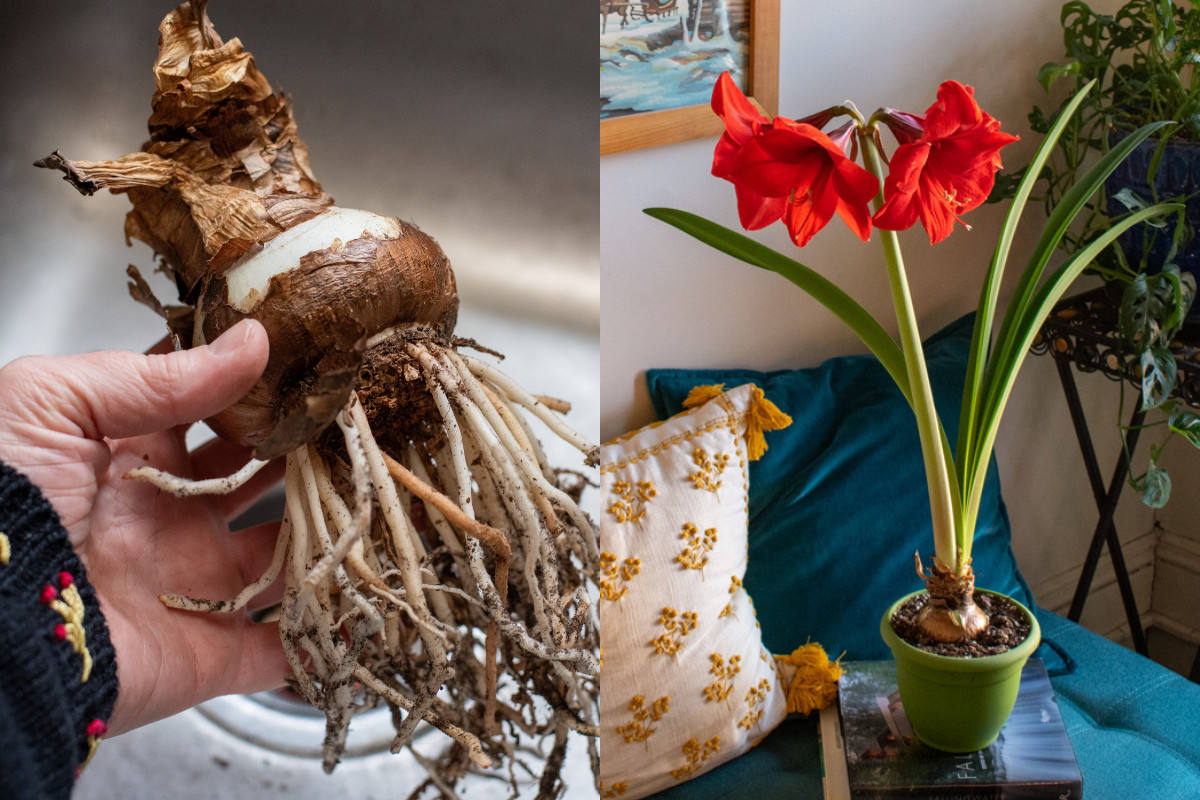
It’s Time For an Inspection
Depending on when you want it to bloom, you’ll want to get your bulb or bulbs out of storage anytime from the beginning of November to the beginning of December. I prefer to time mine to bloom after Christmas, as I like having that nice pop of color once the craziness of the holidays has finally settled down.
It’s always a nice pick-me-up after the holidays when you’ve still got quite a bit more winter to go.
Check each one over carefully and squeeze them gently. The bulb should feel firm, not mushy. The outer skin should be papery and free from mold, rot or disease.
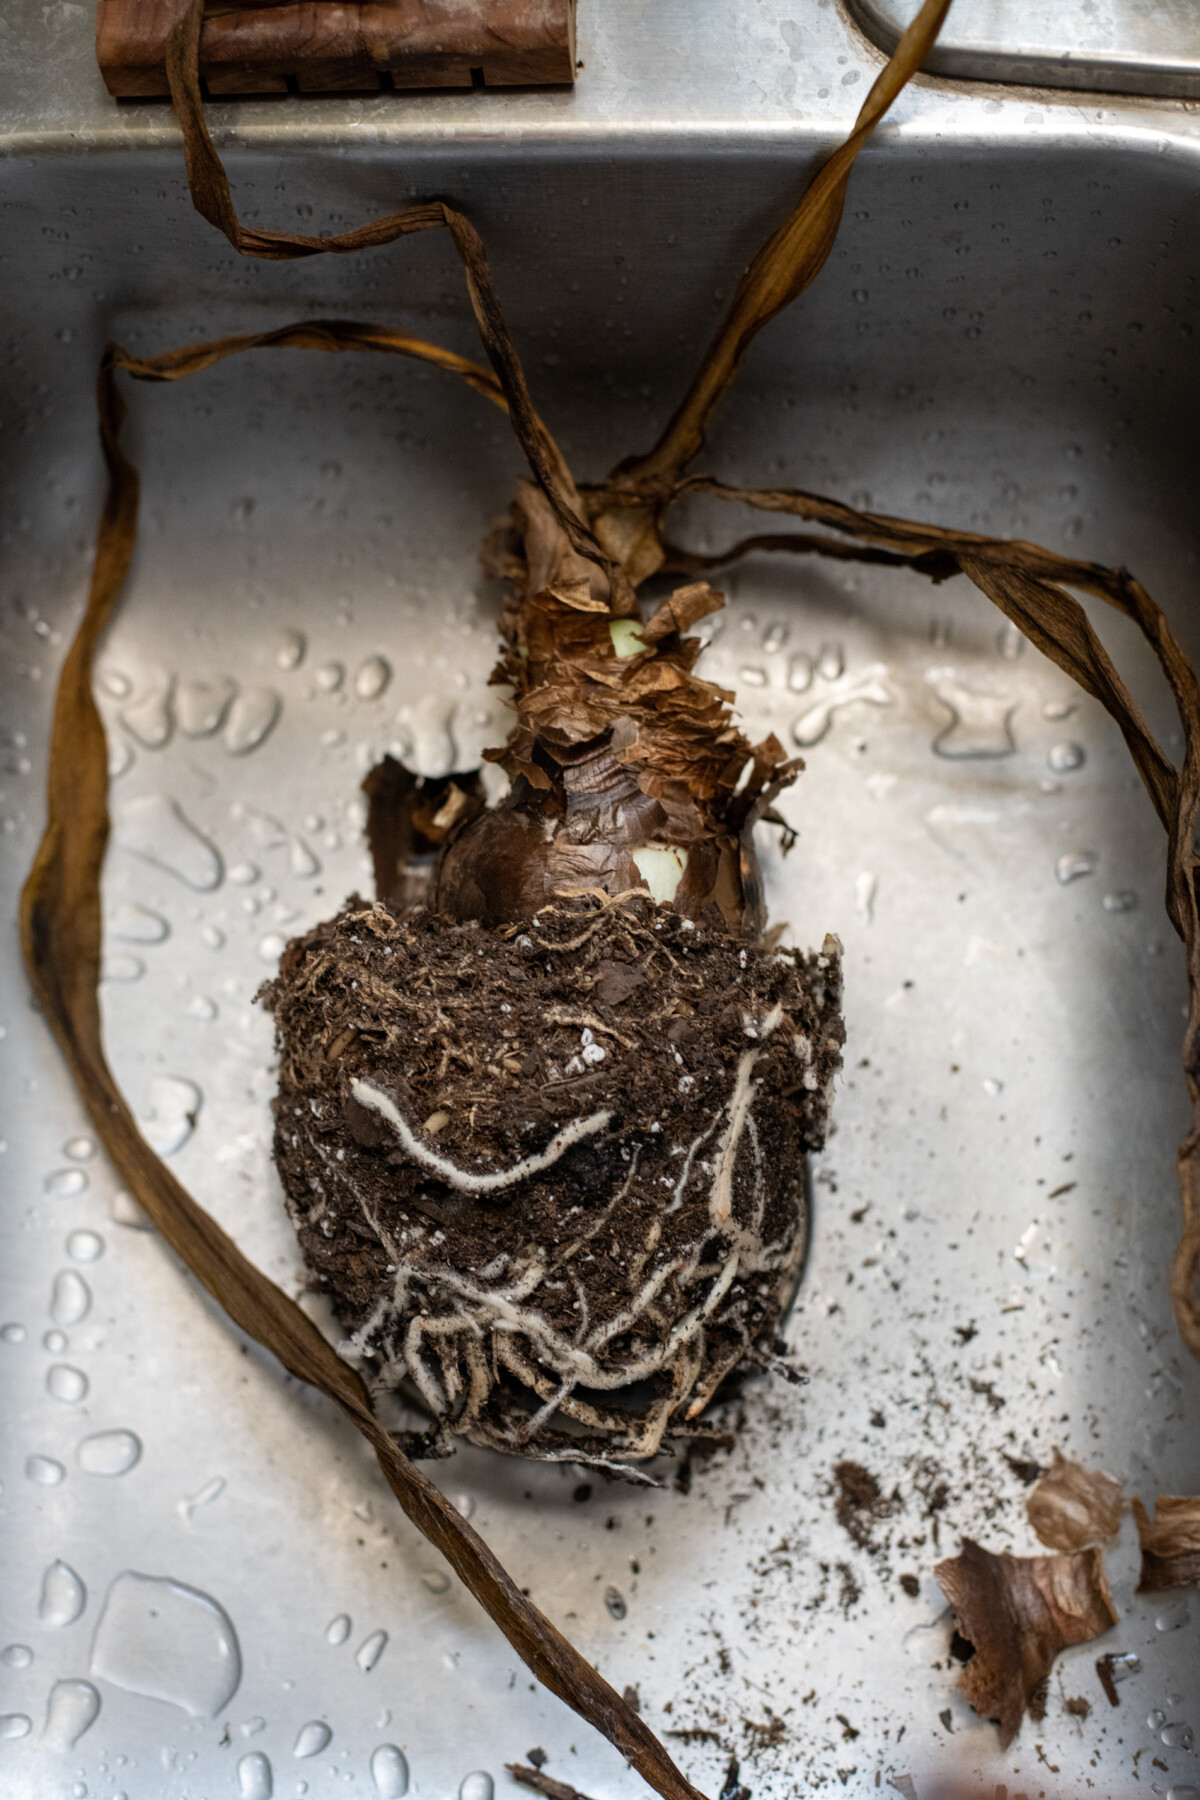
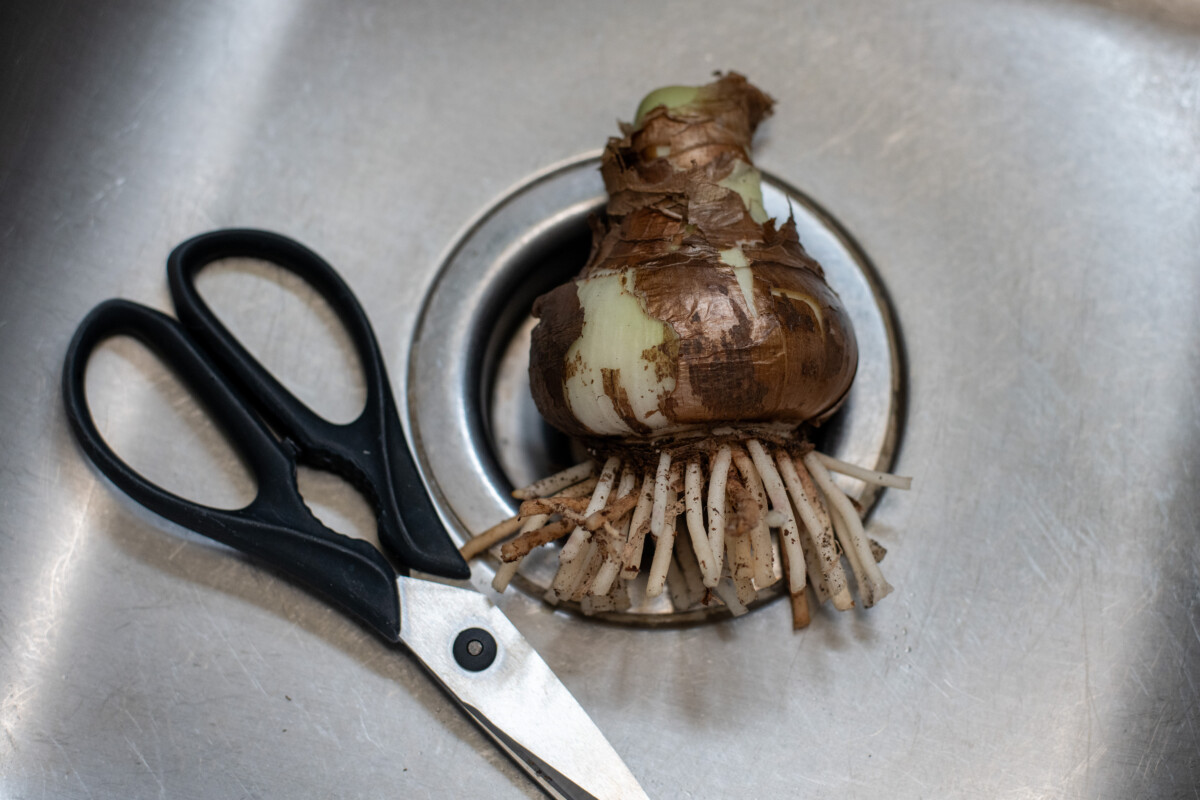
Get Cleaned Up For Christmas
Working carefully, remove any remaining dirt from the roots and outside of the bulb. A dry, soft-bristled nail brush works great for this kind of work. Once you’ve cleaned the bulb, trim away long, scraggly roots close to the bottom of the bulb. Leave about one inch long roots.
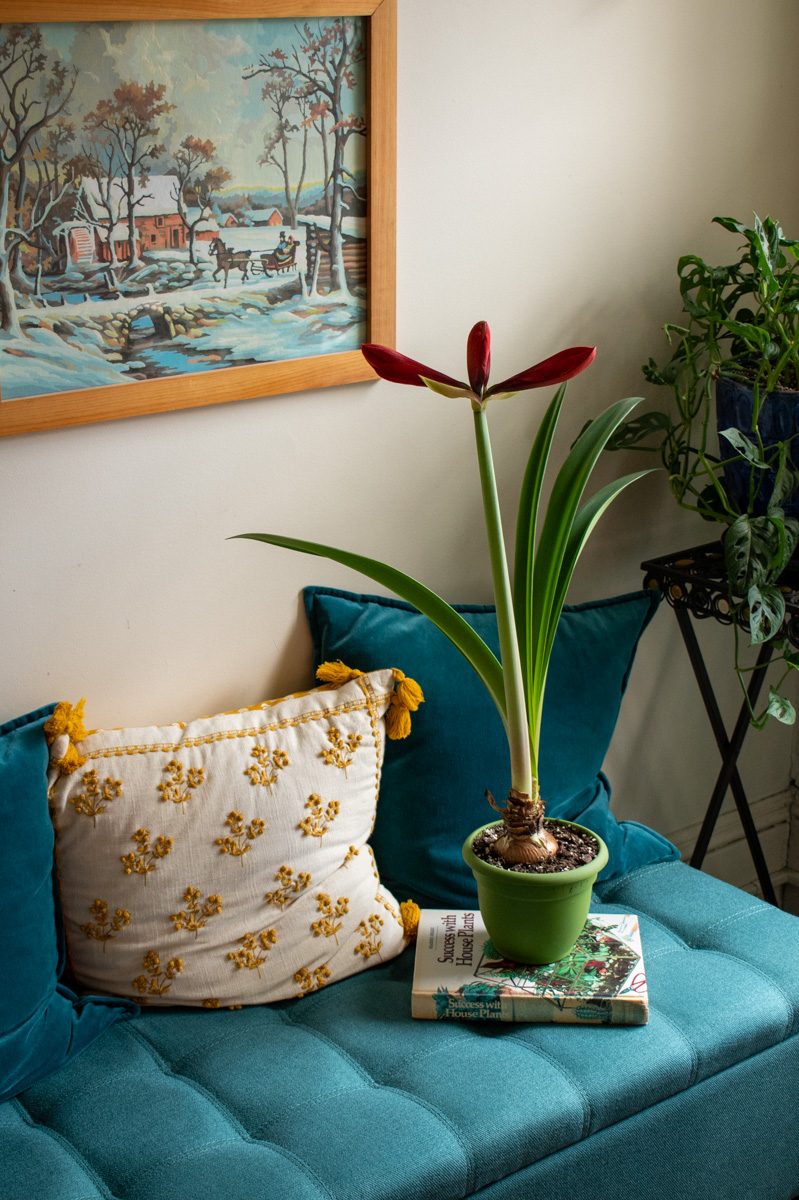
Pick Your Pot
Select a pot that is 1-2 inches larger in diameter than the bulb. As always, be sure the pot you choose has drainage holes. Waterlogged soil is the fastest way to ensure your bulb rots rather than blooms.
Pick something festive or a simple terracotta pot.
If you’ve got your heart set on a pot that doesn’t have drainage holes, there is a workaround, but it helps if the pot in question is a bit bigger than needed.
Plant the bulb in a plain nursery pot. Then, put a layer of gravel or pebbles inside the decorative pot about one or two inches deep. Now, you can place the nursery pot inside the larger pot to sit up on the pebbles.
This will keep the bottom of the nursery pot elevated. Check inside the decorative pot each time you water your amaryllis bulb to be sure the nursery pot isn’t sitting in water.
Add Potting Media
Any well-draining potting mix will work well. If all you have on hand is an all-purpose potting mix, cut it with perlite so it drains better.
Personally, I prefer using straight coconut coir when I’m forcing bulbs. Use warm water when rehydrating the coconut coir brick or puck.
Replant Your Amaryllis Bulb
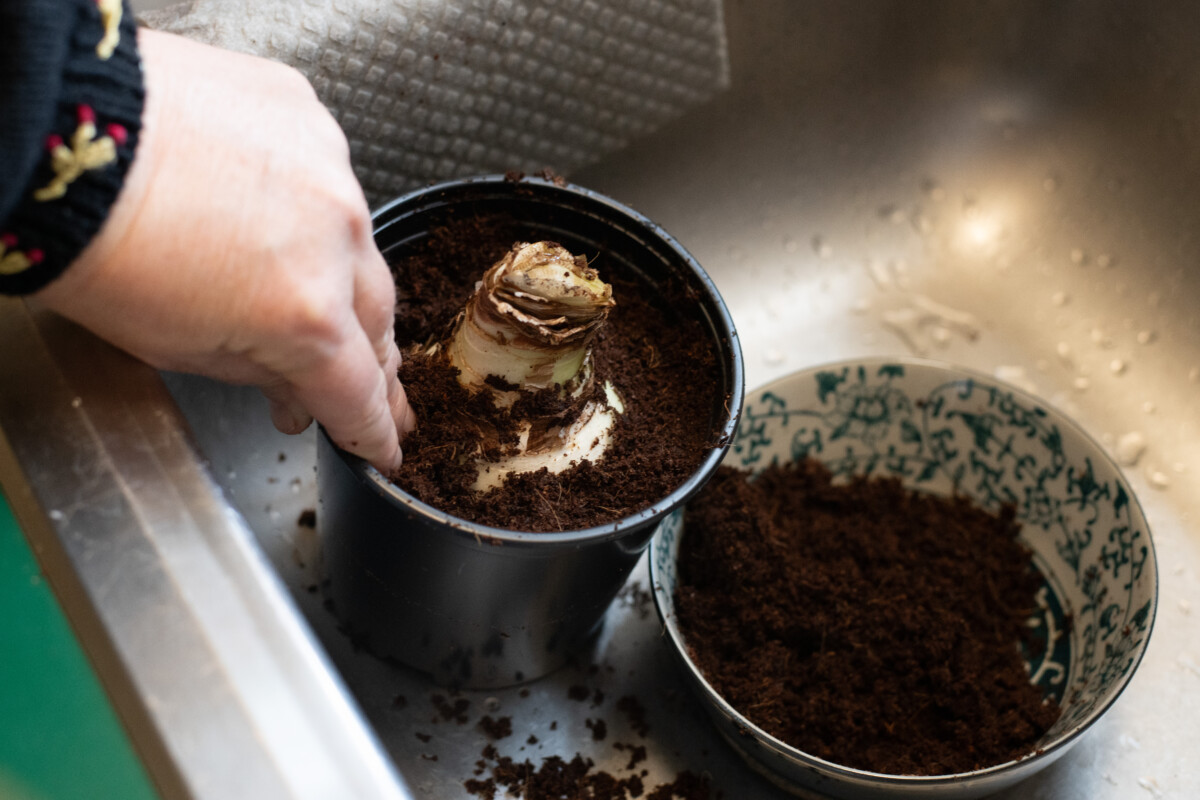
Gently press the bulb down into the moistened potting media in the center of the pot. Be sure the top third of the bulb is above the potting soil, then gently press the soil around the base of the bulb. The top of the bulb should be about an inch below the top of the pot.
Watering
Water the bulb in once you’ve planted it, making sure you tip out any extra water so the pot isn’t sitting in standing water.
You’ll want to ensure the potting soil is consistently moist over the coming weeks. Don’t let it dry out, but you also don’t want it to be too soggy. Poke your finger into the soil; water the bulb again when the top inch is dry.
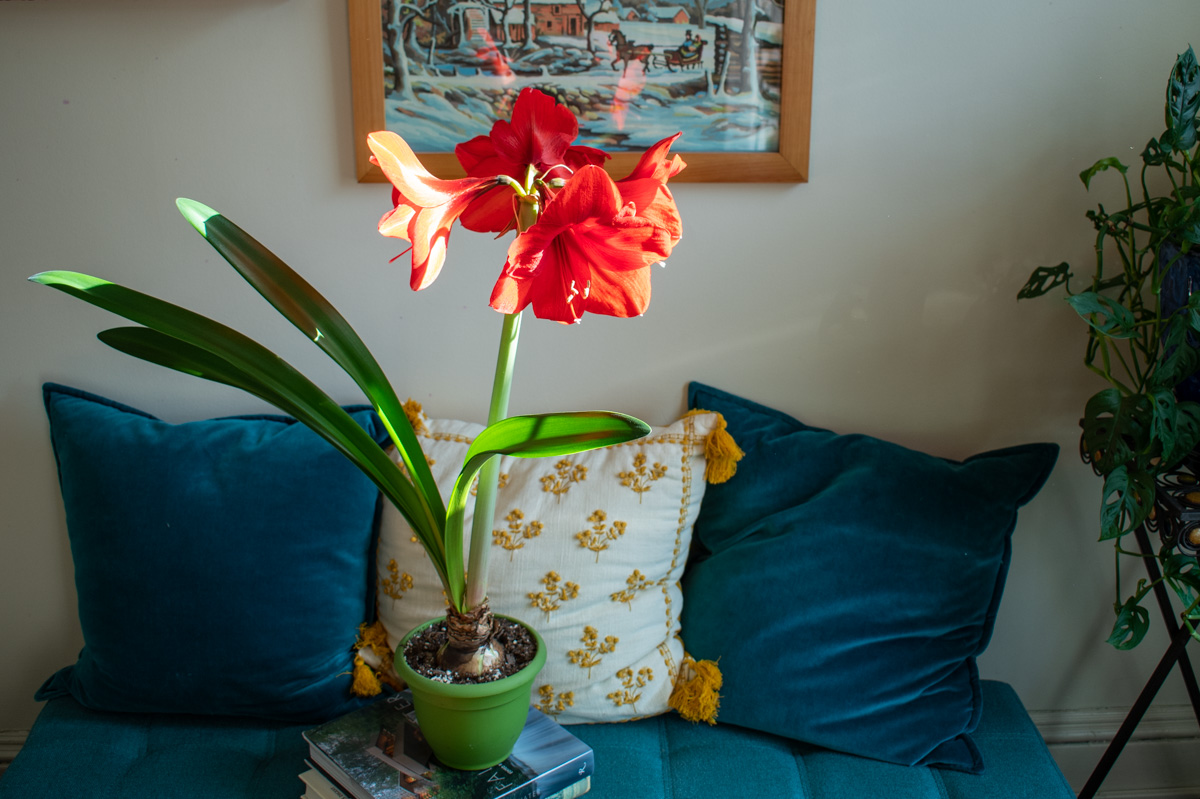
Lots of Winter Light
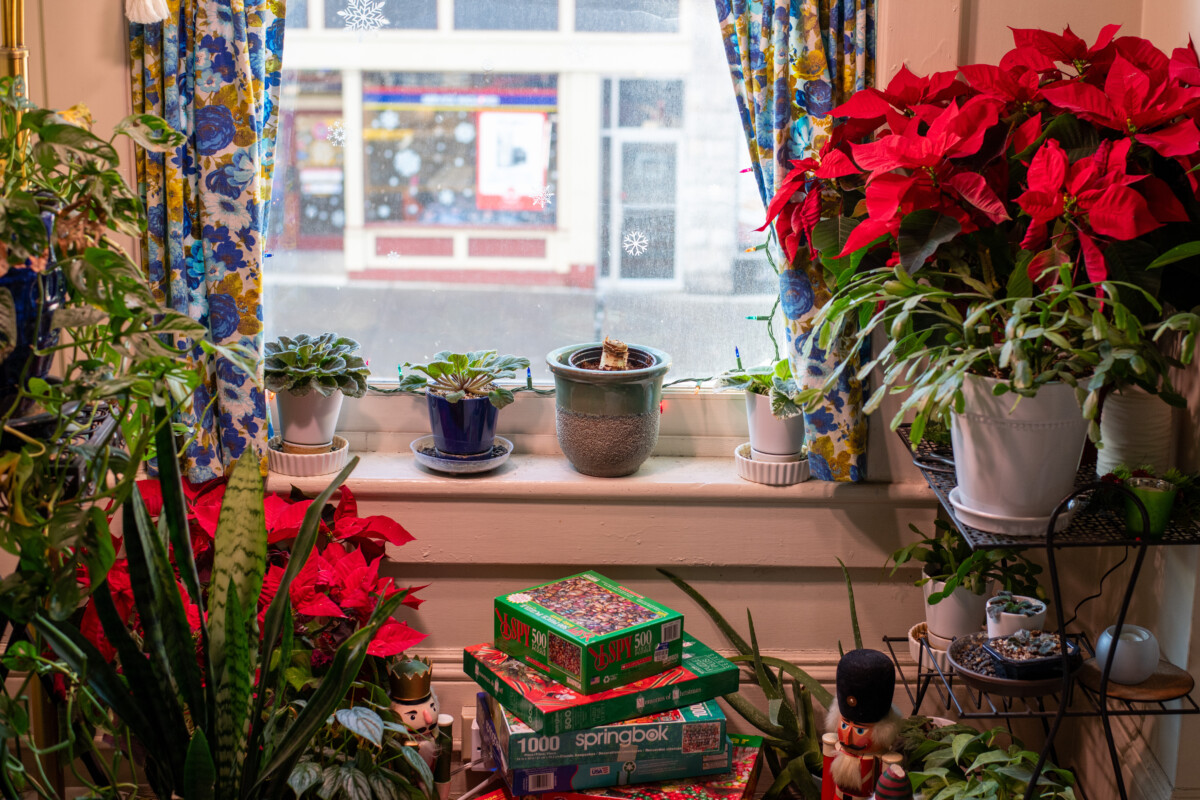
Place the pot in a sunny location. No, sunnier than that. Remember, with shorter days, you’ll need to find the sunniest spot possible. Like all other blooming plants, Amaryllis require lots of bright, indirect light. A southern or western-facing window is ideal. If you don’t have access to either, consider supplementing with a grow light.
Fertilize Your Bulb
Once the shoot emerges, you’ll want to fertilize your amaryllis every couple of weeks with a balanced liquid fertilizer. I like Dr. Earth’s House Plant Organic Pump & Grow fertilizer. It’s a simple formula with a 1:1:1 NPK ratio.
Remember, at this point, we’re fertilizing to support growth and overall health. Ideally, you would have used a higher phosphorus fertilizer, such as bone meal, during the warmer months while the bulb stored nutrients for the big show.
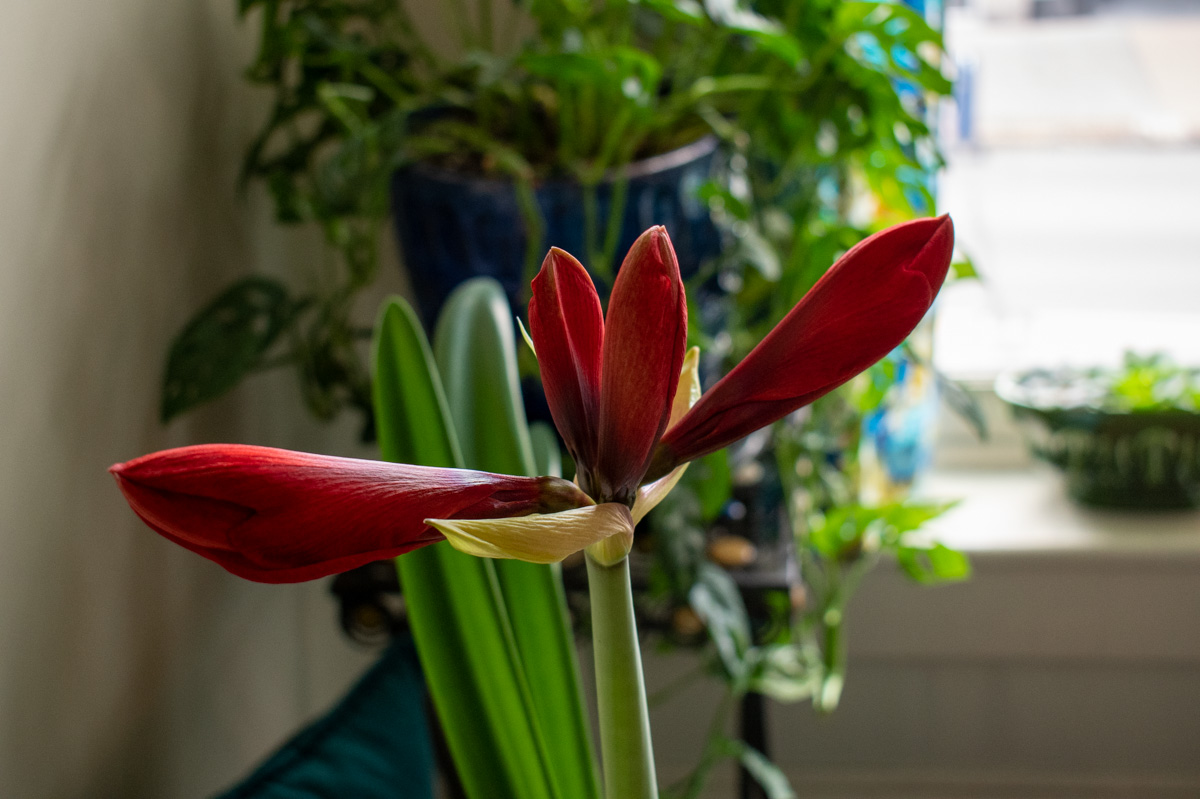
To Support or Not to Support?
As the flower stem grows, you may need to provide support to prevent it from bending or breaking. Keep an eye on the buds; if they look quite big compared to the stem, you might want to consider a bamboo stake or wooden dowel. The stems are usually pretty sturdy, but losing your amaryllis before it blooms would be disappointing.
Encourage Blooming With Temperature
To encourage blooming in time for Christmas, you can manipulate the blooming time by controlling the temperature. Keep the plant in a cool (60-65°F or 15-18°C) and dark place for a few weeks after planting.
After this cold period, move it to a warmer, well-lit location (like that south or western-facing window we talked about) to stimulate flower development.
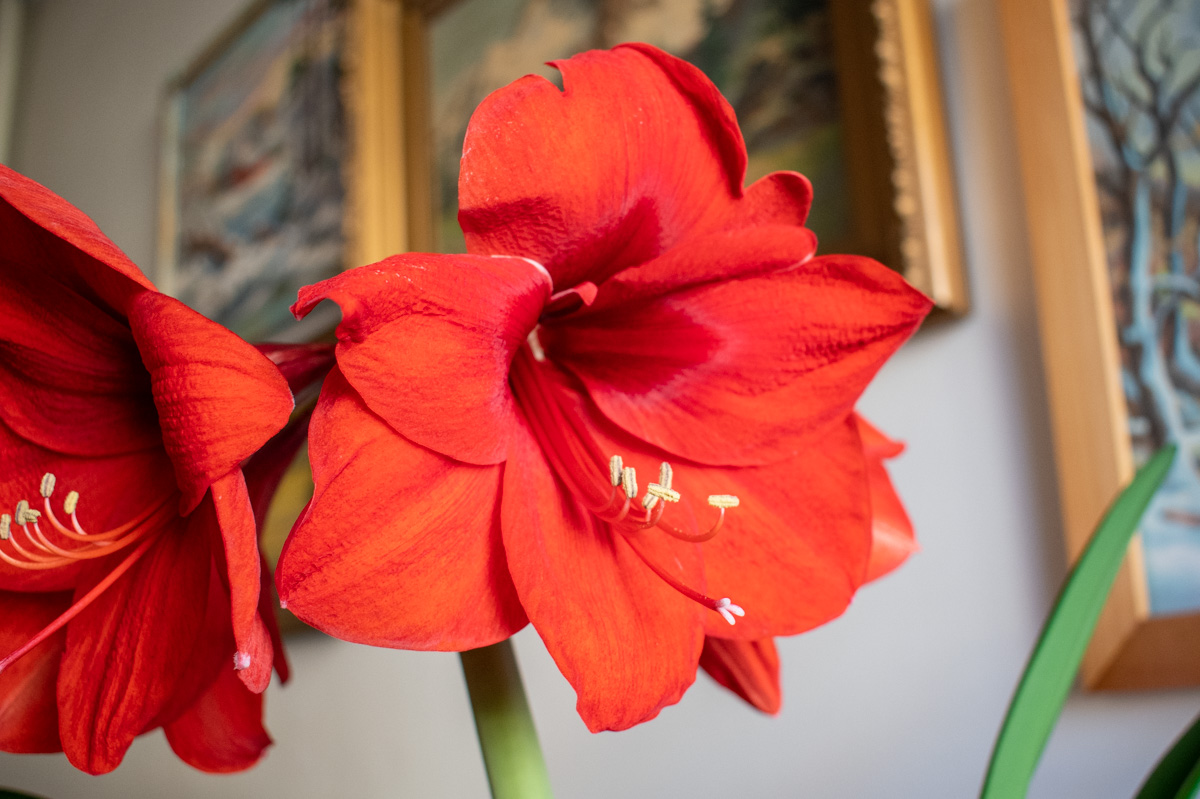
Enjoy Your Flowers!
Once the buds open, you can move the plant to a more prominent location, where all can enjoy those gorgeous trumpet-shaped blooms.
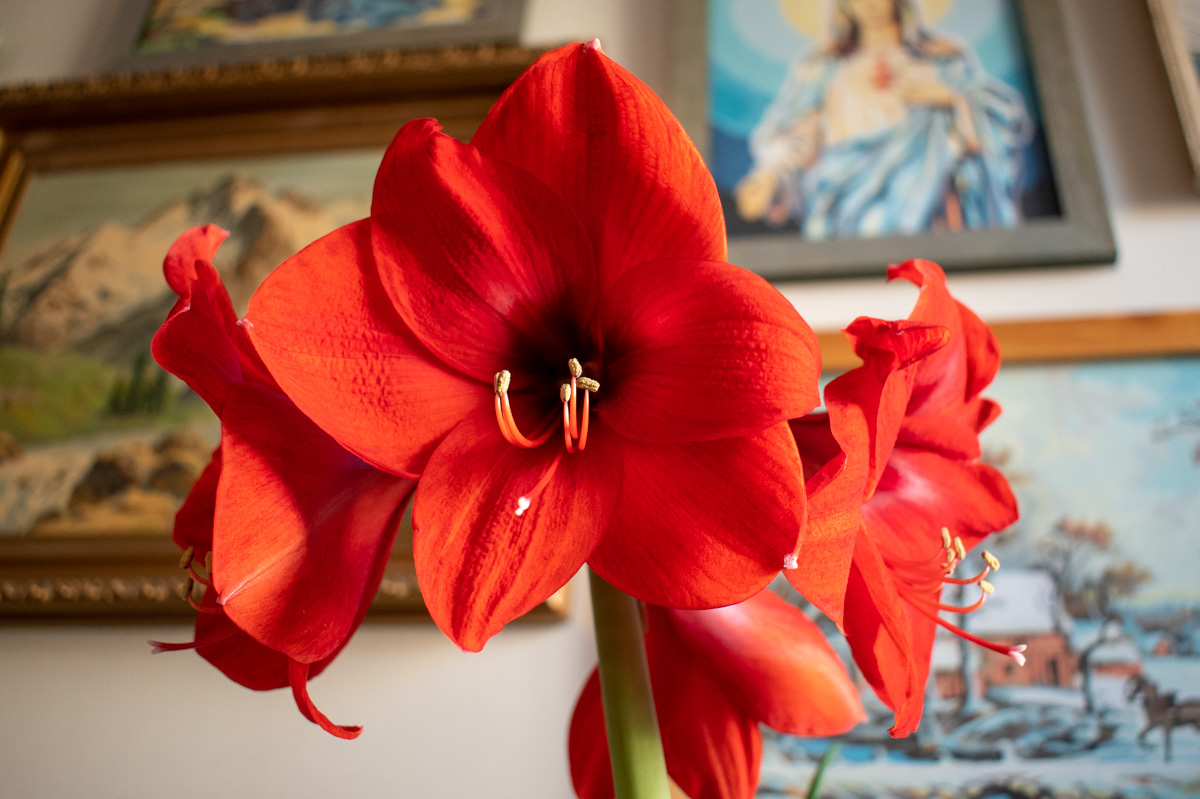
It’s important to remember that each bulb will grow at a different rate, so your amaryllis may not bloom precisely on Christmas Day. But if you follow these steps, you should be able to force your amaryllis into blooming during the winter months, offering a bright display of color during the darkest time of the year.
With the proper care during the warmer months of the year, you can easily get an amaryllis bulb to rebloom for several years.
Of course, once you get one amaryllis bulb to rebloom, you may find yourself snatching up all the discounted bulbs that didn’t sell during the holidays at the garden center to save for next year. Not that I have experience with such things.
Related Reading: 12 Christmas Plants For A Festive Indoor Garden

Get the famous Rural Sprout newsletter delivered to your inbox.
Join the 50,000+ gardeners who get timely gardening tutorials, tips and tasks delivered direct to their inbox.