


The craft beer movement has caught the world by a storm, and it shows no sign of slowing down. However, the global hops supply is struggling to keep pace, and it often falls short of satisfying the demand of everyone interested in homebrew.
Maybe you’re looking to get in on the craft beer bandwagon by learning how to brew beer, or perhaps you’re thinking about entering production on a larger scale.
Regardless of what your motivation is, there’s a good reason to consider learning how to grow hops for homebrew production.
Not only does growing your own hops give you more control over your final fermented product, but there’s a big market of other homebrew enthusiasts who would love to purchase any surplus you produce.
Best of all, a little time upfront will help you establish a prolific perennial crop that can stay productive for more than two decades without much maintenance.
Keep reading to learn the benefits of growing hops, and how to get started at any scale.
What are Hops?
Though their towering trellises make it seem complicated, the humble hop plant isn’t much harder to grow than a tomato, and it has the added benefit of coming back every year without you needing to replant it.
While Wisconsin and Michigan became temporary hubs of hops production when Europeans first brought their favorite varieties to America, their cultivation truly took off in the wet, chilly climate of the Pacific Northwest.
Today Washington State leads the US in hops production, but it’s possible to grow hops for homebrew almost anywhere.
Hops are a dioecious plant, which means that individuals are either fully male or fully female. The males act as pollinators, while the females produce the flowers prized for brewing.
It’s possible to start your own hops by planting either rhizomes (small root clumps cut off the main stem of the female plant) or beginning from scratch with seeds.
Rhizomes cut years off the cultivation timeline, so they are by far the most popular method.
The kinds of hops you grow and use will have a significant impact on your beer’s taste. There are over 120 varieties available, but some are used far more frequently than others.

10 Hops Varieties To Try Growing

Below are some common hops varieties you can consider growing.
Centennial: Sometimes referred to as a super-Cascade, Centennial hops are bitter with a lemony, floral scent and are great for IPAs.
Tettnang: Traditionally grown in Washington and Oregon, Tettang’s slight spiciness is suitable for lagers and pilsners.
Chinook: These dual-purpose hops are known for their spiced that’s reminiscent of pine and grapefruit.
Goldings: Considered to be one of the finest hop varieties in England, Goldings have a mild aroma with a balanced bitterness.
Mt. Hood: This cultivar is traditionally grown in the Northwest has a pungent, herbal scent.
Crystal: Crystal hops are popular with craft brewers because of their versatility and woody scent.
Cascade: This aroma-type cultivator is the most popular variety for craft brewing, partly due to its floral, floral scent that balances out a hint of citrus.
Nugget: Though used as a bittering hop, Nugget hops have a pleasant, mild aroma for easy sipping homebrews.
Columbus: Often used for bittering IPAs and stouts, Columbus’s aroma has been compared to black pepper.
Magnum: Used as a base bittering agent, Magnum hops aren’t considered to have a distinct aroma but rather serve as a foundation for other varieties.
8 Steps for Growing Hops In Your Backyard

Are you feeling inspired to start your own hops production? Anyone in growing zones 5-9 is like to have success with this crop.
The main requirements are chilly winters and at least 120 days of good growing conditions each year. However, for the best crop possible, you’ll need to have rich, well-drained soil that contains plenty of organic material.
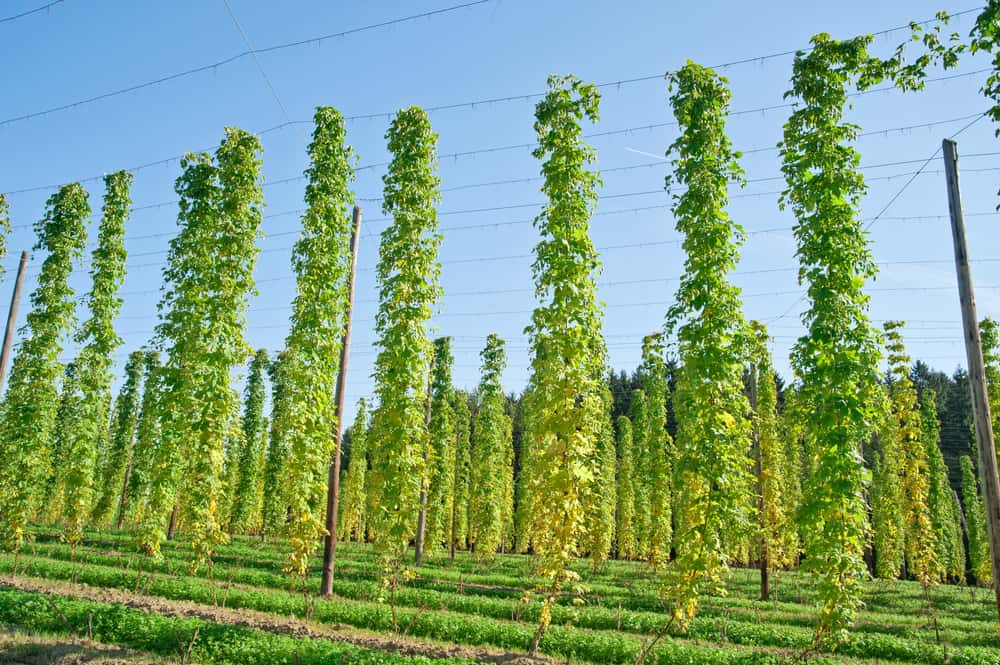
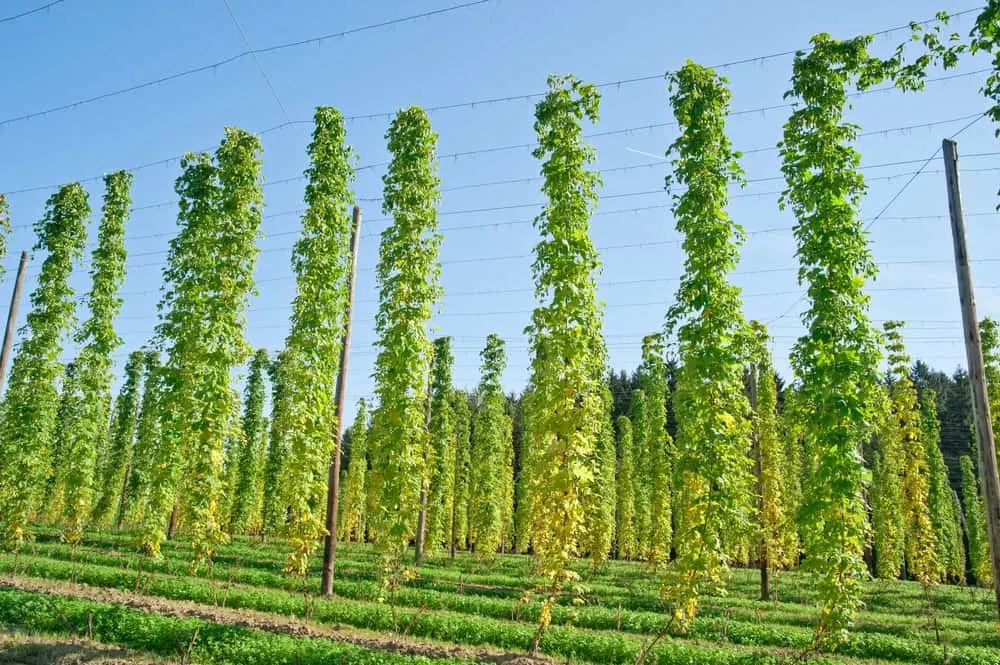
Hops can grow over 25 feet in a single growing season, so providing space for them to stretch out is necessary.
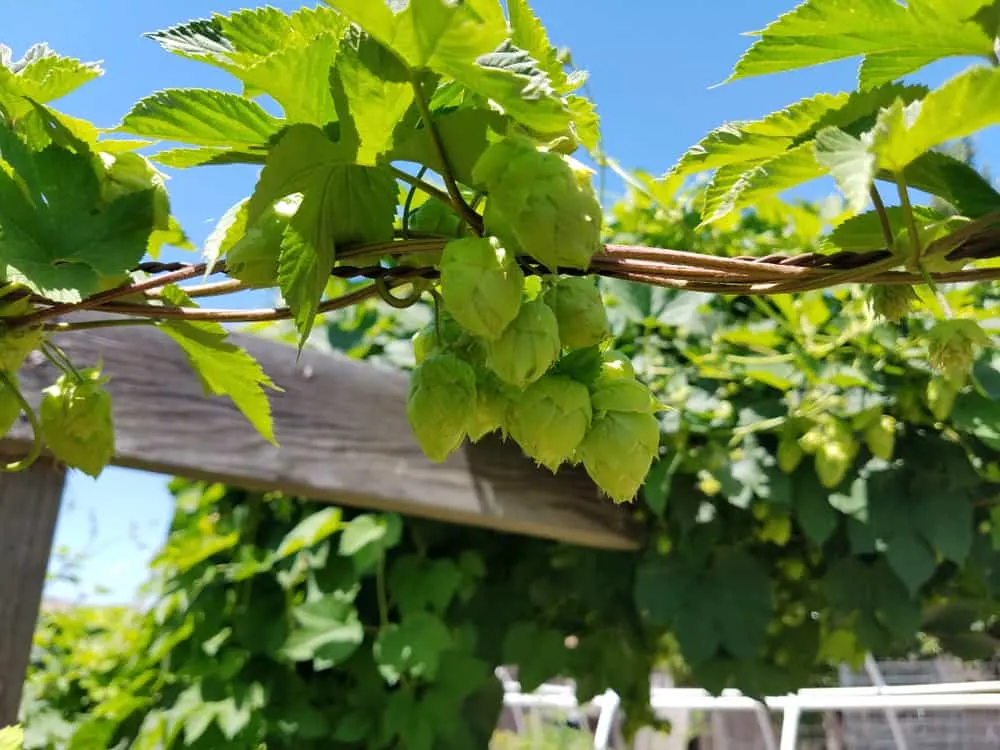
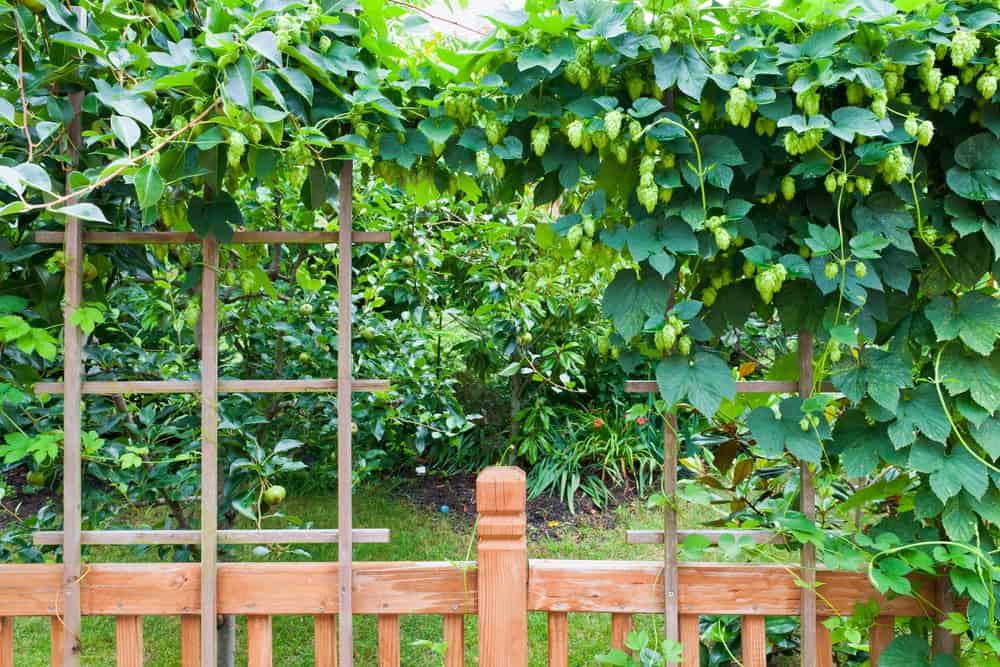
Some people incorporate their hop plants into their backyard décor by growing them through pergolas to produce some natural shade. You can also grow them along a tall fence or against a garage.
If your growing space meets these specifications, read on to make progress towards your first harvest.
1. Choose Your Rhizomes
The traditional way to grow hops is by planting rhizomes from established plants. It’s often possible to buy them locally, but you’ll likely have access to more varieties if you buy them online.
You can expect to pay between $4-$10 for plain rootstock, and $8-$10 for potted hop plants.
It’s usually best to start with several varieties so that you can see what works best for your conditions.
2. Choose a Location

When it comes to choosing a space to grow hops, sunlight and soil quality are the two most significant factors.
You’ll want at least 8 hours of daily sunshine (south-facing is ideal) and well-aerated soil that contains plenty of nutrients.
Try to find a space with late afternoon shade to prevent scorching. Equally important; make sure there’s space to build a trellis.
3. Start Planting
You have some options when it comes to planting your hops rhizomes. The early fall will work if you live where it barely stays below freezing for long and you lightly mulch the plants.
However, most people plant in the early spring as soon as the temperature is consistently above 60 degrees F. If the weather stays cold after you plant, it’s best to cover any new growth as it appears so that it doesn’t get damaged.
To start, prepare your soil by removing any weeds and debris and ensuring that it’s loose and free of clumps.
Then plant the rhizomes about two inches down in twelve-inch mounds fertilized with blood meal, ensuring that the small buds point up. Be sure each piece you plant is at least an inch long to ensure it’s viable.
Plants of the same variety can handle three-foot spacing, but different types need at least five foot. Fertilize frequently for the first few months, as hops can grow up to a foot a day.
Note: Hop roots spread under the soil through their rhizomes, so after your plants are established, you can dig up the new growth to start new ones in other places.
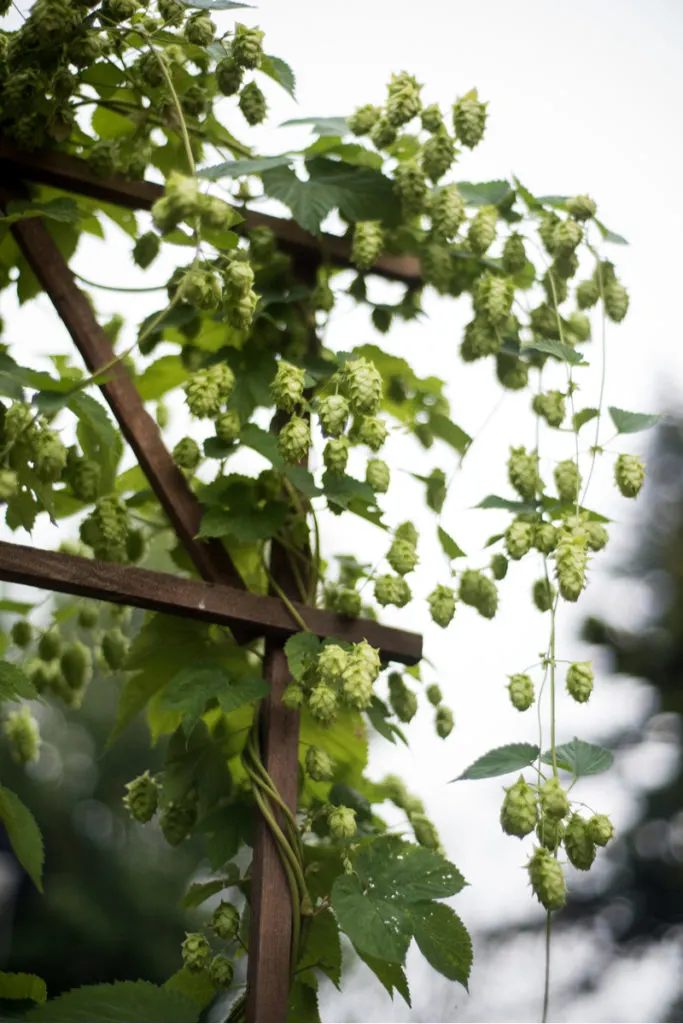
4. Establish a Trellis
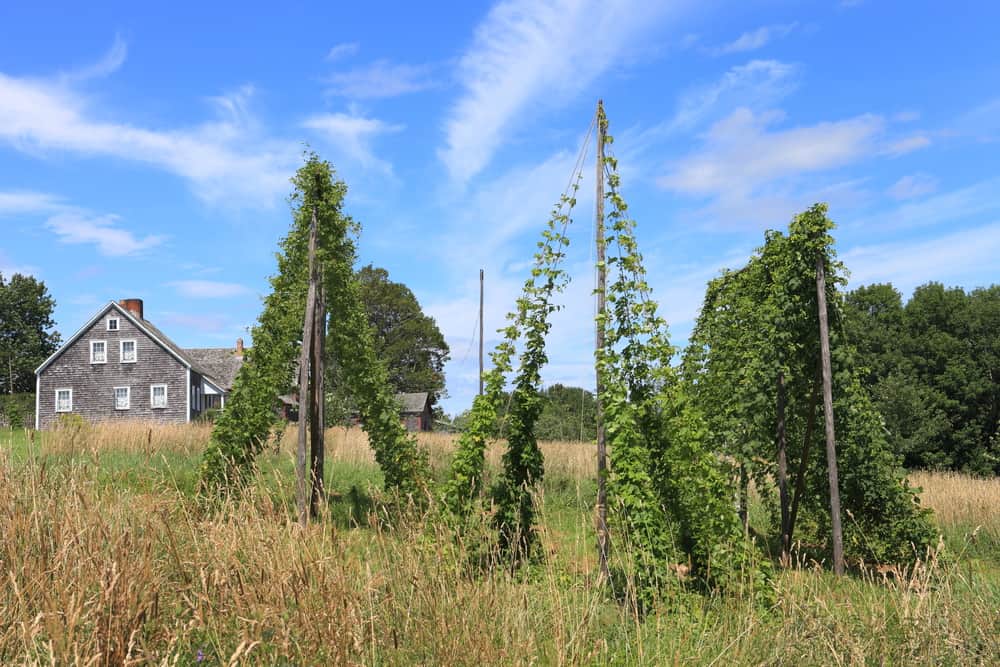

Once planted, your hops will need to be supported by a trellis or something similar.
There are dozens of different hop trellising methods, and you can modify the shape to your aesthetic preferences.
Not only does being the vines trellised help them grow vertically in small spaces, but it also helps them resist problems caused by too much moisture like mold and mildew.
5. Maintain Your Hops

Once planted and trellised, hops don’t need much attention to continue growing. It’s best to water new plants every day (plants over a year need less water) and keep the soil surrounding the plants free from weeds.
You might want to pull off lower leaves on the plants so that the vines direct energy towards growth at the top.
6. Combat Hops Diseases and Pests

Homegrown hops tend to be healthy, but there are a few things to be aware of during the growing process.
Downy Mildew: If you see a silvery upper surface and black underside on hops leaves with a brittle, spiky appearance, they probably have downy mildew.
Remove infected leaves from plants right away, so it doesn’t spread.
Keeping the vines clear of weeds and maintaining proper airflow can prevent it from becoming established in the first place.
Wilt: This hop disease shows itself as leaves turning dull green with alternating yellow bands. Remove infected leaves to slow down the spread.
Hop Aphids: These common pests can destroy an entire hop crop if left unchecked. If you see some attached to the undersides of leaves, you can spray them with an organic insecticide.
Alternatively, introduce some ladybugs into the crop to act as a natural aphid predator.
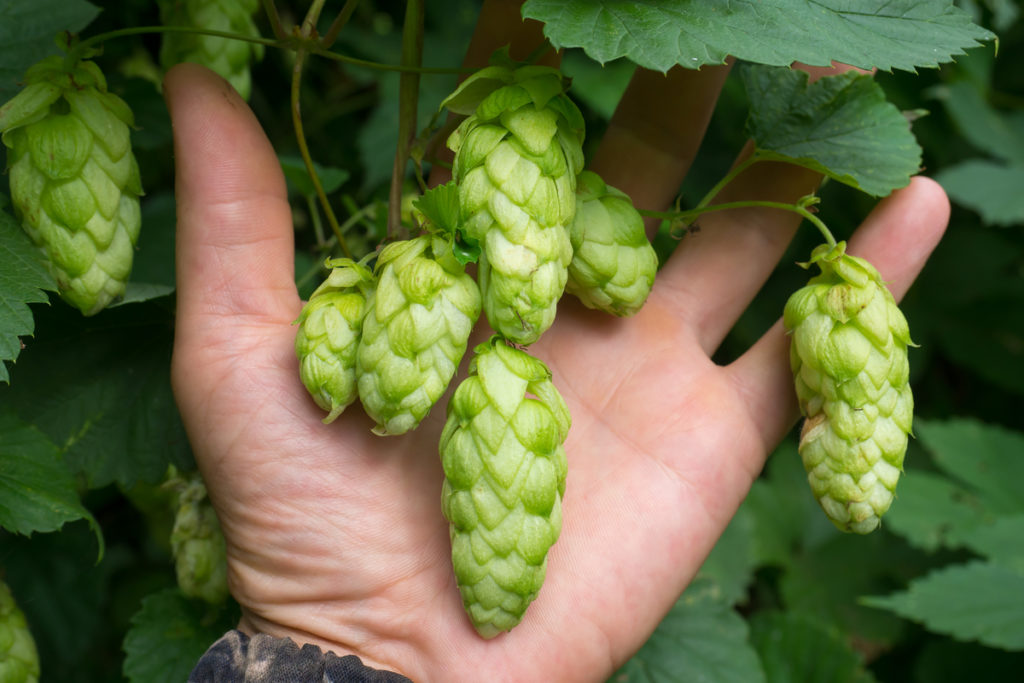
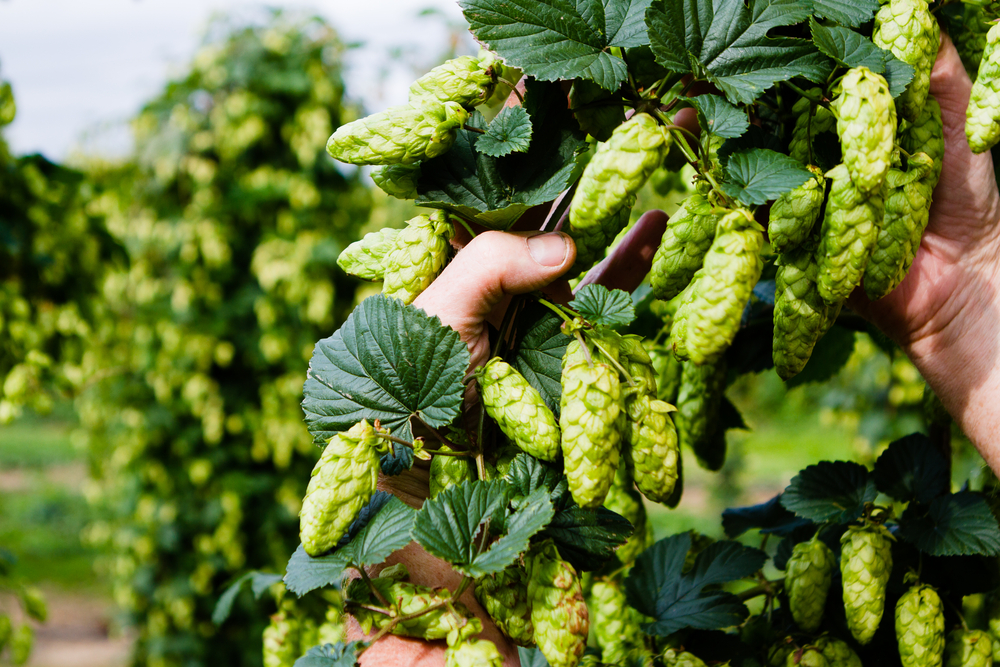
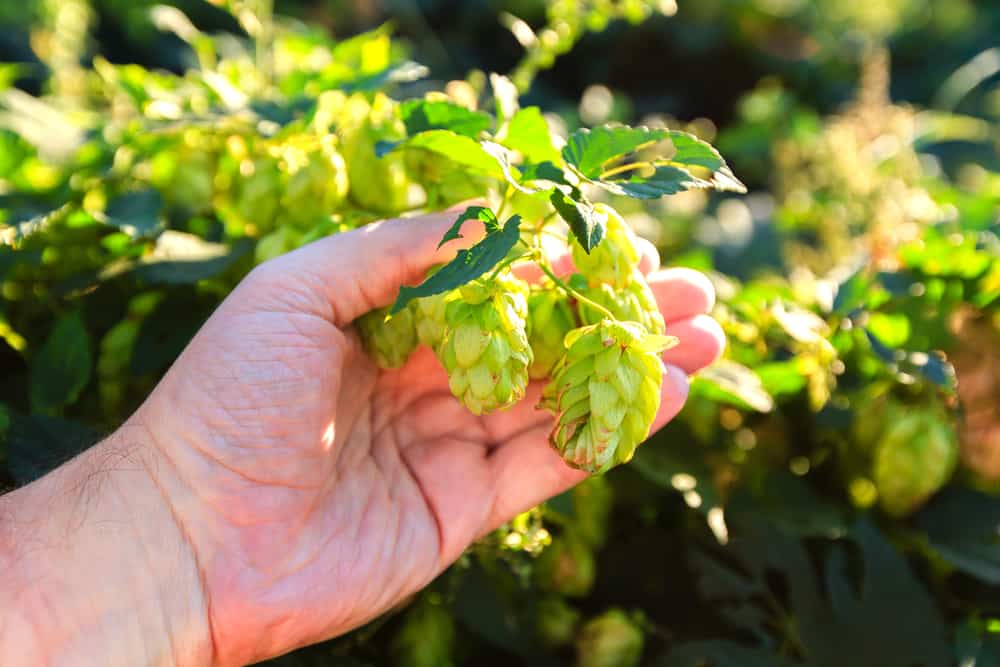
7. How To Harvest Hops

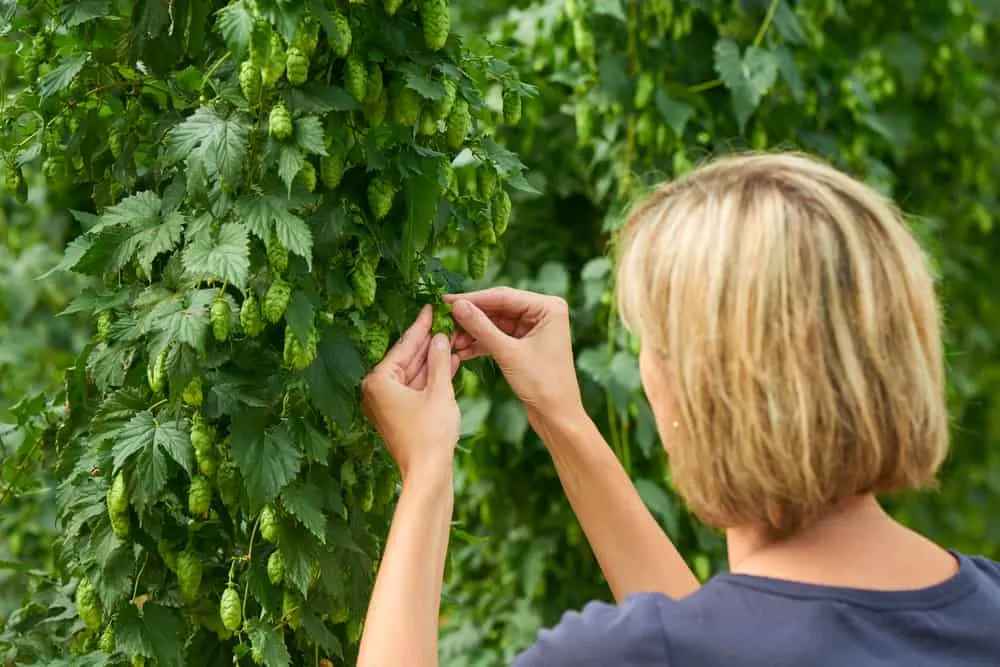
You aren’t likely to see many cones the first year you grow hops because the plant is building a robust root system.
Year two tends to be when harvesting begins in earnest. Patience is critical during this step, as many people pick their hops too early in the growing season.
Depending on your region, harvest usually takes place in mid-August through September. Patience is critical during this step, as many people pick their hops too early.
You’ll want to pinch a cone to feel the texture. If it feels light and papery and springs back after a squeeze, you can harvest it.
Gently twist the ripe cones off the plant, leaving any that are further behind to ripen for a few more days. Once plants reach maturity, you can expect about two pounds of dried hops each.
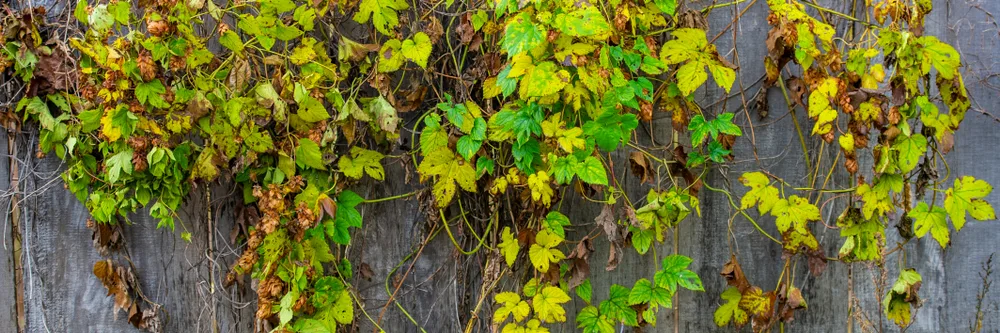
At the end of harvesting, you’ll want to cut off the bines (central vine) from each plant to about three feet above ground level.
The remaining bines will be killed off in the winter, at which point you’ll want to cut them down to an inch and cover what remains with mulch until the following season.
Note: hops are toxic to dogs, so never let your pup eat them before or after harvesting.
8. Drying Your Hops Harvest
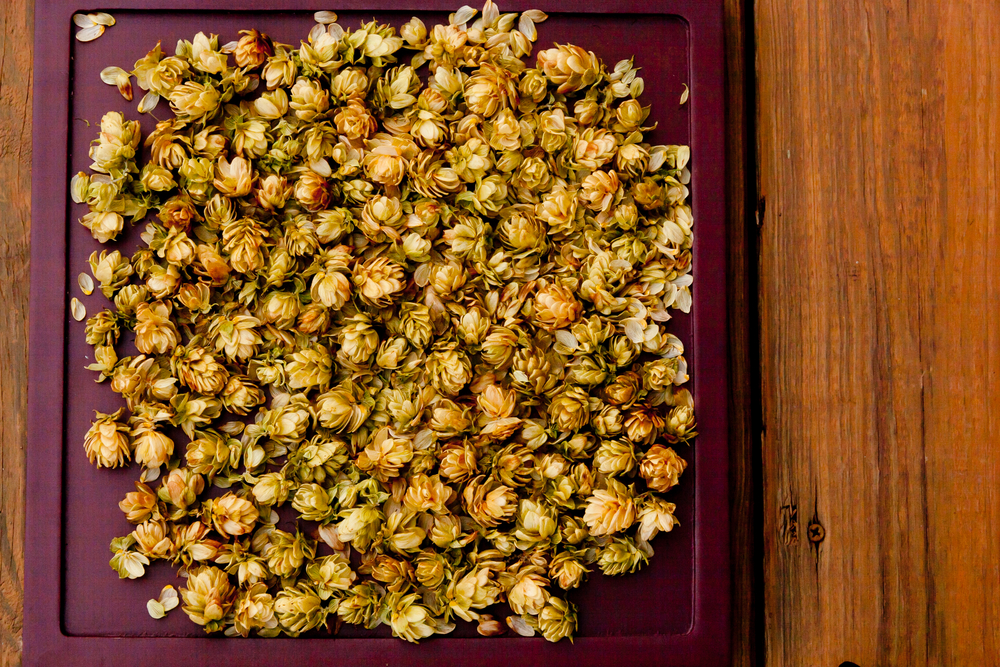
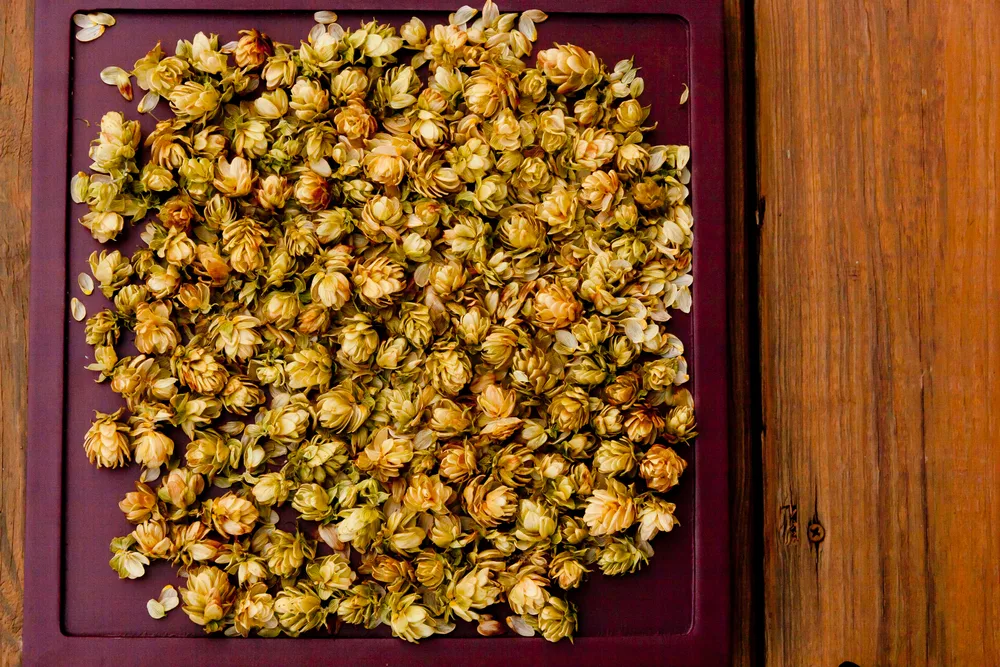
Your hops need to be dried after harvesting. A food dehydrator set to the lowest setting works best, but you can also rely on a sunny window.
The cones are done when their stems are brittle, and you can sell them or use them for beermaking immediately after.
For longer-term storage, it’s best to vacuum seal the hops and store them in the freezer.
Brewing Beer
Brewing your own beer can be a complex process involving a lot of equipment. It is beyond the scope of this article but this is a great tutorial from Northern Brewer for learning more.
3 Uses for Homegrown Hops (Besides Craft Beer)

Not interested in beer? There’s a lot more you can do with hops besides homebrew.
Below are some suggestions for putting your crop to use.
Improve Your Sleep
Legend has it that hops can cure insomnia. In fact, people used to stuff their pillows with hops so they could breathe in the scent all night.
If you don’t want to go to that extreme, you can still keep a cone or two close to the bed.
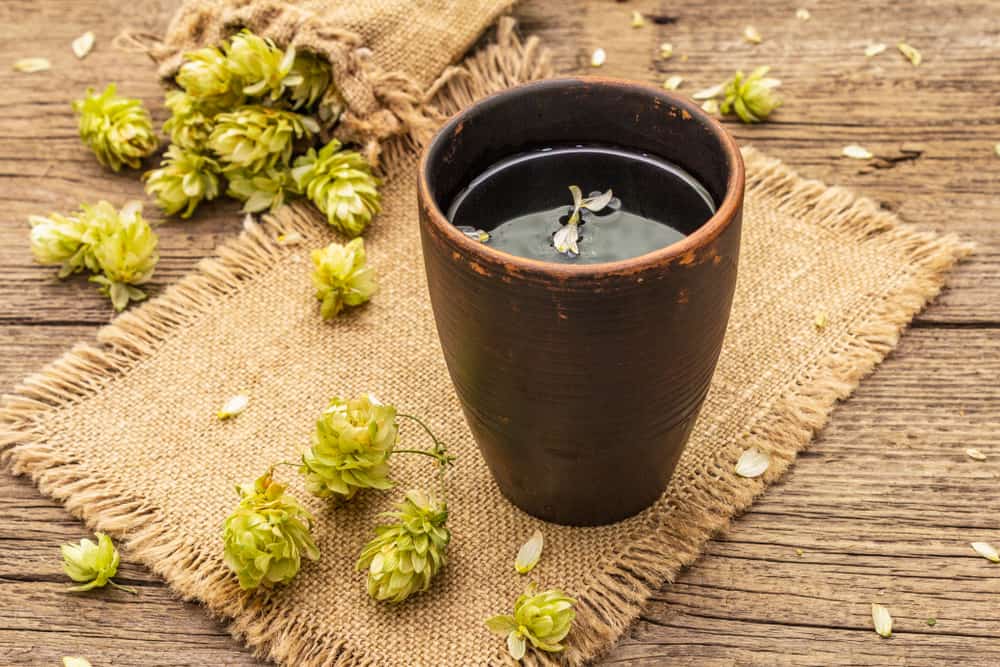
Aid Digestion
It’s possible to steep hops into tea, and the resulting beverage will purportedly soothe your stomach and calm down the symptoms of ulcers, IBS, and Crohn’s disease.
Quick Beer for Breadmaking
If your interest in alcohol is limited to beer bread, it’s possible to use homegrown hops to brew a quick beer that’s perfect for baking.
Just heat two quarts of water and steep two ounces of hops for 15 minutes.
Strain them out and dissolve a pound of sugar in the water before adding an additional four quarts of cold water.
Put the mixture somewhere warm for 12 hours, and you have the perfect brew for baking.
Growing homegrown hops is a rewarding hobby that will reward your efforts for years to come. Take the time this season to establish a crop, and you’ll have no shortage of high-quality craft beer supplies.

Get the famous Rural Sprout newsletter delivered to your inbox.
Including Sunday ramblings from our editor, Tracey, as well as “What’s Up Wednesday” our roundup of what’s in season and new article updates and alerts.