

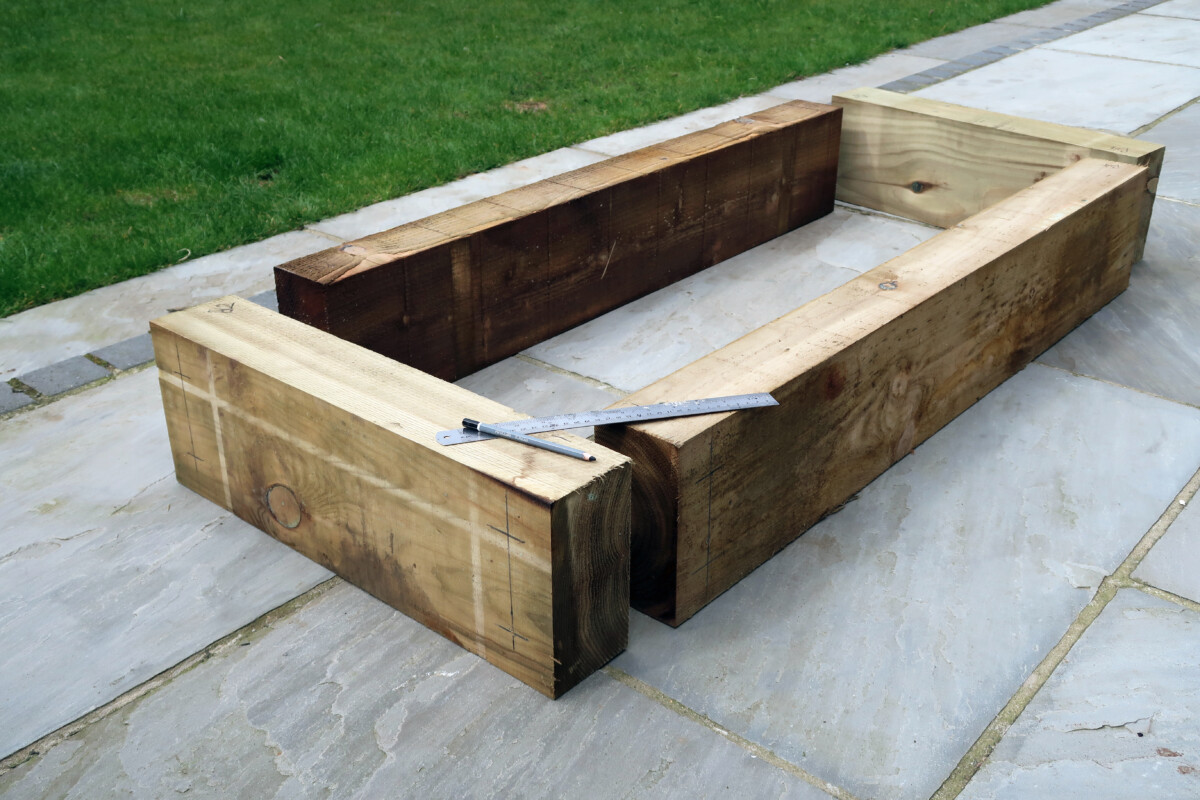
Gardening at home can be challenging if you lack a lush lawn to transform into a planting space. A yard filled with concrete can pose its challenges for growing food, but it’s a far from insurmountable hurdle if you’re willing to get creative.
Building a raised bed on concrete, patio or pavement is an excellent option for anyone low on outdoor space who wants to maximize their backyard garden space.
While these garden beds have tremendous potential to be productive, you need to make some careful decisions when setting one up to ensure it will provide produce for years to come.
Here’s a quick-start guide for how to set up a raised bed on concrete, patio, pavement or other hard surface.
First: Is It Safe to Grow Food on Concrete?
Concrete is a durable, low-maintenance, and semi-porous material that makes an ideal base for raised beds. However, it has the potential to contaminate the garden soil and leach any chemicals on it into your food supply.
For this reason, it’s best to only place raised beds on concrete that is clean and free of chemical treatments and to have a liner on the bottom of the bed to create a barrier between the soil and the ground.
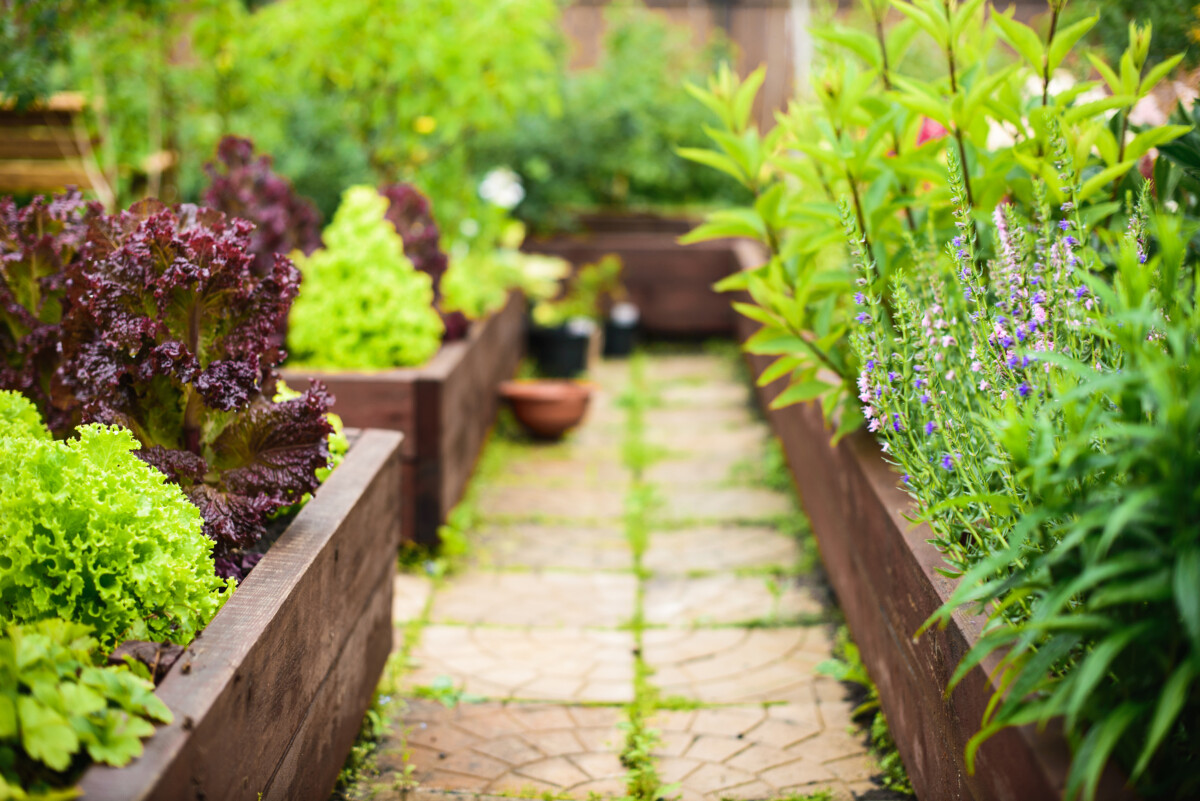
Advantages of Raised Beds on Concrete or Patio
There are many reasons to consider building raised beds on hard surfaces:
- Maximize your growing space: creating garden beds on concrete lets you utilize otherwise wasted space.
- Fewer pest problems: since they are elevated and separate from soil, raised beds on concrete are less likely to become infested with insects and have fewer rodent problems.
- More control over soil quality: building a raised bed lets you start fresh with soil to reduce the chances of dealing with nutrient deficiencies.
- Better drainage: contrary to intuition, raised beds on concrete often have fewer drainage issues because you have more control than in a waterlogged garden bed. That’s one reason why plants in raised beds are less likely to develop root rot.
- Improved accessibility: raising the soil line upwards means less kneeling and bending over as you garden.
- Allows for dense planting: since raised beds are filled with nutrient-rich soil, it’s possible to space plants more tightly than you might in a traditional garden bed.
Things to Consider Before Starting
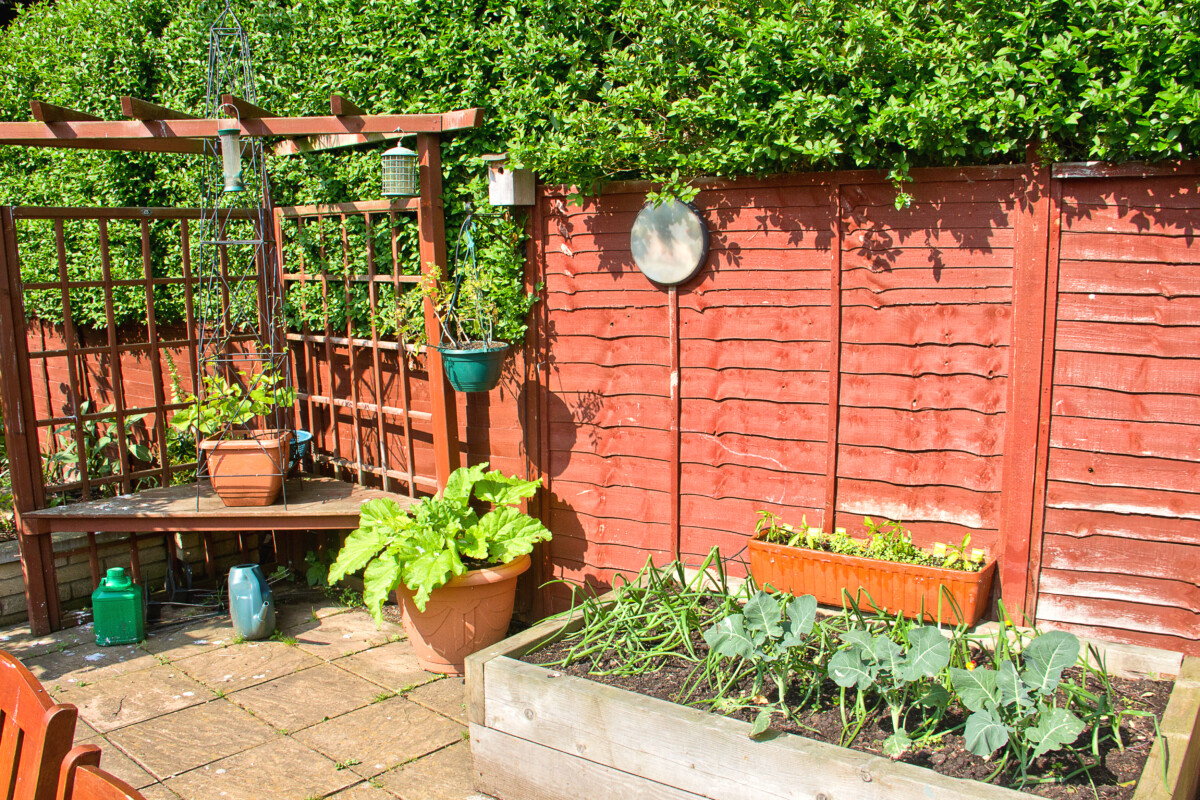
Sufficiently convinced of the advantages, you’re now interested in putting a raised bed on concrete. Great! But before getting started, here are some important considerations when deciding whether this is the right growing strategy for you.
- Sunlight is essential for a successful garden! Choose a planting space that gets plenty of it. Factor in the shadows from nearby buildings, as patios tend to be built close to homes.
- Since concrete is alkaline, it can reduce the acidity of garden soil over time. Plan to test periodically with a pH meter and adjust as needed.
- Consider your concrete color. Raised beds built on dark pavement will absorb more sunlight and heat up quickly. They will have a higher evaporation rate and need more frequent watering.
- While planting overtop concrete can prevent pests from getting in your bed, it also restricts access to beneficial creatures like earthworms. You may need to add some into the bed yourself.
- Level concrete is critical for a successful raised bed. Build one on a significant slant, and you’ll deal with constant water drainage issues.
Wood, Metal, or Plastic? Which is Best for Raised Beds on Concrete?
There have never been more options for materials for a raised bed. Each popular choice has its share of pros and cons.
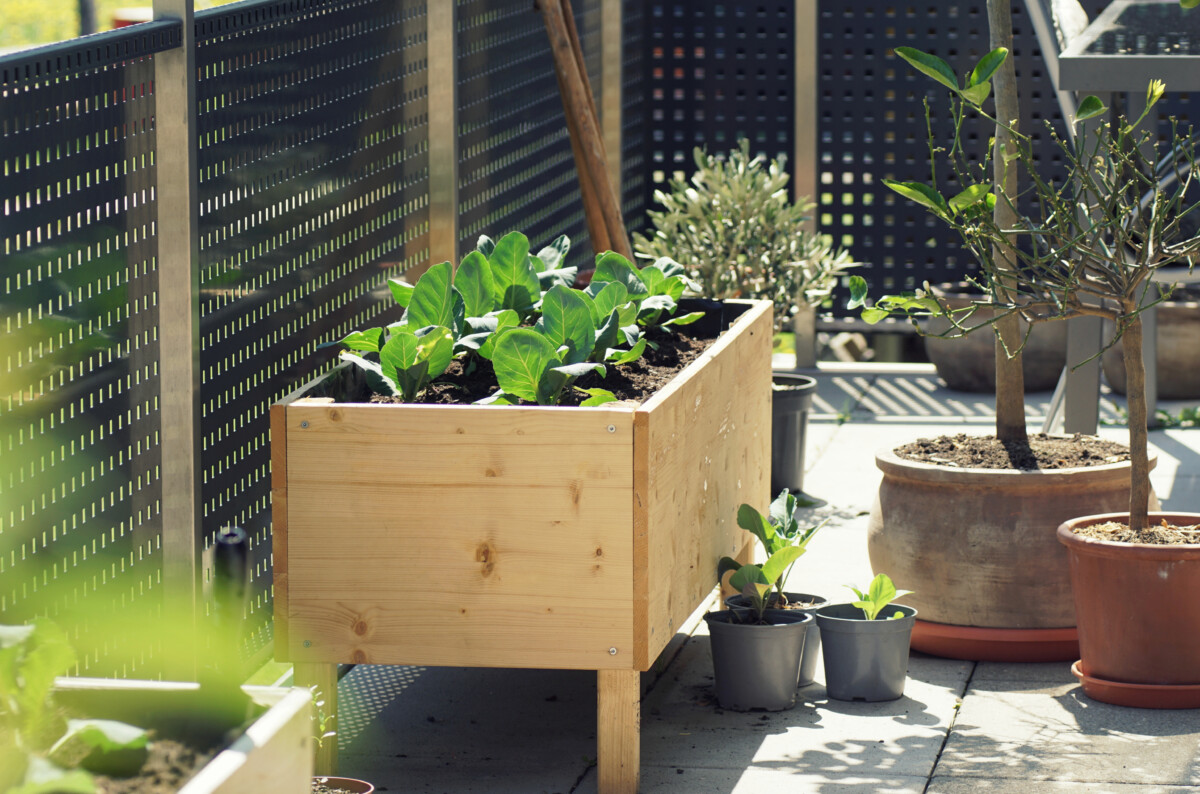
Wood Raised Beds
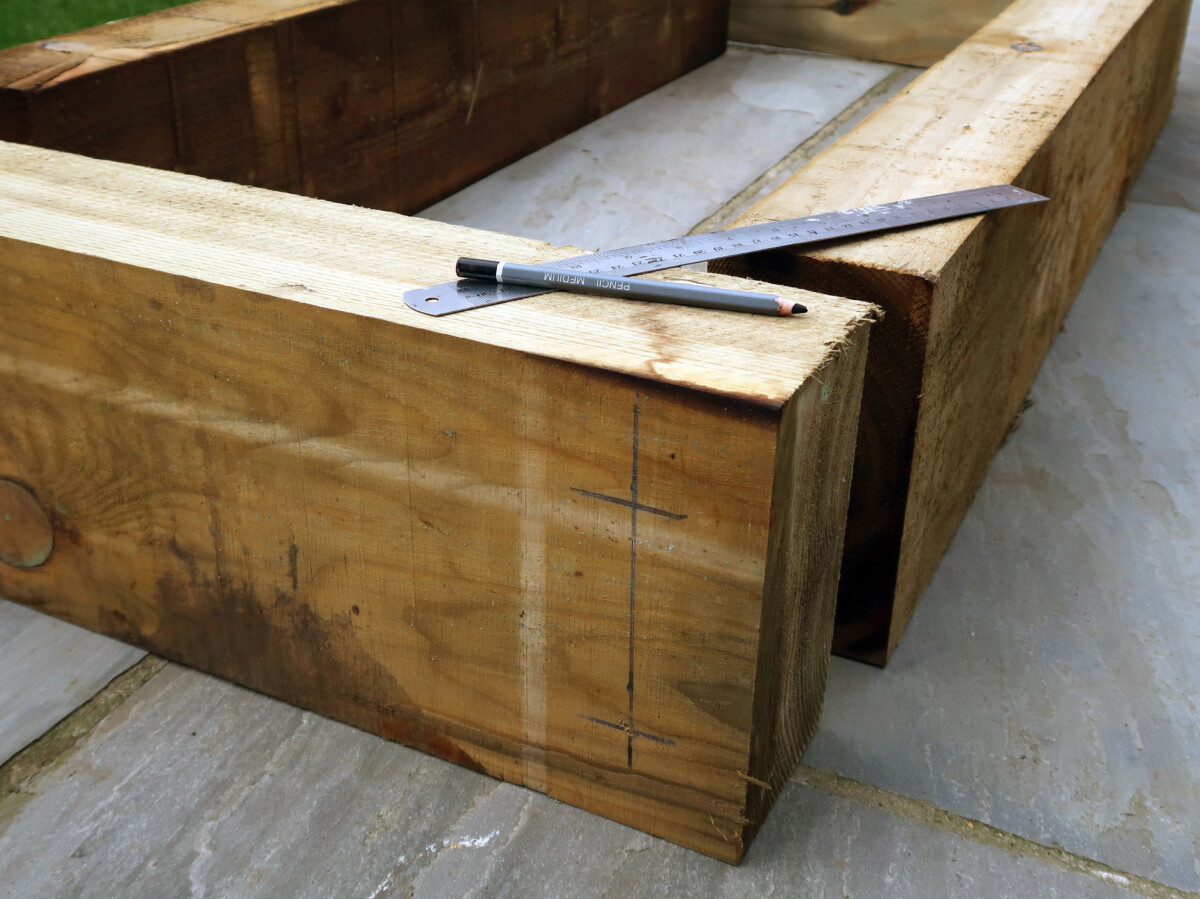
Wood (typically cedar) is a popular choice for raised beds. It’s naturally durable and rot-resistant to withstand contact with wet soil. While this material tends to be the most expensive, it produces a beautiful and functional final product.
Wooden raised beds will show their age after a few growing seasons. You may need to watch for rot and replace boards as necessary. There are some things you can do to extend the life of your wooden raised beds.
Popular cedar raised bed options:
- Boldy Growing 4’x4′ Cedar Raised Bed Garden Kit
- Greenes Fence Premium U-Shaped Bed (8’x12’x16.5’)
- Outdoor Living Today 8’x8’ U-Shaped Bed
Metal Raised Beds
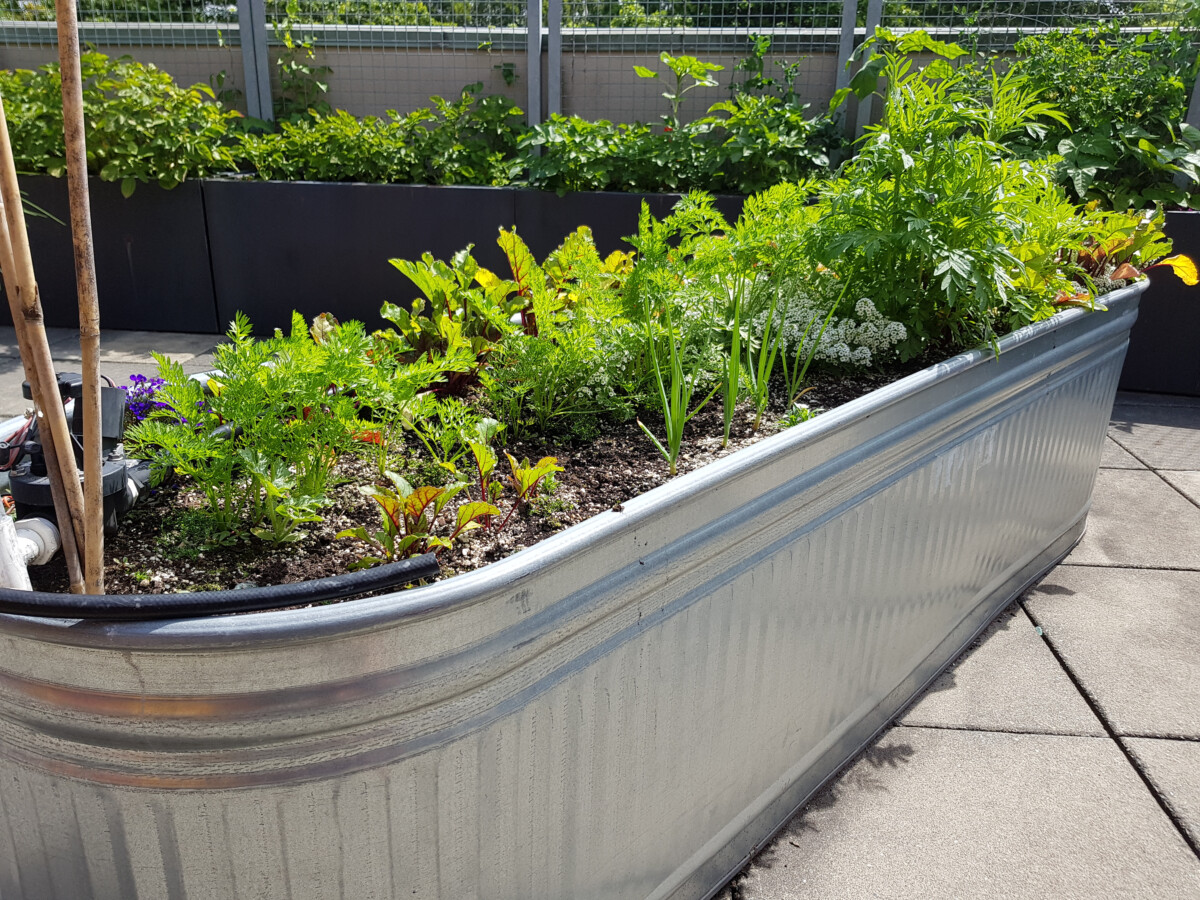
Using a metal raised bed on concrete is a great option. Galvanized steel is relatively inexpensive and is a durable material that is easy to clean and maintain. Metal can also help regulate soil temperature to keep it consistent regardless of the weather. Just note that the material itself can get hot in direct sunlight and may scald delicate plants that come in contact with it.
Popular metal options:
- Kesfitt 4’x2’x1’ Outdoor Planter
- Foyuee 8’x4’x 1’ Galvanized Raised Garden Beds
- Gadi Raised Bed Garden Kit
Plastic Raised Beds
Plastic is a popular choice for raised beds. Not only is it cheap, but it’s lightweight, easy to move around, and requires minimal maintenance over its lifespan. The problem is that lifespan tends to be shorter than other materials, as plastic will break down due to exposure from the elements. And like metal, black plastic will attract heat that might harm plants that touch it.
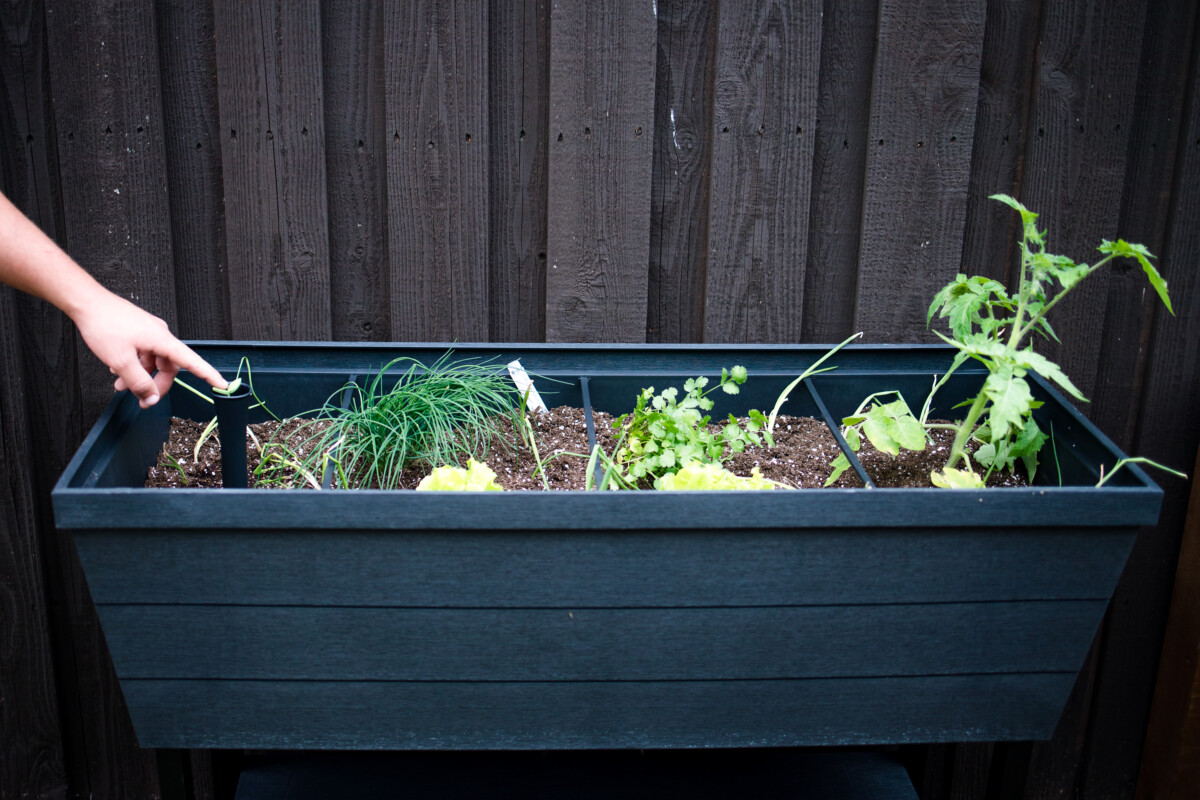
Elevated Raised Beds
Remove concrete as a factor entirely by elevating your raised bed. This planting strategy brings the bed up to waist height or higher, so there’s no bending over when working in it.
The downsides are that they tend to be small, expensive, and limited in what you can grow (root crops likely won’t work). However, they can be a garden saver for those with limited space and mobility.
- Best Choice Products 72”x32”x30” Raised Bed
- Boldy Growing 4’x 2’ Cedar Raised Bed
- North River Trading Raised Planter Box
How Deep Should a Raised Bed Be?
Planting depths for raised beds are an essential consideration, especially when placed on concrete. You need to build it high enough to allow adequate space for root expansion while keeping things cost-effective from a soil and materials standpoint.
Deeper beds require less maintenance. That’s because the soil has a higher capacity to hold onto moisture and nutrients, meaning you’ll need to water and fertilize less often.
Think of your raised bed as a large pot—your plants are restricted to the moisture and nutrients within it. This means you need to consider soil quality carefully.
The depth necessary will depend on what plants you want to grow. Most common vegetables can make do with at least 12 inches, while larger plants like tomatoes, eggplant, and even kale require 18-24 inches to thrive. Below-ground produce like carrots and potatoes may need even more. So, for maximum versatility, it’s best to build your beds so the soil line is at least 36 inches above the ground.
Adding Soil to a Raised Bed on Concrete
Filling your raised bed with soil is a slightly different situation when it’s placed on concrete. That’s because raised beds on bare ground can draw in moisture from groundwater, while excess water can reabsorb into it. But put the bed on concrete, and it’s unable to access any extra.
This means you need to give extra consideration to water permeability and nutrient retention, as the plants won’t be able to access anything beyond what you provide for them directly.
One method is to assemble your bed in the following order:
First layer: landscape fabric
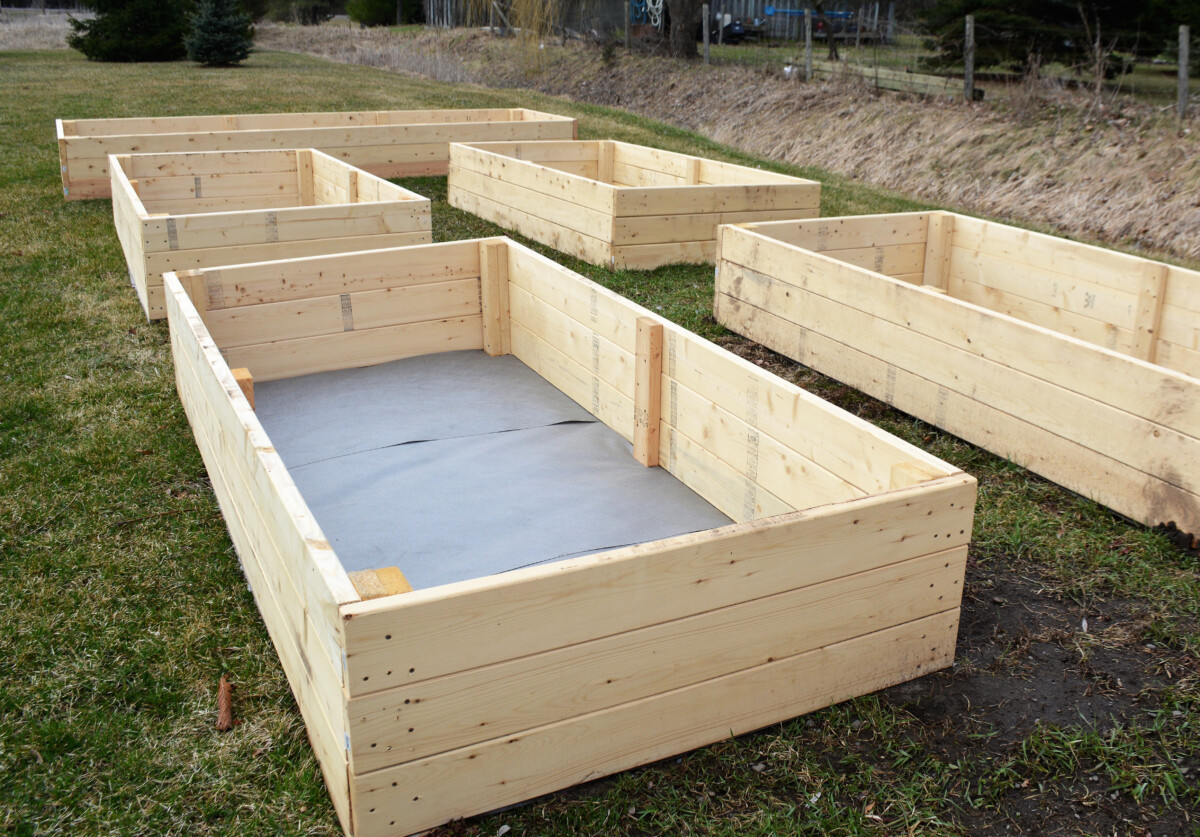
Raised beds work best when the soil doesn’t make direct contact with the concrete. Not only do you run the risk of trace chemical compounds leaching into the growing space, but over time the soil will seep out from the bottom of the frame and wash away.
Putting down landscaping fabric will help create a barrier between them while still allowing for drainage.
Second layer: gravel
Add about three to six inches of coarse gravel to the bottom of the bed. Not only will this filter excess water away from plant roots, but it will prevent soil from washing out the bottom and reduce the chance that plant roots will come in contact with the concrete.
Third layer: Nutrient-rich garden soil
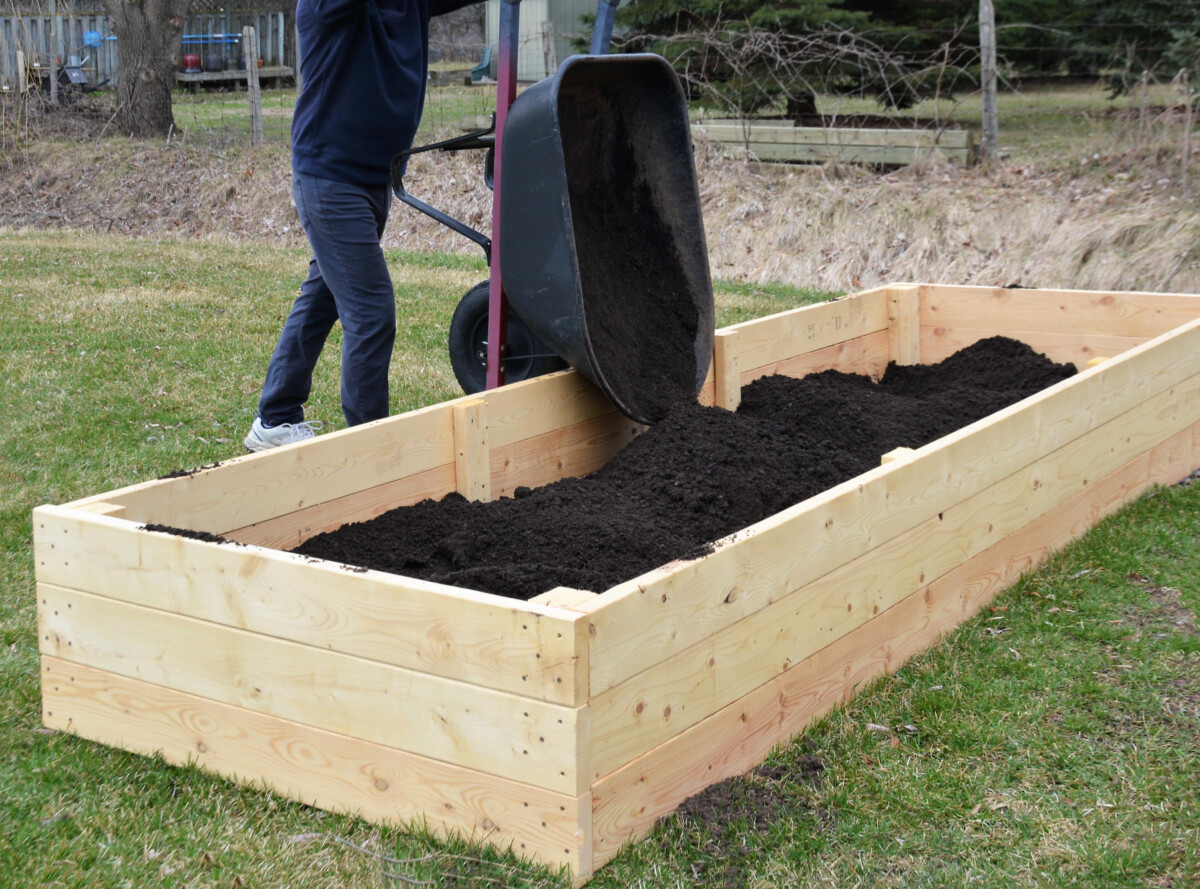
The majority of your bed must contain a high-quality soil mix. Choose a light, well-draining mix, preferably one designed for raised beds. Don’t go the cheap route, as high-quality soil with lots of compost can help compensate for the shallower root space in the bed.
Avoid using potting soil on its own, as it is lightweight and will dry out too fast when not mixed with compost.
Note: If you plan to intermix larger materials into your raised bed’s soil through a lasagna gardening strategy, then it’s best to build the bed in the fall—or at least several months before planting. This gives the material time to break down and comingle for better access for plant roots.
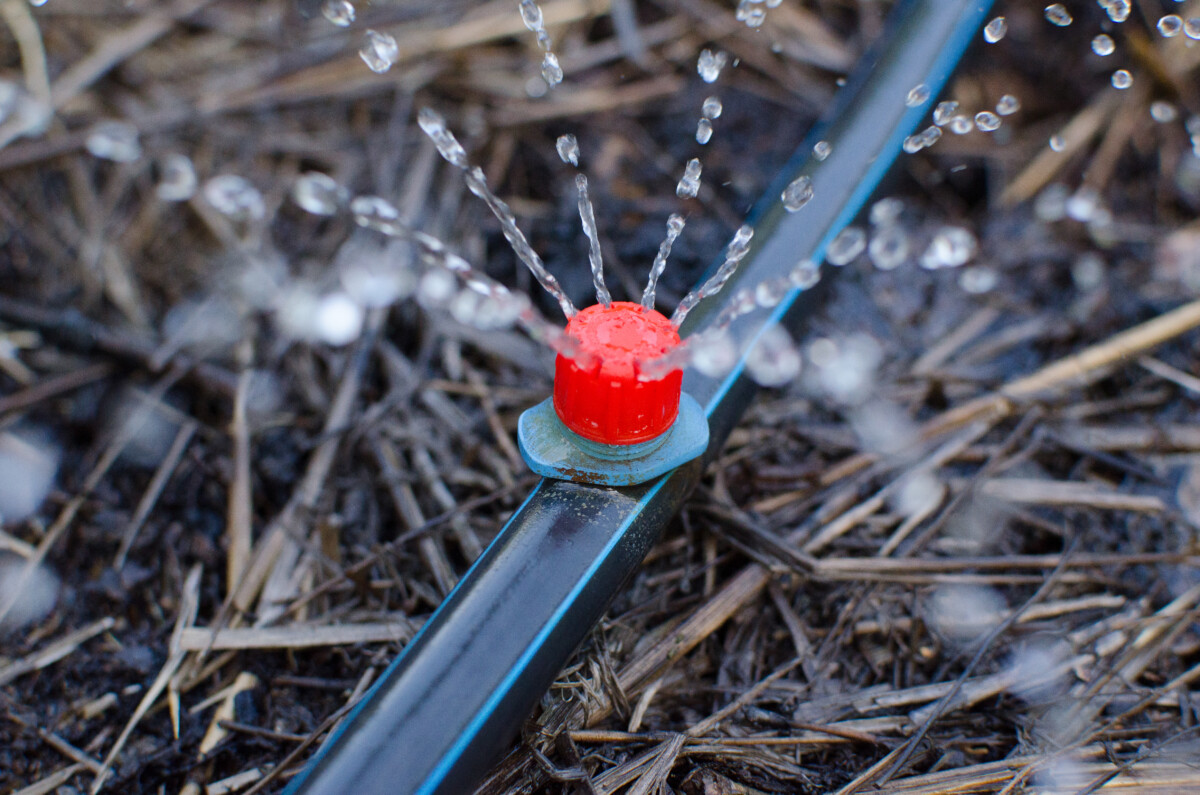
Irrigating a Raised Bed
Keeping a raised bed well-watered is critical for success. The plants are more sensitive to weather changes than those in the ground, meaning that they can wilt after only a few hours at high temperatures.
Drip irrigation is a natural fit for raised beds. This system allows you to pinpoint precisely where the water goes and leads to less waste from evaporation and runoff.
There are other benefits. Drip irrigation is easy to automate, meaning you can be elsewhere during the watering. It also allows for an even soak that is especially beneficial for germinating seeds.
And, since you won’t use a tiller or other large machinery in a raised bed, the odds are low you will accidentally break the system.
If you’re not interested in the setup process for drip irrigation, hand watering with a hose or watering can is also possible. Avoid using overhead sprinklers for raised beds, as they lack precision and you’ll likely get as much water on the concrete as in the raised bed.
How do you manage drainage on concrete?
Adequate drainage is an important concern for raised bed gardeners—all the more so if yours is on concrete. Since concrete is less porous than soil, you risk the water building up inside and rotting plant roots.
However, there are steps you can take to mitigate this risk. The key is to water a raised bed to the point that the soil stays consistently damp but not oversaturated.
One way to test that your raised bed won’t get waterlogged is to perform a quick test before constructing it. Pour some water where you plan to place it, and watch where it drains. If it puddles where you poured it, you may need to reconsider the placement or level out the ground first.
It’s also possible to drill several small holes near the bottom of the bed to give water an escape route.
How frequently do you water raised beds on concrete?
While watering needs will vary based on your local climate, you can expect to water raised beds more frequently than in other gardens. Being elevated leaves the soil more prone to drying out from wind and evaporation, and denser plantings mean more roots are drawing from the water supply.
The frequency of watering will depend on the type of plants you’re growing, as well as the weather. Plan to touch the soil frequently and water it whenever it feels dry several inches below the surface. In hot weather, this might be up to twice a day.
How can you prevent stains on concrete?
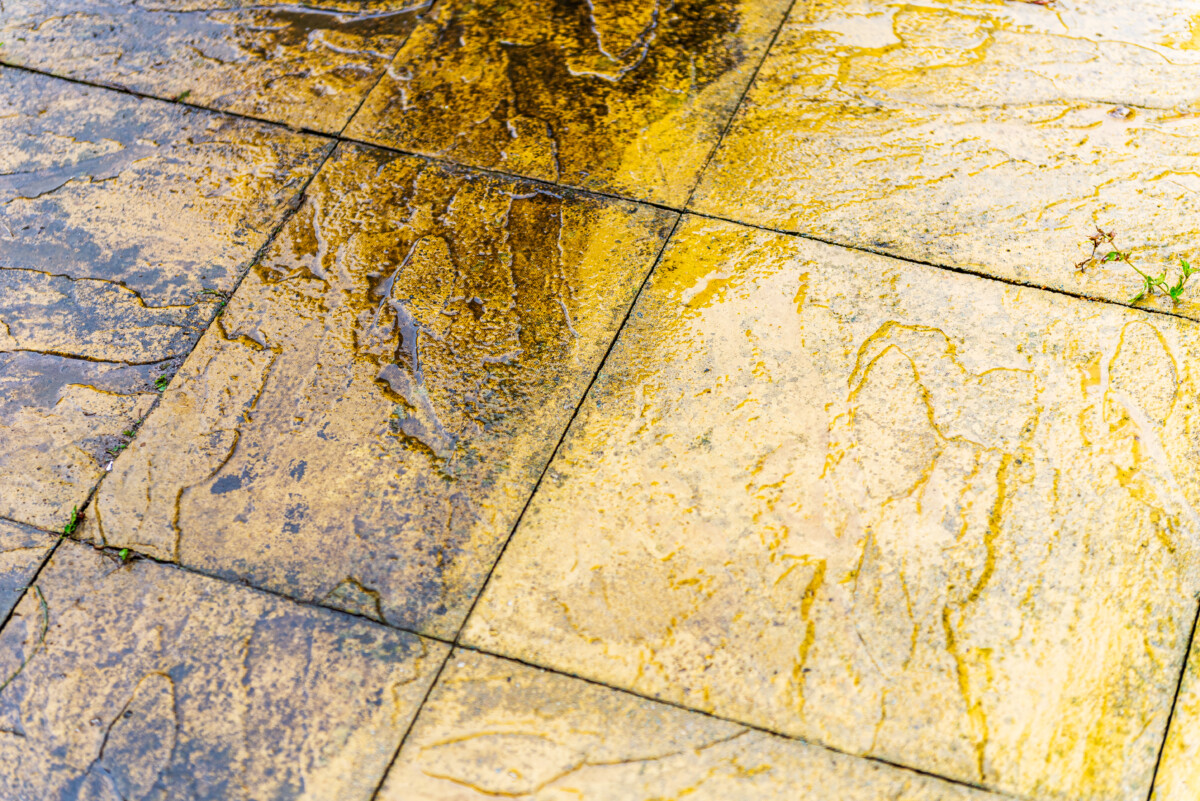
A raised bed contains tons of moist, dark material. As such, it has a high likelihood of staining the concrete it’s built on. You can reduce this risk by avoiding overwatering, covering the beds in winter, and keeping the soil filled with organic materials that enhance absorption.
Maintaining Raised Beds on Pavement
So long as you set it up well, taking care of a raised bed is relatively easy. It’s important to top off the bed with fresh soil between growing seasons. This will counteract the settling that happens naturally and ensure nutrients are present for plant roots to take in.
Fertilizing Raised Beds
Adding well-aged compost when you replenish the raised bed’s soil is a must. However, most plants will benefit from some mid-season fertilizer. Consider adding a liquid fertilizer every few weeks during the height of the growing season. Worm tea or fish emulsion tends to work well.
Renewing the Soil
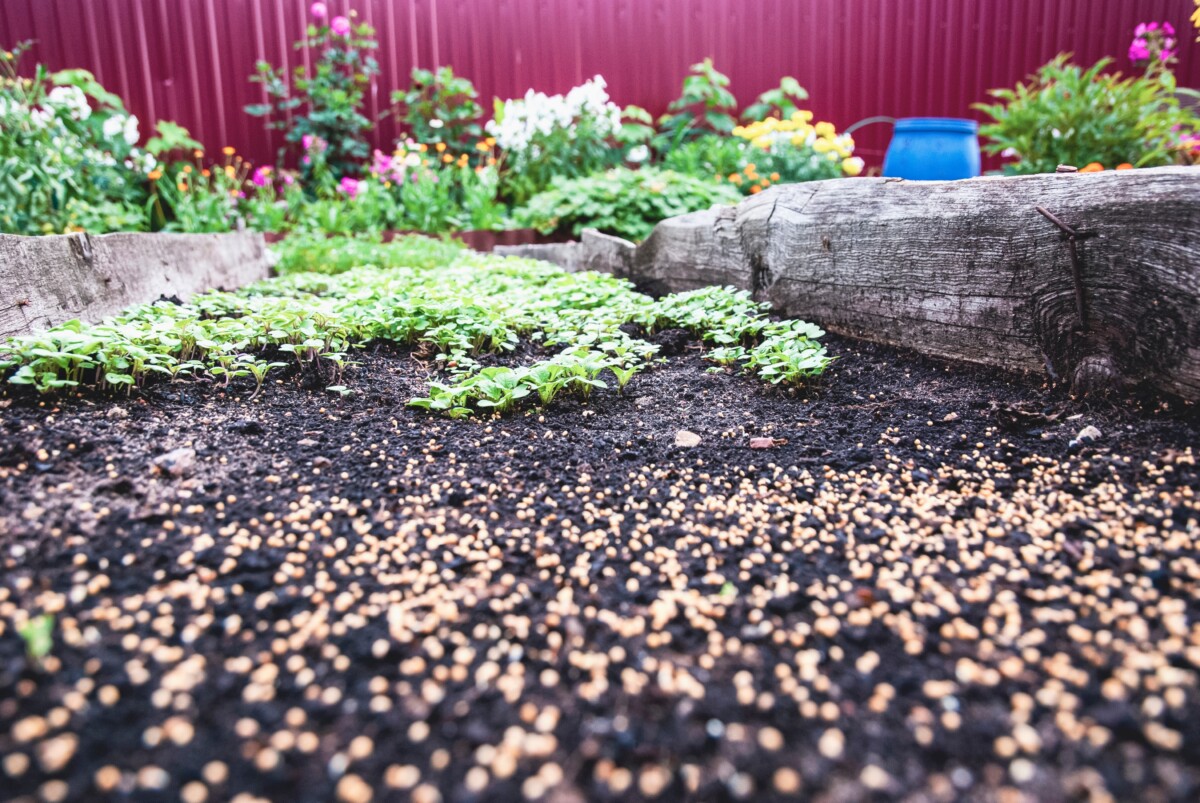
Fall is the perfect time to give your raised beds a refresh.
It’s smart to add a layer of mulch over the soil. This will act as an insulating blanket over winter—preventing soil loss from winter winds—and will break down into the ground for spring planting. Straw, shredded leaves, and wood chips all work well.
You can also sow a winter cover crop like a legume, oats, or wild rye to anchor the soil in place and bring nutrients back into it.
Raised Beds on Concrete – Yes, It’s Possible!
Setting up a raised bed on concrete or patio might seem counterintuitive, but the results are well worth the effort. Take the time to set up the growing space correctly, and you’ll benefit from a bounty of homegrown produce from an otherwise wasted space.

Get the famous Rural Sprout newsletter delivered to your inbox.
Join the 50,000+ gardeners who get timely gardening tutorials, tips and tasks delivered direct to their inbox.