

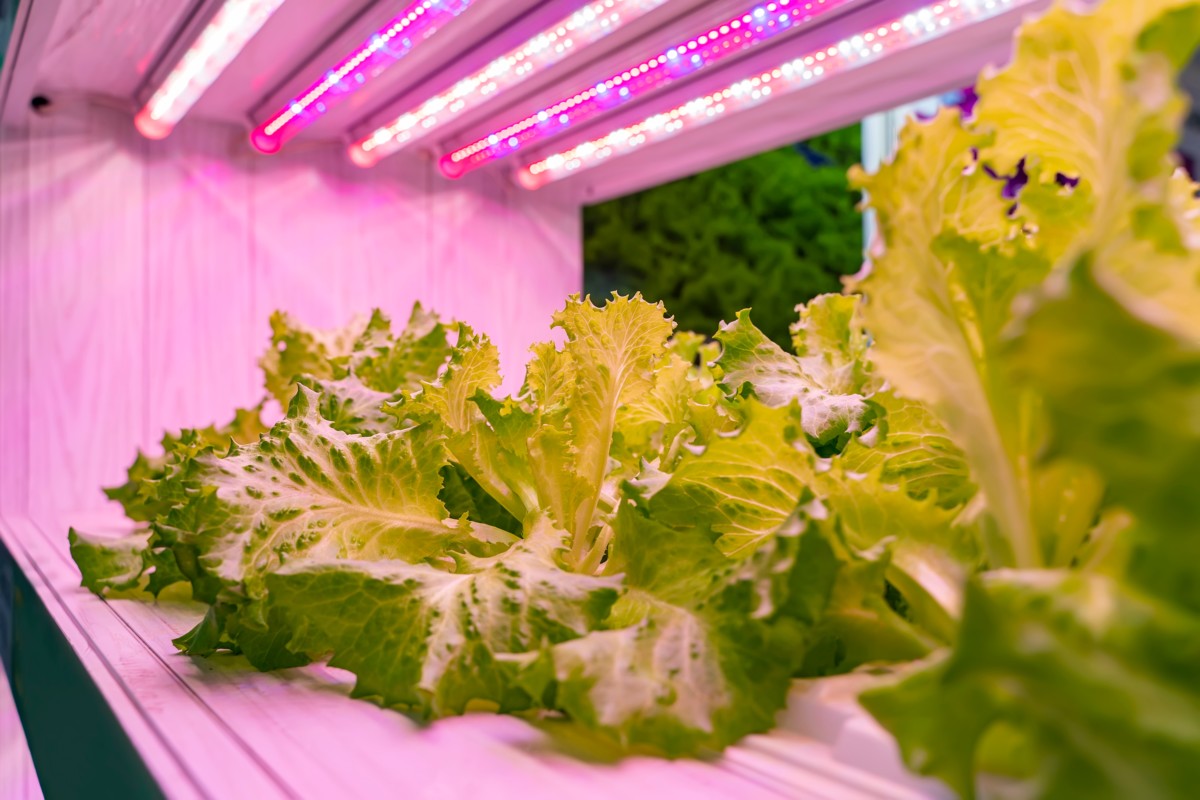
Hydroponics often bring to mind complex setups in someone’s basement with fancy grow lights and rows of unnaturally perfect lettuce peeking up out of plastic tubes.
A quick look on the internet, and you’ll be convinced you need to spend hundreds of dollars on equipment and large jugs of nutrients with names like GrowFloPro and Green Juice Power.
You aren’t sure if you’re buying something to feed plants or the latest health smoothie.
Once you get past the sticker shock, you’re faced with learning all the terminology, the science and how each system works. It can get pretty intimidating fast, leaving you feeling like you need a Ph.D. to undertake even the most basic hydroponic setup.
That’s where Dr. Bernard Kratky comes in.
Back in the 90s (my favorite decade), Dr. Bernard Kratky, a research scientist at the University of Hawaii, developed a hydroponic growing method that didn’t need any fancy equipment. His hydroponic method doesn’t even require electricity. (Wikipedia)
He published a summary of how it works in 2009 in Acta Horticulturae. You can read it by clicking here. (It’s only eight pages long, and I highly recommend giving it a quick read.)
The best thing about the Kratky method of hydroponic growing is that once you set your plants up, you don’t have to do another thing until they’re ready to harvest.
Yup, you read that right – no weeding, no watering, no fertilizing. This truly is gardening on auto-pilot. So, let’s dive in, and I’ll show you how to grow herbs with the Kratky method.
The Absolute Basics of the Kratky Method
In a nutshell, hydroponics is growing plants with water instead of soil. The plants receive everything they need – oxygen, water and nutrients from the hydroponic setup you use. Most setups require continuous movement of the water, a bubbler to add oxygen and periodically adding nutrients to the water to feed the plant. As I said, it gets complicated fast.
With the Kratky method, everything is passive.
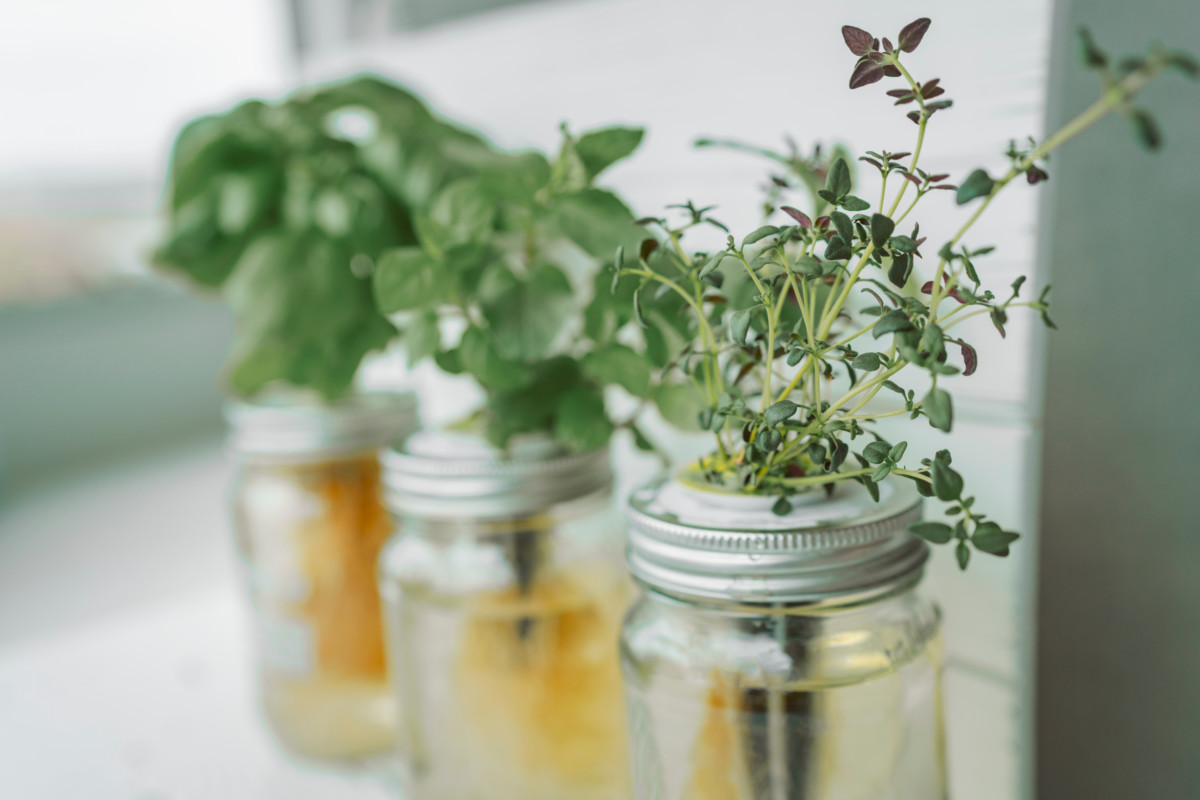
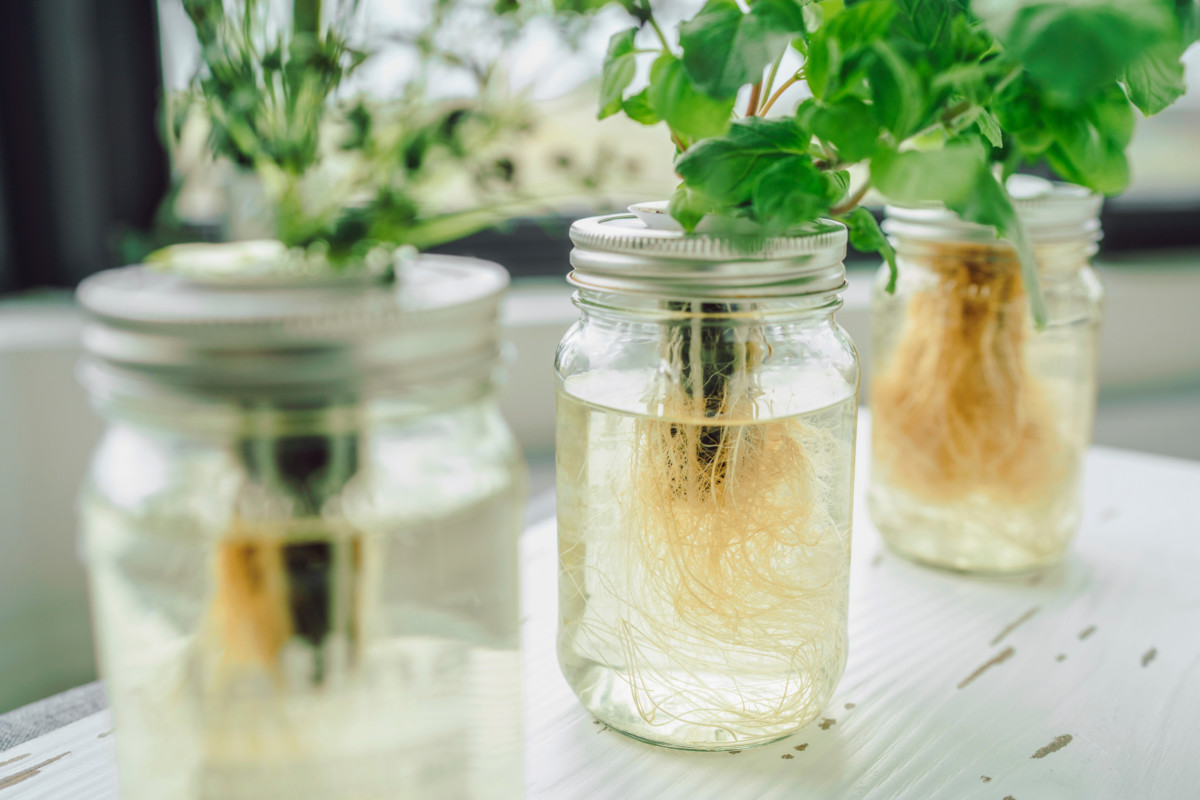
Once you set up your container, the plant takes care of itself while growing. You add a specific amount of water and nutrients to your mason jar at the start.
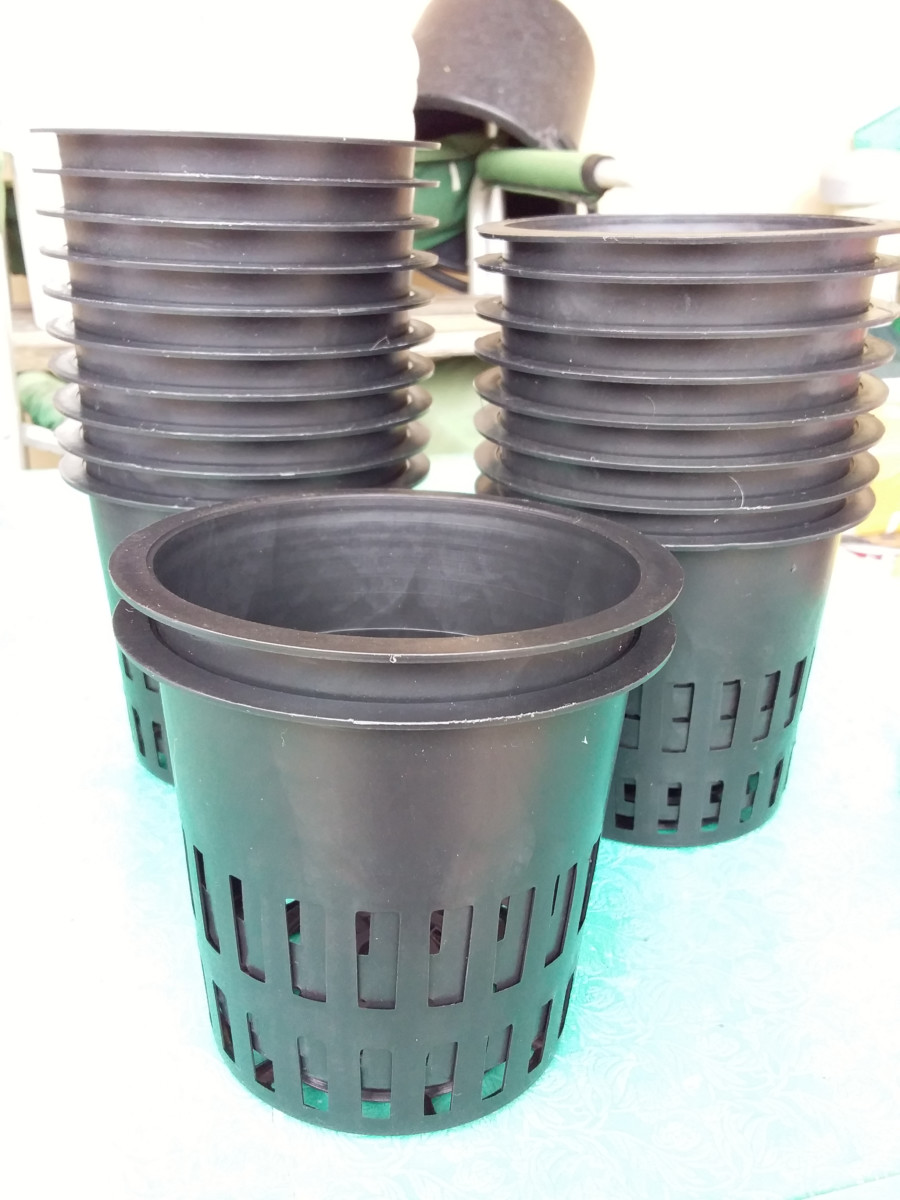
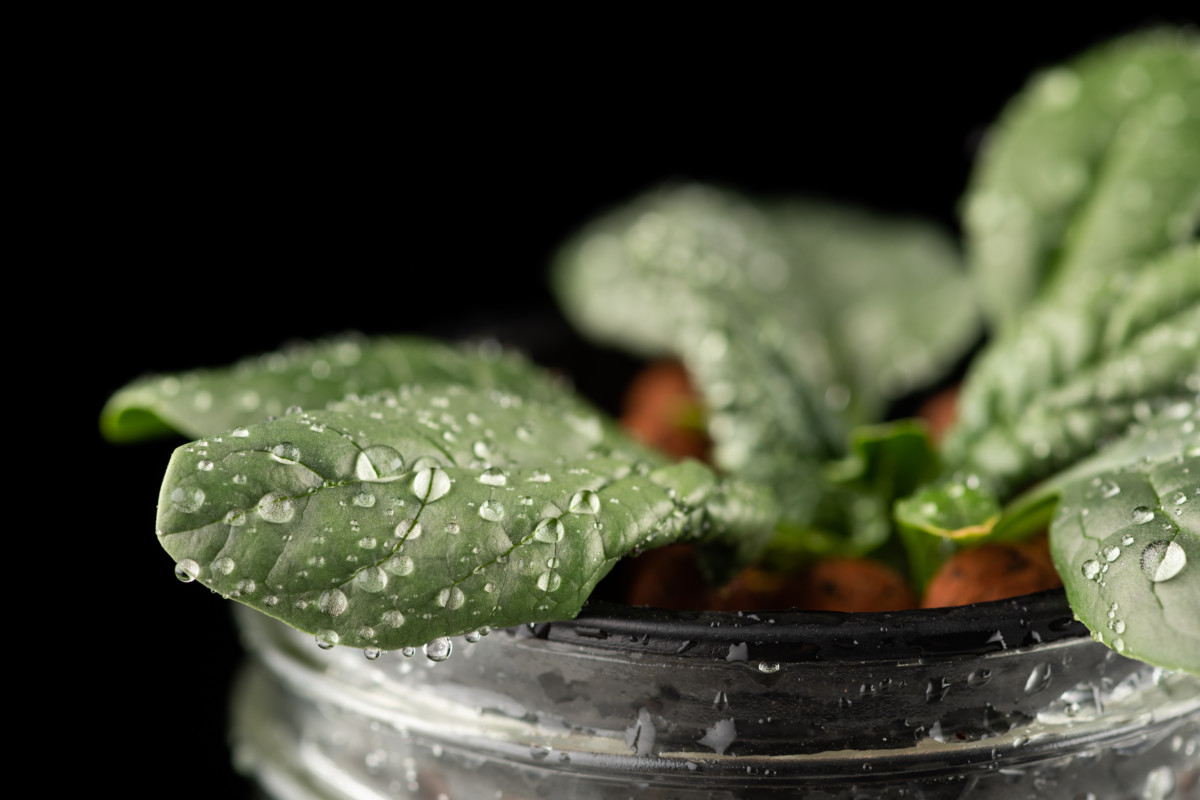
Then you place a net cup (a cute little basket that allows roots to grow out the sides and bottom) containing growing media and your seeds or cuttings in the top of the jar, so the net cup touches the nutrient-filled water.
As the plant grows and takes up water, it puts out lots of roots in the jar. Seriously, I mean a lot of roots.
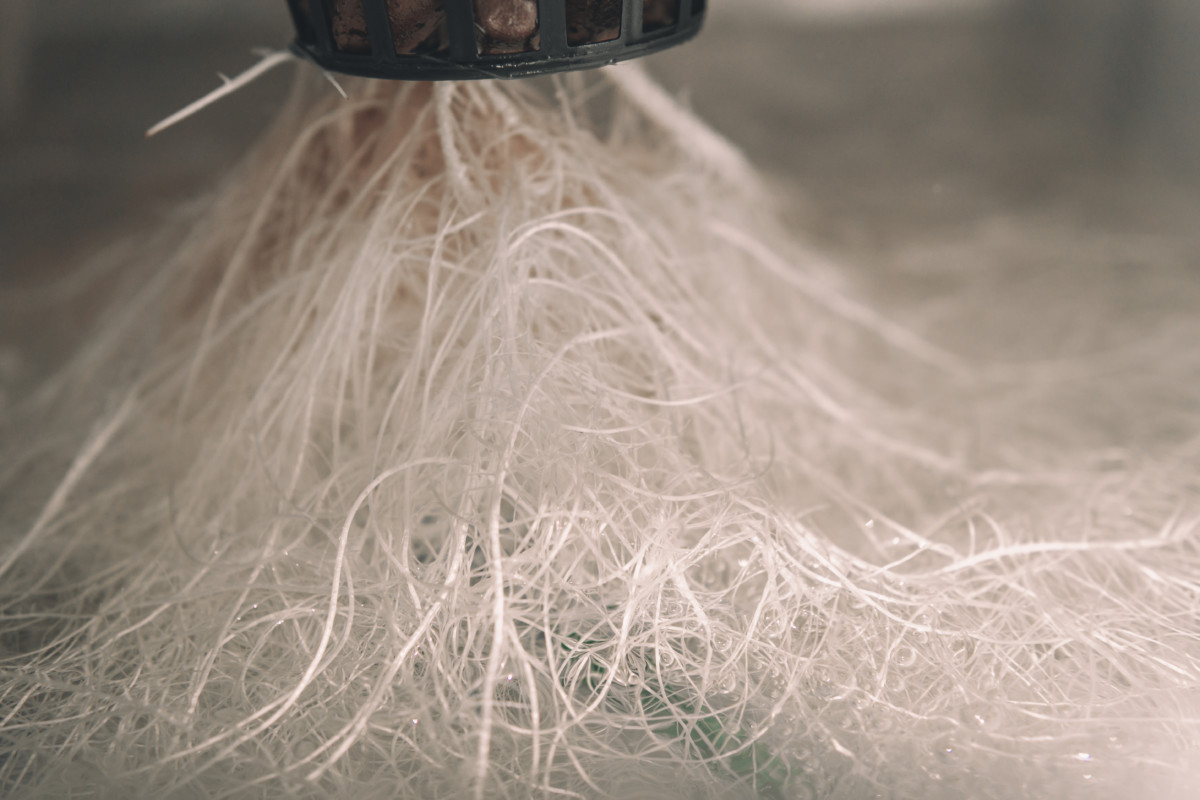
The water level drops as the plant uses the nutrient solution. The roots closer to the top of the container growing in the air gap between the top of the jar and nutrient solution serve as aerial roots, providing the plant with oxygen. The roots still growing in the nutrient solution continue to provide the plant food.
And that’s pretty much it.
The plant grows without any maintenance from you. You just happily snip fresh herbs and enjoy the laziest gardening experience ever.
Now the drawback to this method is that because you’re growing a plant with a predetermined amount of nutrients and water, the plant will eventually die.
But Tracey, why can’t I just mix up more nutrient solution and pour it into the jar?
Excellent question!
Remember those roots growing in the gap between the water and the top of the jar? Adding more nutrient solution to your jar will cover them up and essentially “drown” your plant. Those roots have adapted to exchange oxygen, not water. Weird but cool.
The Important Stuff
Nutrients
The nutrients you add to the water at setup will feed your plant for its entire lifespan, so it’s important to get them right. Since we’re only growing herbs in quart jars, which do really well with the Kratky method, it’s not terribly complicated.
While there are a bunch of different grow solutions on the market, it’s best to stick with the standard recommended nutrients when you’re just starting out. They’re easy to find and measure the correct ratios when making your nutrient solution.
You can experiment once you’ve got a few successful grows under your belt.
You will need Masterblend 4-18-38, a fertilizer made just for hydroponics, PowerGro calcium nitrate, as well as Epsom salt, which provides the plants with magnesium and sulfur. These nutrients provide the plants with everything they need for proper foliar development and growth.
I highly recommend picking up this nutrient starter pack. There are enough nutrients here to last you through quite a few mixes, which should give you enough time to decide if the Kratky method is right for you.
Water
If you dabble in hydroponics, you’ll learn quickly that water pH is incredibly important. However, for growing something as simple as herbs with the Kratky method, it’s less so. You’ll still get good results with tap water, rainwater or even bottled spring water.
If you have chlorinated tap water, you’ll want to use rain or bottled water.
Light
You’ll need a bright south-facing window or a small, inexpensive grow light for the best results. We’re already tricking Mother Nature by growing in water rather than soil, so you can’t afford to skimp on the light. A small compact fluorescent bulb will work but LED grow lights are very affordable these days.
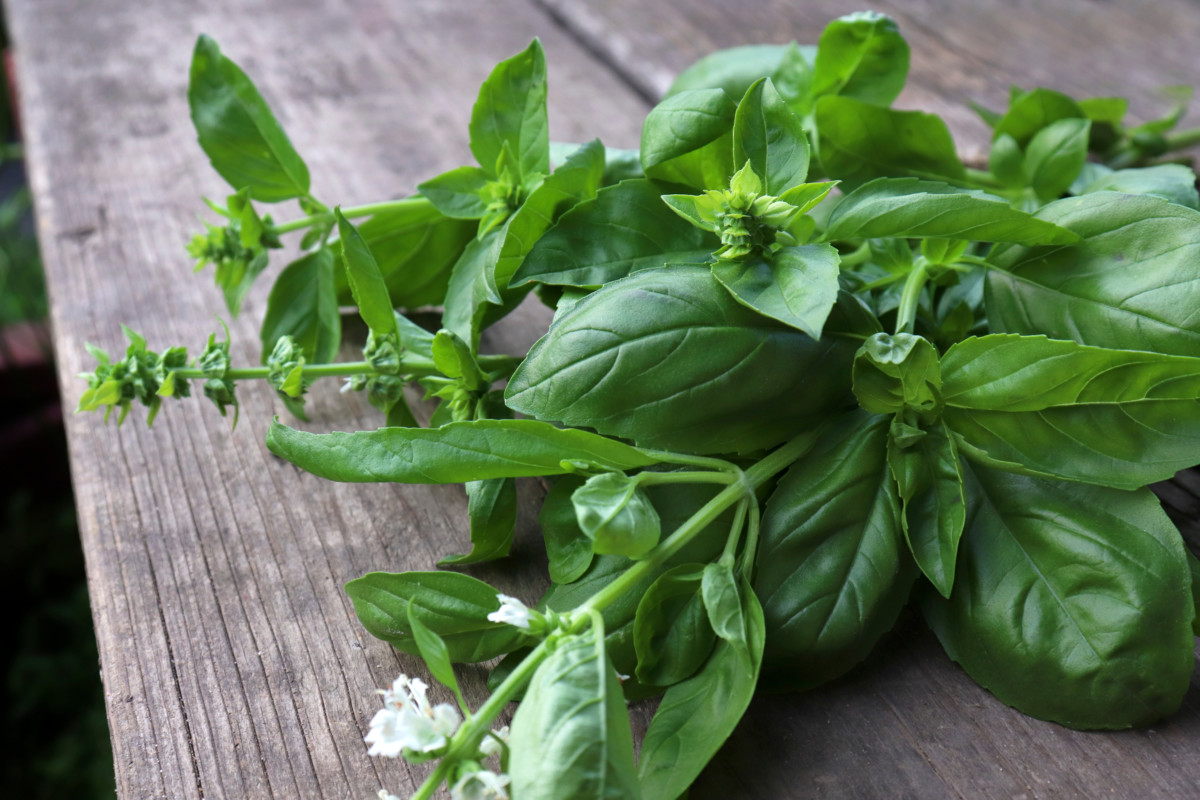
What Herbs Work Best with the Kratky Method
You want to choose soft-stemmed herbs, as they’re usually quick-growing. Avoid herbs with a woody stem since you’re working with a limited amount of water, air and nutrients. These herbs take much longer to grow and won’t have enough nutrients to do well.
I’m not saying you can’t grow things like thyme or rosemary with this method, only that you’ll have better success with plants that don’t need a lot of time to get established and grow to maturity. If you’re going to grow woody-stemmed herbs it’s best to do so with cuttings.

With that in mind, some great options to grow are:
Okay, let’s do this!
Materials
Everything you need to get started:
- Herb seeds or cuttings
- Masterblend 4-18-38
- PowerGro Calcium Nitrate
- Epsom Salt
- 1-quart wide-mouth mason jar, one per plant
- 3” net cups
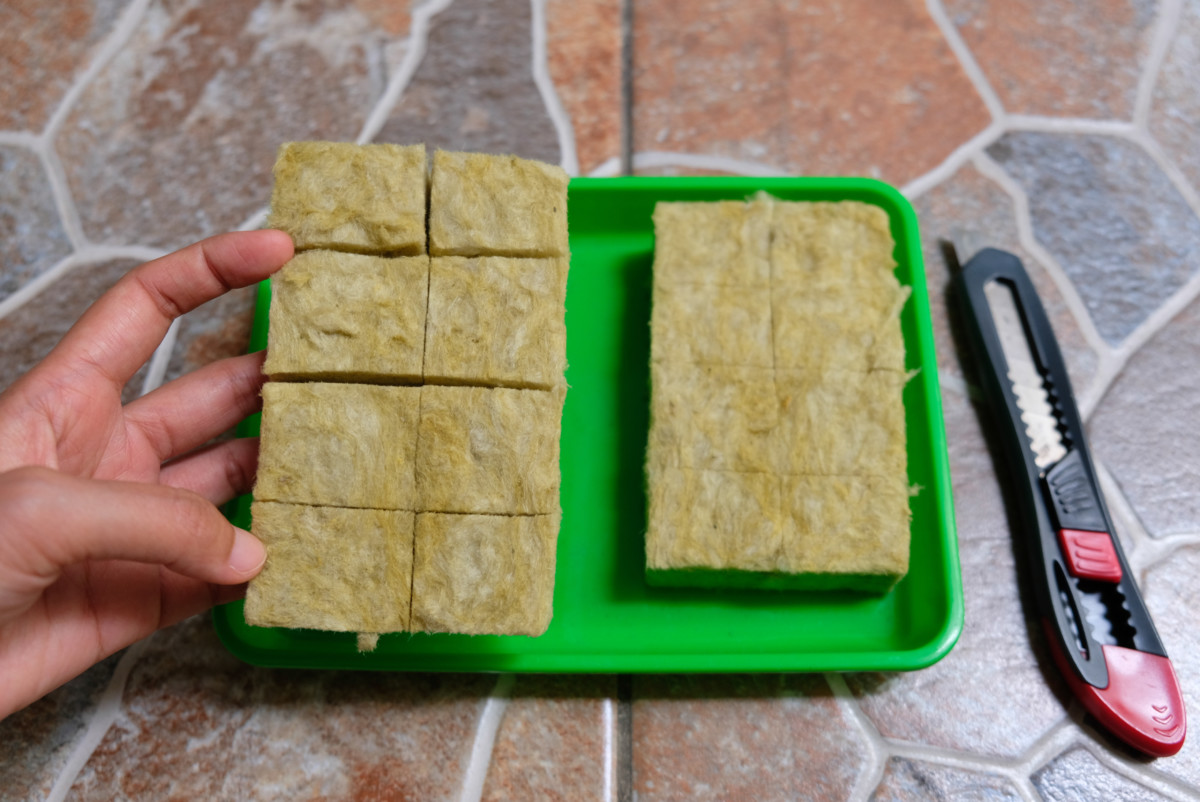
- Growing media such as rockwool cubes or clean sawdust
- 1 quart of water
- Aluminum foil
Let’s Grow Some Herbs
Mix Your Solution
The easiest way to mix your solution is by the gallon. I suggest grabbing a gallon of spring water from the supermarket and mixing your nutrients directly in the jug to start. Then you’ll have them ready whenever you want to start another jar.
We’ll be mixing the Masterblend, PowerGro and Epsom salt in a 2:2:1 ratio. To your water, add one rounded teaspoon of Masterblend, one rounded teaspoon of PowerGro and a rounded ½ teaspoon of Epsom salt. Mix the nutrients into the water until they’re completely dissolved. It helps if you use room temperature water.
Set Up Your Net Cup
Add a rockwool cube to your net cup, or fill it with sawdust. Use a clean chopstick and poke your seed (or seeds if you’re going to thin them out) down into the middle of your growing medium. If you’re using cuttings, slip them down into the middle of the net cup.
Next, pour some nutrient solution into the jar. You don’t want the net cup to be fully immersed. You only want the bottom 1/3 or ¼ of the net cup to be resting in the nutrient solution. It’s best to fill your jar about ¾ of the way before adding the net cup. Then you can adjust by adding more or dumping a little out.
The net cup will rest on the lip of the quart jar.
Finally, you’ll need to wrap the outside of the jar in aluminum foil. This keeps light out of the jar, preventing algae from growing in your nutrient solution. While algae aren’t necessarily harmful, they will eat up all the nutrients meant for your plant.
If you don’t like the look of the aluminum foil, consider getting some amber-colored jars or covering your jars with decorative tape or paint.
Let it Grow
And that’s it. Place your little hydroponic herb setup in a sunny location or under a grow light and wait. Before you know it, you’ll be snipping off fresh herbs whenever you want them.

Maybe you’ll get bit by the hydroponics bug and start looking into all the other cool things you can grow with the Kratky method. You can say goodbye to over-priced supermarket salad greens that wilt as soon as you get them home and say hello to fresh lettuce all year long.
Start New Plants with Cuttings
Once you’ve got an established plant, it’s easy to take cuttings and start a new jar. Remember, you’re working with a limited amount of water and nutrients, so starting a new cutting will ensure you have a continuous supply of each herb.
Not to mention, a trio of Kratky herb jars makes a cool and unusual gift for the foodie in your life.
Take three or four cuttings, around 4” long and poke them in some new growing media. Set them up as described above when your first plants slow down. Your cuttings will be ready to pick up the slack.
I know it sounds like a lot when you first read through this, but I think you’ll find it’s much easier to do rather than read about. Once you have your supplies ready, it only takes a few moments to set up a jar of basil, mint or chives.

Get the famous Rural Sprout newsletter delivered to your inbox.
Join the 50,000+ gardeners who get timely gardening tutorials, tips and tasks delivered direct to their inbox.