
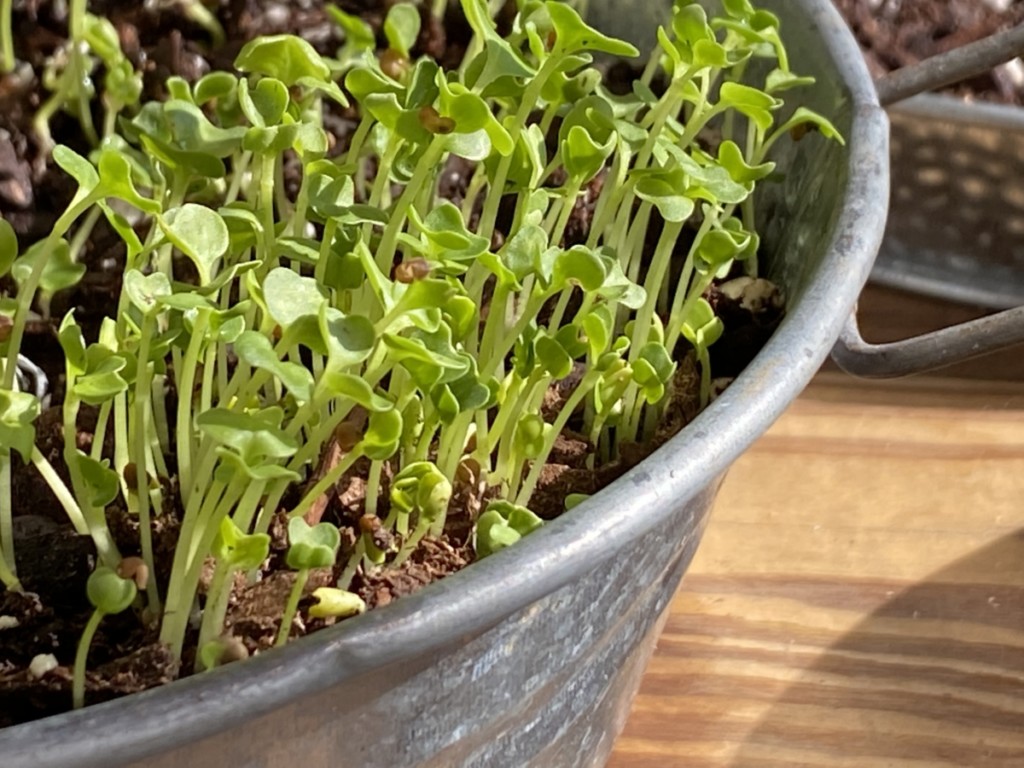
Get growing tasty, tiny microgreens for a blast of nutrient-dense flavor. Microgreens, which are sprouted vegetables, grow fast and easy indoors, making them a perfect choice for winter gardening.
Sprouted baby vegetable greens pack a punch of flavor and nutrition in each bite, reminding any gardener of summer flavor even when it’s chilly outdoors.
Microgreens don’t take long to grow, either. They will be ready to harvest in less than two weeks for use in salads, smoothies, stir-fry meals and more.
Enjoy microgreens in lots of other ways, too. Try avocado toast topped with them and a sprinkle of sea salt. Let your taste buds sink into a baguette topped with ham, cheddar and microgreens with a drizzle of vinaigrette on top.
Once you start growing microgreens, you’ll be hooked.
7 Microgreens To Grow Indoors
Beet: Choose beet microgreens for their bite. Though these taste like spinach. Harvest within 18 days.
Swiss chard: Growing Swiss chard microgreens is a colorful proposition and just imagine how pretty they’ll look in salads. Harvest in 12 to 14 days.
Broccoli: These low-maintenance microgreens pack flavor and grow rapidly. Harvest in as little as seven days.
Cress: These peppery-flavored microgreens bring bold flavor to almost any dish where used. Harvest in eight to 12 days.
Pea: Microgreens from peas can be harvested early or late for unique and different flavor profiles.
Radish: Add spice and kick to dishes with radish microgreens. Harvest in 10 to 12 days.
Sunflower: Tasty with a nutty-like flavor, sunflower microgreens can be harvested when leaves turn from yellow to green.
Materials
- Seed-starting trays, plastic jugs or containers or flowerpots
- Vegetable seeds
- Organic seed-starting potting mix
- Spray bottle
- Pruning snips or kitchen scissors
- Heating mat (optional)
- LED grow light (optional)
- Salad spinner
The Process
Step 1:
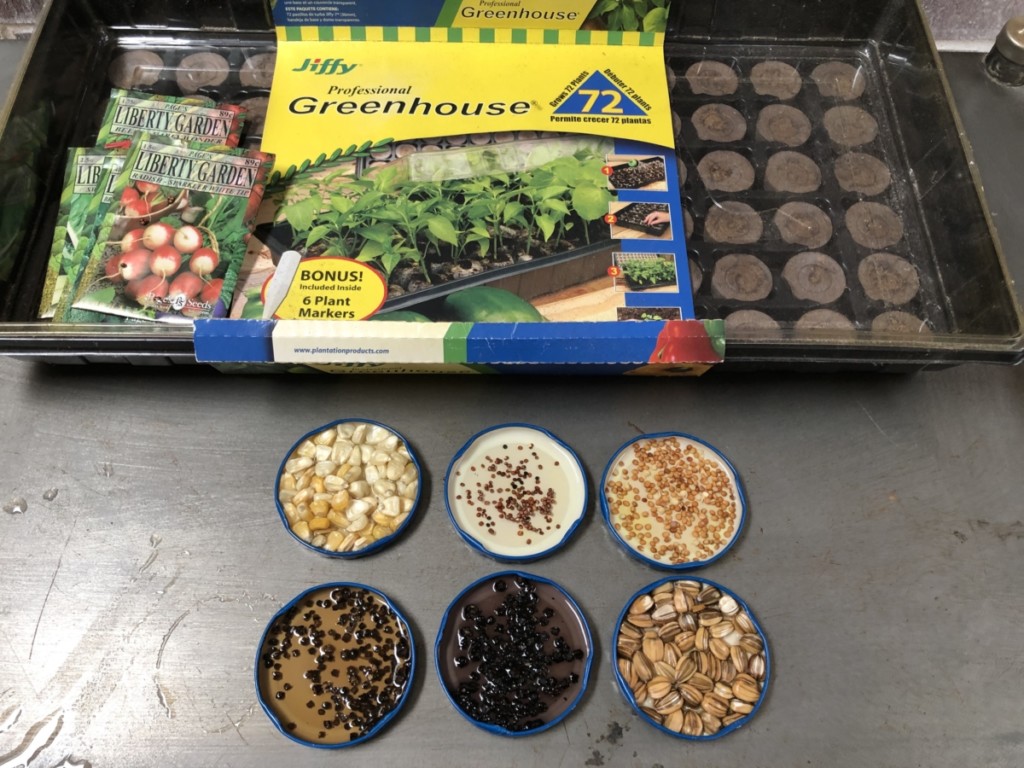
Begin by soaking seeds using shallow dishes. Use small bowls or the tops of jars in your kitchen.
Use room temperature water and soak the seeds for no more than eight hours before planting.
Step 2:
Using seed-starting trays, moisten the soil. Place the soaked seeds on top and sprinkle additional soil on top. Cover with the lid.
Optionally, you can put a heat mat underneath the seeds to help with germination if ambient temperatures indoors are cooler. At this stage, keep the seed trays in indirect sunlight.
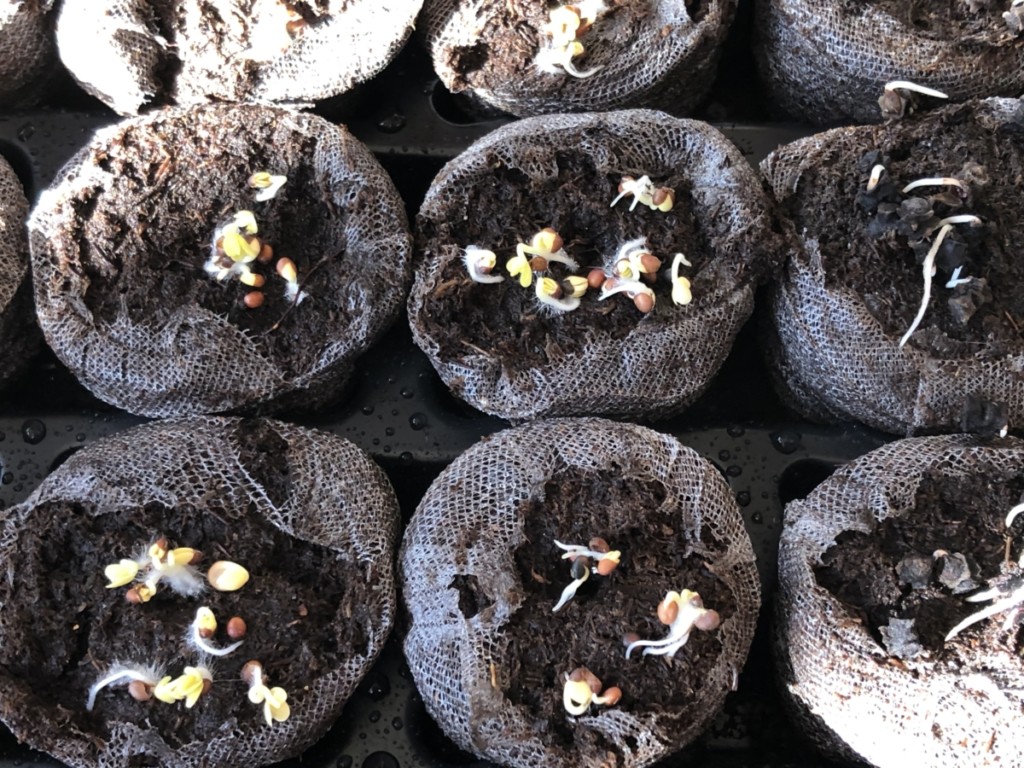
Check your seeds daily. Lift the cover and mist lightly with your sprayer until you see sprouting.
Step 3:
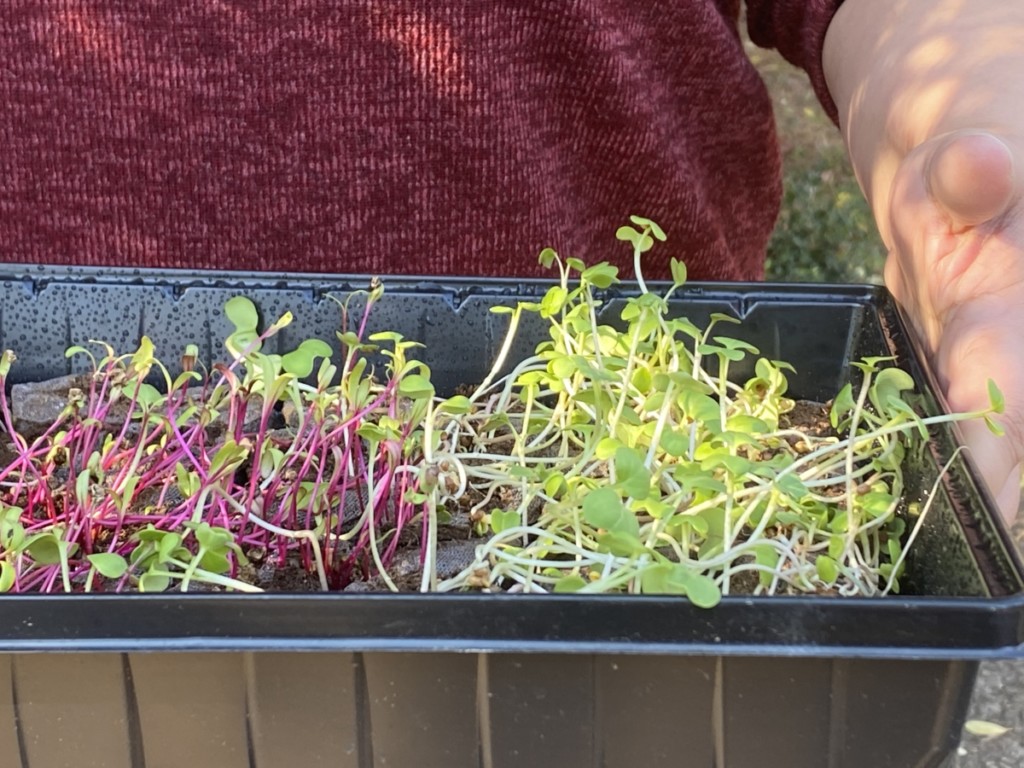
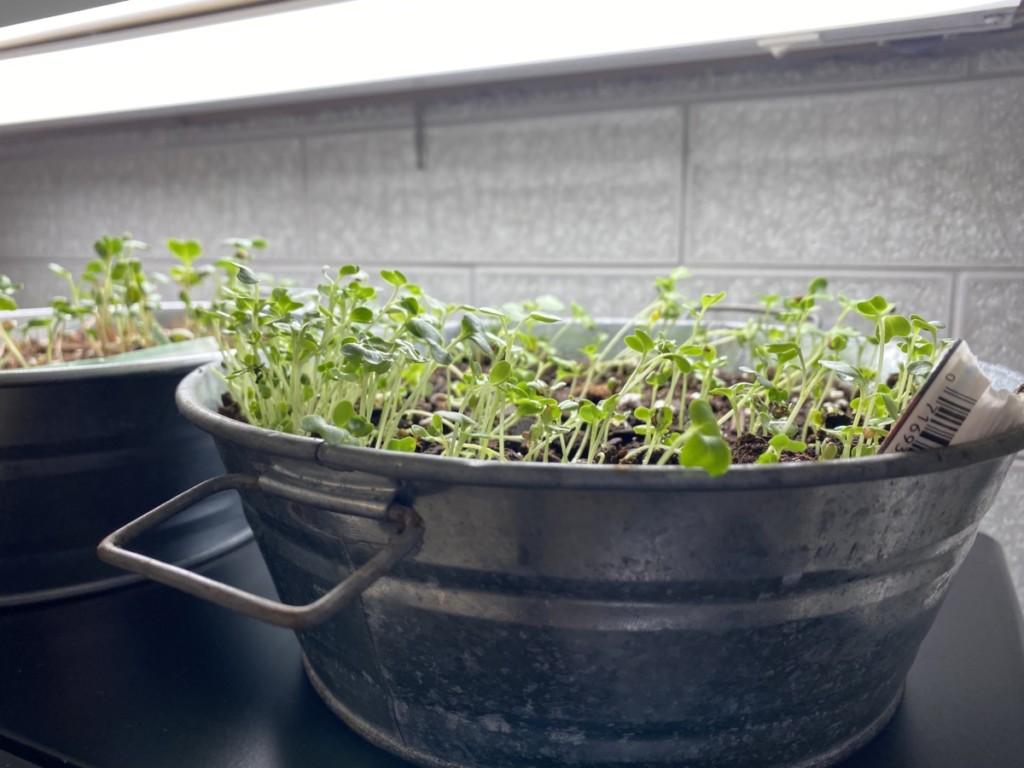
When sprouting starts, remove the cover to the seed-starting tray. At this point, you can move the microgreens to a sunny location, whether a windowsill, plant stand or table by a window. No window? No problem.
Use LED grow lights to get your seedlings growing. Check the soil daily and mist or lightly water as needed.
Step 4:
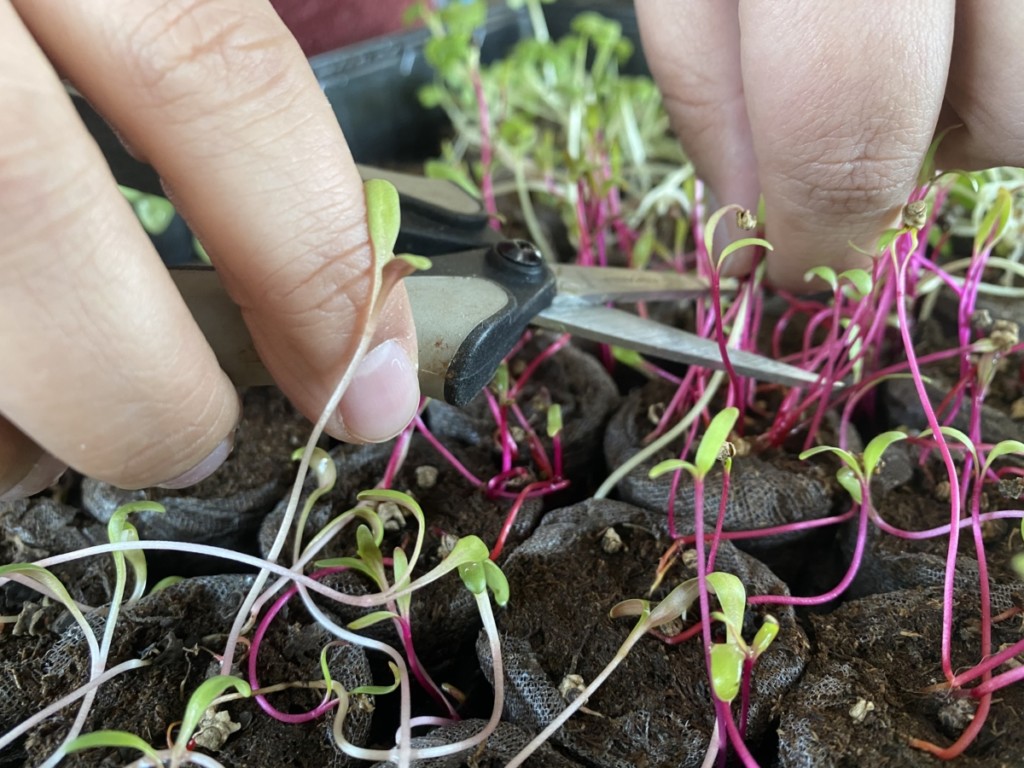
The best time to harvest your sprouting veggies is after their first set of leaves develop in 10 days to two weeks time after planting. Using pruning snips or floral scissors, trim the greens just above the soil level.

Step 5:
Enjoy your microgreens on top of salads and even tacos. Rinse them under cold water and dry them off in a salad spinner.
For these tacos, homemade tortillas set the base, followed by sauteed mushrooms with pork in chile sauce. Top with fresh sprouted greens trimmed from your stash.
Adria Robbin contributed to this report.

Get the famous Rural Sprout newsletter delivered to your inbox.
Join the 50,000+ gardeners who get timely gardening tutorials, tips and tasks delivered direct to their inbox.