

Colder weather may be on its way, but that doesn’t mean you need to say goodbye to your garden!
The use of cold frames allow you to extend the gardening season into the winter, which means more fresh, wholesome veggies for your family.
What is a cold frame?
A cold frame is an enclosed garden space used to extend the growing season in the early spring and late fall.
The enclosure protects seedlings and crops from frost, cold, and snow while still letting in sunlight. Cold frames are also great for protecting plants from harsh winter and keeping heat and moisture contained.
Most DIY cold frames involve some pricey materials like lumber, glass, hinges, and handles.
This DIY cold frame, while not as pretty as the pricey ones, is simple and only costs a few dollars.
Anyone could make this cold frame in a few minutes flat.
We used a bin we bought from the dollar store for this project, which saved tons of money compared to traditional cold frames.
What you need for your DIY cold frame
- Large clear bin with a clear lid
- Potting soil
- Seeds
- Power drill
How to make the cold frame
Step 1: Drill holes
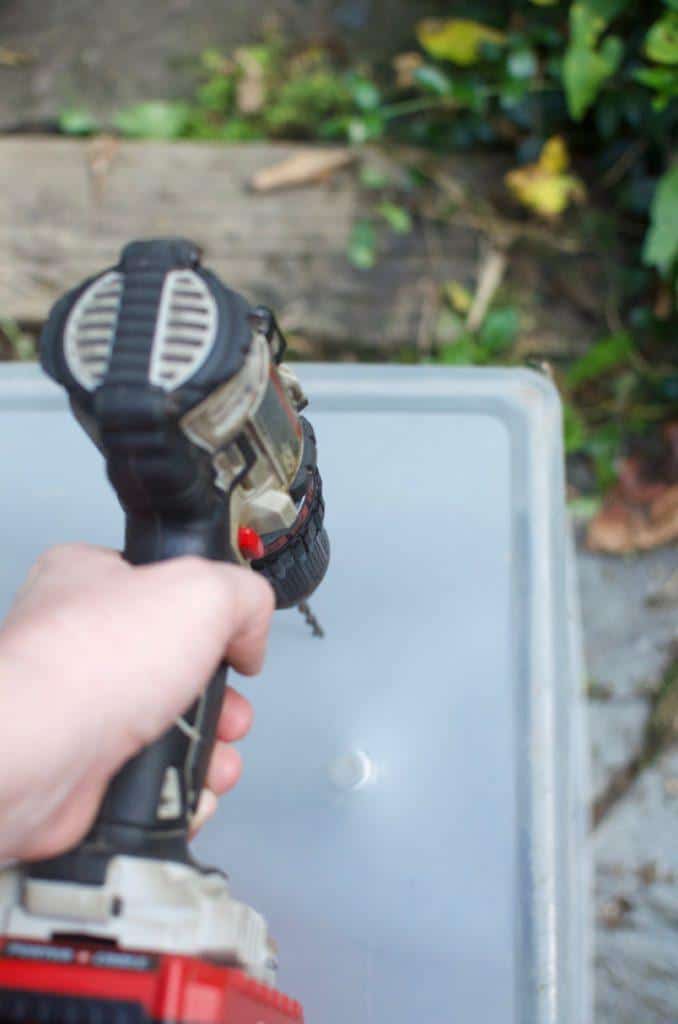
Many cold frames are built directly on the soil, so they don’t need drainage, but this one does.
Drainage holes are essential for the success of your DIY cold frame because the plastic will retain moisture from watering and condensation.
While water is great for plants, too much can cause rot, so you’ll need to drill holes in the bin to allow for drainage.
Flip over the bin so the bottom is facing up. Get your power drill ready and slowly drill holes along the edges and middle of the bin. Make sure not to push too hard or you could end up with cracks in the bottom of the bin.
There’s really no perfect number of holes to aim for, just make sure they’re well spaced. We drilled a dozen holes in the bottom of our bin.
Flip the bin back over and get it into position. Once it’s loaded with soil you won’t want to move it too much.
We keep our cold frame on a sunny part of our patio, right next to the herb pots!
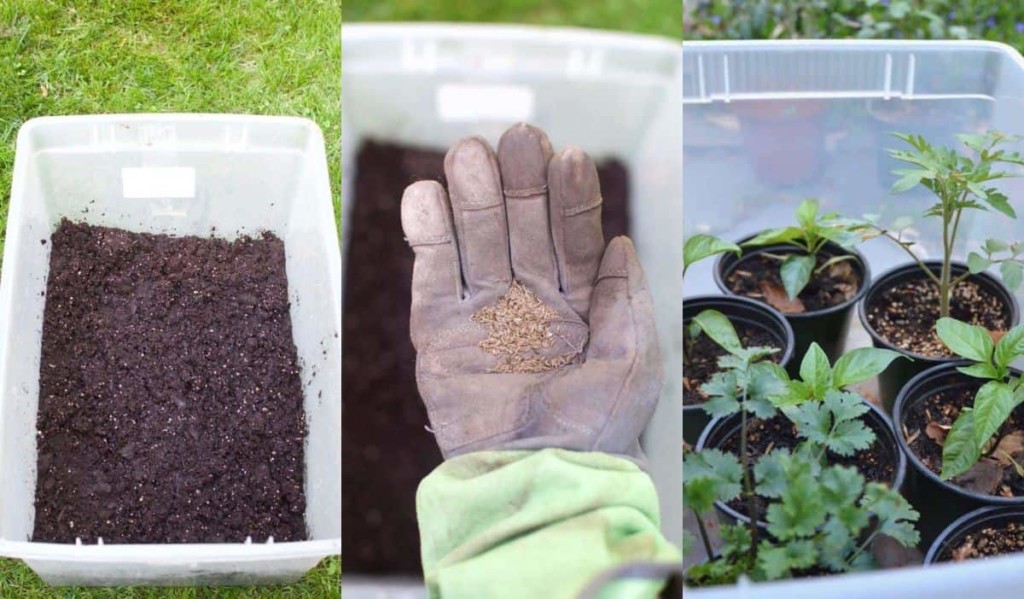
Step 2: Add soil
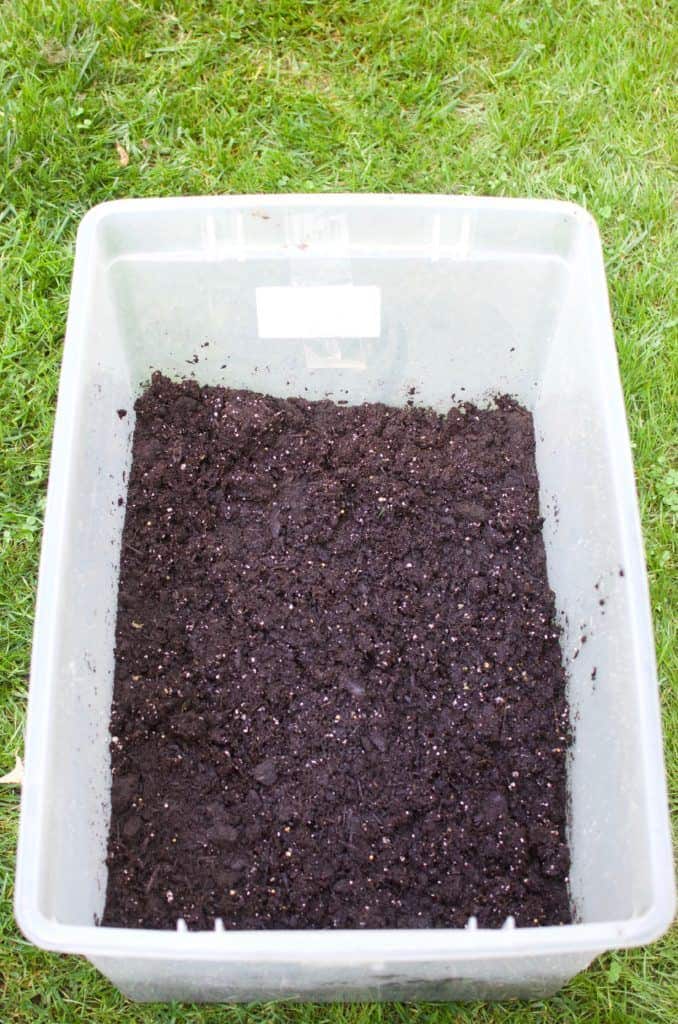
Pour potting soil into the bin until the soil measures 6-8 inches deep.
Be sure to use high quality potting soil for this project, as it will need to feed the crops inside for several months.
Level the soil with your hands or with a garden hoe.
Step 3: Plant
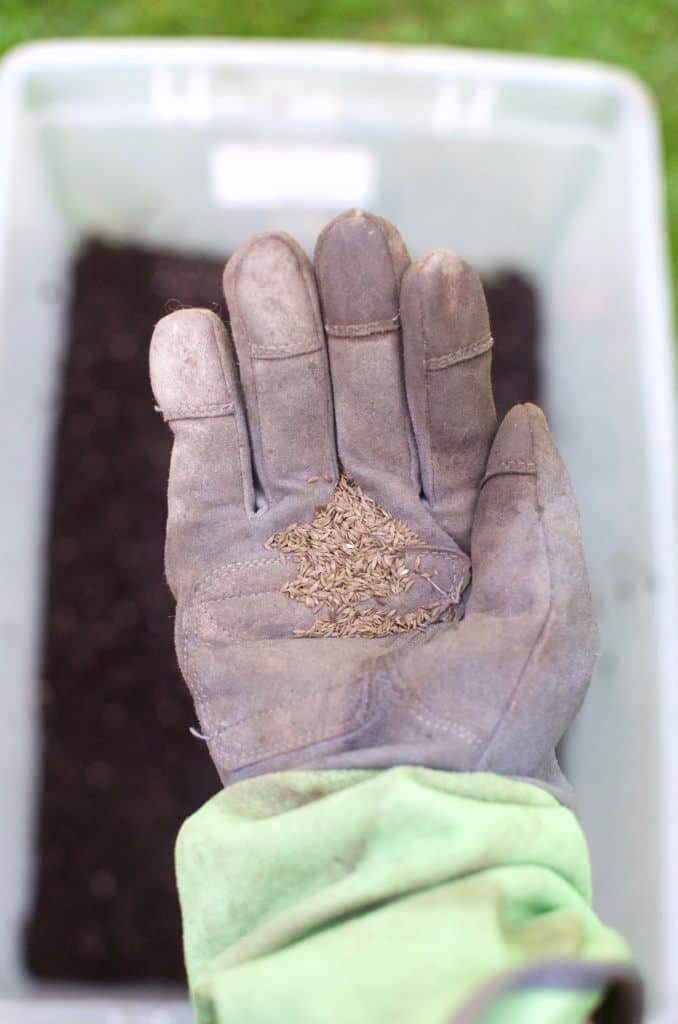
Plant your favorite cold season seeds in the soil, following the directions on the seed packet.
We tend to plant crops a little bit closer together in our cold frame, following the square foot gardening method.
This way you can get more crops out of a small space!
What to plant in a cold frame
Cold frames are wonderful for many types of crops, but some are a definite no-go for this project.
Large plants like tomatoes, beans, squash, and cucumber simply won’t fit in a container of this size.
Likewise, plants that are very delicate and sensitive like basil and succulents won’t do well.
The cold frame will protect the plants from the harshest weather, but some chill will still get in, so precious plants aren’t recommended.
The plants that will do well in a cold frame are those that remain quite small, even when fully grown, and those that thrive in cooler weather.
Plants to put in a cold frame:
- Radish
- Lettuce
- Endive
- Scallion
- Chives
- Arugula
- Kale
- Mustard
- Spinach
- Chard
How to care for your cold frame
Keep the cold frame bin in a sunny spot, either right in the garden or on your patio.
Check the soil weekly to see if your plants need watering. Cold frames are excellent at retaining moisture, so you may not need to water frequently.
If the top layer of soil dries out, add some water. Be sure to water slowly so you don’t flood your plants. Water drains a bit more slowly out of the bin than it would if you were watering a garden.
On warmer days, turn the lid a little askew to allow heat to vent out of the cold frame. Some heat is good for germination and growth, but too much heat will bake your plants!
Other uses for your cold frame
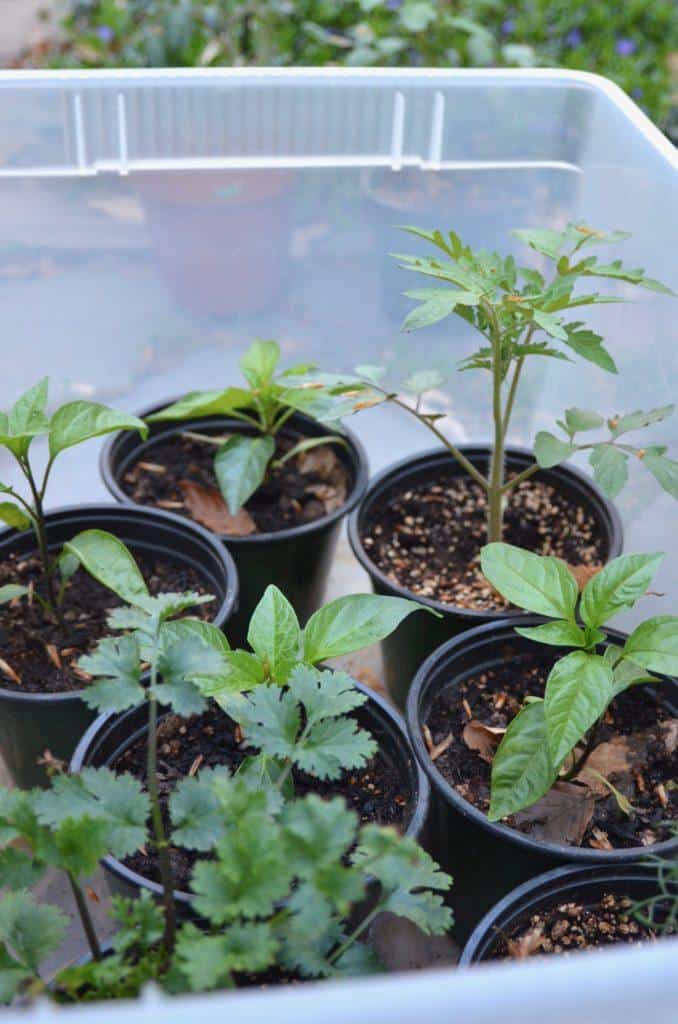
We’ve used our DIY cold frame bin for more than just planting fall crops.
When we start seeds in the spring, we keep the small pots in the enclosed cold frame outside.
The lid helps to keep the seedlings moist and protected from wind, hard rain, and cold weather.
The bin lets in plenty of light resulting in fast growing, hardy seedlings that are ready for the garden sooner than if we’d grown them indoors.
This DIY cold frame can also house potted plants so they can enjoy the benefits of the sun in the early spring and late fall without risk of getting frostbitten.

Get the famous Rural Sprout newsletter delivered to your inbox.
Join the 50,000+ gardeners who get timely gardening tutorials, tips and tasks delivered direct to their inbox.