


One of my biggest complaints since evolving from growing a garden to homesteading is not having the land to grow more food for my family.
While I can grow a wide variety of different fruits and vegetables, it’s impossible to plant enough of those staple crops that offer a steady and reliable source of calories. Grains and potatoes require more room than most suburban backyards, and producing enough protein for a family of four is simply out of the question.
Enter pigeon peas.
Pigeon peas (Cajanus cajan) are a favorite staple crop in tropical climates. They’re an especially popular source of protein in Caribbean and Indian food. Island cuisine permeates Florida, so the idea of tackling an exotic new vegetable intrigued me. You may have heard them called “Gandules” in Puerto Rican recipes, “Toor dal” in Indian food, or “Gungo pea” in Jamaican dishes.
But the more I learned about pigeon peas, the more excited I became about growing them. Pigeon peas are undoubtedly delicious — both buttery and nutty in flavor — but they also offer additional benefits for homesteaders.
Benefits of Growing Pigeon Peas
I have enjoyed working in the garden for decades, but about 10 years ago, my new mission became to grow as much of our family’s food as I could. After all, I’d been paying on my mortgage for years — it was time to get something back from the land.
My secondary goal was to grow more food in a way that would add to the environment, improving the soil, sequestering carbon, and providing forage for bees and birds.
Pigeon peas offered all these benefits along with their well-rounded nutritional profile.
1. Nutritional Benefits
Pigeon peas are a powerhouse of nutrition. A half-cup serving of cooked pigeon peas contains approximately 351 calories, 22 grams of protein, over 15 grams of dietary fiber, and despite their buttery flavor, only 1.5 grams of fat.
If you’re looking to expand your access to plant-based protein sources, you need to add pigeon peas to the menu.
My husband decided to go vegetarian for health reasons. He was so won over by pigeon peas that he now volunteers to shell them all (especially after I taught him one neat trick for making it quick and easy – more on this later).
2. Easy to Store

While I’m spoiled by Florida weather and year-round gardening conditions, there’s no prouder moment than when you start learning to preserve and store your homegrown harvest.
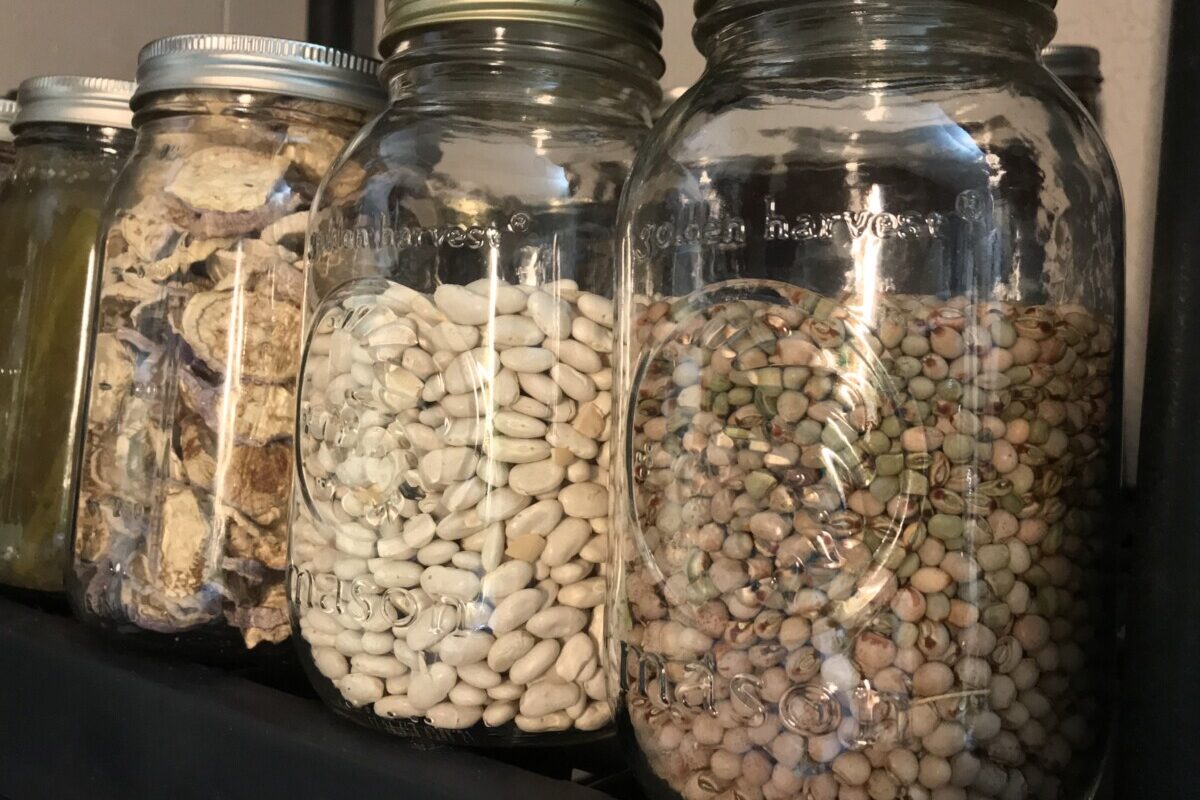
Once fully dried, pigeon peas will last for several years on the shelf in an airtight jar in a cool, dark, and dry place in your pantry. If you prefer to eat your pigeon peas green, they’re easily frozen after blanching.
3. Easy to Prepare
While these legumes are traditionally used in Caribbean and Indian cooking, you don’t need to add a host of exotic spices to make them delicious. My favorite reason for growing pigeon peas is their naturally earthy, umami flavor.
So, there’s no need for complicated recipes to turn out a delicious dish.
4. Medicinal Uses
Along with offering a delicious source of protein, pigeon peas also have a variety of medicinal uses employed around the globe.
For example, they provide a hypoglycemic effect, which means eating them can help lower or control high blood sugar.
In Africa, extracts of the seeds are used to treat sickle cell anemia, and the entire plant — from leaves to roots — contains antioxidants and can be used as an anti-inflammatory.
5. Cheap or Free Livestock Feed
While I only have enough room for a handful of chickens, many homesteaders use the foliage as fodder for livestock.
Because even the leaves are rich in protein, they make an excellent supplemental feed for dairy cows or milk goats.
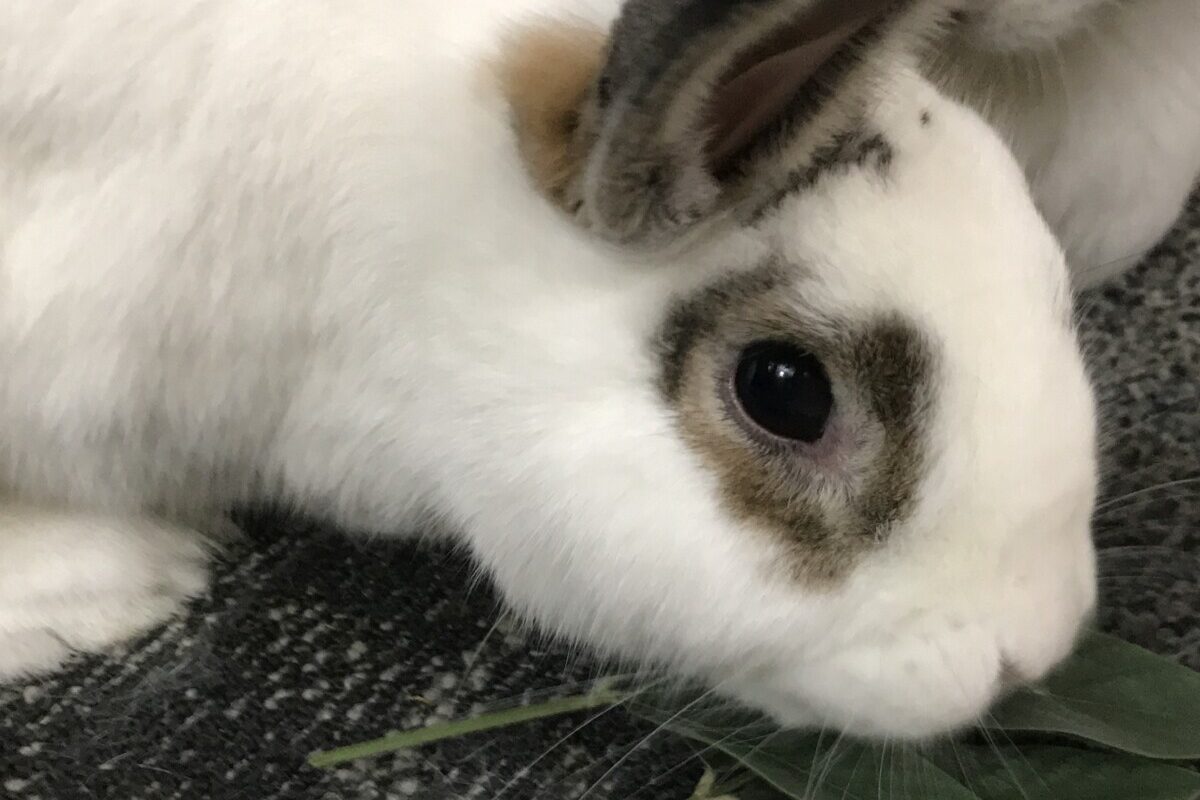
I also have it on good authority that rabbits love to eat the foliage.

In moderation, the cooked and ground peas can also be added to broiler or layer hen feed to boost protein intake.
6. Nitrogen Fixer
Now you know why growing pigeon peas is good for you, your family, and your animals. But that’s just the start of benefits.
It’s important to me to become more self-sufficient in the garden. Growing pigeon peas helps me do just that.
They even save you money in the garden.

Pigeon peas are legumes, which means they convert nitrogen in the air (with the help of nitrogen-fixing bacteria) into the soil. Any excess nitrogen the plant doesn’t need is channeled back into the soil, especially once it’s cut back after harvesting.
Many experts in tropical-region permaculture grow pigeon peas specifically as a “chop and drop” crop to add nutrients to the soil for other crops. The foliage and stems are pruned (which makes them bushier), and these high-nitrogen trimmings are used to mulch garden beds or feed nearby fruit trees.
Growing pigeon peas and harvesting the leaves is cheaper and more sustainable than using synthetic fertilizer.
And, after your first harvest, you won’t even need to buy seeds again.
7. Soil Improvement
Along with fixing nitrogen, pigeon peas also improve soil structure. They send down deep tap roots during the first weeks of growth, breaking up compaction and improving aeration.
These deep and dense roots can also help make insoluble phosphates in the soil more readily available for the next crop.
These roots can dive up to 6 feet deep, helping to improve water infiltration and reduce soil erosion.
8. Wind Protection
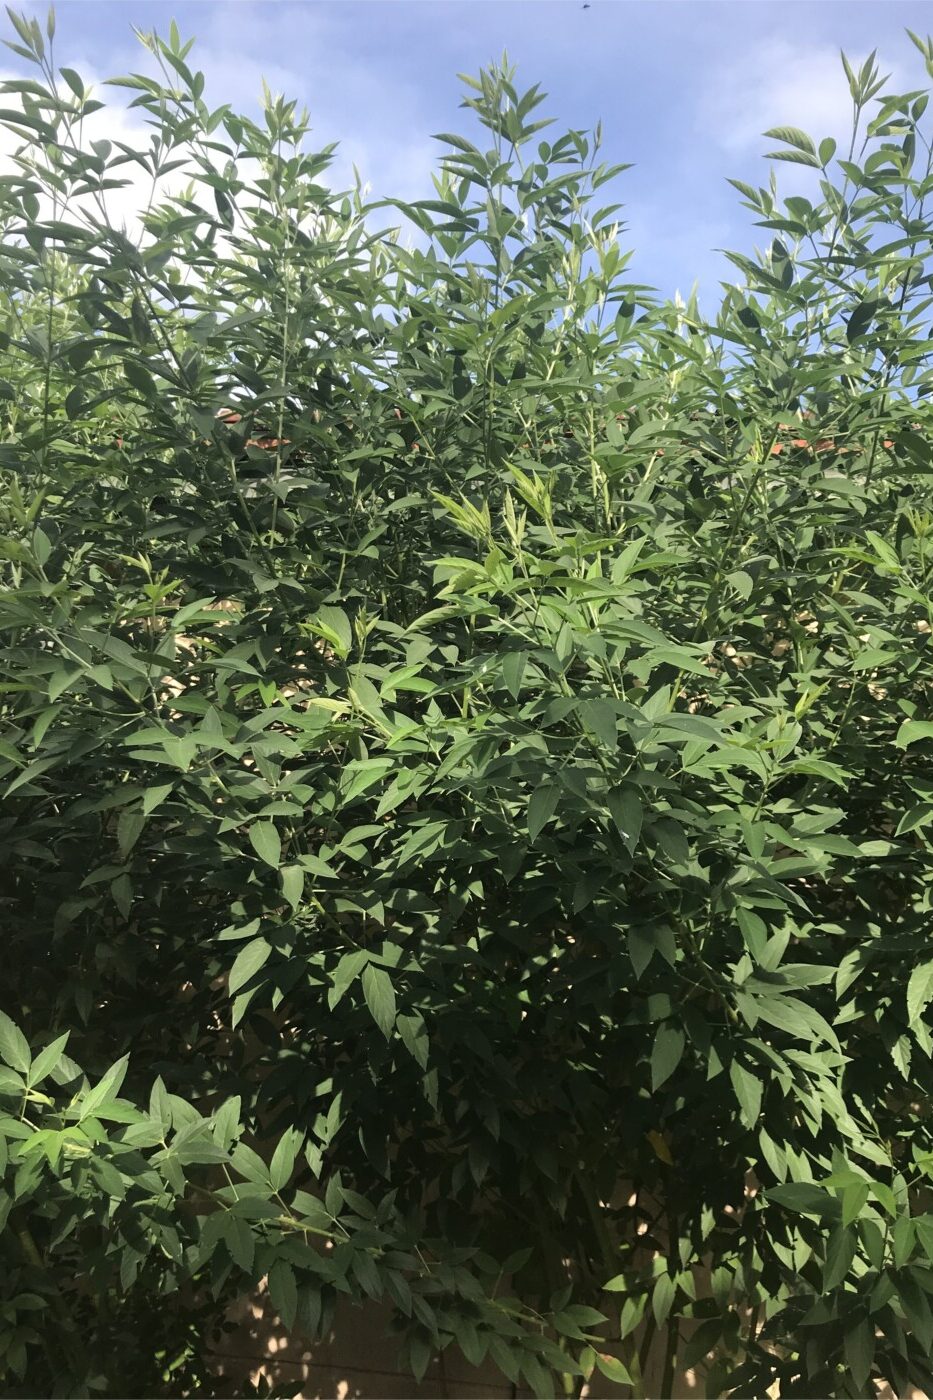

Pigeon pea plants grow from 5’ to 10’ tall in one season, depending on the variety. This makes them perfect for planting in rows as a wind barrier.
When planted densely, you can also use them to form a small microclimate for protecting more delicate vegetable plants from cold spells or harsh sunlight.
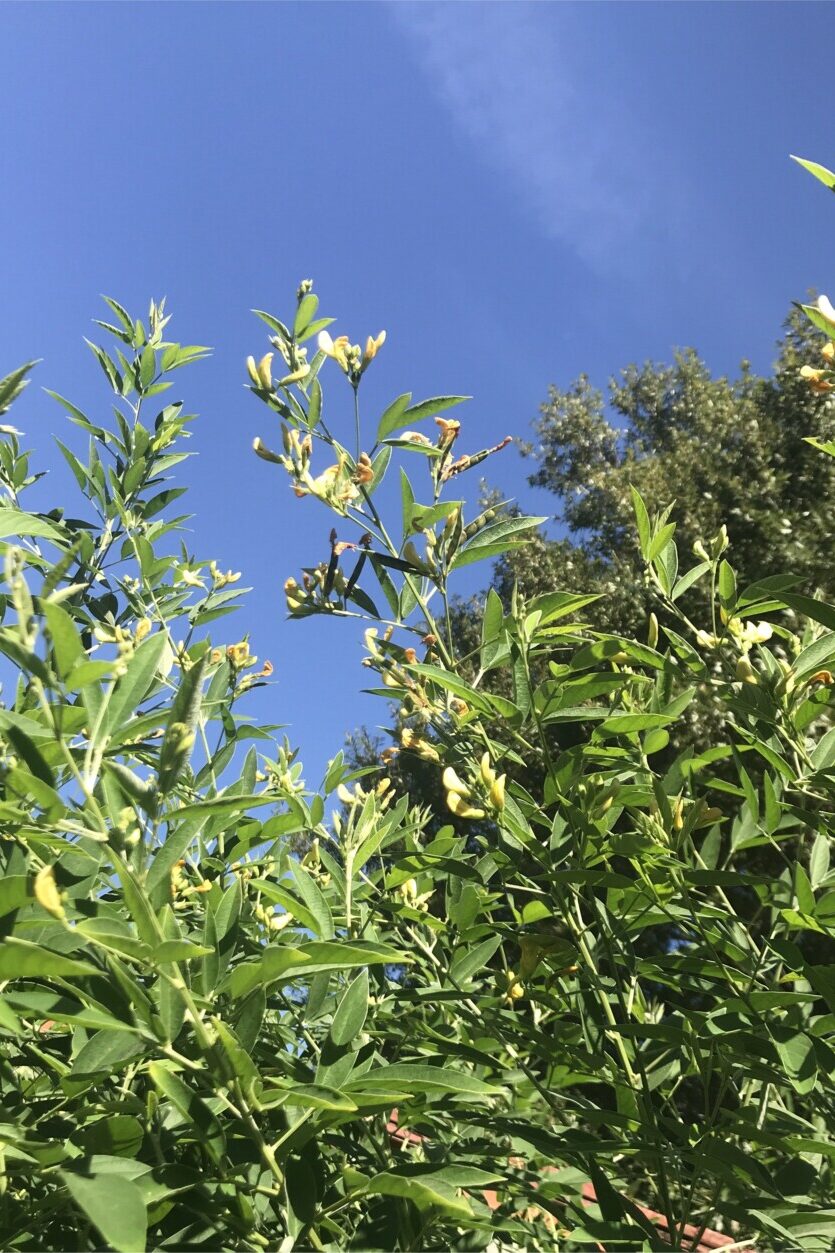
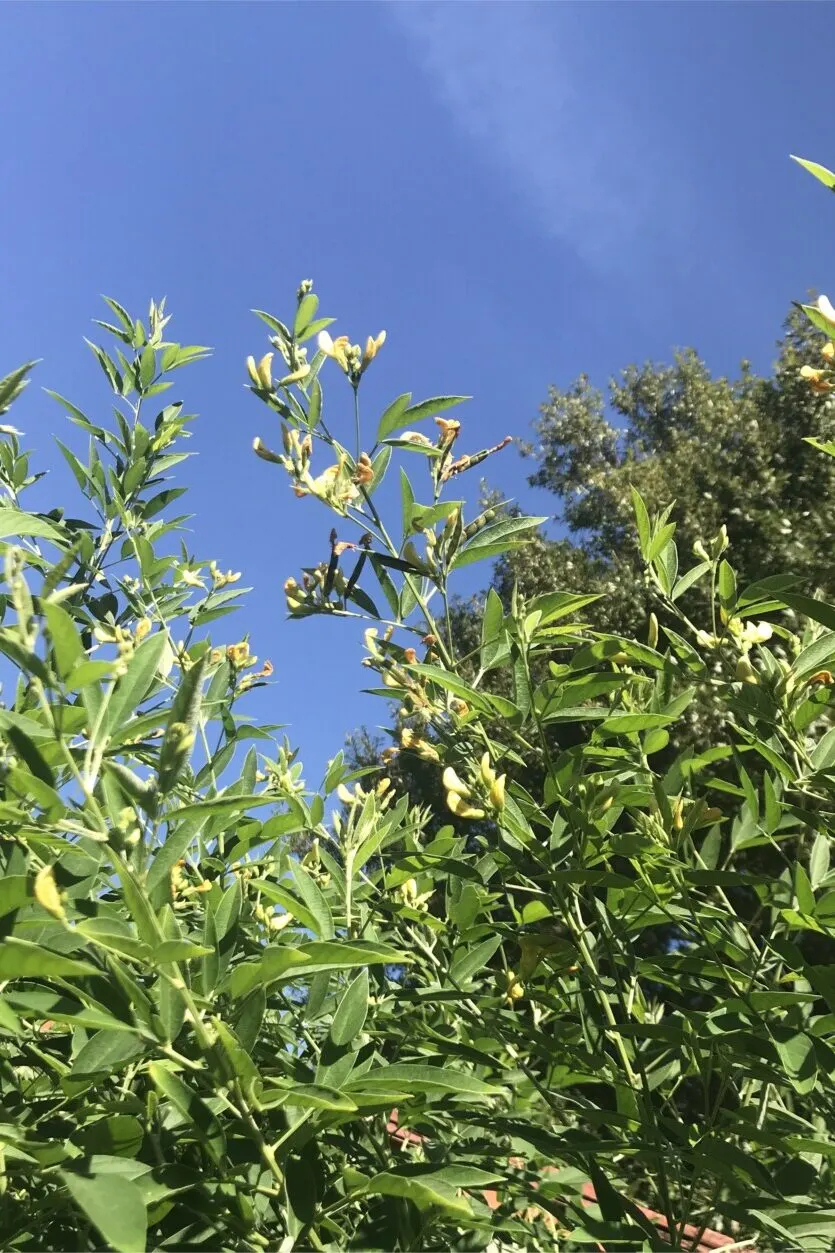
9. Attracts Pollinators

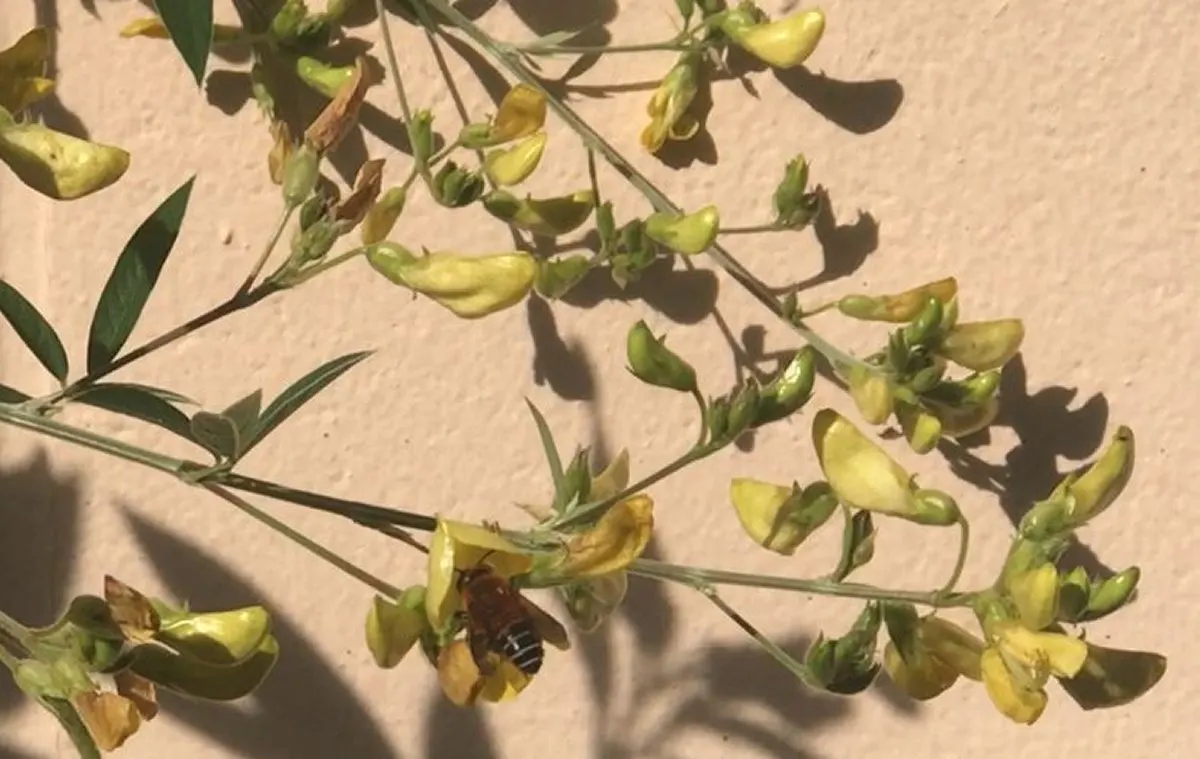
Bees adore the cheerful yellow flowers produced by pigeon pea plants. Every fall, the branches are abuzz with drunken honeybees.
If you need to bring more pollinators into your garden for better yields, growing pigeon peas is a no-brainer.
10. Easy to Grow
Planting these short-lived perennial legumes makes sustainable gardening cheaper and easier. Along with harvesting their own nitrogen from the atmosphere, they’re also incredibly drought tolerant.
If you need a crop with minimal care requirements, pigeon peas are perfect for gardeners with no time or energy to waste.
These plants thrive in poor soil, from sandy to heavy clay. Pigeon peas are also heat tolerant and won’t stress out during hot summer days.
They are also relatively pest-free. While Florida is home to a wide range of interesting pests, I’ve never had to treat my pigeon peas for insects or disease.
11. A Most Versatile Crop
You can grow pigeon peas as a perennial in subtropical or tropical zones. You can also grow them as an annual anywhere you can offer at least 140 frost-free days during the season.
They’re equally delicious harvested and cooked when green as they are when allowed to mature fully and dry on the plant.
12. Wood Source
While pigeon pea wood is not ideal as firewood, it does make excellent kindling. You can also use the long woody stems to build temporary trellises or barrier fences.
Which Pigeon Peas to Plant
Traditionally, pigeon peas are a long-season crop or perennial crop that takes about four or five months to produce. However, many seed breeders have developed varieties that mature in only 70 to 90 days.
Day Length Factor
Some varieties are “short-day,” and some are “day neutral.” Short-day varieties bloom and produce pods during the winter, and they’re an excellent choice for gardeners with mild winter weather.
Day-neutral varieties will bloom and produce edible pods once the plant matures, regardless of the length of the day.
I’ve been growing pigeon peas for several years and started with seeds from two different sources. I don’t recall the varieties or even if they were labeled.
I’ve collected seeds from the healthiest pods over the years, and now, everything is in-house, using my own “land-race” seeds.
These are a short-day variety that starts blooming in late November. The timing is perfect because they provide critical forage for bees at a time when the flower garden is less than spectacular.
I generally harvest pods when they start maturing in January and finish up in February or March — once they’re completely dry on the stems. You can harvest and eat them green (and they’re delicious), but I find them a bit too much work when letting them dry is so much less time-consuming.

If you live in a subtropical and tropical climate, you have the luxury of experimenting with the type to plant. Many Florida gardeners advise just buying a bag of dried peas from the grocery store. If you’re growing them for flowers or as a green manure, that’s surely the cheapest and easiest way to go.
Look for varieties that best fit your regional conditions. In Zones 4 to 7, I recommend finding a quick maturing, day-neutral variety. It’s the best way of ensuring that you get both blooms and a good harvest in your temperate climate.
Starting Indoors
The tricky part, you see, is that their long tap root develops early in their growth. Most of their initial growth is spent on root development.
They don’t transplant well at all, so starting them indoors to get a jump on the season isn’t an option. I experimented with this several times, and each time was an utter failure.
How to Plant and Grow Pigeon Peas
Planting and growing pigeon peas is pretty straightforward. While you can spend some time getting the garden bed ready, remember that one of the main reasons to grow them is that they do most of the work for you.
Choose a Location

Pigeon peas like lots of sunlight and warmth, so find them a spot where they’ll get at least 8 hours of sun a day during the summer.
Avoid water-logged areas of your property, however, as they don’t like swampy conditions.
Give them plenty of room to spread. Unless you’re growing them only for soil improvement, make sure they can spread out once they’re 4’ tall.
They do work spectacularly as a hedge when planted in rows, however, and will provide some protection for smaller specimens below.
I generally set out winter squashes beneath mine.
You won’t need to double-dig the garden bed. Simply mow over the area where you’ll be planting them.
Prepare the Seeds
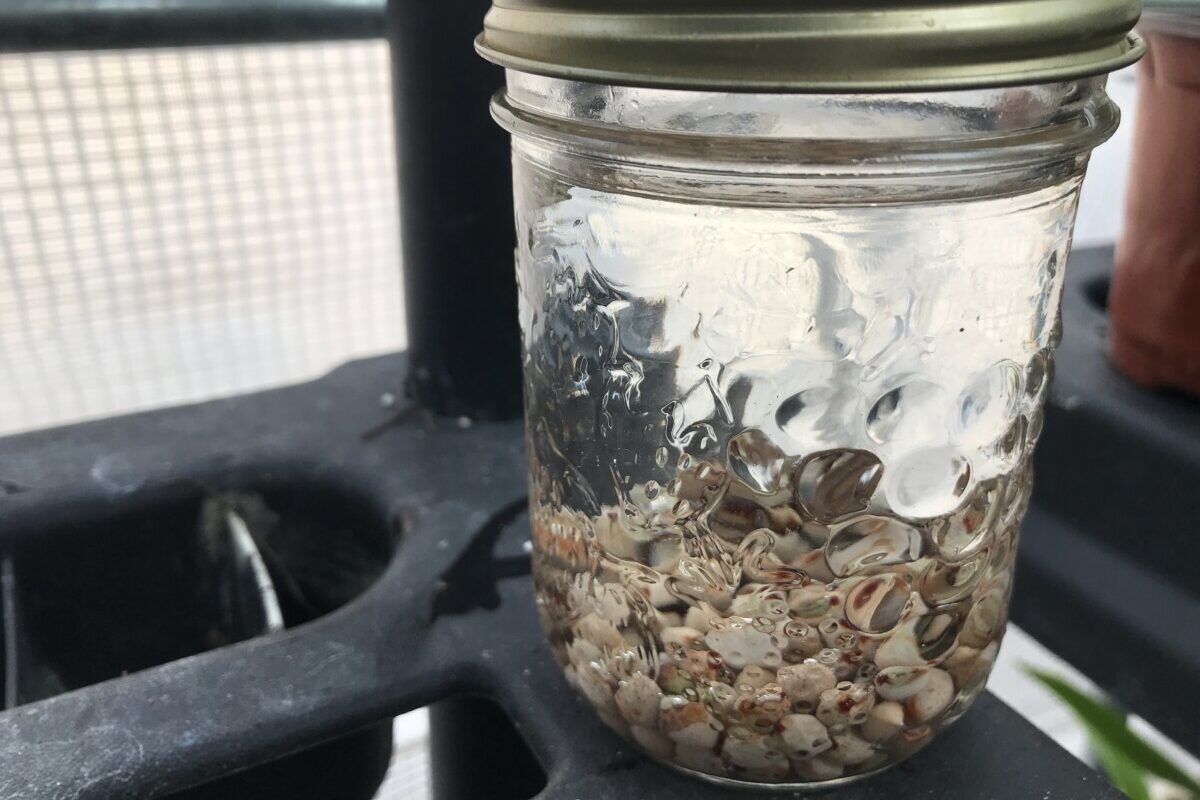
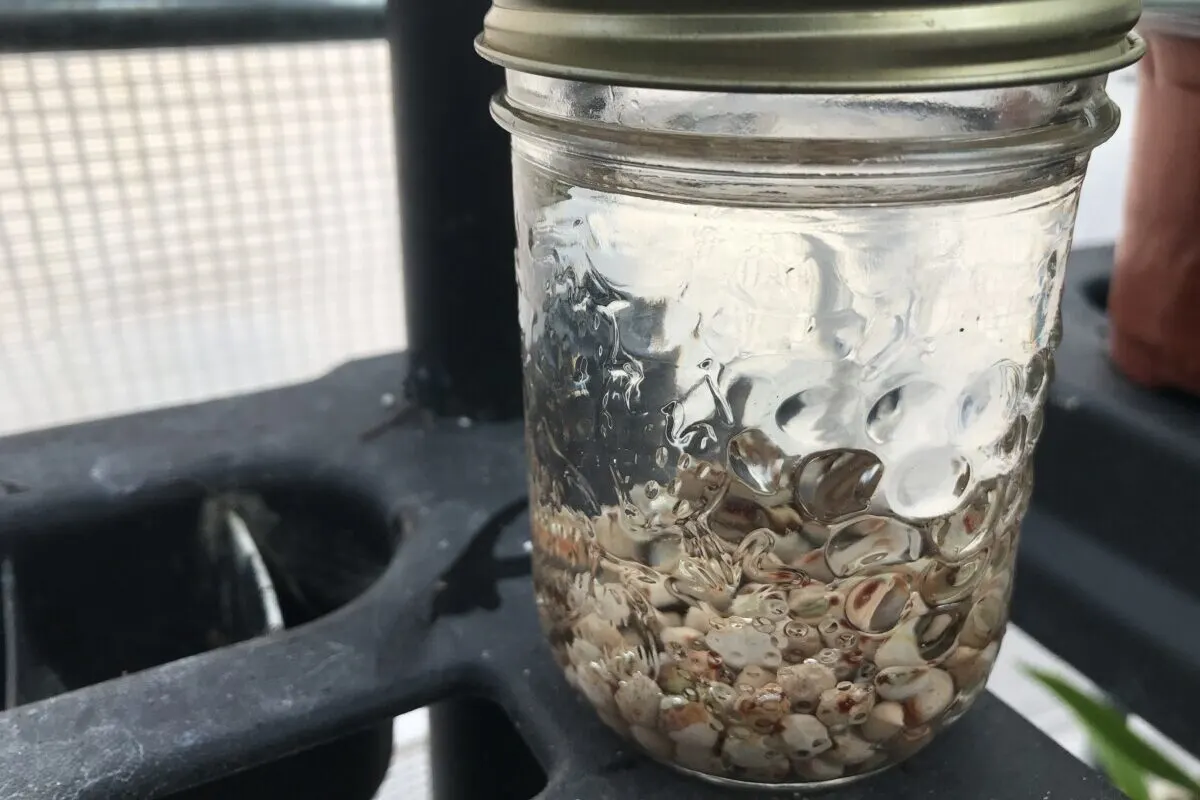
You can jumpstart germination by soaking the seeds in warm water up to 48 hours in advance.
Sow the Seeds
In Zones 8 and below, sow your seeds once soil temperatures reach about 70°F. In subtropical Zones 9 to 12, you can plant any time between the last frost and the first frost dates. However, remember that long-season perennial varieties may not provide much of a crop the first year.
I plant my pigeon peas in clusters, using about 5 to 6 seeds per clump, spaced about 3’ to 4’ apart. They will sprout as a cluster, providing a denser row of foliage.
You can also plant them in a row about 3” to 4” apart. I recommend keeping at least 4’ between rows if you’re growing more than one.
Plant about 1” deep and water the seeds well. If possible, keep the soil moist until germination, but note that they are slow to germinate and grow during the first month.
Follow Up Care
Once your plants have sprouted, you may want to mulch the plants to reduce weed pressure until they’re large enough to shade out competing plants.
You can also cut back any bothersome weeds and use those as a “crop and drop” mulch to retain moisture and keep the soil around the pigeon peas protected.
Pigeon peas appreciate water during a dry spell but are relatively tolerant otherwise.
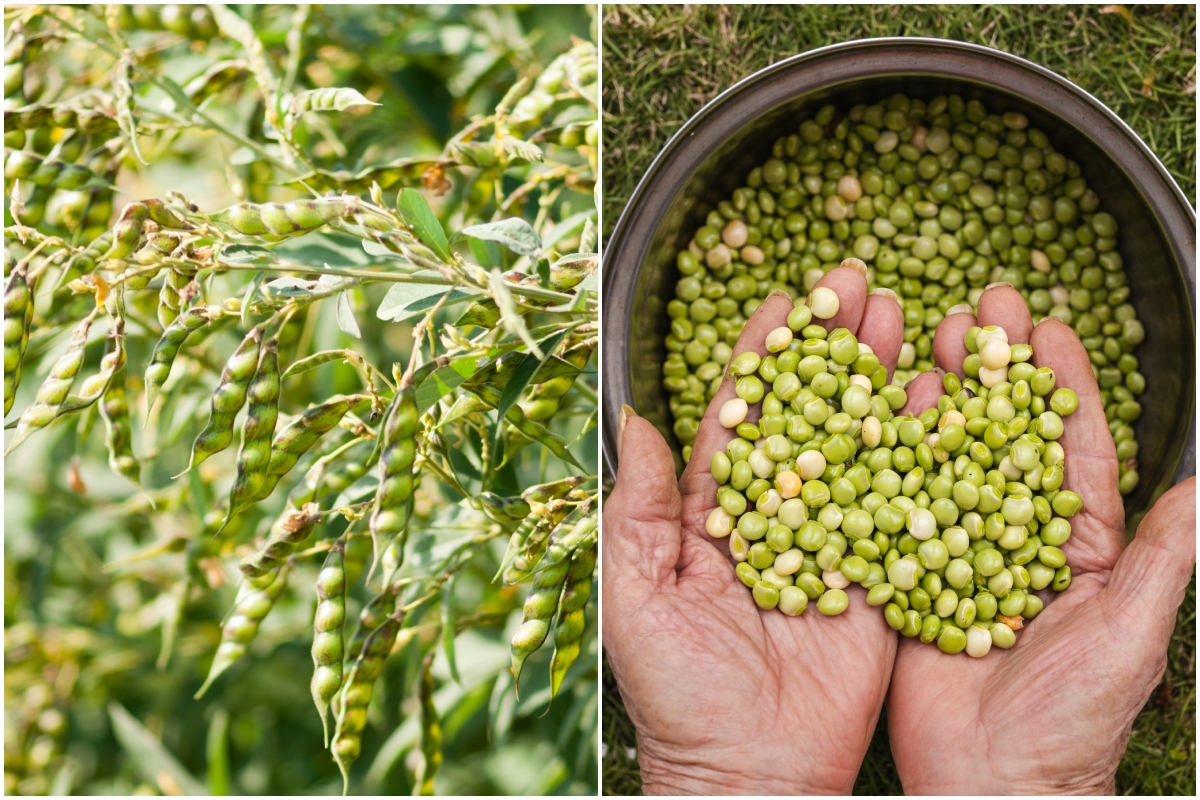
Harvesting Pigeon Peas

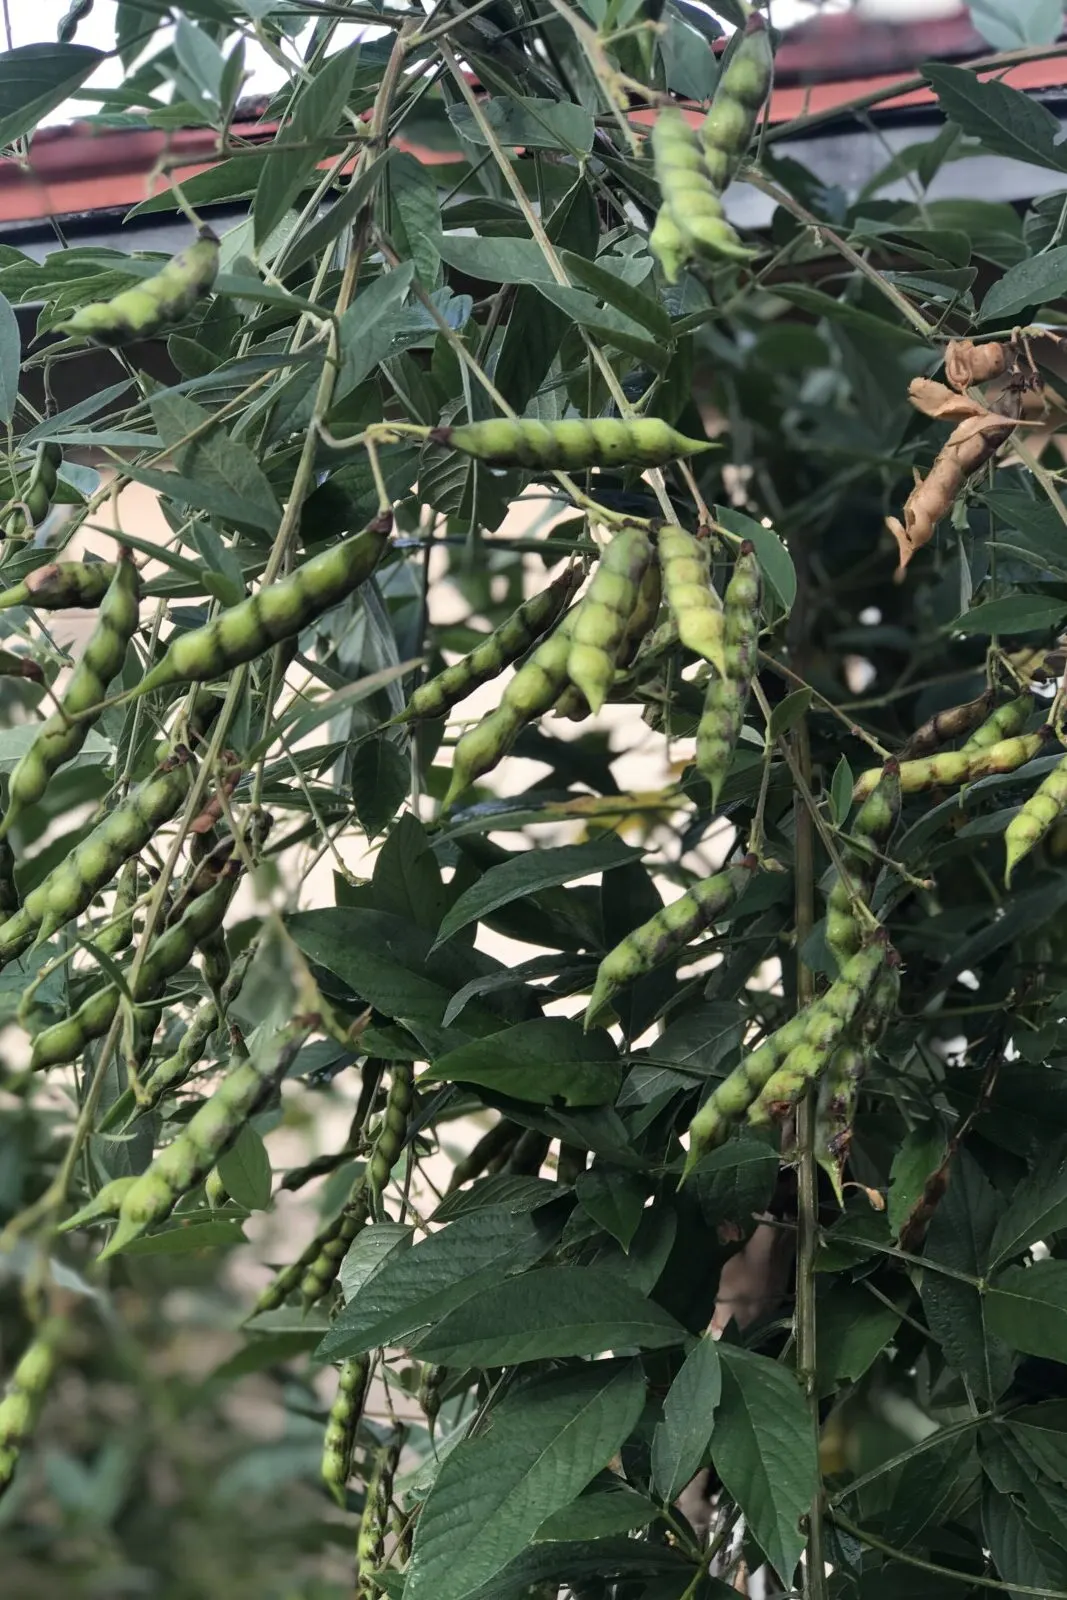
To harvest and eat while the pods are green, pick them once they’re firm and filled out. Shell them before cooking. This is somewhat more difficult with green pods than dried ones.
However, you can make this task easier by boiling them in the pods for 5 to 7 minutes and then shelling them after cooling them in an ice bath.
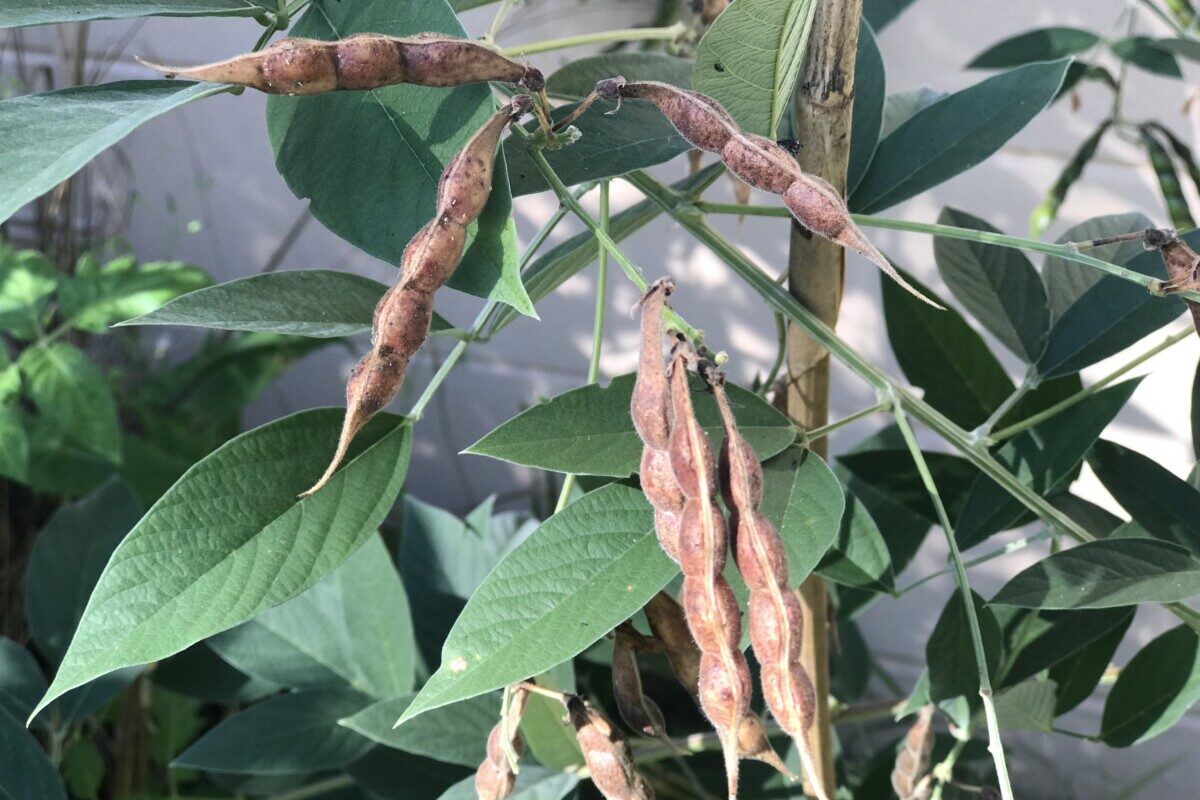
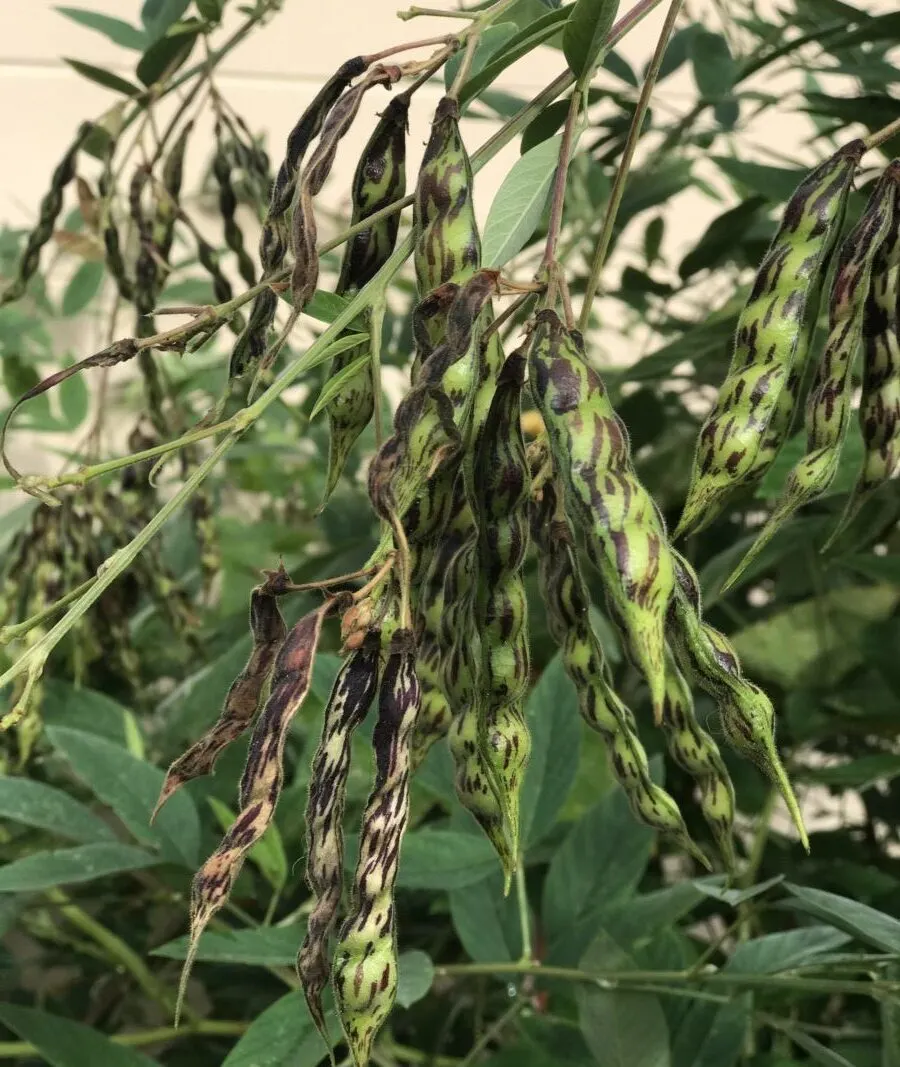
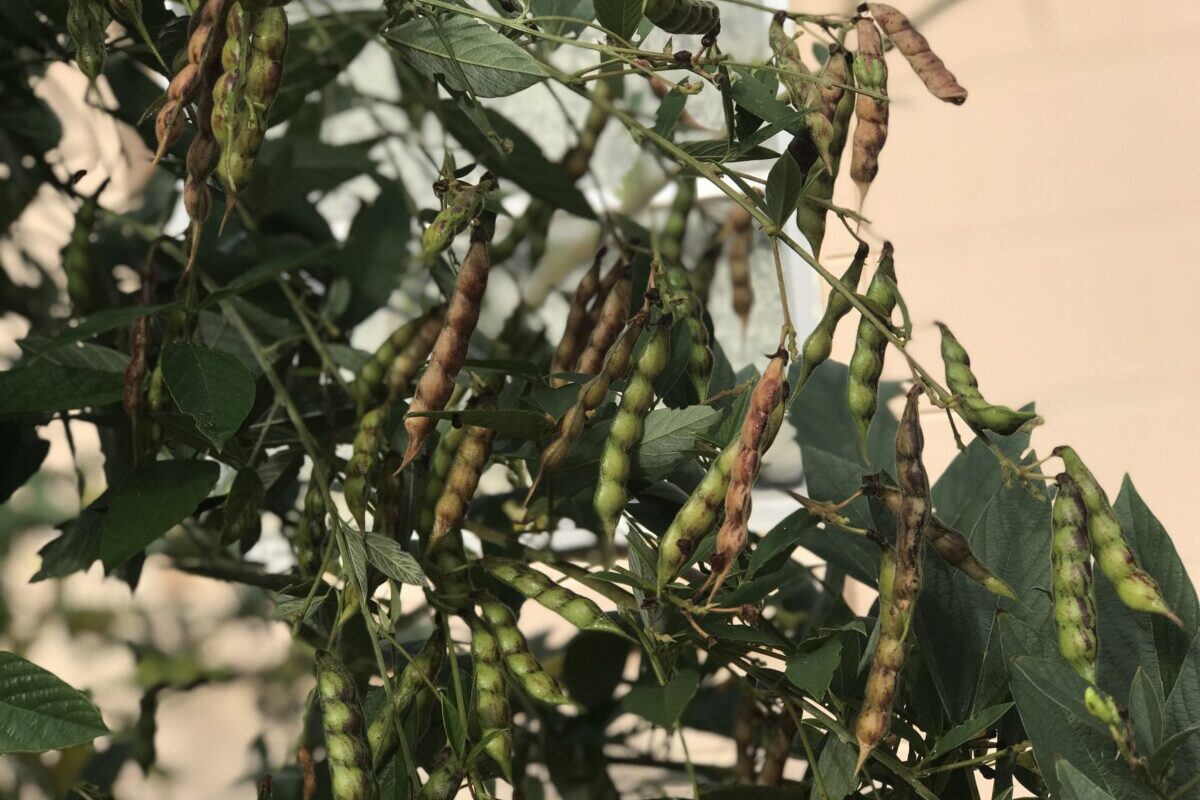
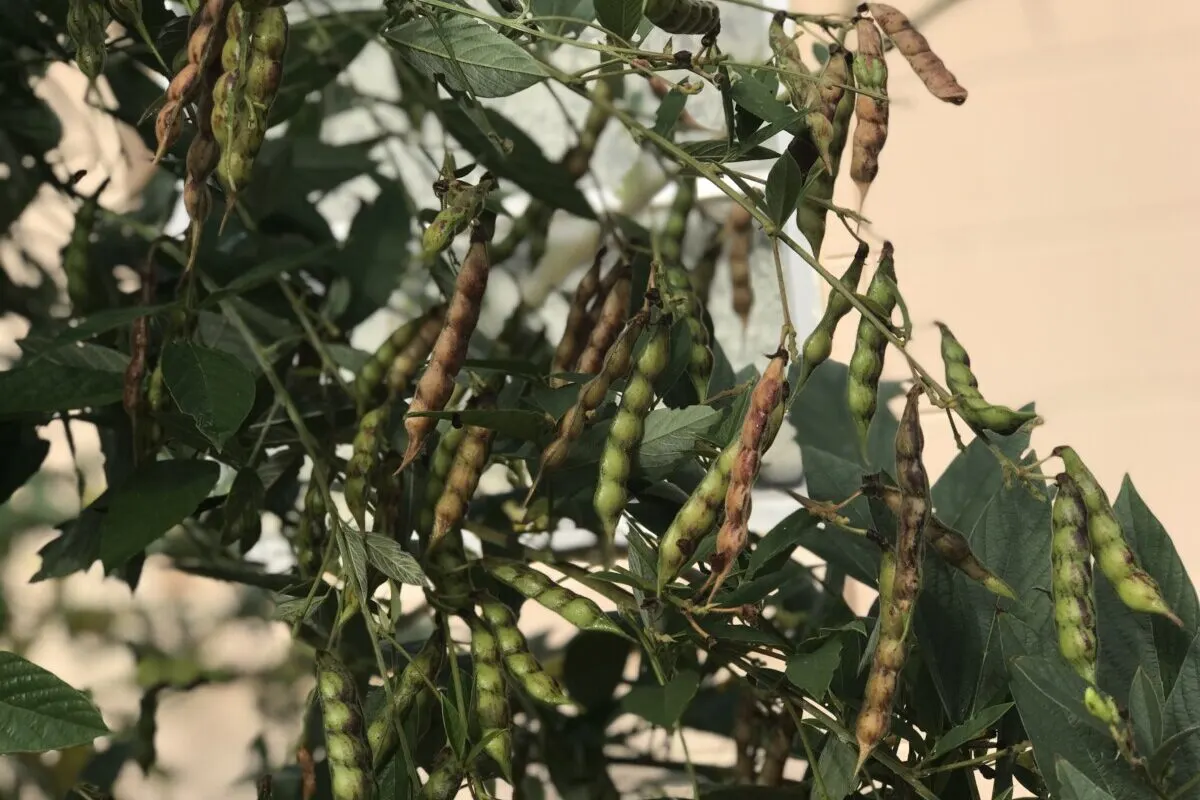
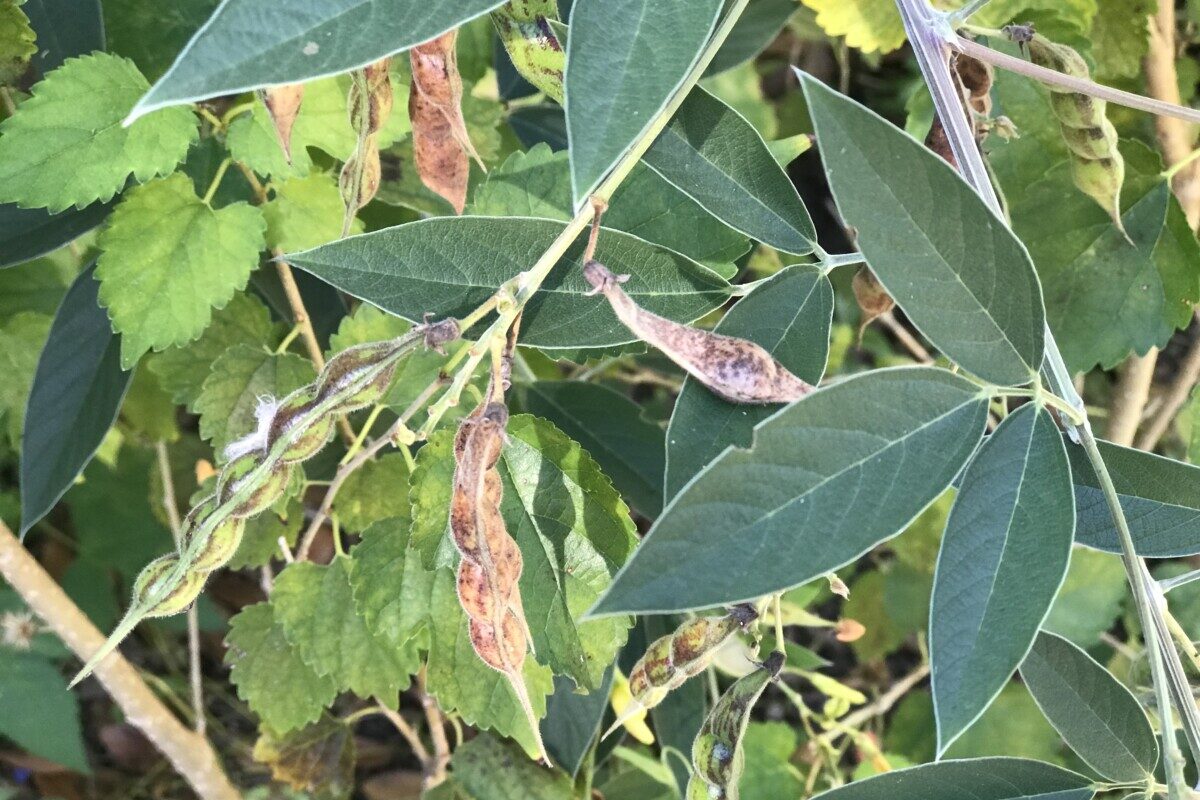
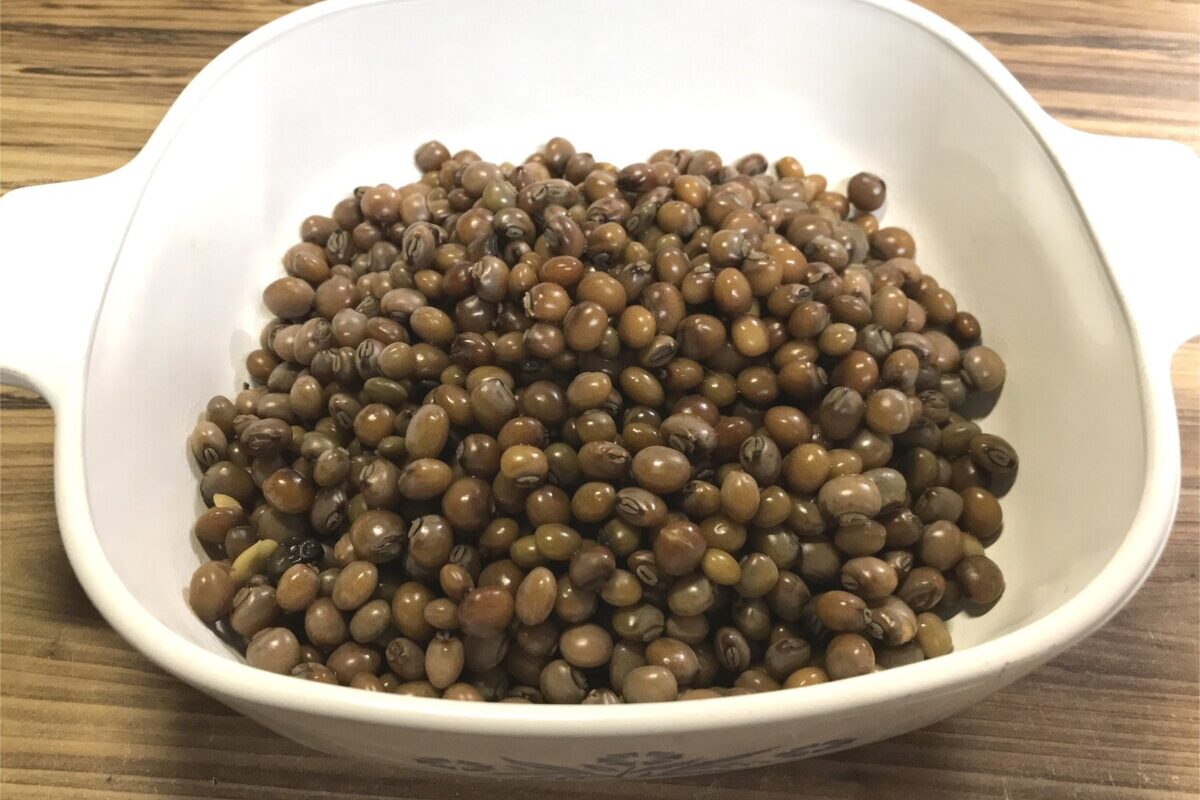
I find it easier to harvest and shell them once they’re fully mature. Once the pods are brown and dry, you can harvest them at a leisurely pace and at your convenience.
I generally store the pods in a basket to dry completely before shelling.
Easy-Peasy Shelling
Here’s the trick I taught my husband that makes him such a willing volunteer for shelling pigeon peas:
- Find an old pillowcase and dump the pods into it.
- Twist the open end firmly to secure it closed, or use a rubber band.
- Grab the twisted end of the pillowcase with your dominant hand.
- Go outside and bash the pillow case against the sidewalk or patio for a few minutes (wooden decks are too soft).
- Dump the pillowcase into a big bowl, pull out the dry pod shells, and dispose of them (I compost them).
- Repeat this process until you’ve busted all the pods open.
- Then, use a fan to blow off any chaff as you pour the peas from one bowl into another.
Cooking Pigeon Peas

You can use pigeon peas in most recipes that call for black-eyed peas or cowpeas. In Puerto Rican “Arroz Con Gandules” (pigeon peas and rice), they’re combined with rice, chicken stock, tomato sauce, ham or bacon for extra flavor, as well as other herbs and spices.
In Jamaica, they also combine them with rice but season them with a creamier combination of coconut milk, allspice, and thyme, with a little Scotch bonnet pepper for some heat.
To cook to perfection, rinse the peas and soak overnight. Then drain them and add them to a heavy stock pot with enough water to cover them by several inches. Bring the pot to a boil for 15 minutes, then simmer. They don’t get mushy like other beans and peas, so test after an hour to check if the consistency is to your liking.
I use a pressure cooker set to 30 minutes, and the result is a solid and firm pea to add to other ingredients for a stew or marinate in vinaigrette as a cold salad-topper.
After the Harvest
Once you’ve finished harvesting the peas, it’s time to prune or remove the plants. If you’re growing them in a tropical or subtropical climate, you may choose to leave them in place as is. You can also trim the bushes back and use the foliage for compost, mulch, or animal feed.
In temperate zones, the plants are unlikely to survive any typical winter freeze. In this case, you can cut them back entirely to compost or use as livestock feed. Cut the trunk level with the ground, but don’t remove the roots. That’s where all that wonderful nitrogen they’ve been collecting is stored. Allow the roots to compost in place in the garden.
In Zone 10a, I regularly harvest the foliage for the compost pile. I also cut back any weak or spindly plants and then replant seed in any bare spots. While they are low-maintenance, our windy coastal location can cause breakage.
Why Not Grow Pigeon Peas?
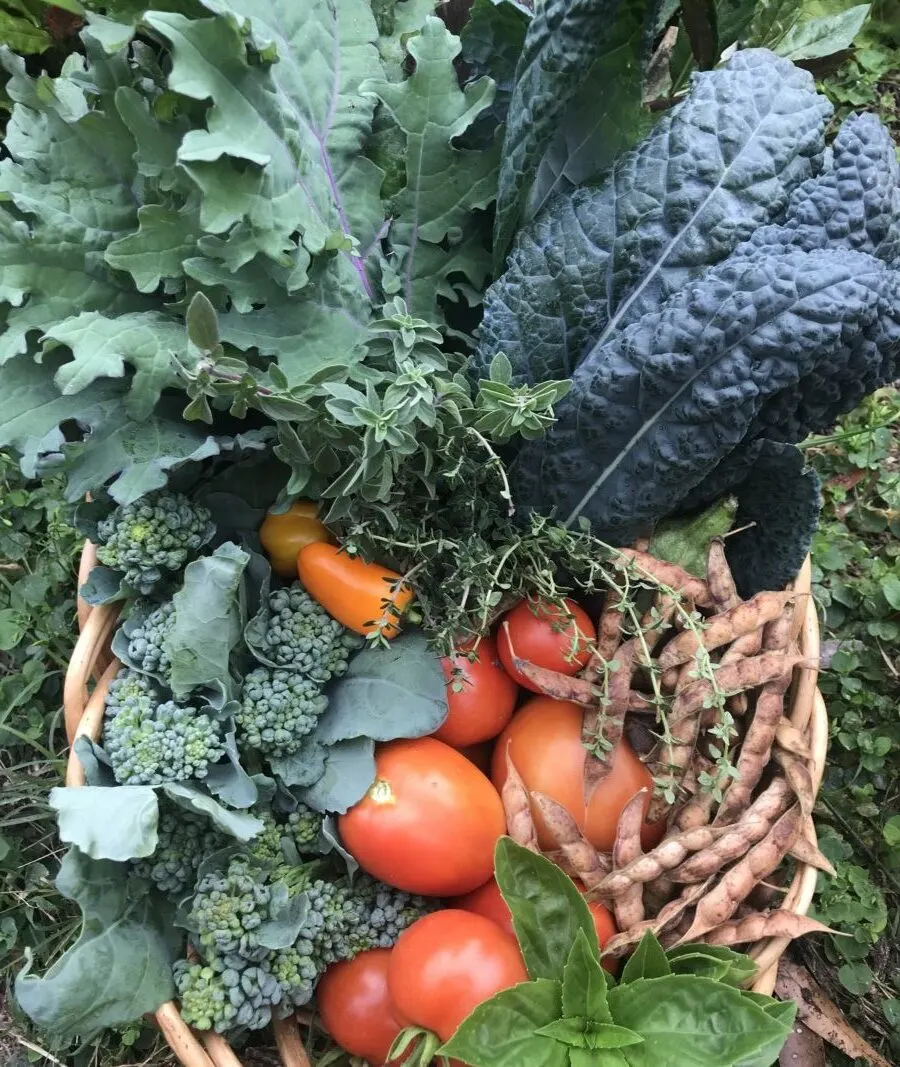
Growing pigeon peas offers a delicious and significant source of protein, with little maintenance and nearly no outside inputs. They’re thrifty to grow and easy to store for any homesteader. They also provide food for livestock and pets and forage for bees. And they manage to offer all these functions while simultaneously improving the soil.
Growing pigeon peas is a lesson in balance and the importance of nurturing our patch of the planet and, in return, being nourished ourselves.
It doesn’t matter if you’re growing them for fertilizer or looking forward to an exciting new item on the menu. They’re abundant — even prolific. And the best part? They’re easy. Easy to grow, easy to cook, and even easier to love.

Get the famous Rural Sprout newsletter delivered to your inbox.
Including Sunday ramblings from our editor, Tracey, as well as “What’s Up Wednesday” our roundup of what’s in season and new article updates and alerts.