


If you are about to harvest your raspberries fresh, or have already frozen them for later indulgence, this old-fashioned raspberry jam recipe certainly aims to please.
It is slightly sweet, with a hint of sour – perfect as a bunch of raspberries can be.
Besides being lovingly homemade, you can also take pride in the fact that it is low in sugar and extremely rich in flavor.
In essence, it is the joys of carefree summer days in a jar.
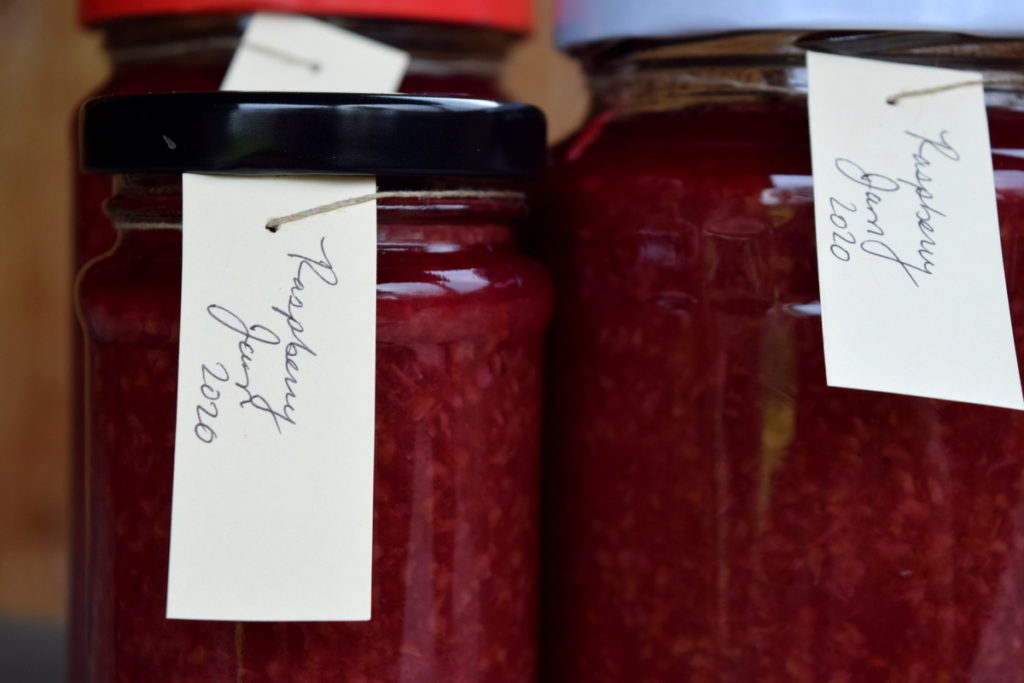

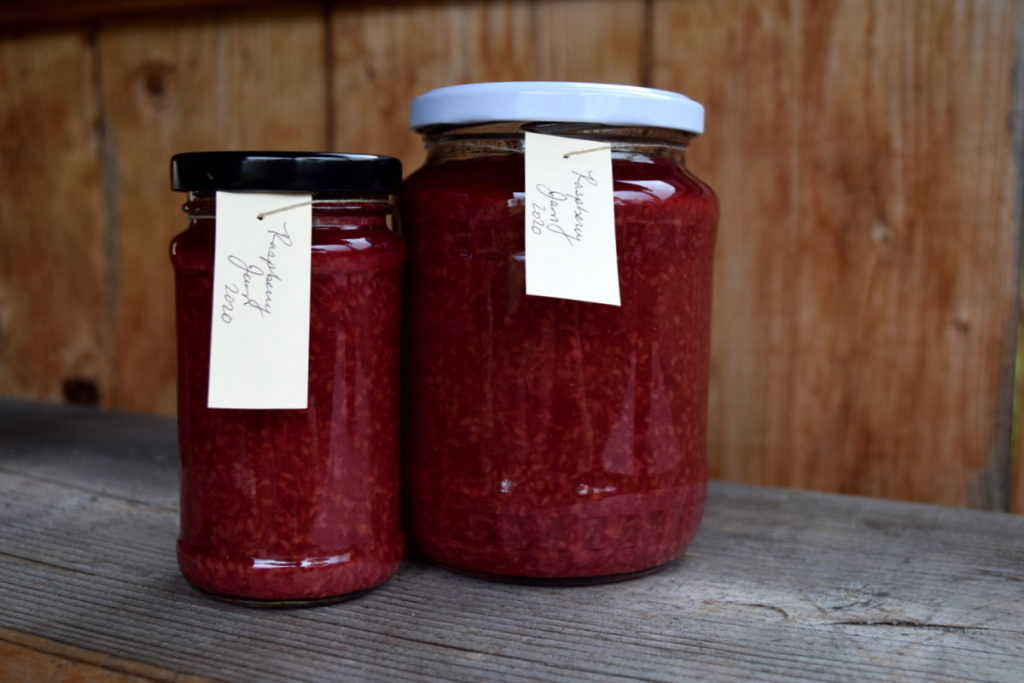
Spoon this delicious raspberry jam over pancakes, waffles and homemade yogurt, layer it between vanilla cakes or glaze your pork chops and chicken drumsticks with it. You may want to can more than one size of jam, using both smaller and larger jars, as it is sure to fly off the shelves quickly.
Whatever you do, be sure to make this jam as soon as the raspberries are perfectly ripe – and preserve them the same day as harvesting, or buying in bulk from the market.
Jam making tips:
If you are making seasonal jams as the summer/autumn progresses, sometimes the overabundance of harvests, chores, taking care of the garden or kids, all the while having enough time for yourself, can be overwhelming.
Yet, that is no excuse for letting a beautiful harvest go to waste!
Berries perish quickly, but there are two great ways to extend their life before turning them into jam.
They are beneficial cooking skills to learn, just in case your days are too hectic to properly finish a batch of jam without burning it.
Wash and freeze the berries straight away
If you had time to harvest raspberries, but ran out of energy to make preserves, you can always save the cooking for another date.

Be sure, however, to prewash the berries and freeze them in a bowl or freezer bag. What you will end up with, is a lovely block of berries.
Simply add it to your cooking pot, along with the desired amount of sugar and lemon, then cook as if it were freshly picked.
Use a water bath canner to finish off the jars before storing, or put them in the fridge if it is your intention to use them up quickly.
If jam making must wait a day or two…
It has happened to us before, when making both strawberry and apricot jam, that we had to halt the process due to tired eyes, exhausted hands and too little daylight left to take pictures.
The best thing you can do, is just wait.
Rushing is not an option when making jam, so do not try to cut faster, or cook faster, or put the jam in jars faster. It never pays to take shortcuts in canning.
Rather than letting all those berries go to waste, you can start out by washing and draining them. Then place them in a non-reactive mixing bowl (glass or stainless steel) with both sugar and lemon, as required, and mix everything together.
Cover it and leave in the fridge for up to two days, until you have time to deal with canning. It is just as wonderful, if not better when done this way. You are definitely not missing out if you cannot get to cooking your berries straight away.
That being said, let’s make some delicious raspberry jam!
Ingredients for raspberry jam without pectin
We’ve already alluded to the fact that raspberry jam takes nothing more than:
- raspberries
- sugar
- lemon juice
Without giving specific measurements, this recipe is based rather on proportions.
So, if you harvest 2 lbs. of raspberries, you will need to add 2 cups of sugar and 4 tbsp. of lemon juice.
If you go with 4 lbs. of raspberries, you will want to add 4 cups of sugar and 8 tbsp. of lemon juice, and so on. Simple math is fun, that is all there is to it.
The reason we aren’t adding any pectin here, is because raspberries generally contain enough natural pectin to make the jam firm enough on its own.
If you find that your raspberry jam is not setting, it may be from not cooking it long enough or that it was cooked on too high heat. Always cook jams over low-heat for the best results possible!
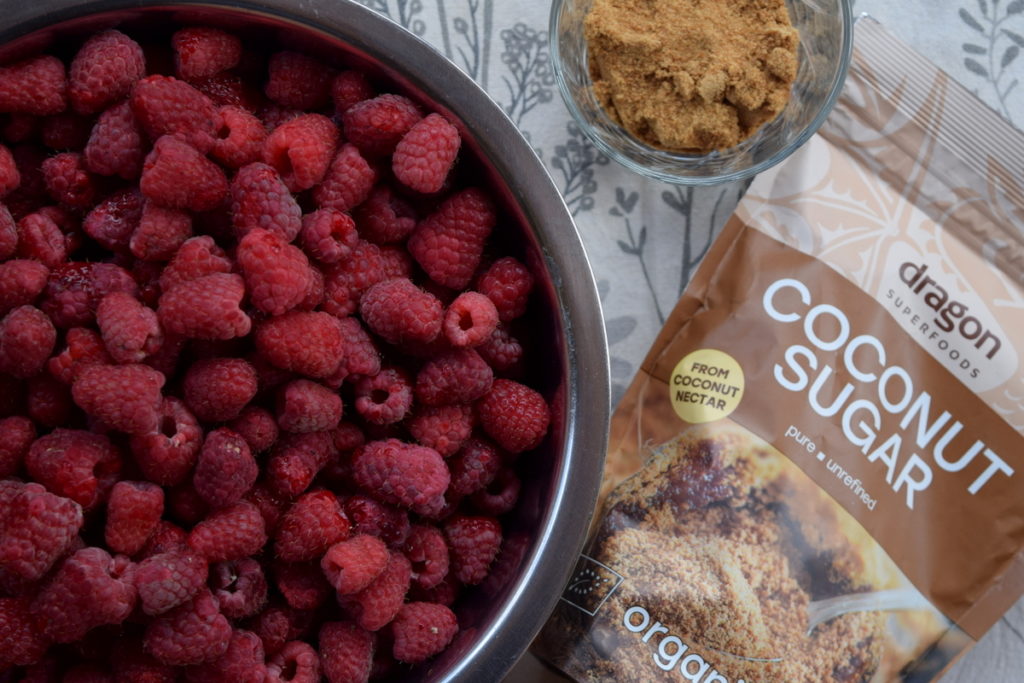

As for sugar in the recipe, we’ve chosen to use coconut sugar, which gives the jam a brown sugary, ever-so-slightly caramelized essence, though you are free to use regular cane or beet sugar, as you wish. Perhaps for the sake of argument – or enlightenment – even no sugar at all!
Cooking time: 30 minutes
Preparation and canning time: 20 minutes (depending on how many jars you are filling)
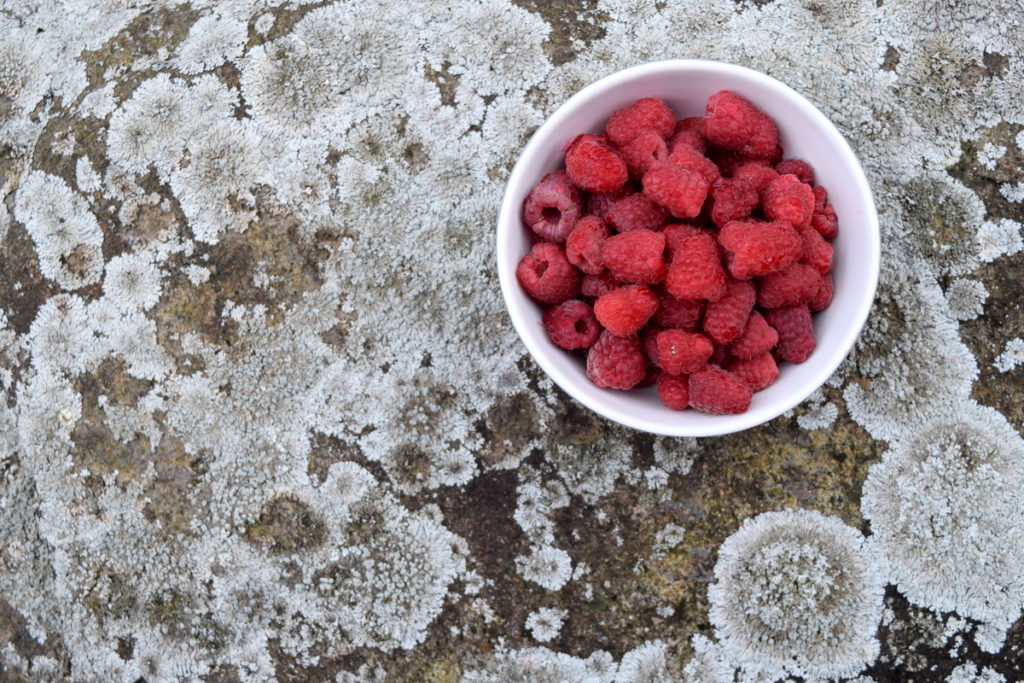
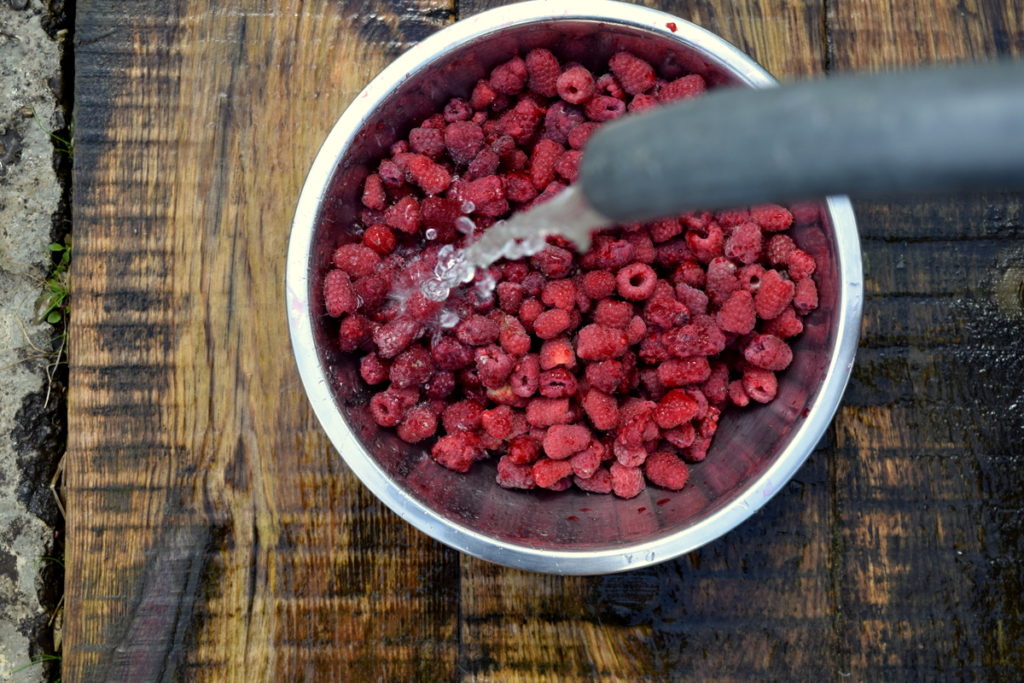
Step 1: Washing the raspberries
Rinse the berries with cool water and strain before adding to your cooking pot.

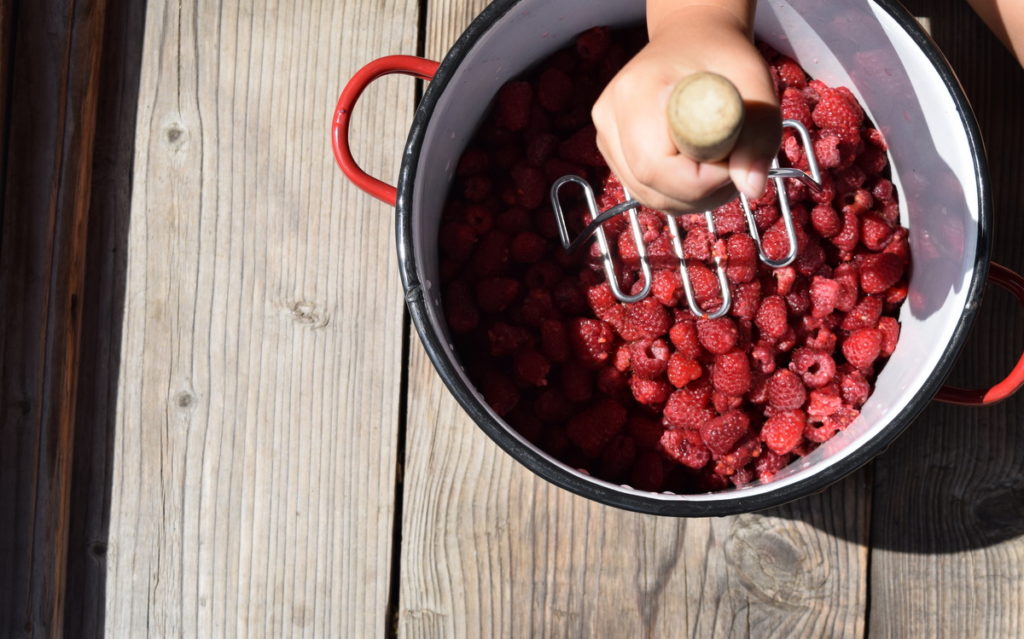
Step 2: Mash the raspberries before cooking
Using a potato masher, lightly mash the ripe raspberries, adding the sugar at the same time.
Let it sit 5-10 minutes before transferring to the stove.

Step 3: Cooking the raspberries
Over low heat, bring the raspberries and sugar to a boil. Then add the right amount of lemon juice.
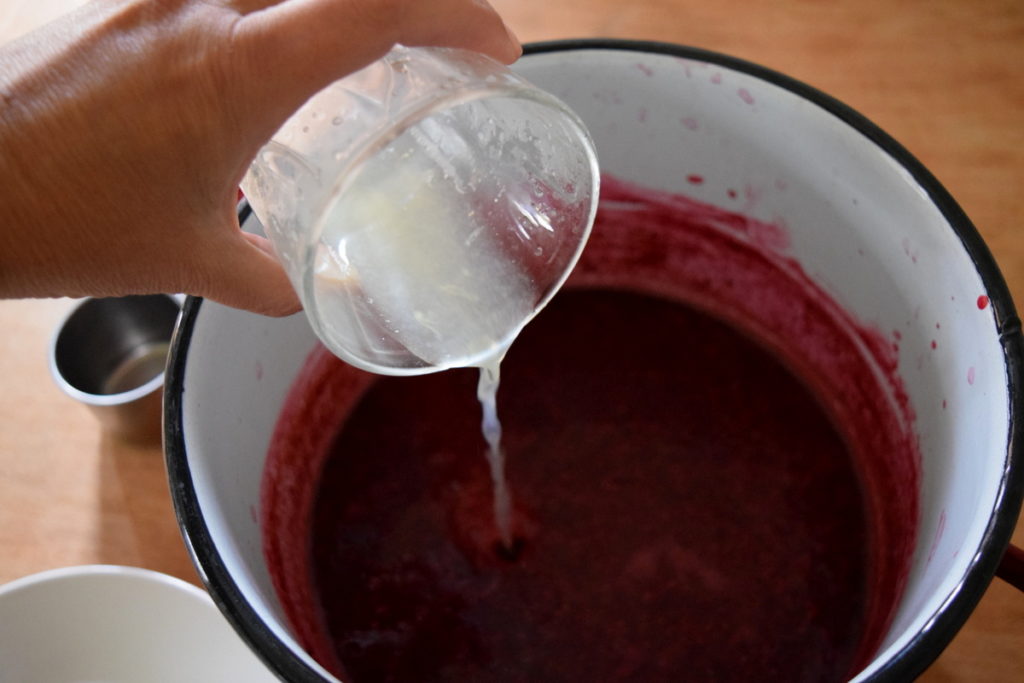

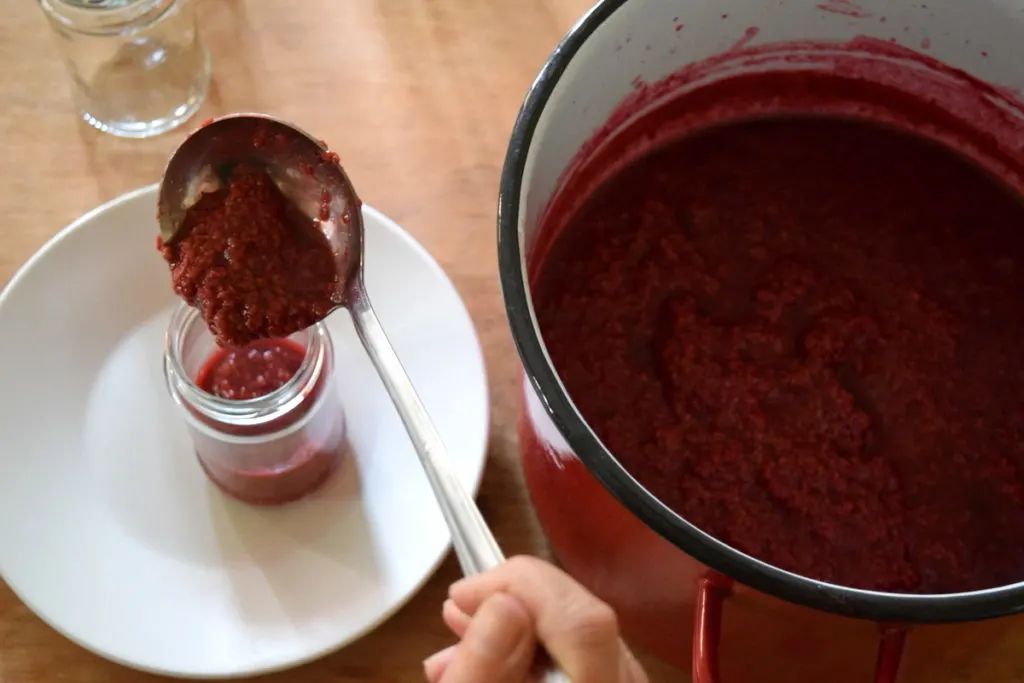
Simmer for 25-30 minutes until the jam begins to thicken.
To test this, spoon out a small amount and place it on a cold plate to chill quickly. If it wrinkles when you touch it, or if it sticks (rather than slides) on the plate, then it is ready for canning.
Alternatively, you could use a candy thermometer, bringing the temperature up to 220 °F (105 °C).
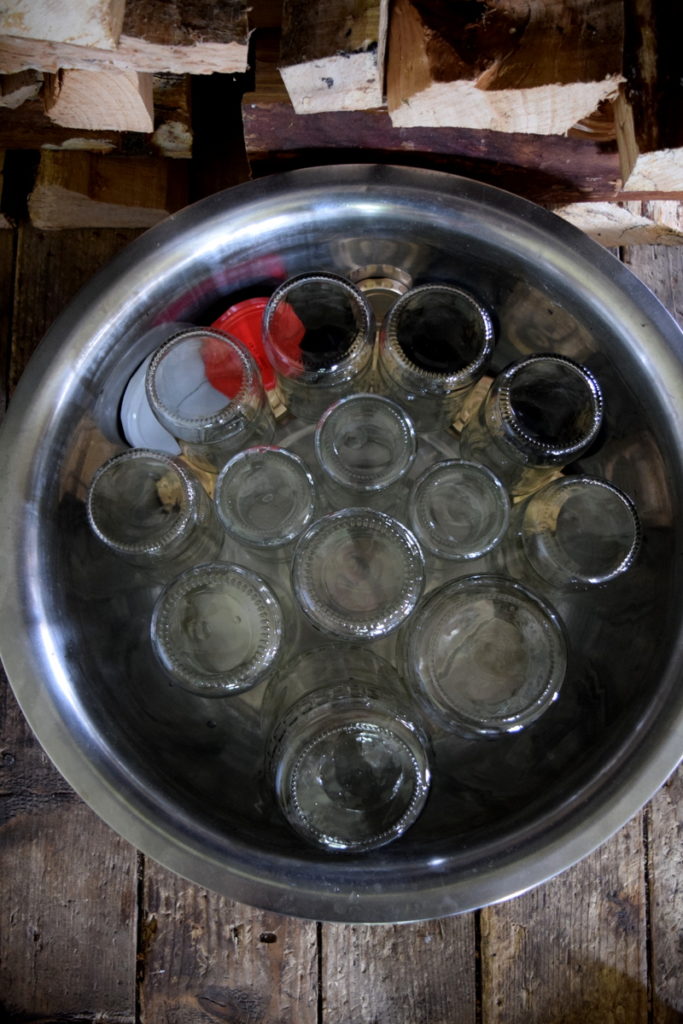
Step 4: Canning
With your jars already washed and sterilized before you started cooking the raspberry jam, you are now ready to fill those jars.

Fill your jars leaving 1/4″ headspace and call it a day (while your jars come to room temperature with the lids on). Then store your beautiful jam in the fridge for 3-6 months.

Or take it one step further and place your jars in a water bath canner for 10 minutes. Then let your jars of delicious raspberry jam come to room temperature on a towel or rack. Check to make sure that the lids have sealed, then label and store the jars in your pantry for several months, up to a year or more.
If processed safely, your raspberry jam can even last 2 years! That is, if your pantry is already full with so many enjoyable options that it is hard to get through them all – if only that was a modern homesteader’s biggest problem!
What will you be making with your raspberries this year?
Here are a few more options to try:
Homemade Raspberry Syrup With Honey
Raspberry Ripple Coconut Ice Cream

Get the famous Rural Sprout newsletter delivered to your inbox.
Including Sunday ramblings from our editor, Tracey, as well as “What’s Up Wednesday” our roundup of what’s in season and new article updates and alerts.