


I know, I know, you’re thinking, but onion powder is so cheap, why bother making your own?
Because homemade onion powder is superior in every way to the store-bought stuff, that’s why.
When it comes to spices, the adage of “You get what you pay for” has never been more accurate.
If it’s cheap, you’re losing out on flavor.
And who knows how long it’s been since that powder was actually an onion.
Have you ever bothered to read the ingredients for onion powder? There’s always some mysterious “anti-caking agent” on the label. You don’t need that.
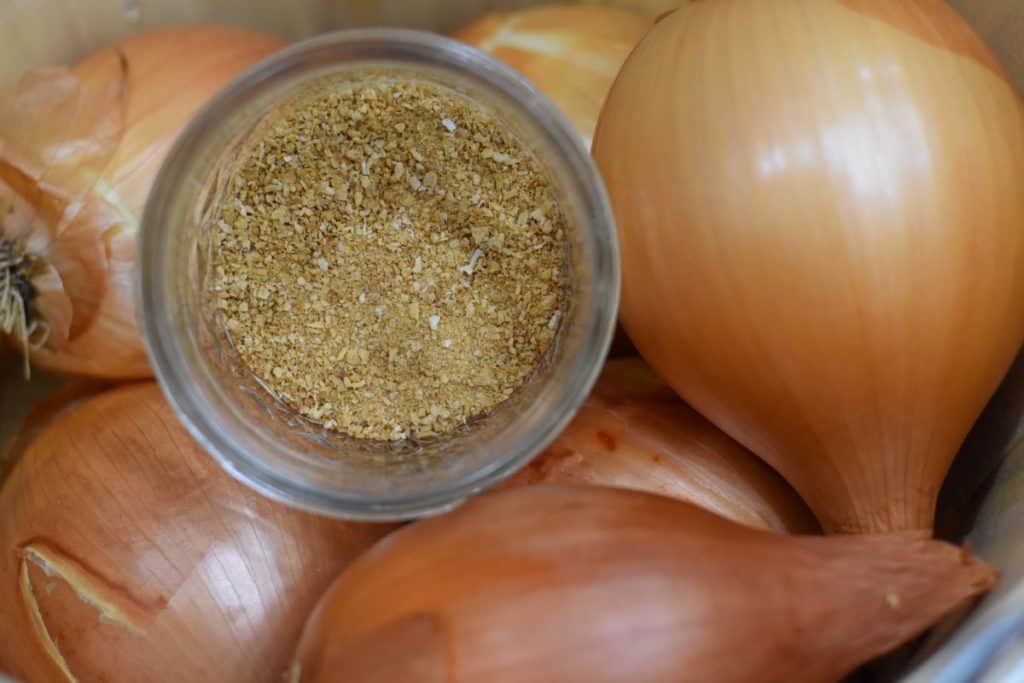
There should only be one ingredient in your onion powder – onions.
Once you make onion powder for yourself, you’re never going to use that horrible crumbled chalk from the grocery store again.
Onion powder is pretty easy to make too.
The hardest part is the chopping, and that’s if you do it by hand. Even then it’s not horrible. If you own a food processor, forget it, this is beyond simple. It practically makes itself.
As always, when drying food or herbs, a food dehydrator is nice, but not necessary. In fact, for this project, I’d argue that by the time you had all the fussy trays loaded, you could have had your baking sheets loaded with chopped onion, in the oven, and be sipping a glass of wine with your feet up.
The upside to using a food dehydrator is a much more controlled drying environment. You won’t have to check on your onion as often towards the end.
Let’s do this!
Here’s everything you will need:
- 2-4 medium-sized onions
- A cutting board and knife
- Baking sheets lined with parchment paper
- Something to grind your dried onion flakes
Nice to have, but not necessary
Chop your onion
Okay, this is the hardest part, so hard it brought tears to my eyes. Get it? Chopping onions?
I’ll stop.
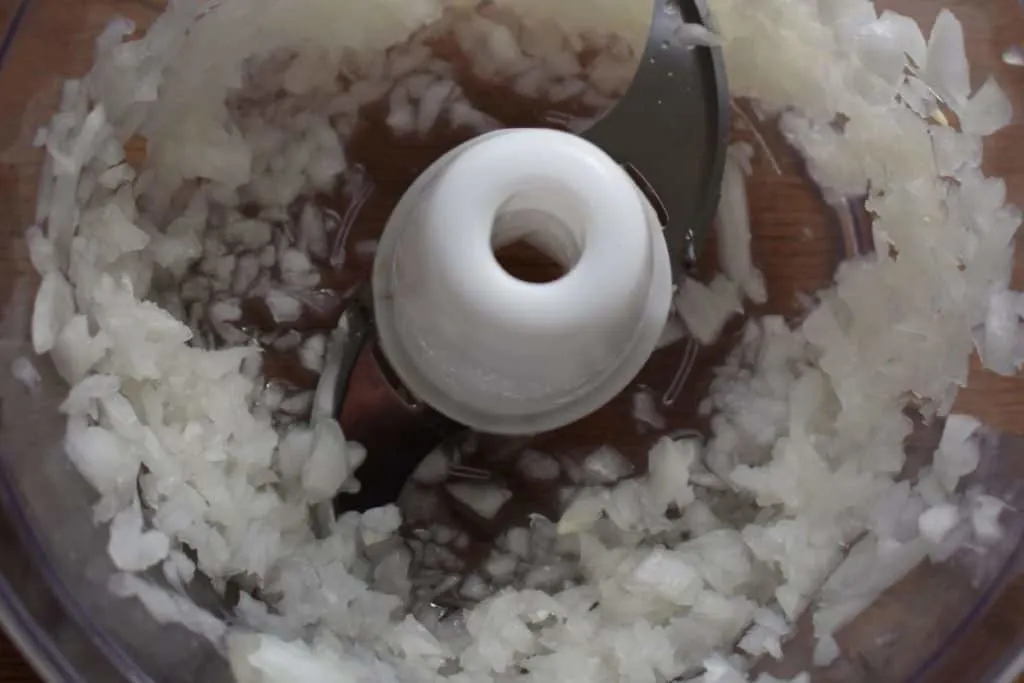
Peel and finely chop 2-4 medium size onions.
If you’re using a food processor, use the pulse option so you can control the size of your pieces. You want everything to be relatively the same size so that it will dry at the same rate.
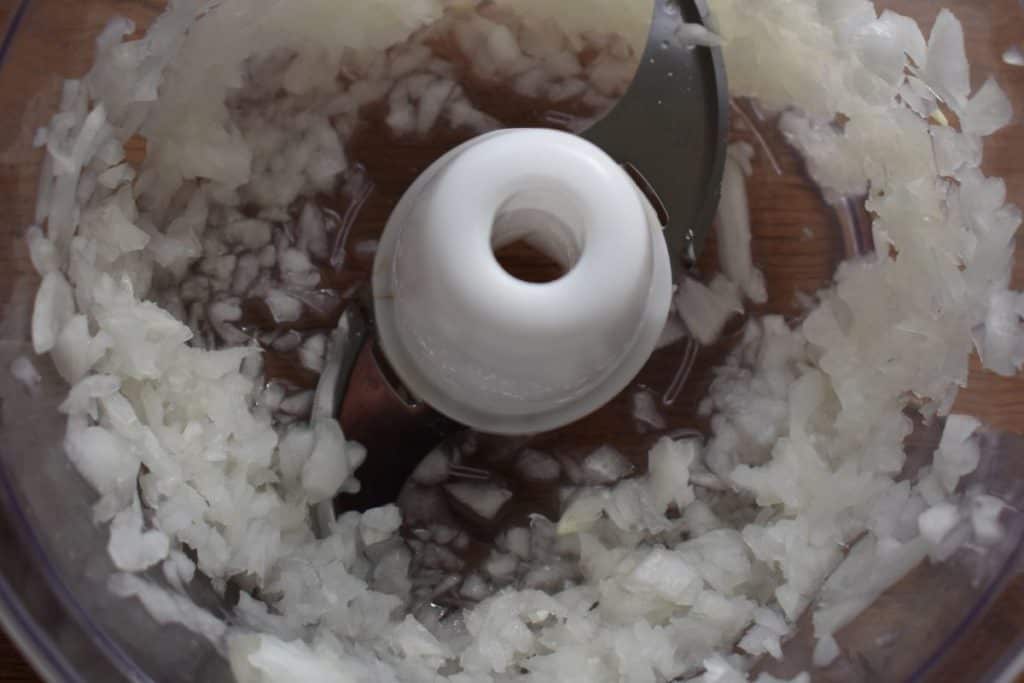
If you’re chopping by hand, the same applies.
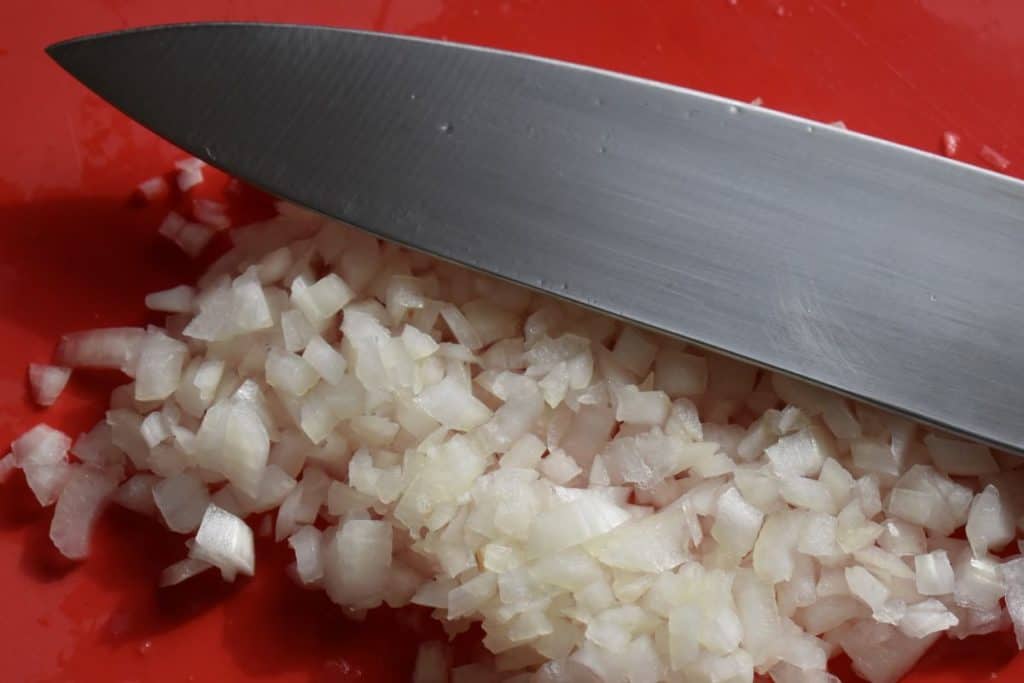
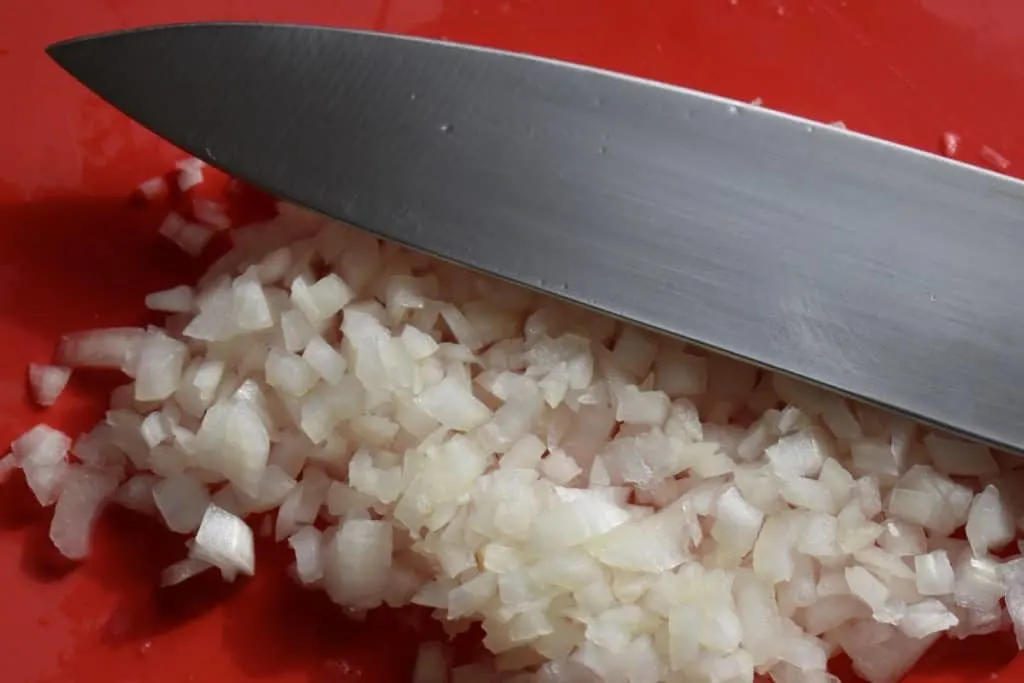
I chopped half of my onions with a food processor and the other half by hand. Of the two, chopping by hand allowed me to get more even pieces. Your mileage may vary.
Onion juice
Moving on, we’re going to drain our onion; this will cut down on your overall drying time. And you’ll get the bonus of having freshly squeezed onion juice.
Yeah, I know it doesn’t sound very appealing, but it’s quite handy to have around the kitchen.
Add a tablespoon to cream-based soups, sauces, gravy, and dips or spreads. Add a splash to your potatoes before you mash them. Put it in anything where you want the flavor of onion, but not the actual onion pieces.
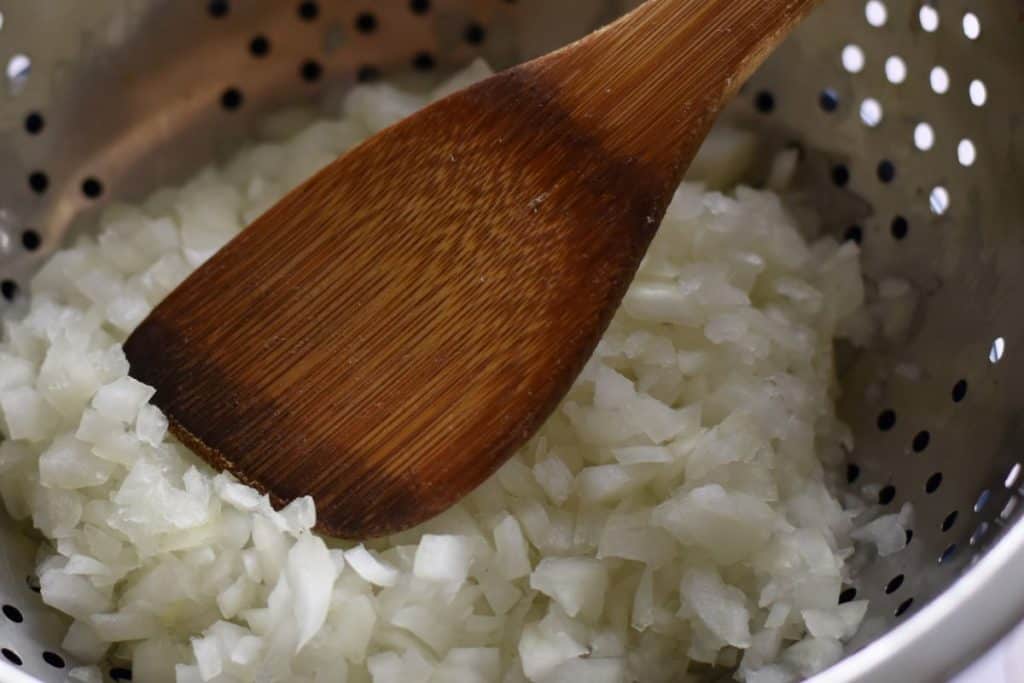

Place a colander over a bowl and add the chopped onion to the colander. Press down firmly on the onion using a wooden spoon. Or, if you’re a glutton for punishment like me, just use your hands. Grab a handful of onion and give it a good firm squeeze. Once you’ve squeezed the juice out you can place the onion directly on your parchment-lined baking sheet.
If you use your hands and the onions are pretty harsh, you’ll probably end up with tears streaming down your face.
Ask me how I know.
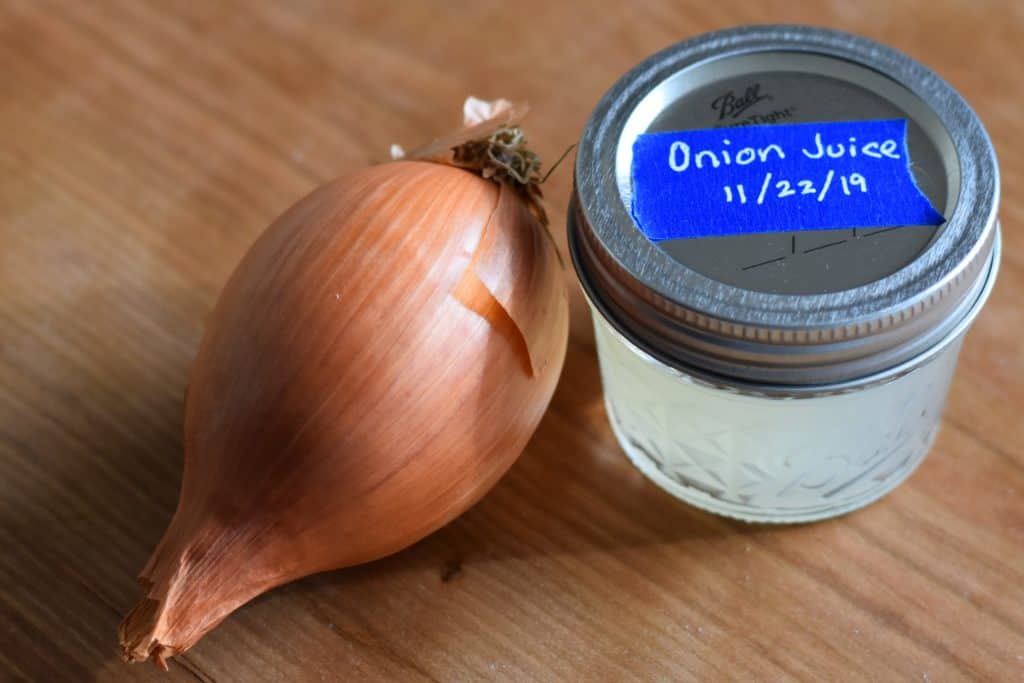
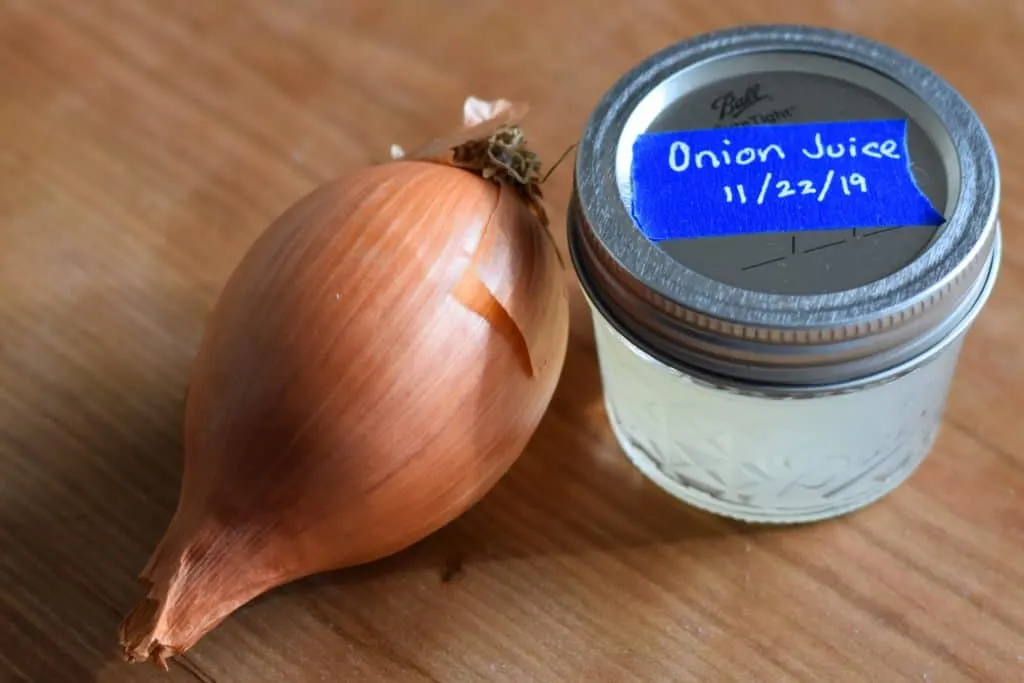
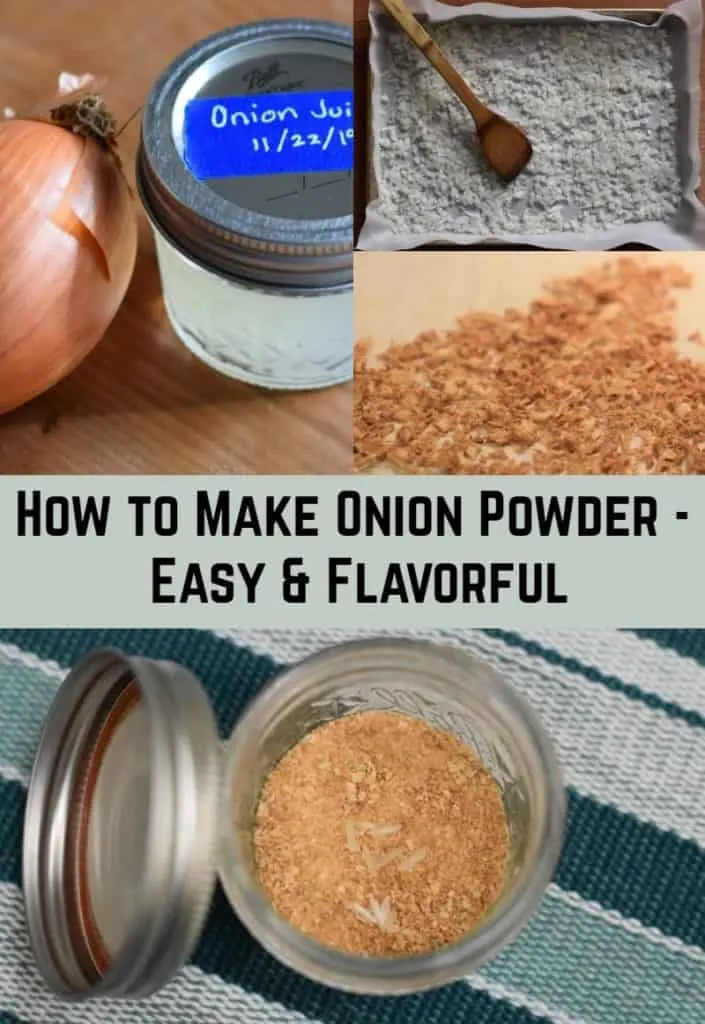
You’ll have ¼ cup to ½ cup of freshly squeezed onion juice when you’ve finished. Put the juice in a clean jar, label it and put it in the fridge. Use it within two weeks.
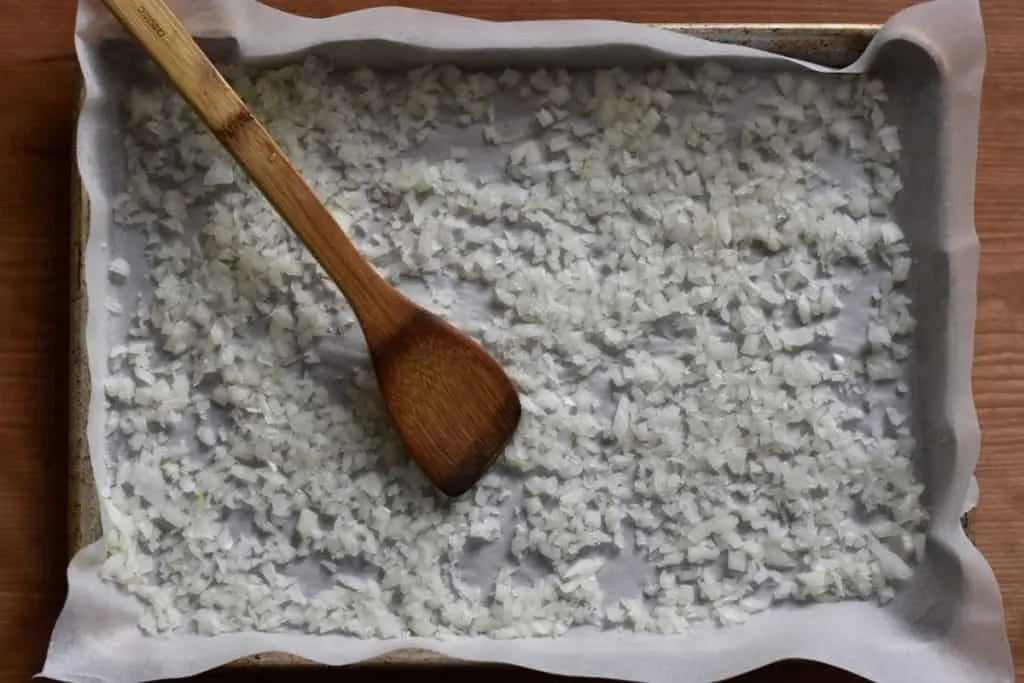
Spread your squeezed onion out evenly on the baking sheet.
You want a nice thin layer; it’s okay if they touch a little, but avoid clumps of onion.

Dry the onion into flakes
Next, place the baking sheet on the middle rack of your oven and turn your oven to the lowest setting it has. If your oven temperature doesn’t go below 175 degrees, use a cork from a bottle of wine to prop the oven door open.
Remember when we made our garlic powder how the house smelled super-garlicky?
Yeah, this is totally different.
After your onion has been in the oven for about 30 minutes, your house is going to smell amazing.
And it’s going to make you hungry, so you’re going to order a pizza from the only place in town that will deliver way out where you live. And when you open the door for the pizza delivery guy he’s going to say, “Mmm, something smells good in here.”
Ask me how I know.
Set a timer and ignore your onion for about an hour.
After the hour is up, give the onion pieces a little stir.
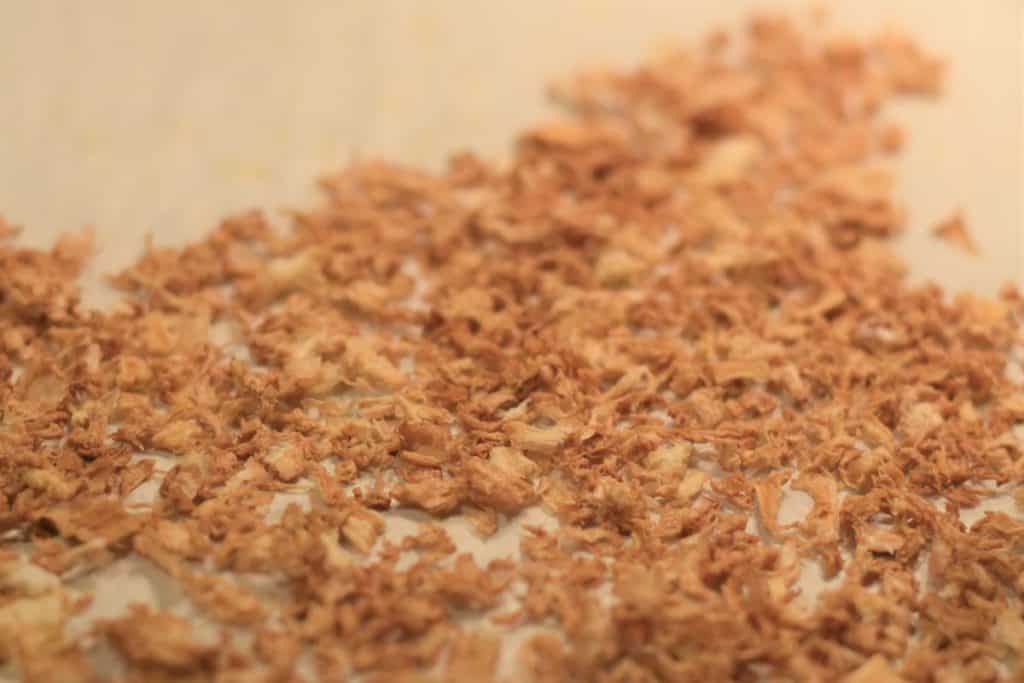
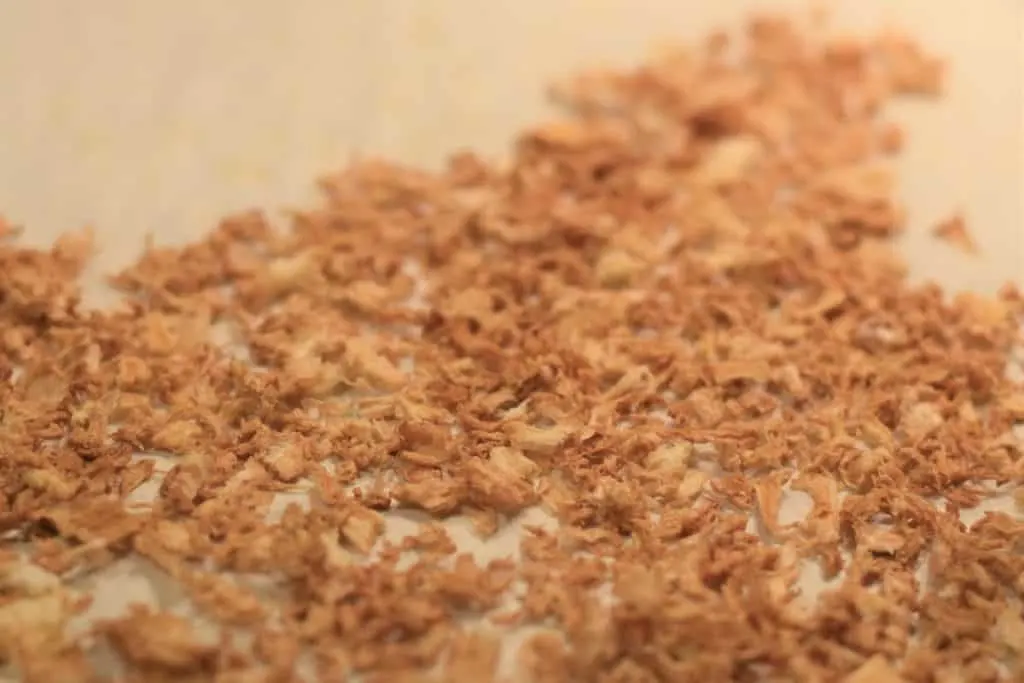
Moving forward, you’ll want to check on them more frequently. Every half hour or so, stir your onion and test a few pieces by crushing them. The onion is done when it crumbles easily; it will be a beautiful golden color.
Remove the baking sheet and let the onion cool completely before you grind it.
Grinding the dried onion is incredibly easy; it practically falls apart.
The flakes of dried onion are beautiful too. I’m going to make another batch simply to keep in flake form. I want to sprinkle them on top of my macaroni and cheese before I bake it. And I think they would be a great addition in homemade breadcrumbs.
What to grind with?
A mortar and pestle would work great for grinding onion flakes into powder. A small blade coffee grinder works great for grinding dried herbs as well.
If you plan on using a coffee grinder, I would highly recommend using one only for this purpose.
Otherwise, if you use it to grind coffee again, the oils from the coffee will pick up the flavor of whatever else you’ve been grinding. And quite frankly, onion coffee sounds gross.
I have an old electric burr coffee grinder that I use strictly for grinding herbs, and it works amazingly well. I ran a cup of uncooked rice through it on the finest setting to clean and absorb any leftover coffee oils, before I used it for herbs.
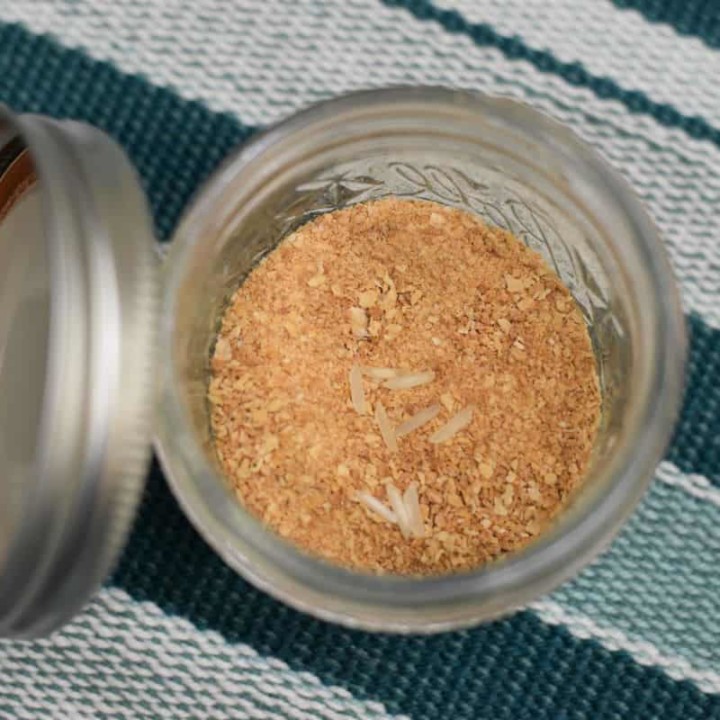
And speaking of rice…
Toss a few grains of uncooked rice into your onion powder. This will be our not-so-mysterious anti-caking agent.

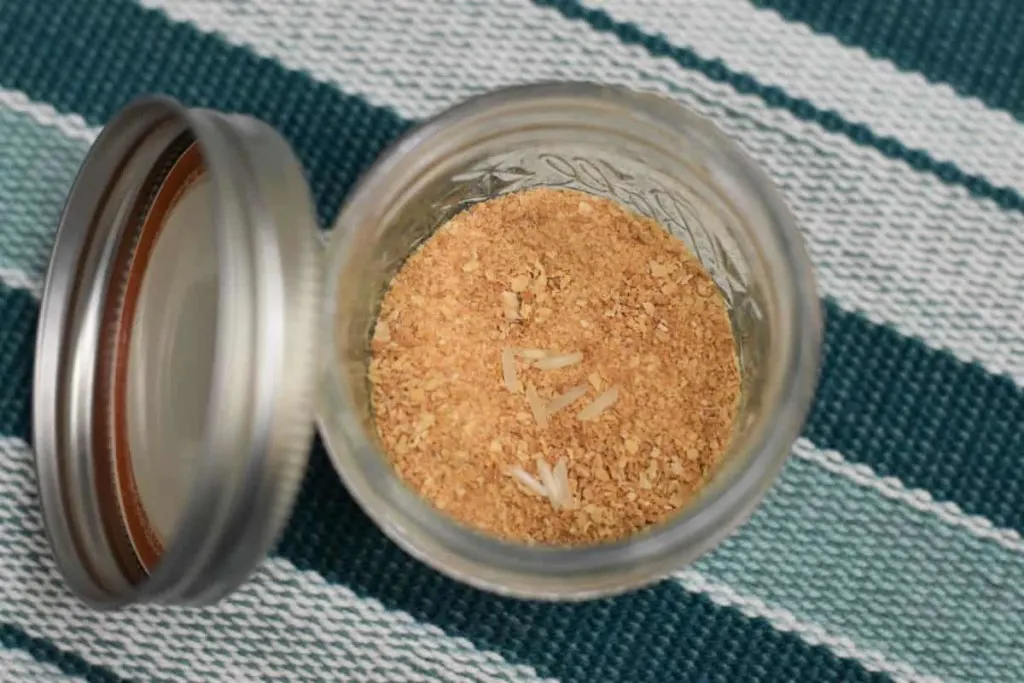
You can keep your onion powder fresh by storing it in a tiny mason jar. Alternatively, I like to save the spice jars with the shaker tops when they are empty and reuse them.
Here’s some more brilliant ways to upcycle old glass jars.
Store your onion powder in an airtight container, and it will be good for several months.
Sprinkle your delicious creation on mashed potatoes, sautéed summer squash, or rice pilaf. You’re going to be amazed by the difference in the taste.
Next thing you know, you’ll be rummaging through your spice cupboard wondering what else you can make for yourself.
Ask me how I know.

How To Make Onion Powder
Once you make onion powder for yourself, you’re never going to use that horrible crumbled chalk from the grocery store again.
Materials
- 2-4 medium sized onions
Tools
- a cutting board and knife
- baking sheets lined with parchment paper
- a pestle and mortar or old coffee grinder
- a tiny mason jar for storage
Instructions
- Peel and finely chop your onions or use a food processor.
- Using a colander and a wooden spoon, squeeze out the onion juice and set aside.
- Spread your onion out evenly on a baking sheet lined with parchment paper.
- Place the baking sheet on the middle rack of your oven and turn your oven to the lowest setting it has.
- Check on your onions every half an hour and remove when they are dry and crumbly.
- Grind the dried onions in a mortar and pestle or a coffee grinder.
- Store the powder in a small mason jar with a few pieces of dried rice to absorb any lingering moisture.

If dehydrating onions isn’t for you, why not consider freezing them instead? It’s easier than you think.
And even without freezing or dehydrating you can store onions for up to a year if you harvest, cure and store them correctly. Here’s how to do just that.
Read Next: How To Make Your Own Garlic Powder

Get the famous Rural Sprout newsletter delivered to your inbox.
Including Sunday ramblings from our editor, Tracey, as well as “What’s Up Wednesday” our roundup of what’s in season and new article updates and alerts.