

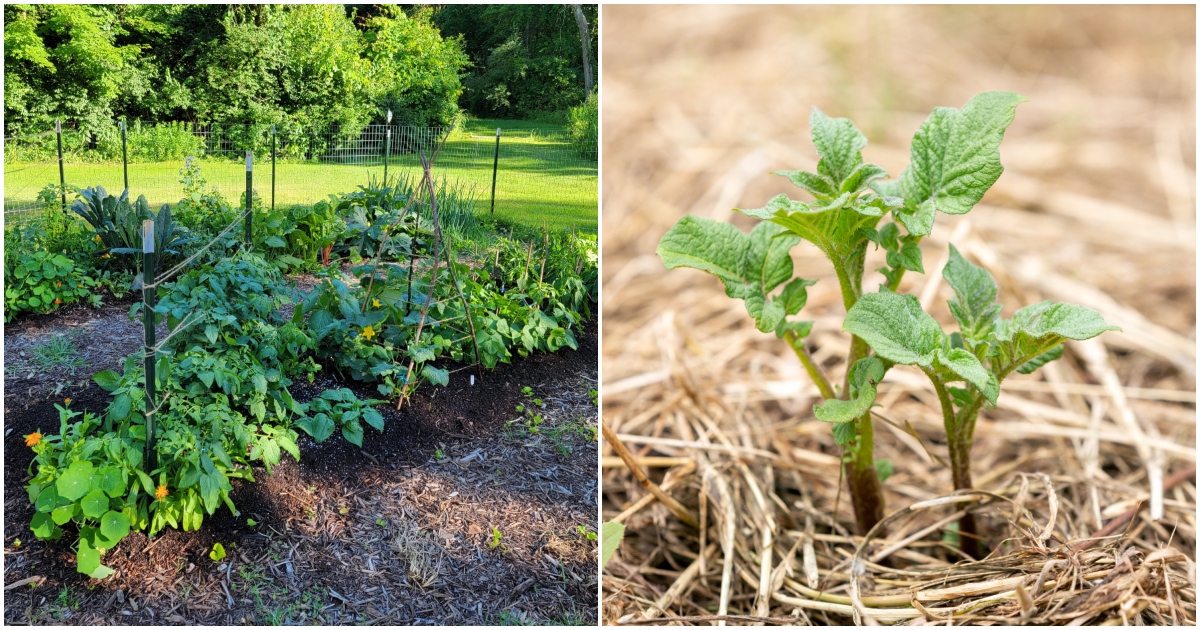

If your greatest gardening wish is to improve the soil as you harvest an abundance of delicious homegrown food, then let’s take a closer look at no-dig gardening.
Not only will your crops grow better with less effort supplied by you, but the untilled ground also need not suffer.
For instance, weeds won’t act quickly to cover and protect the soil, as the ground will be covered with a mixture of compost and mulch.

As a result, the need to irrigate lessens as the mulch and organic matter break down into the soil. Which, in turn, enriches and enlivens the diversity the likes of which you cannot even see below the surface.
Not digging your soil, encourages it to become alive once again.
We’ve already discussed the 6 reasons to stop digging your garden:
- reduces soil compaction
- leaves you with fewer weeds to wrangle
- attracts more earthworms
- increases water retention
- improves your garden harvest
- causes minimal disruption to the soil
Not to mention that no-dig gardening is also easier on your back.
Sure there is plenty of work in spreading mulch, bending over to plant seeds or to pull the random weed. But there is absolutely no need to turn the soil – and that alone saves a ton of pain.
With all these benefits in mind, you may just find that this season is the best time to get started with not digging the soil.
Before jumping right in, it’s wise to take some moments to gather knowledge that will prevent you from making a few common no-dig gardening mistakes.
Some of these will overlap with the 30 gardening mistakes that Elizabeth has observed time and time again. Yet, most are specific to no-dig gardening itself.
When to start a no-dig garden?
Before getting to the no-dig gardening mistakes, let’s address a common question that not much has been written about – when to start your no-dig garden.
The best advice I can give is to start your no-dig garden in the fall.
But, that doesn’t mean that you can’t start in spring if that is where you’re at right now.
However, when you start your no-dig garden in the fall, it implies that you’re not quite ready for planting and you have plenty of time for waiting. If you start laying down mulch in September-October when harvesting of your current garden is over, you will be able to lay it on top of already bare soil.
Mulching your no-dig garden in the fall gives you an excellent weed-free start to the upcoming season.
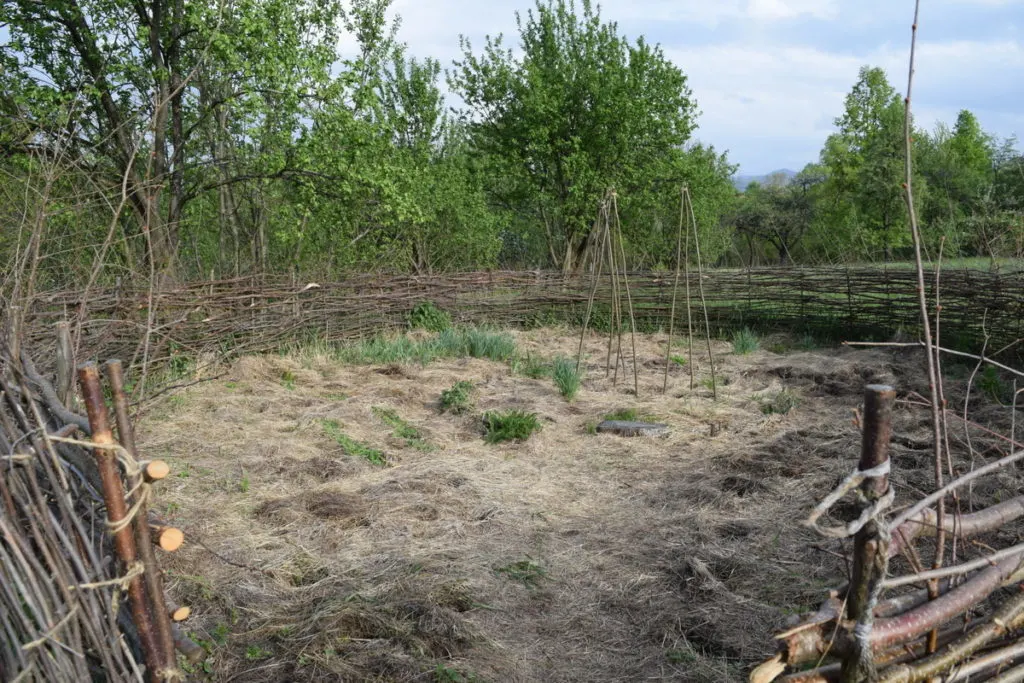
If you’re starting from scratch (or a patch of grass) you will need to trim the greens as close to the ground as possible, then apply your layers of mulch. In this case, even starting with a base layer of cardboard to thoroughly block out the sun, is a good measure to consider.
You can also begin your no-dig garden in winter or early spring if that is when you can find the time.
Since you’re not tilling/digging the soil, it doesn’t matter whether or not the soil is frozen.
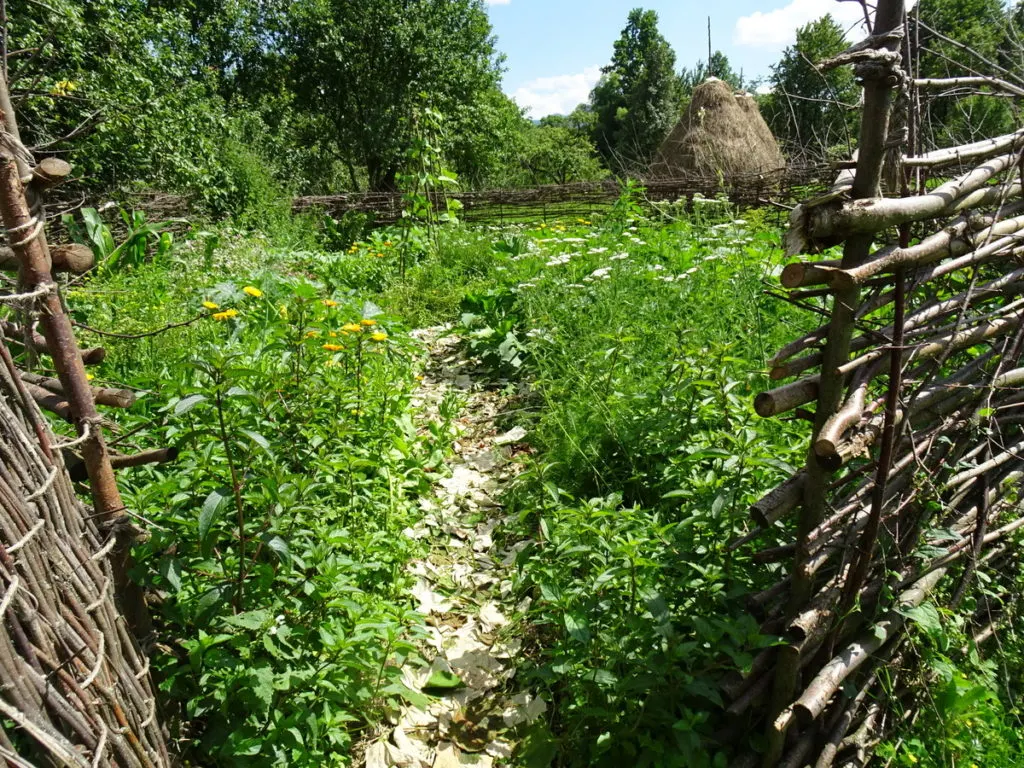
No matter what the weather, be sure to place your garden in a sunny space and be prepared with plenty of mulch and compost for covering the entire area. That’s one of the greatest starting challenges – finding enough material to blanket it all.
This issue will resolve itself over time; as the mulch slowly breaks down you will need less of it.
Now, that you know you absolutely need a no-dig garden in your backyard (or in your front yard vegetable garden), let’s make it uncomplicated and easy to get growing.
1. Starting Too Big
One of the most common mistakes that gardeners make in general is growing too big, too fast.
The lure of harvesting fresh veggies all summer long is strong, yet the reality of gardening is quite different.
Gardening takes practice getting planting times down right. It also requires a knowledge of seeds, moisture, soil and air temperatures, seedlings, pests, fertilizers and much more.
If you invest in too large of a garden, chances are that you may abandon it altogether when the growing gets tough.
Or you may have to invest more time and energy into your garden than you have time for. Leaving you tired, exasperated and weary of planting a future garden.
When starting a no-dig garden, don’t bite off more than you can chew.

Start small and learn as you go, there’s always much to learn about gardening. It’s not just no-dig gardeners making this mistake, many gardeners take on a monumental task making more work for themselves than is necessary.
Even in a small garden you can learn to grow a sufficiently large amount of food.
Read some books offline to expand your awareness of healthy small-scale growing:
Sepp Holzer’s Permaculture: A Practical Guide to Small-Scale, Integrative Farming and Gardening by Sepp Holzer
Small-Scale No-Till Gardening Basics: The Real Dirt on Cultivating Crops, Compost, and a Healthier Home by Anna Hess
2. Sowing Seeds Too Early
All gardeners are guilty of this one. Even experienced gardeners. Just last year we got excited by warmer than usual April temperatures, then came the cold rain – all 18 days of it.
The unexpected moisture combined with crisp air pretty much gave the chance for all our planted seeds to rot. Yet, gardeners must learn to take some losses, whether it be from the weather, insects or rabbits, even your own poultry. Geese will take every chance they get to sample, not eat, everything in your garden.
In which case, you will need a fence.
As far as planting seeds too early in your no-dig garden, the temptation will always be there. But, just because there is an existing layer of compost/mulch already covering the soil, doesn’t mean that the soil is warm enough for planting in early spring.
Knowing when to plant your garden seeds is an essential part of growing.
If you’re sowing seeds indoors, it’s always better to err on the side of caution – later is more favorable than earlier.
Sow them too early and they will be leggy before it comes time to transplant them out in the garden.
It’s far better to sow them a tad late and have shorter, stockier, hardier plants. These younger plants will make the transition to your no-dig garden far faster than taller, spindly ones.

As far as direct planting of seeds in your no-dig garden goes, you can follow the same guidelines on the back of the seed packages. However, you need to know that planting is done in an entirely different way.
Rather than digging, you may be pulling back the mulch and planting the seeds on the surface of the soil, then lightly covering the seeds up with mulch. Or not, as in the case of lettuce – they need light to germinate.
If you’re planting onion sets, garlic or other bulbs, you will not be pulling a row with a hoe. Instead, you will be planting each “seed” individually by poking a hole in the ground and dropping it in. Then cover it up with a thin layer of soil/mulch.
One of the key factors of a no-dig garden is to leave the soil as intact as it can be. So, even when planting, be sure to disturb the soil in the least possible way.
Related reading: 15 Seed Starting Lessons I Learned the Hard Way
3. Planting Too Deeply – or Not Deep Enough
Another mistake that new gardeners often make, is planting garden seeds too deep in the soil, which prevents them from receiving light to germinate.
Other times, gardeners have the tendency to sow larger seeds too close to the surface. This results in the seeds not receiving enough moisture, or worse yet, they’re plucked out of the ground by hungry birds and four-legged creatures.
One more thing to consider when discovering the correct depth at which seeds should be planted is the future roots. If a large seed, such as a bean or corn, is planted too shallow, it has the tendency to be swept over with higher winds.
Read the seed packages, keep a garden planner and get out there and plant year after year. Eventually, planting at the right depth becomes intuitive.
Practice until you can’t get it wrong.
4. Overwatering
As opposed to growing in raised beds, no-dig gardens tend to have plenty of available moisture locked away in the soil and in the mulch. Consequently, this increases your chances of overwatering.
Overwatering is just as bad for your plants as stressing them out with little to drink. Maybe even worse. Stunted growth is one sign of overwatering, as is rotting of roots and yellow or wilted leaves.
Plant roots not only take in nutrients from the soil, they also have the function of breathing. Suffocate them with too much water and your expected abundant harvests will suffer.
Before turning the hose or the sprinkler on your unsuspecting garden, look for signs of the vegetables drying out. Then check the moisture level of the soil underneath your mulch/compost layer. Water your no-dig garden only as often and as much as necessary.
5. Over or Underfertilizing
The only way to truly know what your soil is lacking, is with a soil test.
With any garden, as the plants grow, they will always be extracting nutrients from the soil. But again, we aren’t digging or moving soil in our no-dig garden, so how are we supposed to fertilize?
Start with what you know about the plants in your garden. Are they getting enough nitrogen, phosphorus and potassium – the three elements essential for growth? You can take visual cues from this as well.
Are your tomatoes and peppers well formed, or do they produce more flowers than fruits. If they do, you’ve found an imbalance in the soil.
Once you’ve found out what your garden veggies need, read up to find whether it is banana peels, bone meal, worm castings or green manure that your plants need. It may be a combination, so be willing to think outside the box on this one.
All of these can be added on top of your compost/mulch base layer. With an addition of – you guessed it – more mulch on top.
Which brings us to over-mulching.
Related reading: 10 Liquid Fertilizer Teas Made From Weeds and Plants
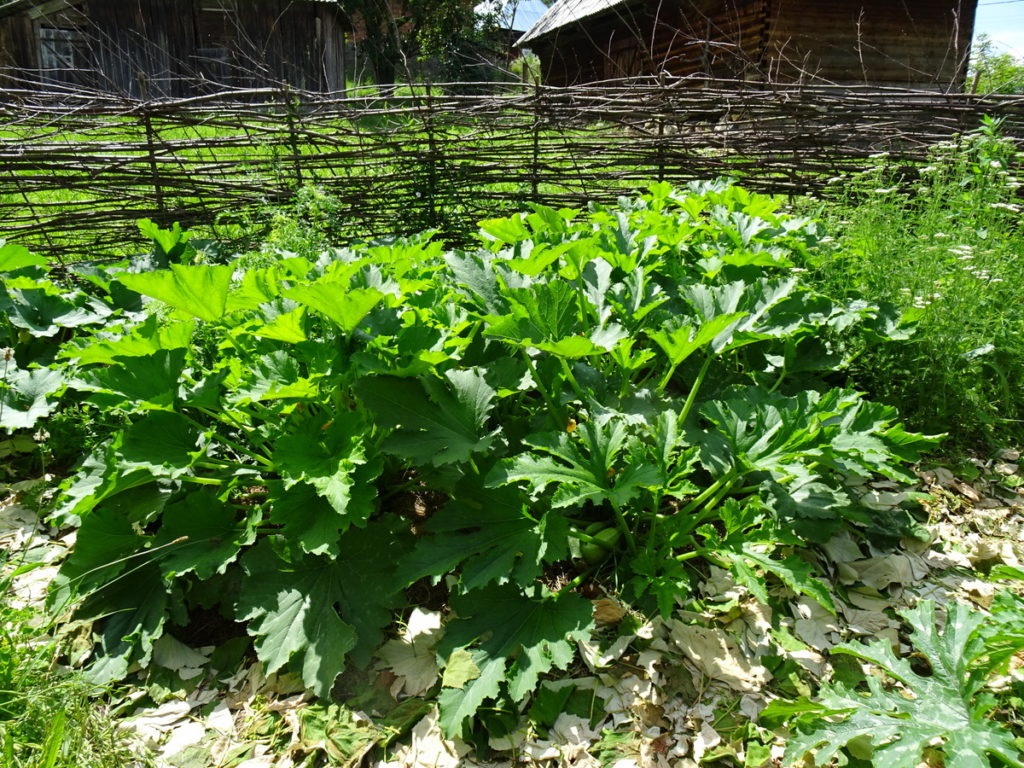
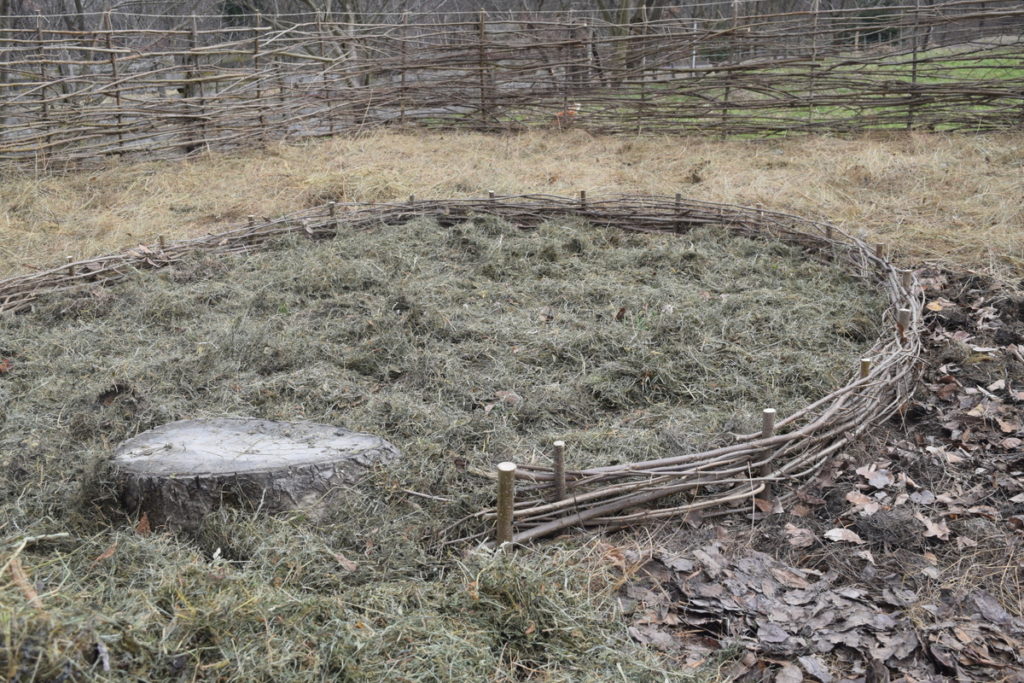
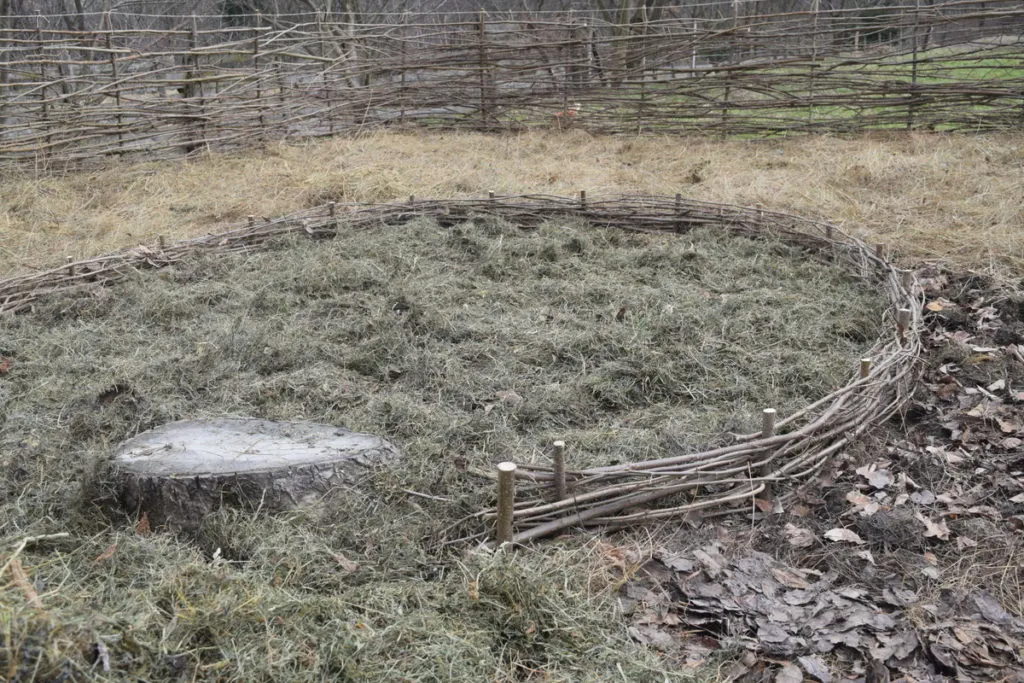
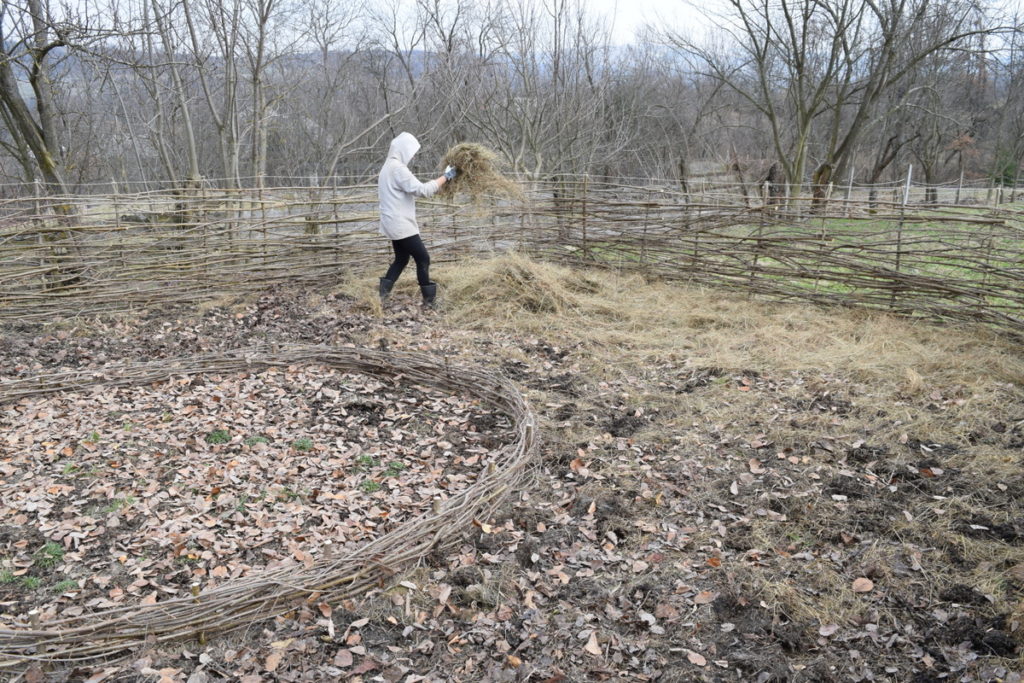
6. Over-mulching
Is there really such a thing as overmulching?
Yes, there is. It happened one year when we had access to an entire haystack to use in our garden. Not a hay bale, a haystack.

The kind that magically forms here in Breb, Romania every summer by the thousands. We tried to stuff every blade of dried grass within our garden fence in winter, hoping for the best.
The best never came.
Only 12″ or more of hay that just didn’t seem to want to break down.
Walking on it was like sploshing on a wet sponge. If only we could have recorded the sounds it made all on its own.
Don’t make the same mistake of adding too much mulch. You can always come back later and add some more once the plants get growing.
The result of having too thick a layer was that planting was extremely difficult. It took a ton of effort to get down to the soil layer for planting. And then the ground was too wet…
We’ve been there already – overwatering.
So how thick of a mulch layer is enough in your no-dig garden?
4″ (10 cm) is a good mulch measurement to abide by.
Any less than that and you’ll be back to weeding as usual.
Too much mulch and you’ll start to have drainage problems that impact the health and vitality of your plants.
7. Using the Wrong Kind of Mulch
With so many kinds of mulch to choose from, which is the right one for your garden?
Maybe it’s a combination of mulches that will work best with your climate and gardening style. Trial and error is sometimes the only way to know.
When we add organic matter to the surface of the soil, we’re not only covering the ground to keep out weeds, we are also helping to build new soil.
Mulches commonly used in no-dig gardens are:
- compost
- straw
- hay
- leaf mold
- alfalfa hay
- grass clippings
- processed organic materials such as cardboard and paper
You may be thinking to yourself now – what is the right order to layer them in? Do I need to use them all?

The beauty about no-dig gardening (besides not having to dig) is the guidelines are pretty flexible. In essence, you can always manage to get by using what you have on hand.
We’ve never used cardboard or newspaper as a base layer to start a garden. Yet, others proclaim that’s the first thing to put down.
If you must “kill the weeds” before you start planting…
First try laying down boards over your intended garden space to block out the sun for several weeks. Or use thick black plastic that can then be removed and recycled when it comes time to sow your seeds.
One downside to using too much mulch or hay in your garden, is when it’s wet it may attract masses of slugs.
Even wood chips have their pros and cons. They can provide an excellent ground cover, mostly for paths in your no-dig garden, or they can harbor eggs of insects you may not want in your garden.
Experiment in your own garden, for each year is a new trial. One thing is for sure, with each passing year you will have fewer weeds.
If you want to grow a truly organic garden, be sure that your mulch comes from organic sources as well.
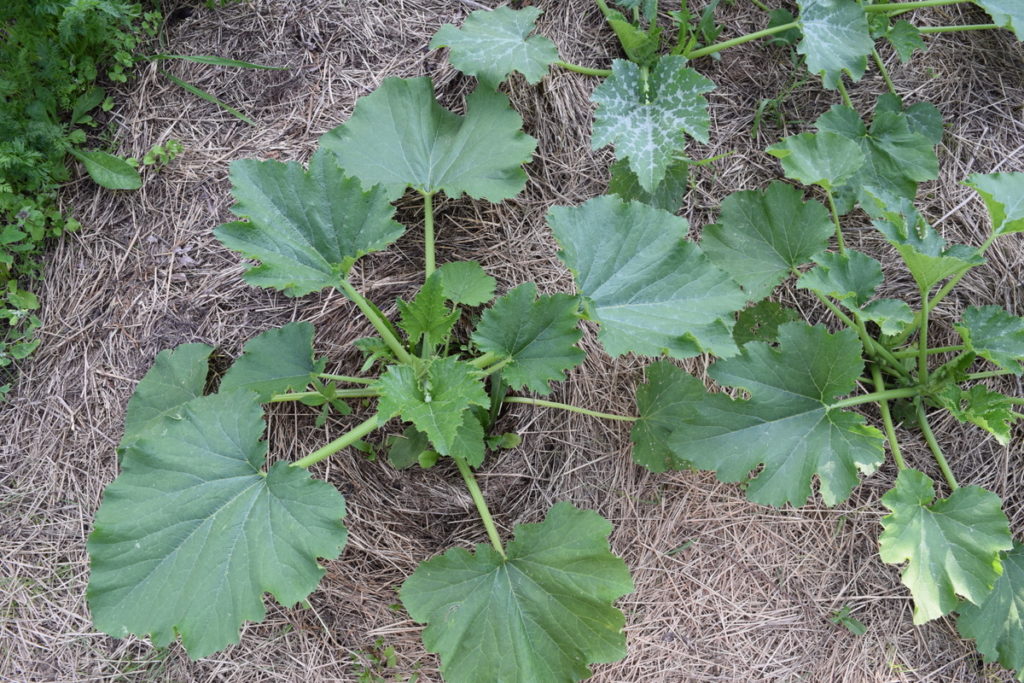
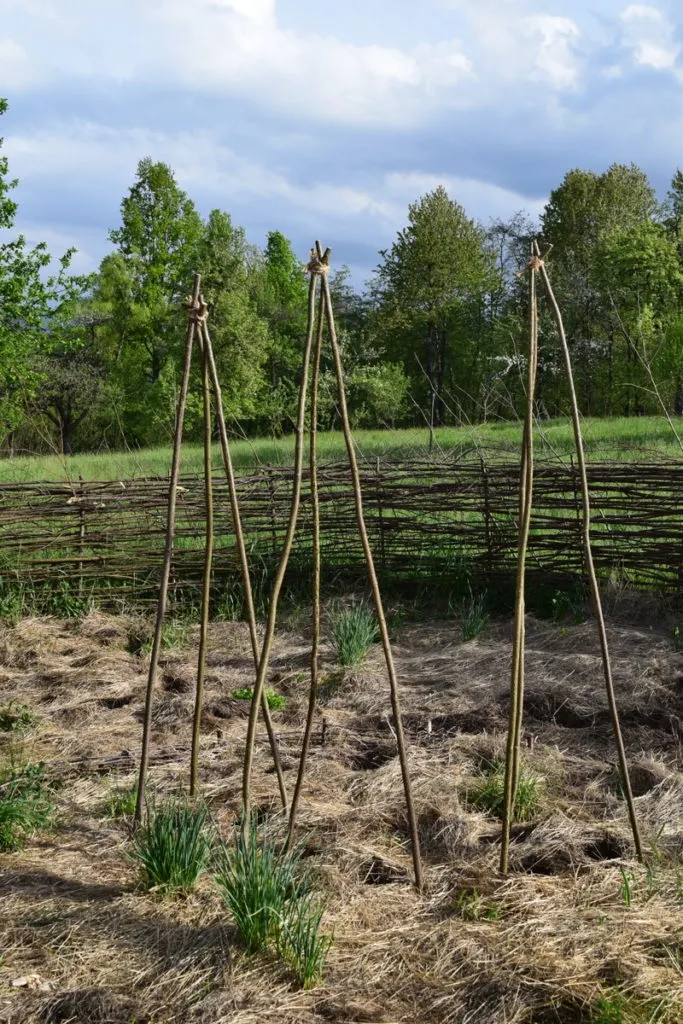
8. Plant Spacing
Plant spacing is a gardening topic that everyone should read up on.
Overcrowding your plants is a potential disaster waiting to happen. It allows diseases to spread quickly and it takes away from the vitality of each plant as competition for nutrients becomes fierce.
Carrots, for example, that are planted too close together will end up with stunted or curled roots. While it’s perfectly acceptable to sow the seeds densely, you also need to prick out the seedlings once they’re big enough.
Every person and every plant needs its own space.
If seeds are planted too far apart, you’ll end up with plenty of “dead space”. This isn’t productive at all. In fact, it leaves space for weeds to enter.
Get the spacing right and your garden will give you an abundance of joy and food.
9. Planting Only Once
In no-dig gardening, since the soil is continuously covered by mulch, it’s available for planting the whole season long.
So, why only plant in spring?
To take advantage of the usable space in your garden, be sure to think more in a continuous cycle, rather than a linear-straight fashion.
To mix things up even further, you can even plant your herbs, cabbages and flowers in beautiful arcs, or in patches, rather than on a point-based system.
Be sure to incorporate succession planting into your no-dig garden to extend the growing season. Even planting beets in late summer for their greens alone. And don’t forget about sowing late varieties of lettuce and planting garlic in fall for the upcoming season.
Bottom line – to maximize the space in your garden, think and plant complexly – all throughout the growing season.
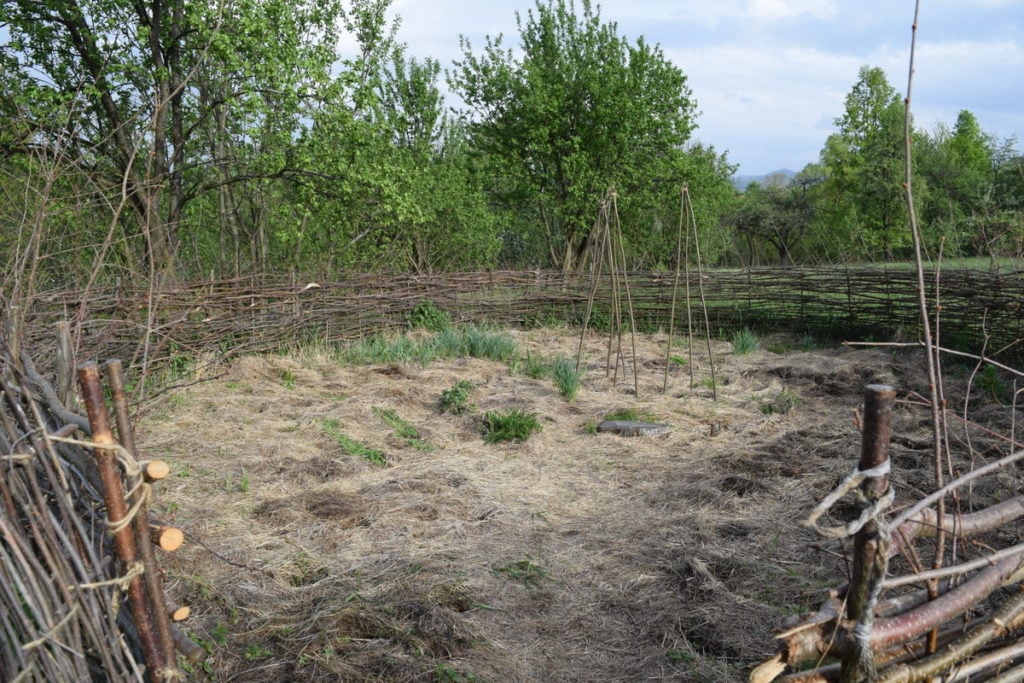
10. Designating Pathways
One thing very specific to no-dig gardening is compaction of the soil. Or rather, reducing the compaction of the soil.
You can accomplish this by creating a system of designated garden beds and pathways. In this way the only ground that’s being compacted is where you walk.

Why is this important?
Charles Dowding leaves us with this observation:
“No dig means no compacted layers caused by damage from cultivations, and no compaction means no fermentation due to anaerobic conditions. No fermentation means that no alcohol is produced, and no alcohol means fewer slugs – this explanation is thanks to Elaine Ingham.”
Charles Dowding, as told to Rebecca Pizzey
If you aren’t familiar with the work of Charles Dowding and his decades-long experience with no-dig organic gardening, find his website here.
In the mood for some offline reading? We couldn’t recommend the following book more, in fact – we already have!
No Dig Organic Home & Garden: Grow, Cook, Use, and Store Your Harvest
11. Pest Control
In a wetter climate, slugs may find a home in the decomposing straw and hay mulch in your no-dig garden.
It may also happen that flea beetles come in with mulch, wreaking havoc on your seedlings. Chewing holes in everything from kohlrabi, to mustard, ruccola and lettuce, even horseradish! I know this is possible, because it happened that one year overabundance of hay.
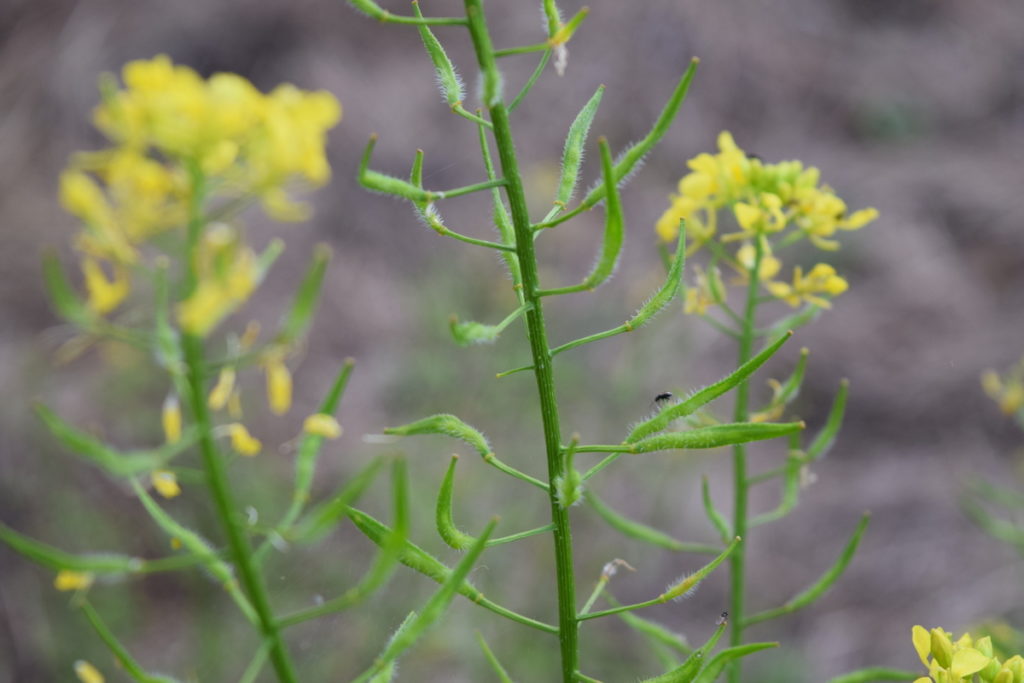
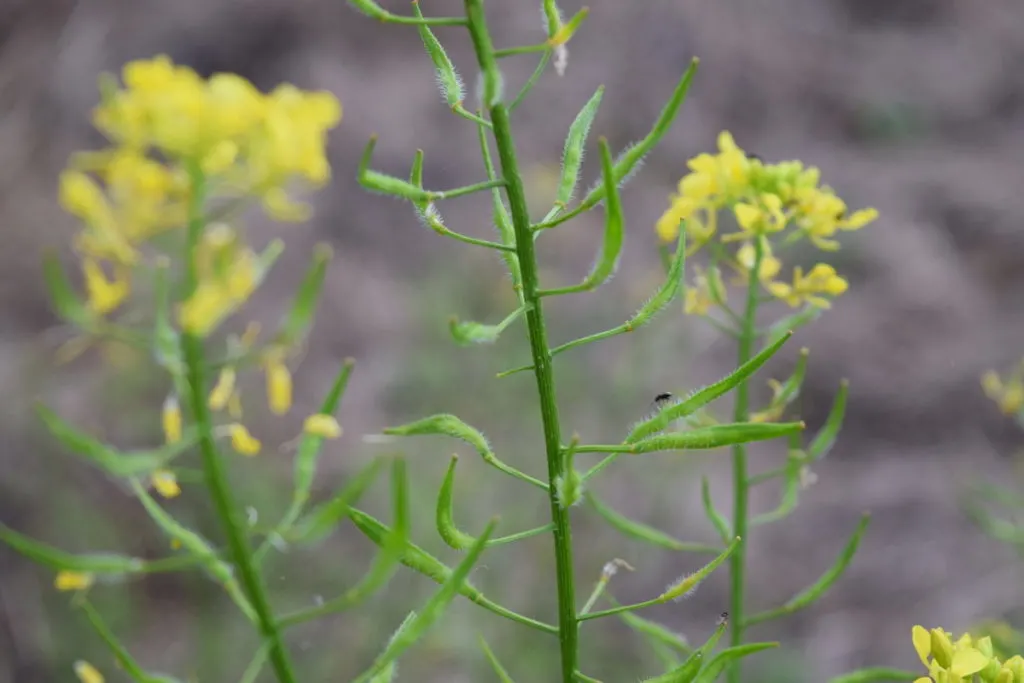
Even though the flea beetles enjoyed feasting on the mustard, it still grew and produced enough seeds for canning and saving.
So, how can you control pests in your no-dig garden?
Well, one of the best ways to control pests is by the use of companion planting. That is, planting certain vegetables, flowers or herbs in close proximity to others, in order to distract insects or to enhance the nutrients available in the soil.
Another way to control pests in your organic garden is by the manual removal of them.
Of course, if you really have an influx of voracious aphids, you can always try making a natural homemade insecticide with just two ingredients – water and castile soap.
On a last note to this subtopic
You may consider allowing for a certain degree of insect “predation” on your harvestables. In response this increases the plants’ production of certain phytochemicals. These translate into more resistance for the plants themselves and higher nutrient content for us, their consumers.
12. Growing Potatoes In a No-dig Garden

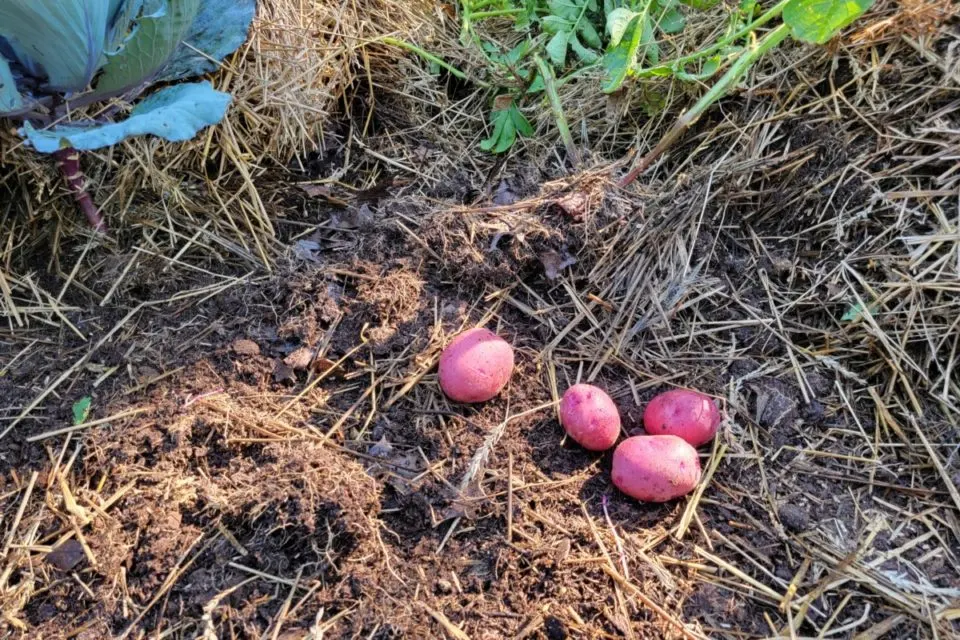
Is it possible to grow potatoes without soil? By simply laying them on the ground and covering them with straw and mulch?
Yes, yes it is.
The only mistake here, is in not trying to grow your own potatoes the no-dig way.
Here’s my guide to growing potatoes in a no dig garden.
Anything you can grow in a “regular” garden, you can grow in a no-dig garden. This fact alone, makes it easy for you to make the switch from one style of gardening to the other.
Try it for a season and you’ll find that no harm is done to the ground. If you happen to not enjoy it, you can easily go back to digging. Not that you would want to…
Read Next: 20 Vegetables We Grow In Our No Dig Garden

Get the famous Rural Sprout newsletter delivered to your inbox.
Including Sunday ramblings from our editor, Tracey, as well as “What’s Up Wednesday” our roundup of what’s in season and new article updates and alerts.