


If I were ever a convicted murderer who ended up on death row, I know what my last meal would be. Save your filet mignon or your lobster and champagne. In fact, you can keep all of your fancy gourmet food.
My final request would be quite simple.
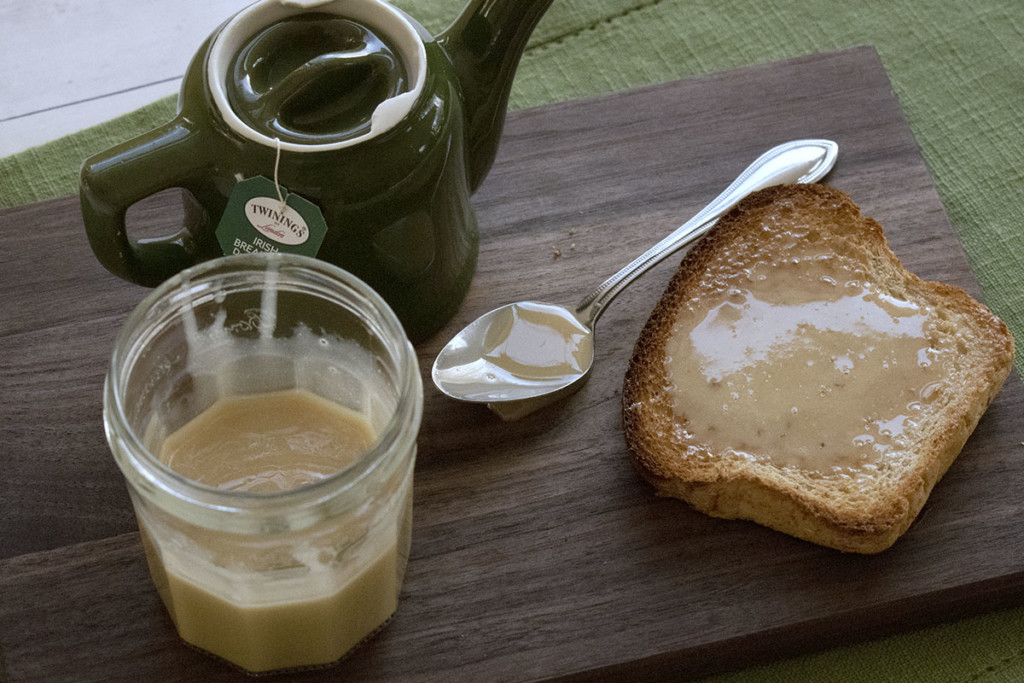
My last meal would be a giant stack of perfectly toasted toast dripping with maple cream and a pot of Irish breakfast tea. I would stuff myself until I felt sick, licking every sticky drop from my fingers as I ate, and then die happy.
Thankfully, I’m not a convicted murderer, and, even better, I can make my own maple cream without it being my last meal.
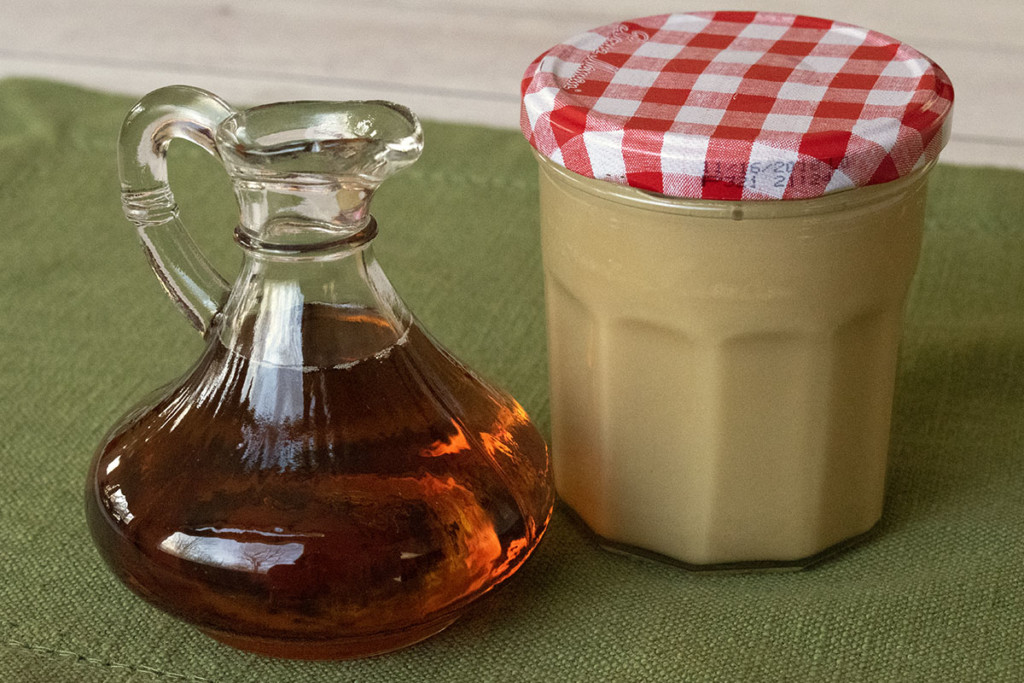
Everything about maple cream says decadence.
Also known as maple butter, it’s usually pretty spendy and not that easy to find in your everyday grocery store. I can only ever find it at tiny little farm stands or boutique stores sitting next to maple syrup that comes in a bottle the shape of a maple leaf.
And it’s always on the expensive side. This past summer I bought a 4 oz jar and paid $15 for this magical stuff.
Don’t get me wrong; it was worth every penny.
However, recently I figured out how to make maple cream myself, and oh my goodness, it was like that scene in Cast Away when Tom Hanks makes a fire.
I can make maple cream anytime I want. And it only takes about 45 minutes. This is dangerous knowledge; just ask my waistline.
It’s so easy to make. Here are the steps. Ready?
Boil maple syrup. (You get bonus points if you made the maple syrup yourself.)
Then stir it until it’s creamy.
Yup. That’s it. Can you believe it?
I feel like I’ve been lied to all these years, thinking this was some incredibly tricky process.
Okay, so there is a little bit more to it than that, but it’s still a relatively straightforward process. If you stir it by hand, it’s an incredible workout for your biceps. If you use a stand mixer, well, I can’t even begin to describe the precarious situation you may find yourself in the next time you try to put your jeans on.
Here’s what you’ll need:
- 2 cups to a quart of maple syrup
- small saucepan
- digital instant-read thermometer
- a pint jar with lid for storage
- wooden spoon and some elbow grease
- a stand mixer (optional)
Notes Before We Begin
Please, if you have one, use a digital thermometer. Getting the temperature right when working with sugar is so important.
Sugar quickly moves from one stage to the next within a few degrees. This means you can go from beautiful bubbly maple syrup to rock-hard maple sugar in mere moments if your thermometer is off or even slow in reading a temp.
If you’re going to use a candy thermometer, test it for accuracy first by placing it in boiling water. It should read 212 degrees Fahrenheit.
Whenever you’re taking the temperature of a liquid, do not rest your thermometer on the bottom of the pan. Hold it so that it’s submerged, but hovering about a centimeter above the bottom of the pan.
If you make maple cream by hand, you are going to be stirring for a good long while.
Enlist a helper so you can hand it off to give your arm a rest, or watch TV while you stir to help pass the time. The good news is, you will have most likely burned off the calories of eating maple cream before you even get to eat it.
You will need an ice-water bath to bring down the temperature of the syrup once it’s done boiling, so prepare the ice-water bath before you start. Fill your sink with enough cold water so you can set the pan or mixer bowl in and have it come up about halfway. Add your ice cubes to the water.
If you’re using a stand mixer to do the stirring, have the mixer bowl near the stove ready to go.
Also, have whatever container you plan on storing the maple cream in prepared as you will need to pour it quickly once it starts to set up.
Okay, let’s make this so we can get to the eating part!
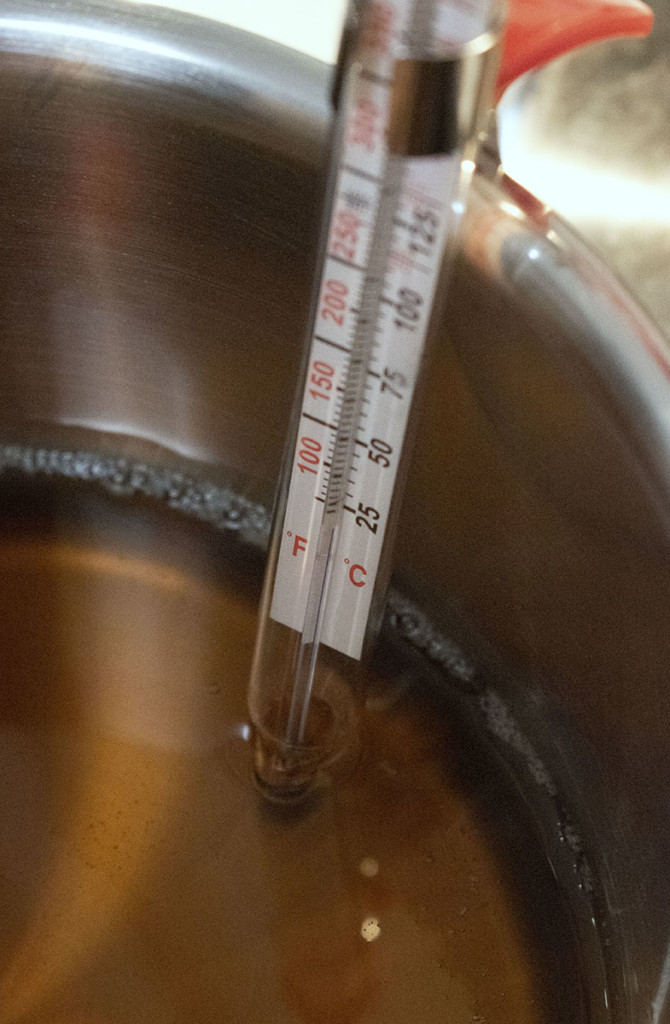
Pour the maple syrup into the saucepan and heat over medium heat to 235 degrees F. Do not stir. (Trust me, there will be plenty of stirring later.) This will take about 10-15 minutes. Be careful; it may sputter and boiling sugar burns!
Keep an eye on your syrup as it gets close to 235 degrees. You’ll want to move quickly once it reaches the correct temperature. Once the maple syrup is boiling steadily and has reached 235 degrees, put your pan in the ice-water bath or pour it into the waiting mixer bowl and put the bowl in the ice-water.


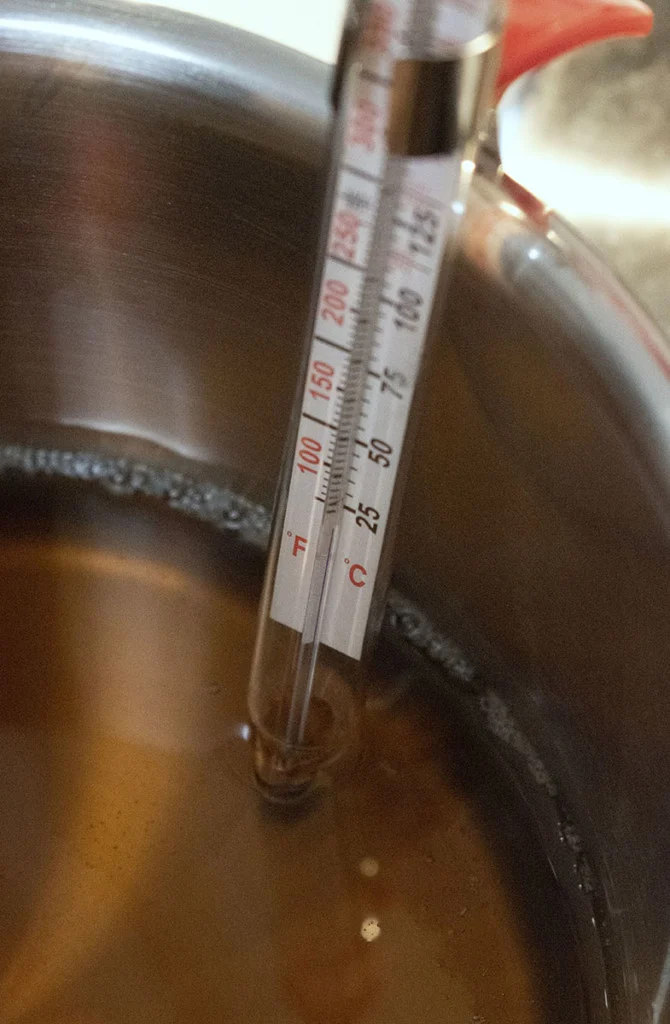
Let the syrup cool to 100 degrees, again, do not stir it. This will take about 10 minutes.
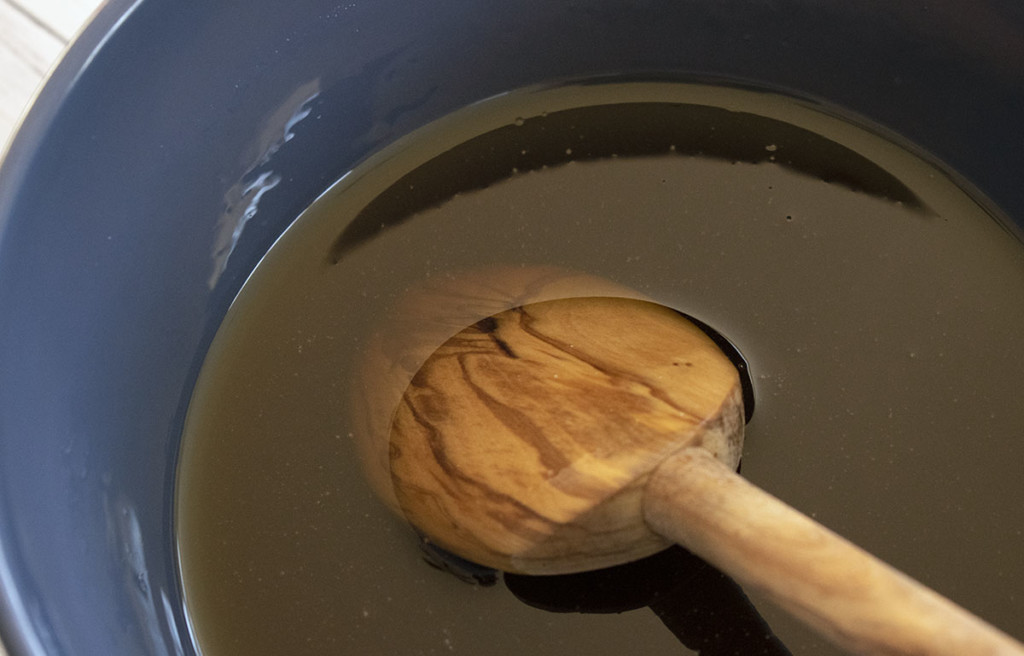
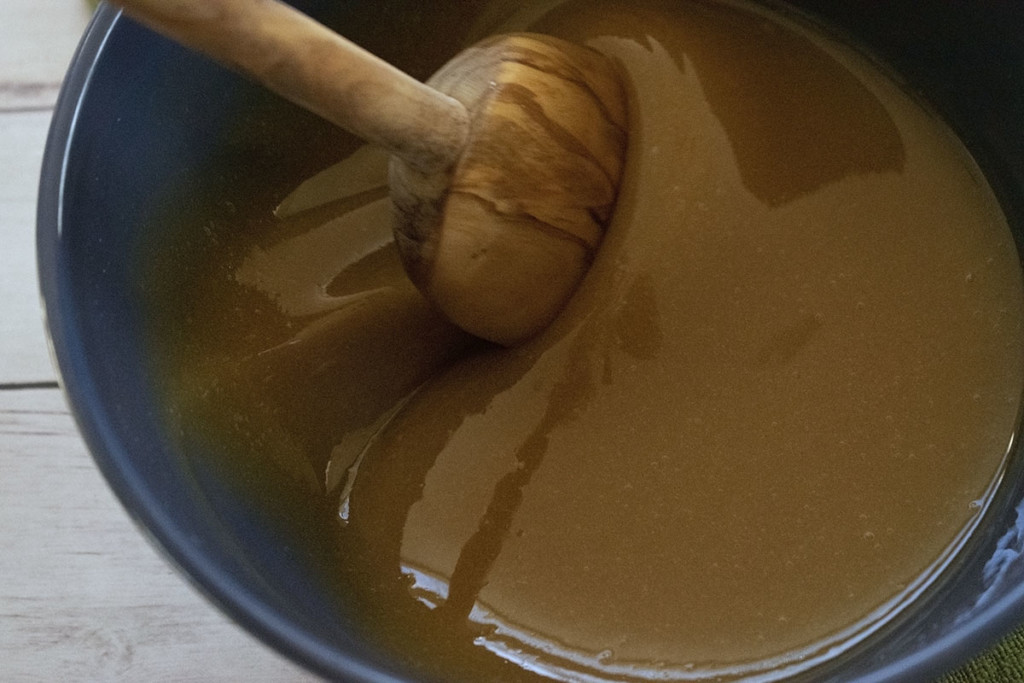
Once the syrup has reached 100 degrees, grab your wooden spoon and start stirring. Smooth and steady. Don’t use a whisk. Don’t stir super fast. You are NOT trying to introduce air. Just keep it moving at a steady clip.

If you are using a stand mixer, use the paddle attachment, not the whisk, and set it to its lowest speed. Check its progress every few minutes.
If you’re stirring by hand after about ten minutes, you’ll want to give up. Keep your eye on the prize – toast with maple cream!
You should notice that it’s beginning to lighten in color around fifteen minutes of stirring.

Keep stirring. I know, your arm is going to fall off.
Eventually, it will start to take on a glossy sheen and get thicker as it begins to get lighter. At this point, you can switch to a whisk to save your arm, but again, remember we’re not beating air in, we are stirring.
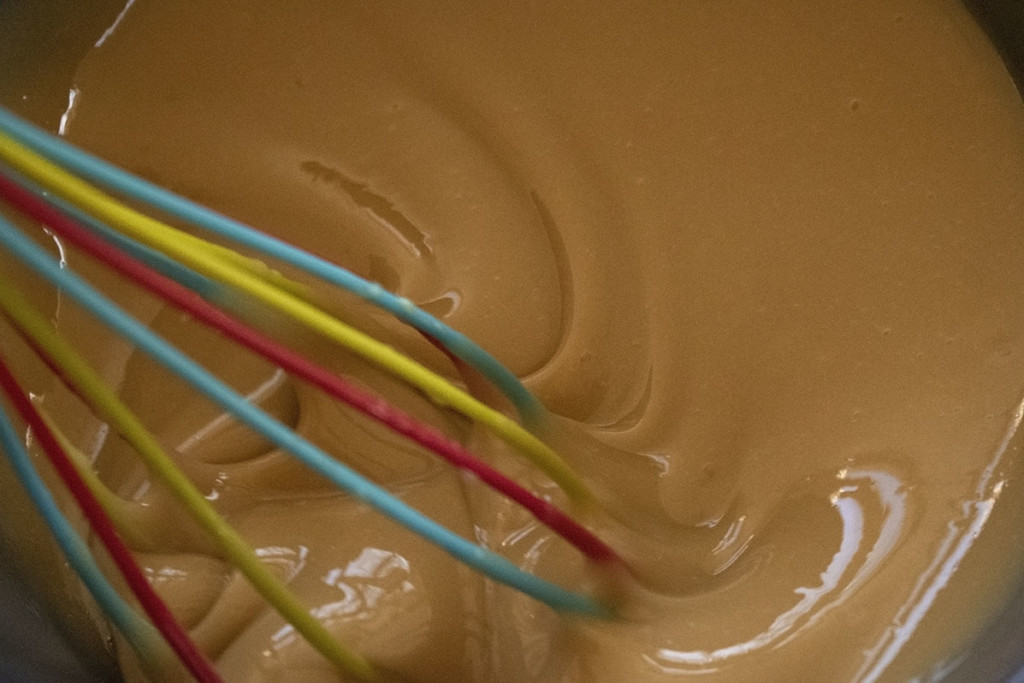
Keep stirring.
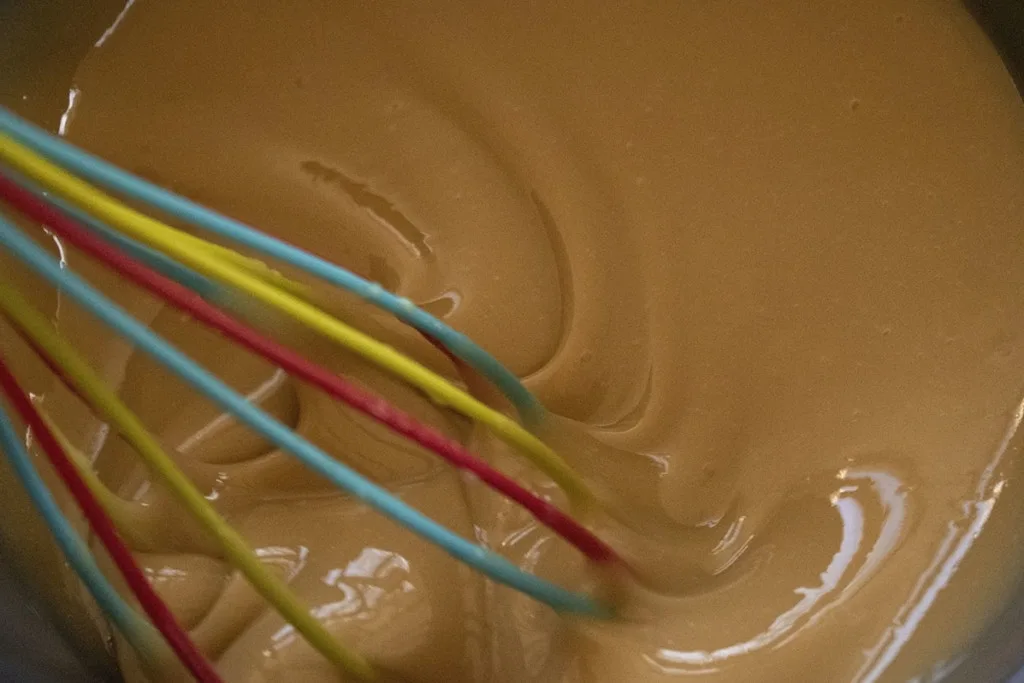
When the color starts to turn to a glossy tan, you’re nearly done.
Keep stirring until it goes from glossy to a dull satin. Immediately pour it into the waiting jar. Put a lid on it and pop it in the fridge for a while to finish setting up.
And by a while, I mean set a timer for fifteen minutes and wait impatiently while making yourself a considerable stack of toast and a pot of tea.

Maple cream will keep in a sealed container in the refrigerator for a couple of months, much like maple syrup.
Enjoy this food of the gods spread liberally over hot scones and biscuits. It does incredible things to a sizzling, broiled pork tenderloin. It’s also wonderful to put a spoonful in your coffee or tea. It’s excellent on waffles and French toast.
Did I mention how amazing it is on toast?
Well, it’s 10 times more amazing if you put butter on the toast first. You can use it as icing or a glaze. You can eat it by the spoonful straight out of the jar.
There, now that your arm is going to fall off do you see how easy that was? I don’t know about you, but I just found my new go-to for easy gift giving. And my fridge has two whole cups of decadent maple-y goodness anytime I want it. See? Dangerous.

Get the famous Rural Sprout newsletter delivered to your inbox.
Including Sunday ramblings from our editor, Tracey, as well as “What’s Up Wednesday” our roundup of what’s in season and new article updates and alerts.