


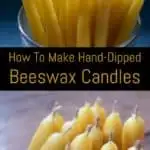

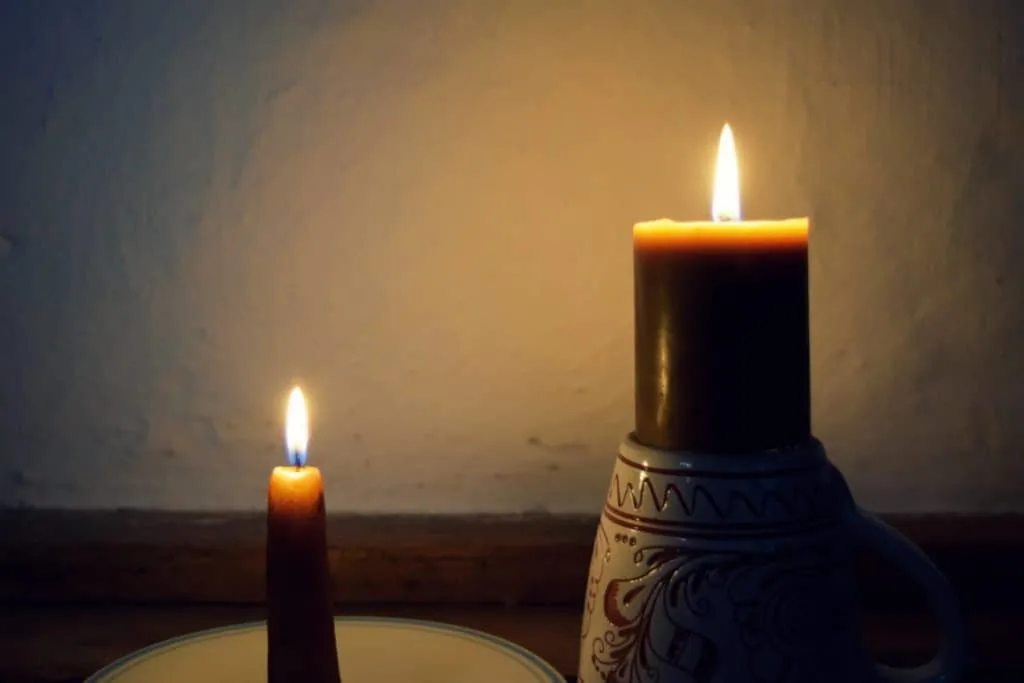
To sit by the flickering light of a beeswax candle is to drift back in time and dream of quieter, calmer days.
The dark room, the single flame, the comfort of a sweet smelling warm light. Forgotten memories of yesteryear.
Technology has replaced our need to light up a room at night, but it can never take away the desire for an open flame.
Now, with the push of a button we can illuminate an entire space, although the dangers of the blue screen light are quite well known – the benefits of the golden beeswax, on the other hand, are very real too.
Modern candles though, come with their own set of precautions. We will get to that in just a bit.
For the moment, the focus is beeswax and how to dip your own candles.
First, collect all your materials, heat the wax, then get dipping!
Materials for making hand dipped beeswax candles
If you would like to try your hand at dipping beeswax candles, make sure that you have a couple of free hours in your day. No appointments, no animal escapades, nothing cooking in the background.
Making candles isn’t a project that you can readily pick up and set down, you have to accomplish it from start to finish in one push.
In other words, it is best to avoid distractions if at all possible. If life does get in the way however, take care of it, gently reheat the wax and get back to the business of making candles.

Here is what you need to get started:
- 2 lbs. beeswax – locally produced or purchased online
- organic hemp candle wick
- double boiler
- scissors
- tray or paper for candles to drip on
- support for hanging the candles
Types of beeswax for candle making
Raw beeswax comes straight from the hive and you can often buy it directly from a beekeeper. The only downside is that you will have to clean and filter it first.
Cleaning raw beeswax takes patience, a steady hand and plenty of time.
Though it does make you realize that beeswax may be worth its weight in gold!
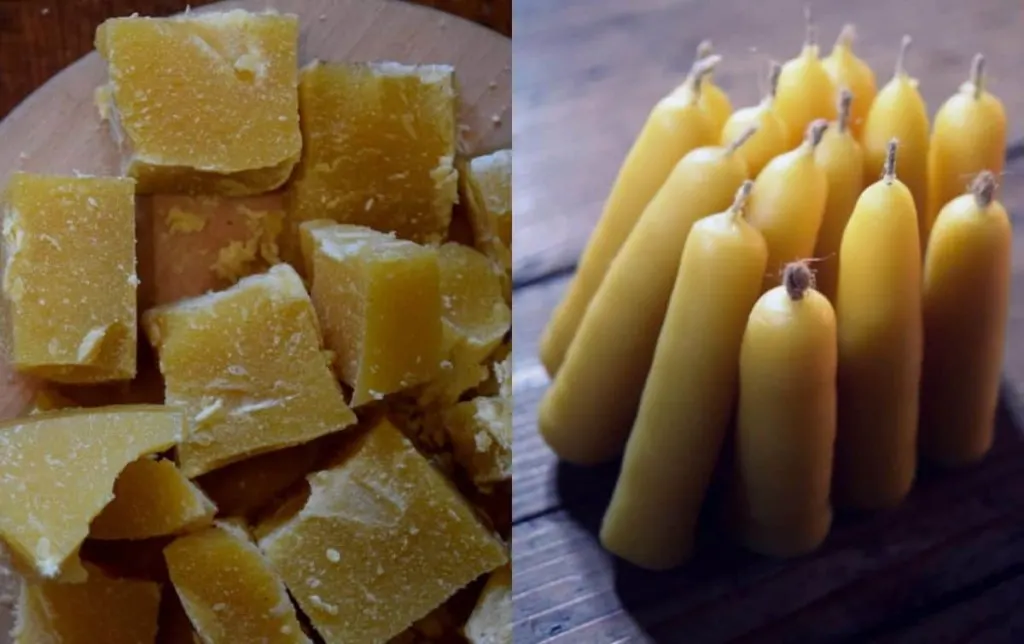
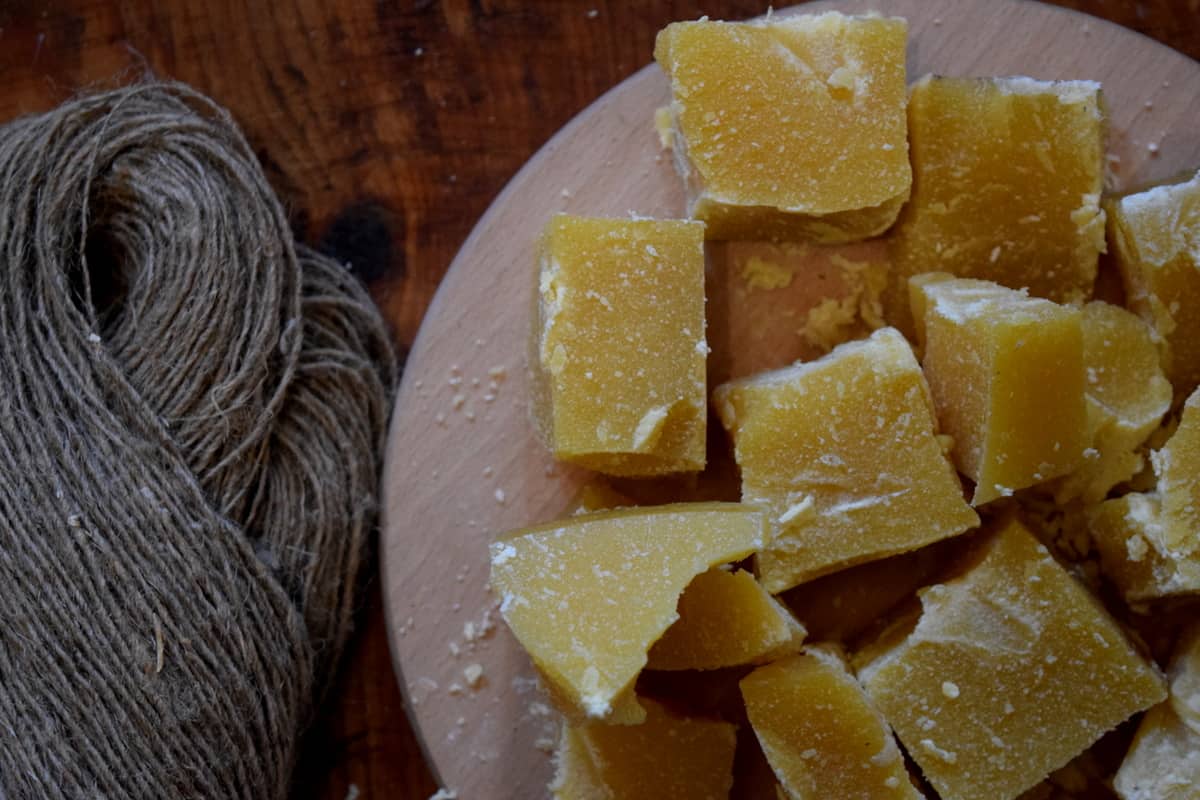
A brick of cleaned beeswax is a great purchase if you plan to make candles or natural cosmetics in bulk – and save money at the same time.
Be aware, you’ll need to use a strong knife to cut off smaller chunks. And grating it can be a challenge. This is a true DIY approach to candle making, and will only make you stronger.
Next up, you can purchase yellow beeswax pellets in just about any quantity. The obvious advantage here is that they are ready to measure and melt.
No fuss and no mess necessary. Simply pour into your double boiler and watch them melt super fast.
Lastly, you will also find organic white beeswax pastilles. They are triple filtered and lend a creamy color to your candles and lip balms.
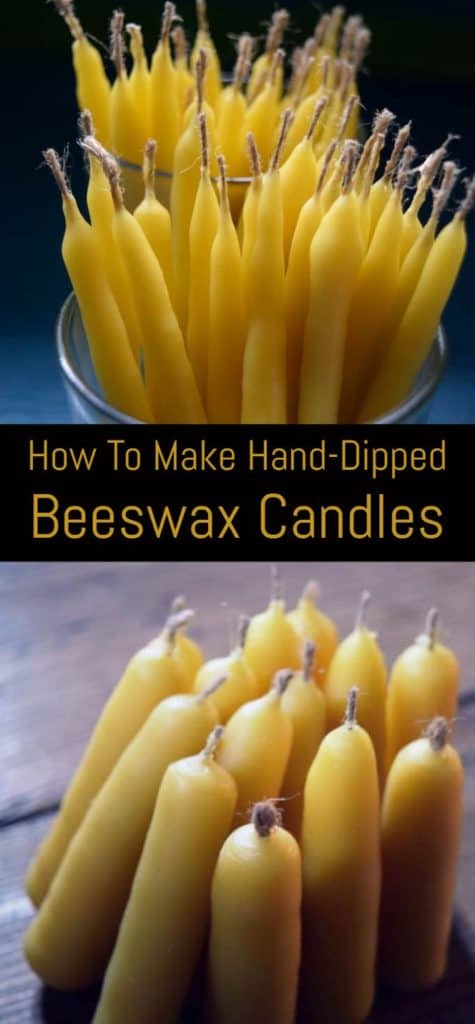
Hand-dipping candles: a step-by-step process
Before getting started, be sure to cover your entire work surface with clean paper – drops of wax will shortly begin to appear!
Step 1 – Melt the beeswax.
In a double boiler placed over medium heat, begin to slowly melt the wax. A double boiler can range from pots specifically for making candles and cosmetics, to a pot (or tin) inside of another pot.
The important thing to consider here, is that your wax pot will always remain a wax pot. There is no good way to clean it, so use it again and again to reheat your wax.
Never melt wax in a pot directly on the stove!
Beeswax has a melting point range of 62 to 64°C (144 to 147°F).
As you continue to heat it, the beeswax will get gradually hotter and hotter until it ignites. And it will burn hot and fast!
Step 2 – Prepare and tie on the wicks.

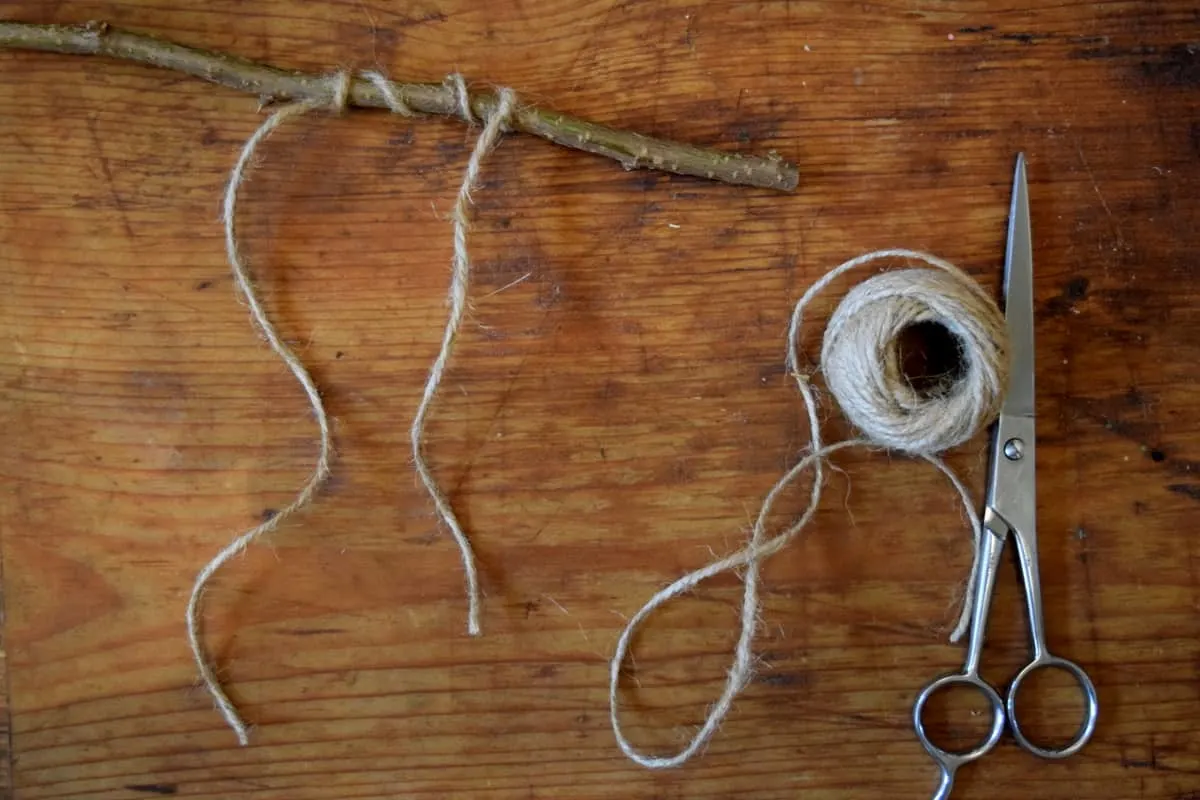
At this point you will need to tie your wick onto a branch, or a pencil (something you don’t mind getting waxy!).
Cut it the length of your desired candle – keeping in mind the depth of your dipping pot.
Dip the wick once to “set it straight”, let it chill for several moments before rolling onto a clean sheet of paper. Roll it as smooth as you can with several short motions, from one end to the other.
Step 3 – Dip your candles into the wax.
Now comes the fun part!
Keep dipping your candles into the hot wax and admire them as they build up layer by layer.
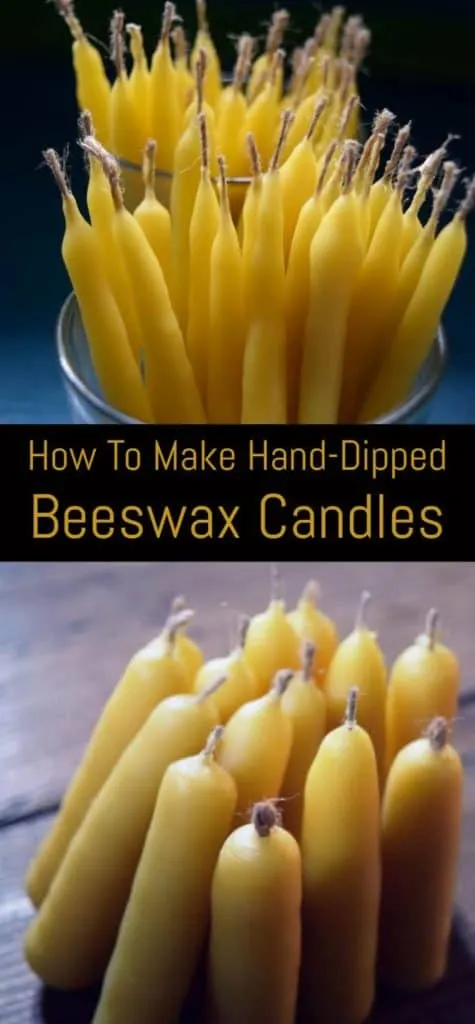
Step 4 – Remove excess wax.
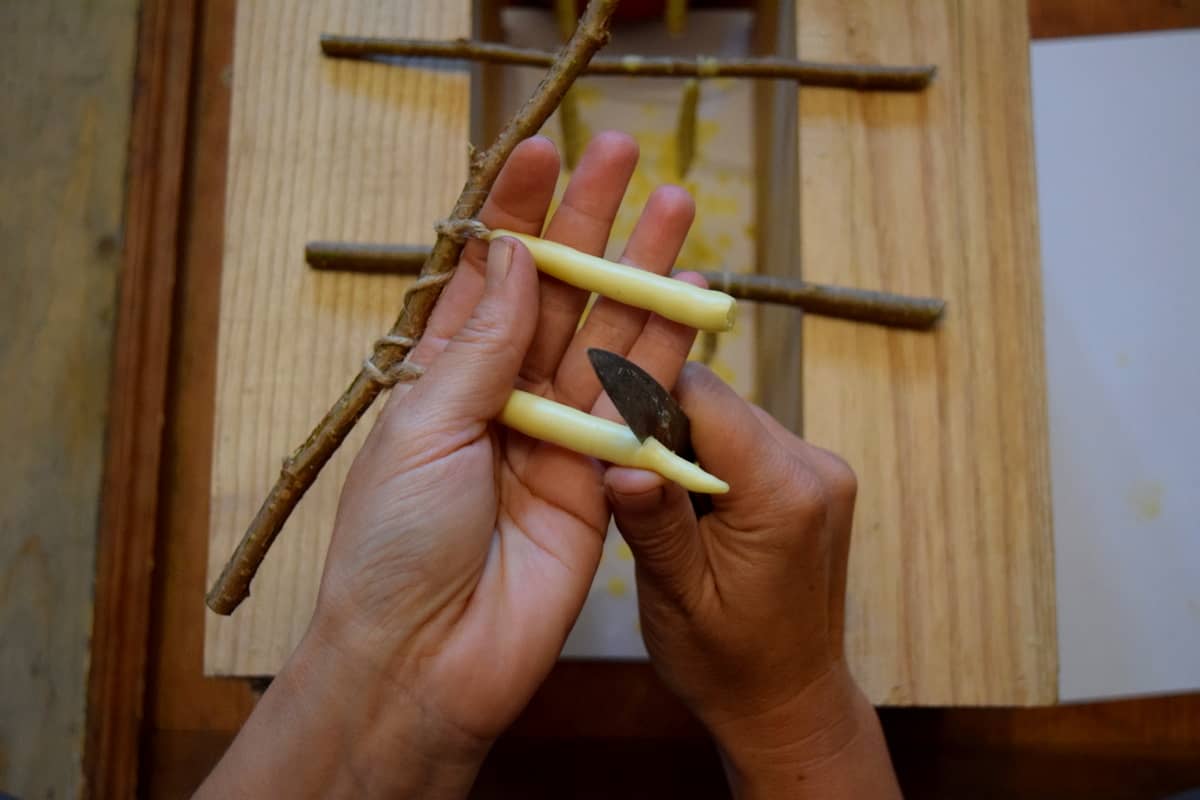

After a while, the bottom of your candles will form a pointy tip.
Cut it off with a dedicated wax knife as often as necessary.
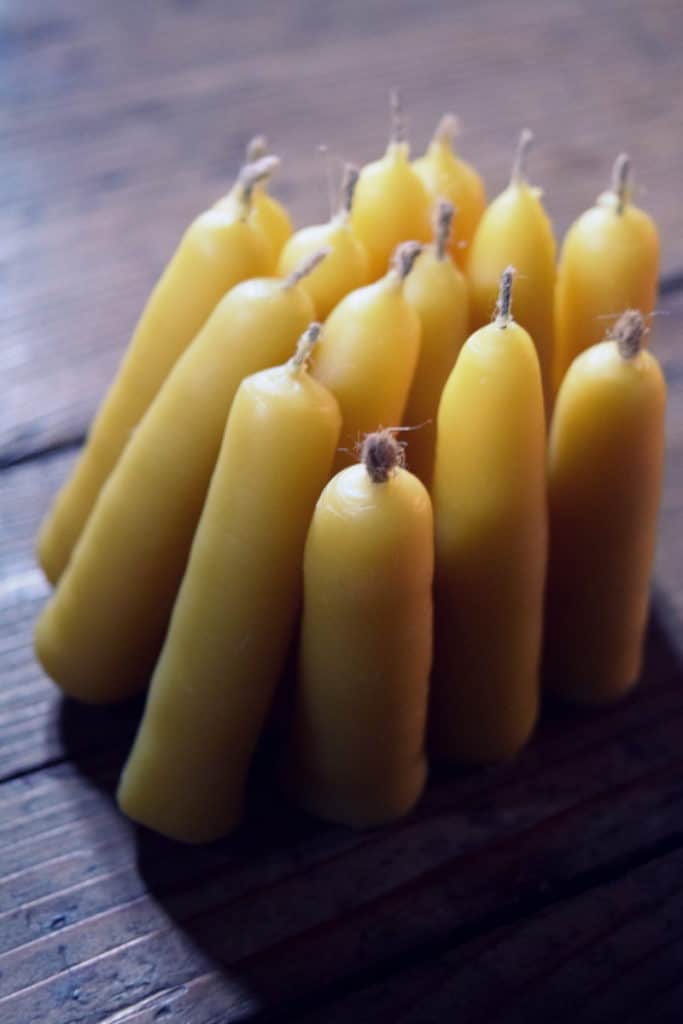
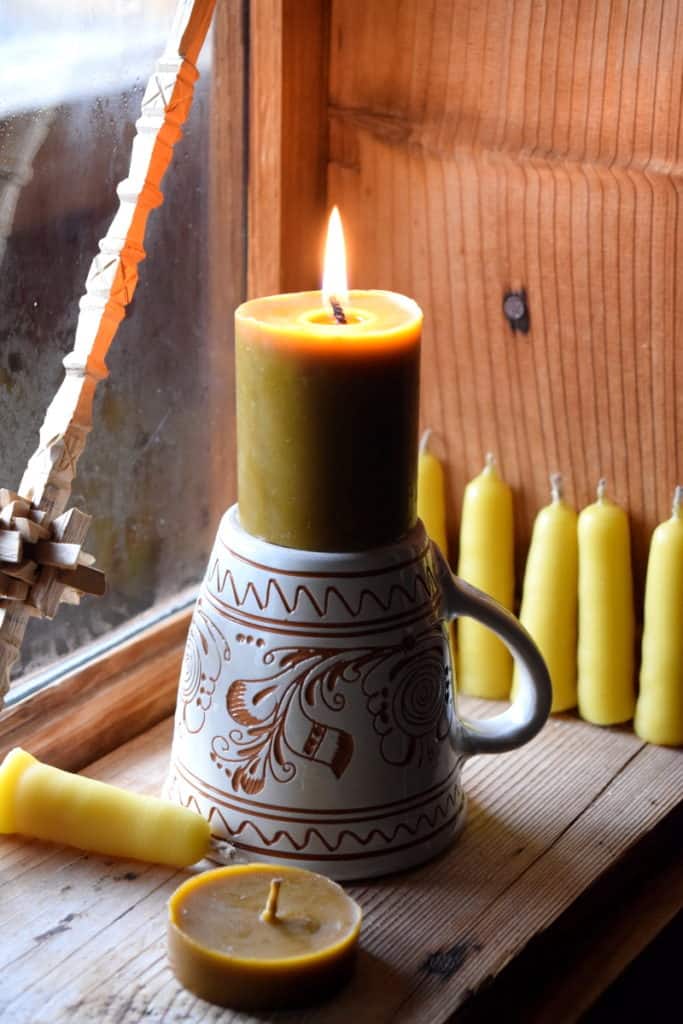
Step 5 – Finishing off the candles.
The length of the wick (measured to the depth of your melting pot, minus a tiny bit – at maximum) will determine how long (or tall) your beeswax candles are. Continue dipping until they are the girth that you desire.
To make sure that they can stand on their own, take a garden/project knife and make a straight cut through the wax while they are still warm.

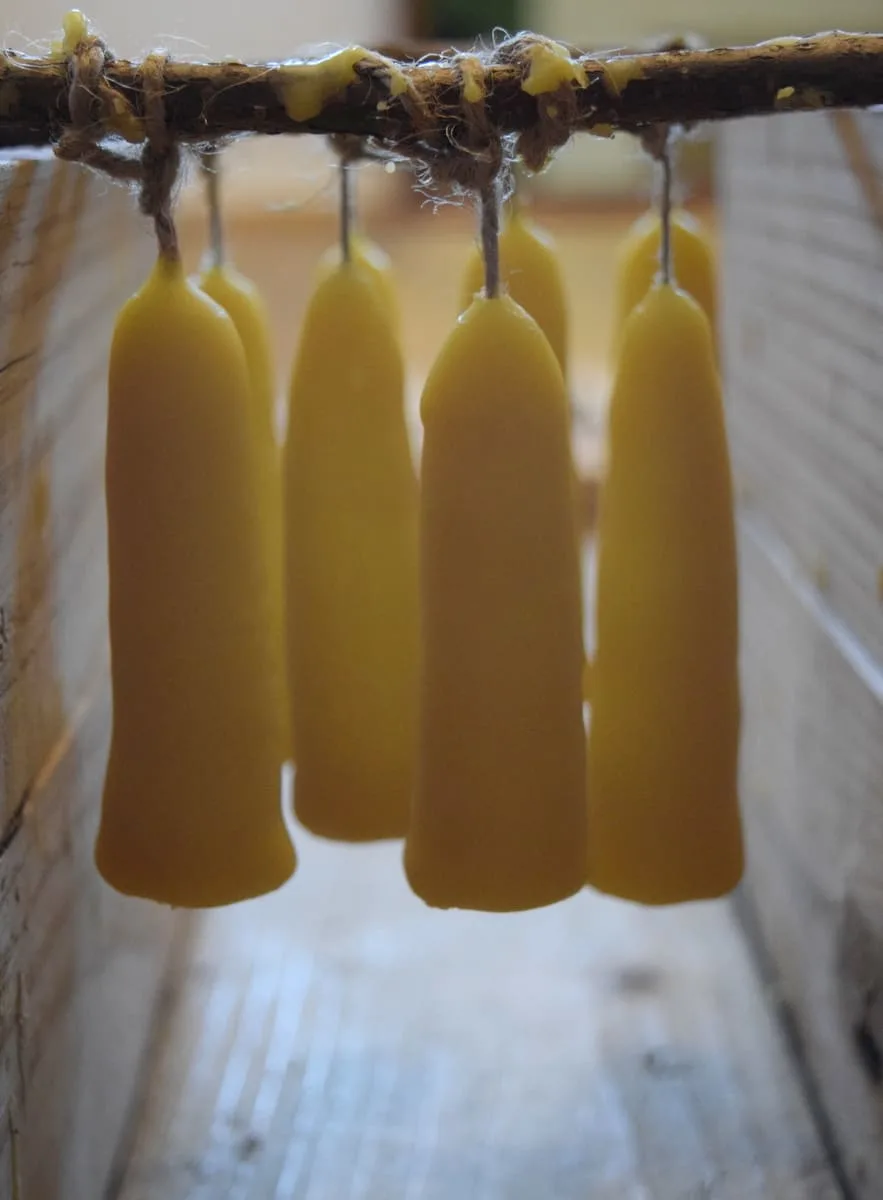
Let them hang for about an hour as they come to room temperature, cut the wicks and store them in a dry, cool place.
While your beeswax is hot and supplies are ready, go ahead and make a bunch of non-toxic birthday candles too!

Making candles – it’s all about the wick
If you are new to candle making, you may be thinking hard about which kind of beeswax to buy. It is only natural to think that the bulk of the project (the “looks”) is of the foremost concern.
That is just half of the project!
The wick is undoubtedly the most important part of the candle.
If the wick is not the right size, it will either burn too slowly and put itself out in a pool of melted wax, or it will burn too quickly and the joy of burning a candle will be over before it can be thoroughly enjoyed.
In the far past, wick used to be spun at home, that is still the kind of wick we use for our candles.
Candle wicks are best when hand spun from linen tow, though many natural fibers will work equally well: cotton, hemp, nettle, even wood cordage.
If you haven’t acquired this self-reliant homestead skill yet, that of spinning fibers, rest assured that wicking can be bought online. We recommend this Organic Hemp Wick from Twisted Bee on Amazon.
Choosing the right size of candle wick is both a science and an art.
When you make your own beeswax candles there will be some trial and error and some absolute failures along the way.
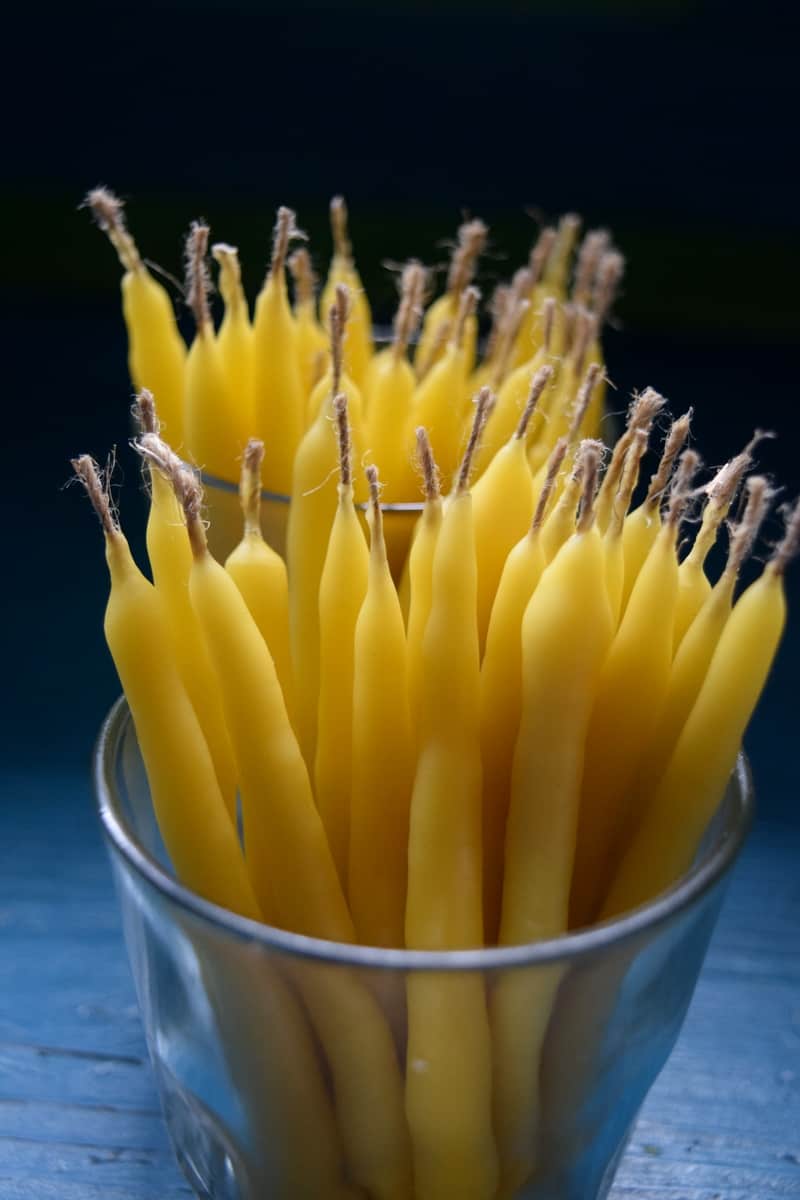
Learn from your mistakes and sample your candles first – make 4 in the first batch, rather than 100, and discover if they burn well, or not, before moving ahead.
Once you’ve figured out what wick burns best with a certain size candle, stick to it! Then forge ahead and make a couple dozen candles to keep your winter evenings bright.

Why you should never burn paraffin candles
Beeswax candles have been in use for hundreds of years and they have several advantages over their paraffin counterparts (which make up 95% of the world’s candle production).
Paraffin candles:
- are synthetic oil based, made from highly refined petroleum waste products
- emit toxic fumes
- contain artificial dyes and synthetic fragrances (to cover up their real smell)
- their wicks may contain lead for “better” burning
- are a significant source of indoor air pollution
- have a shorter burn time with more dripping
- produce a black soot that is harmful, and may stain your walls
Why you should burn beeswax candles instead
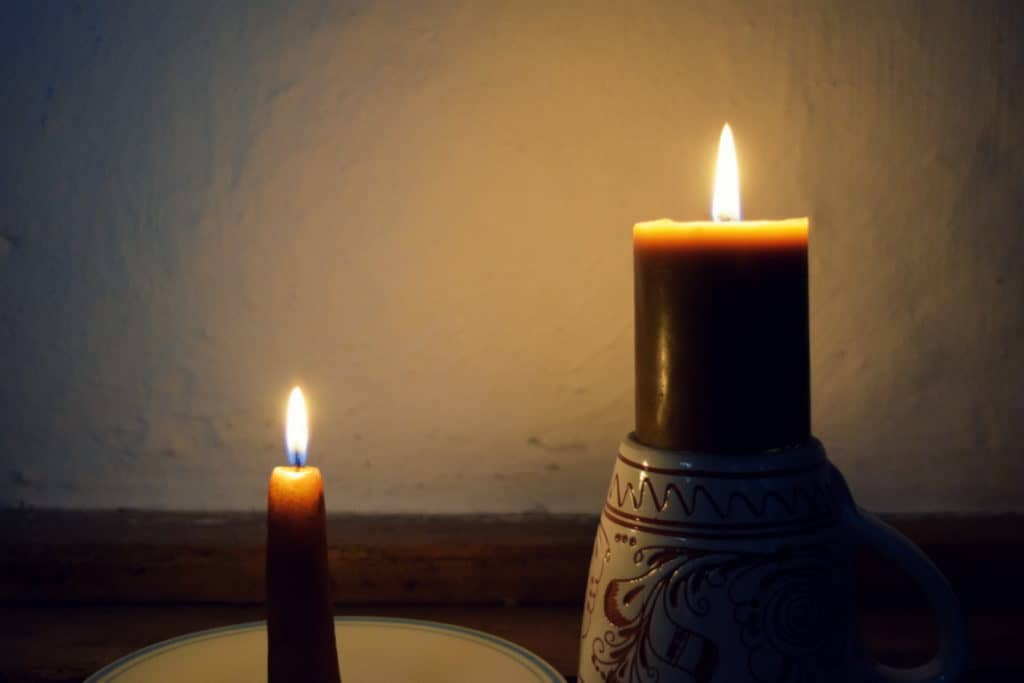
Now, that you are ready to give up questionable paraffin candles for good, you’ll need an alternative to brighten up your life.
Take a look at the advantages of using beeswax as a calming light source.
Beeswax candles:
- are all natural and chemical-free (especially when you buy from organic beekeepers!)
- burn clean with little smoke
- are eco-friendly and non-toxic
- smell honey-ly wonderful
- burn strong and bright – the same light spectrum of the sun!
- drip very little
- have a longer burn time
- emit negative ions that purify and cleanse the air
- benefit those with allergies and asthma
Not to mention that fact that they are extremely beautiful whether they are hand-dipped, poured into a pot or rolled from sheets of flexible beeswax.
Additional resources for candle making:
How to Make Beeswax Candles in Glass Jars @ The Prairie Homestead
How to Make Your Own Candle Wicking @ Joybilee Farm
Adding essential oils to your beeswax candles
Aromatherapy involves the use of essential oils to improve your mind, body and overall health.
While an essential oil diffuser is one way to help create a calming atmosphere in the home, a beeswax candle with added essential oils brings both warm, flickering light and the scent of whatever it is you love best.
Beeswax candles smell absolutely delicious with these added essential oils:
- lemon
- grapefruit
- orange
- lavender
- pine
- vanilla
- frankincense
Read more about How to Make Beeswax Candles With Essential Oils @ Floranella
Support local beekeepers!
Bees are wonderful pollinators in the garden, their honey is exceptionally nutritious and delicious, and the beeswax, well, let’s just say it is the perfect material for candle making.
For the love of bees, and a healthy home, consider making your own beeswax candles, or buy them locally from a reputable source.
A candle only needs to contain 51% beeswax to be labeled beeswax. The remainder can be paraffin, or anything else that burns. Be on the lookout for purity and craftsmanship!
Spend the extra money and look for 100% pure beeswax candles, or choose those that are blended with coconut oil for the healthiest glow possible.
Candle making is a wonderful winter activity – staying warm by the fire, creating heavenly smells, and producing something that is both useful and practical – in case the electricity ever goes out.
Beeswax candles make excellent handmade gifts too!
Pin This To Save For Later

Get the famous Rural Sprout newsletter delivered to your inbox.
Including Sunday ramblings from our editor, Tracey, as well as “What’s Up Wednesday” our roundup of what’s in season and new article updates and alerts.