


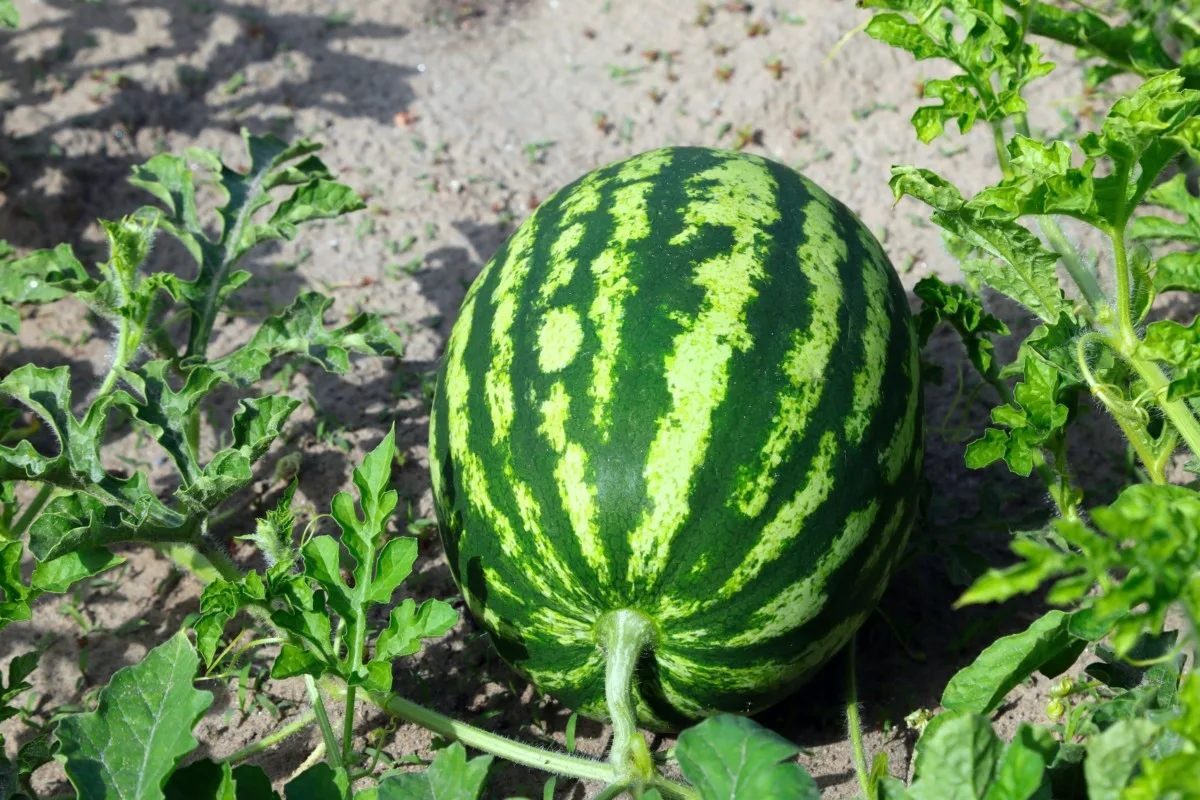
When you think of the perfect summertime treat, I’ll bet watermelon comes to mind. No barbecue, picnic or family reunion is complete without at least one large, dusky green melon gracing the picnic table.
And if you’re under ten, there’s nothing more fun than a watermelon seed spitting contest. Well, except maybe spitting the seeds at your siblings.

Yup, it’s hard to picture summer without including watermelon in there somewhere.
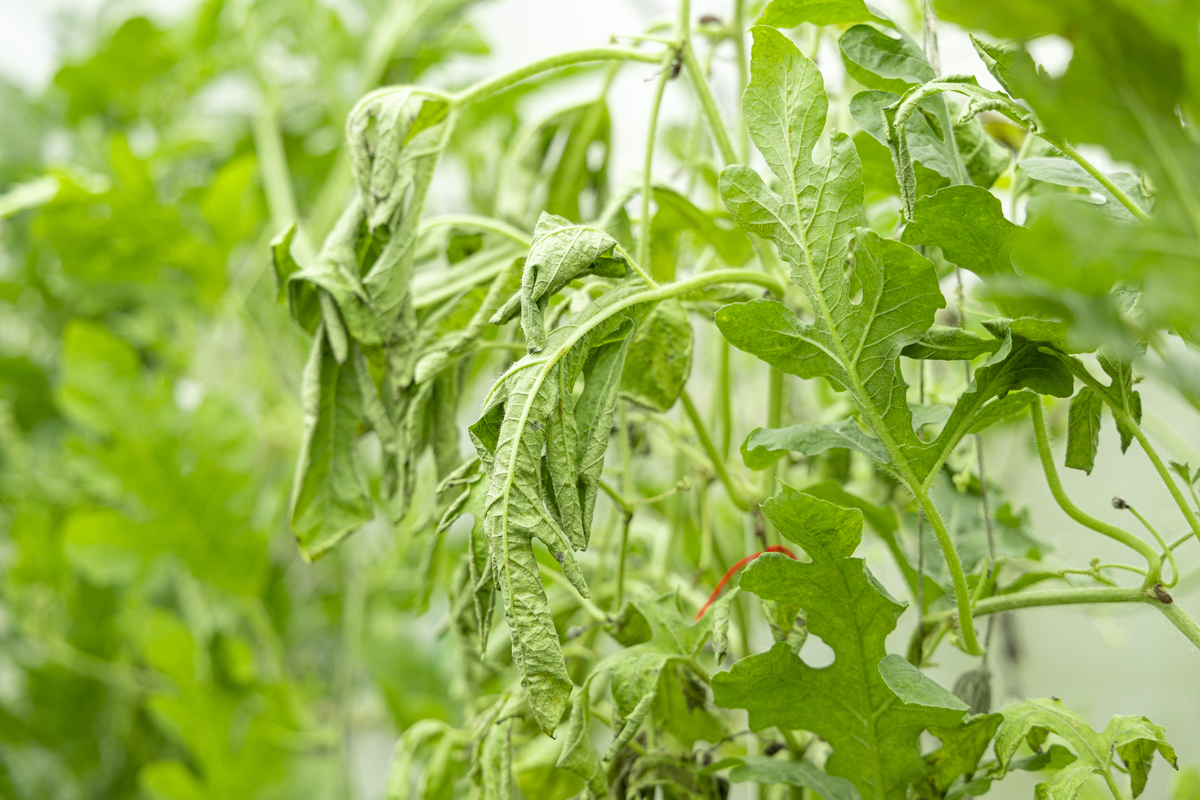
But as many a gardener will tell you, growing them is no easy picnic. The vines shrivel up and die; they succumb to powdery mildew; you can get long, lanky vines with no fruit or tons of fruit that never ripens.

Or worse yet, when you do manage to grow a few nice melons, you have no idea when to pick them and end up cutting into a melon that’s still white or one that’s so far gone you can’t eat it.
Well, not this year.
This year, I will share the tricks you need to know to grow sweet and hefty watermelons.
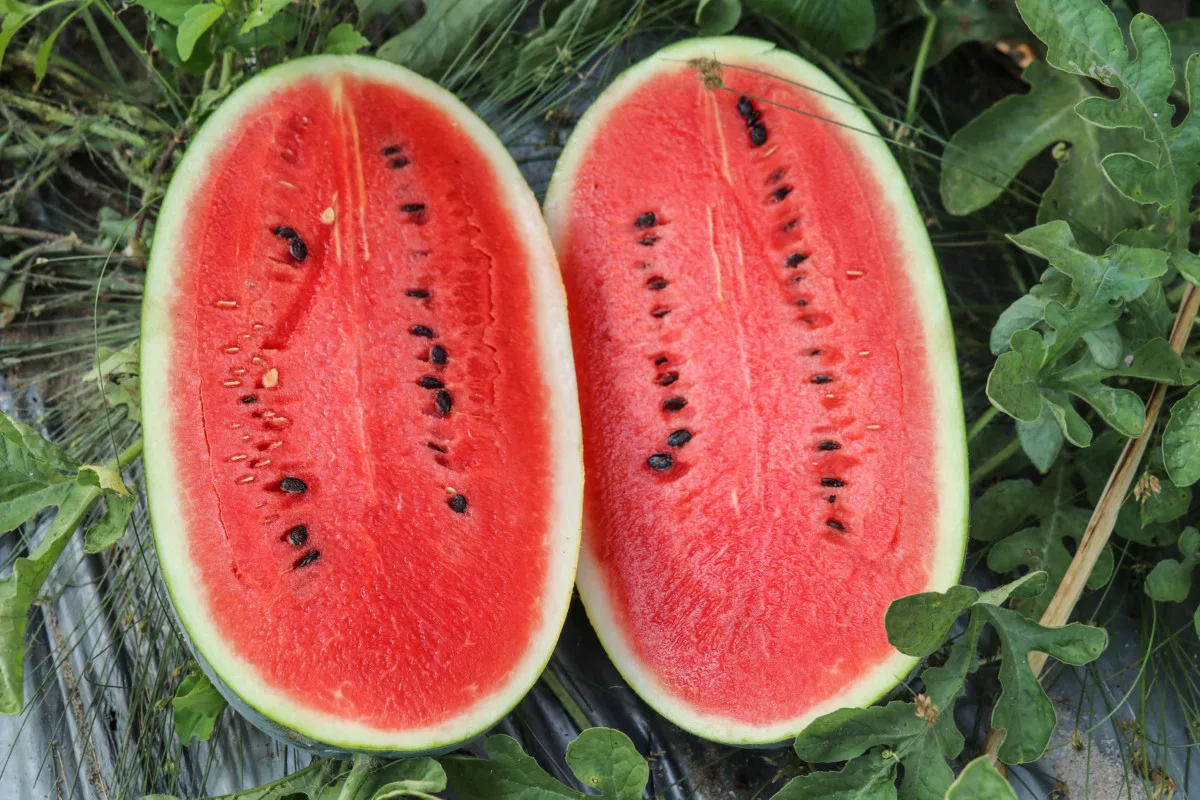
I can guarantee when you grow them yourself they always taste better than anything from the store. And best of all, I’m going to share the easy never-fail way to tell when a watermelon is perfectly ripe for the picking. Let’s jump in together.
Growing Watermelon Is a Challenge
The first thing you need to know about growing watermelons is that it’s not easy. They’re what I would consider to be an advanced gardening crop.
If you’re relatively new to gardening, you may want to start with any of these easy-to-grow veggies or fruits instead. Come back to watermelon when you’ve got a few growing seasons under your belt.
Watermelons are incredibly heavy feeders with exacting water needs, and they require lots of space to do well. Their watering and feeding schedules have to be just right, or you run the risk of no melons developing, flavorless melons or melons that explode.
And if you don’t live in a place with a long, warm growing season, growing watermelons can be extremely difficult to do.
But don’t let this deter you, I just want you to realize you’re up for a challenge, and these tips will make all the difference.

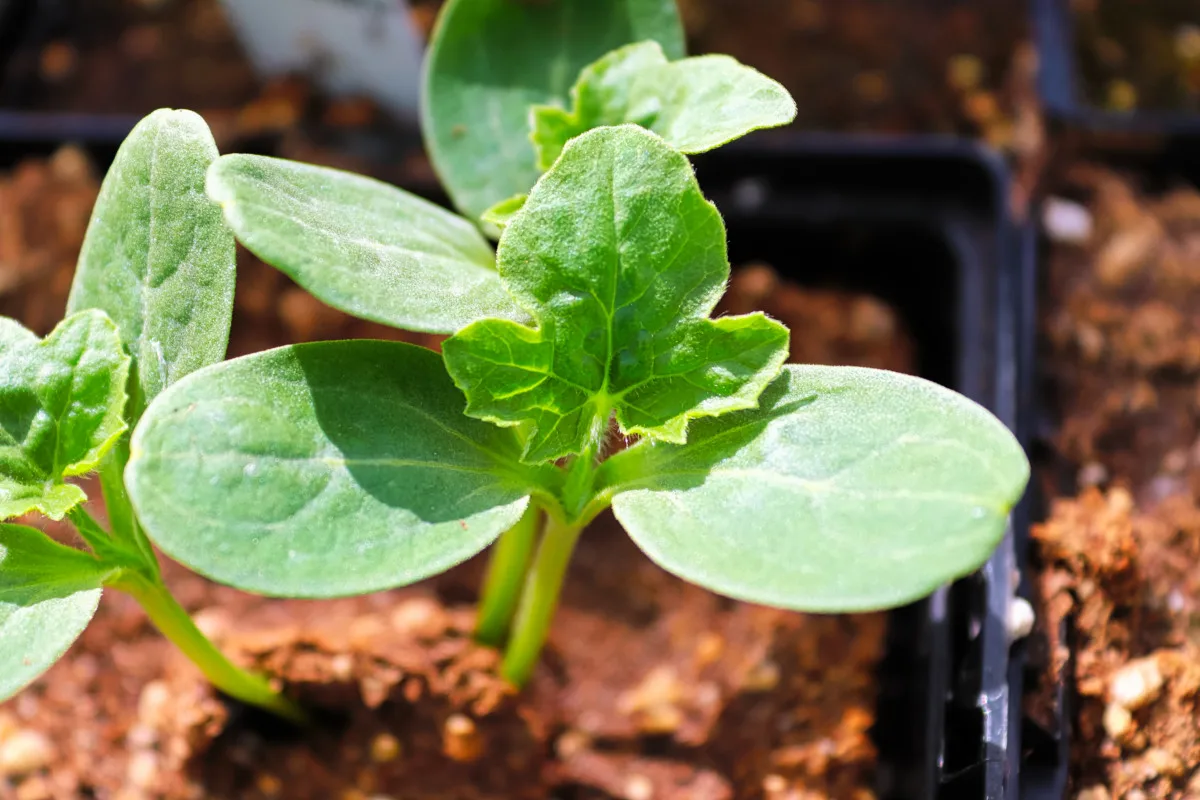
For those ready to take the plunge, and give watermelons a try, my best advice is to look at your first season of growing them as an experiment. Go into it not expecting to get melons, but more to learn how to grow them, and you may be pleasantly surprised by the result.
On to the magical secrets that make all the difference.
1. Location, Location, Location

An important consideration that could leave your watermelon growing adventure dead in the water before you even start is your growing zone. Watermelons need a long growing season to grow and mature. If your season is less than 150 days, you may want to grow something else.
Aside from a long season, they also require warm days and nights. If you have too many cool summer nights, a watermelon patch probably isn’t going to do well. Watermelons prefer nights around 70 degrees F, and plenty of them. They do well even on the higher end of that scale, thriving in 80–90-degree weather as well.
I get it. We’re gardeners. We all think we’re going to be the one to trick Mother Nature and get that one crop that never grows well where we live to grow this year. Save your sanity, my friend.
But, if you can tick off those two boxes – long growing seasons and warm days and nights – you’re good to go.
2. Crop Rotation Is a Must For Watermelons

If you want to give your melons the absolute best shot at doing well, choose a spot in your garden where you haven’t grown any cucurbits for the last few years. You may choose to grow your watermelons in mounds in your yard if you don’t have a suitable space in the garden.
They need all the nutrients they can get, and growing them in the same spot as plants with similar nutrient needs starts your melons out with a deficit.
Related reading – 8 Secrets To Grow More Cucumbers Than Ever
3. Treat Watermelons Like That One Ex
You know which one, the one that needed space.

Watermelons need plenty of room to sprawl. You need to devote around 5’x5’ per plant for watermelons. The vines take up a lot of space, and they need to. They eat up your gardening real estate, so if you’re limited on space, you may want to consider what else you could grow in that much space before committing to watermelons.
4. Give Your Watermelons Great Soil
By now, you’re probably picking up on the fact that watermelons are divas, but as long as you give them what they want, they will reward you with sweet summertime treats. This goes for the soil you grow them in as well. Just assume your current garden soil isn’t good enough for the likes of them; it will be easier in the long run.
A great way to accommodate watermelon’s finicky soil needs is to grow them in a large mound made up of compost, worm castings, sand for drainage, and blood meal. (Just trust me on the blood meal, I’ll explain later.) This is perfect if you don’t have space for these garden hogs in your garden.

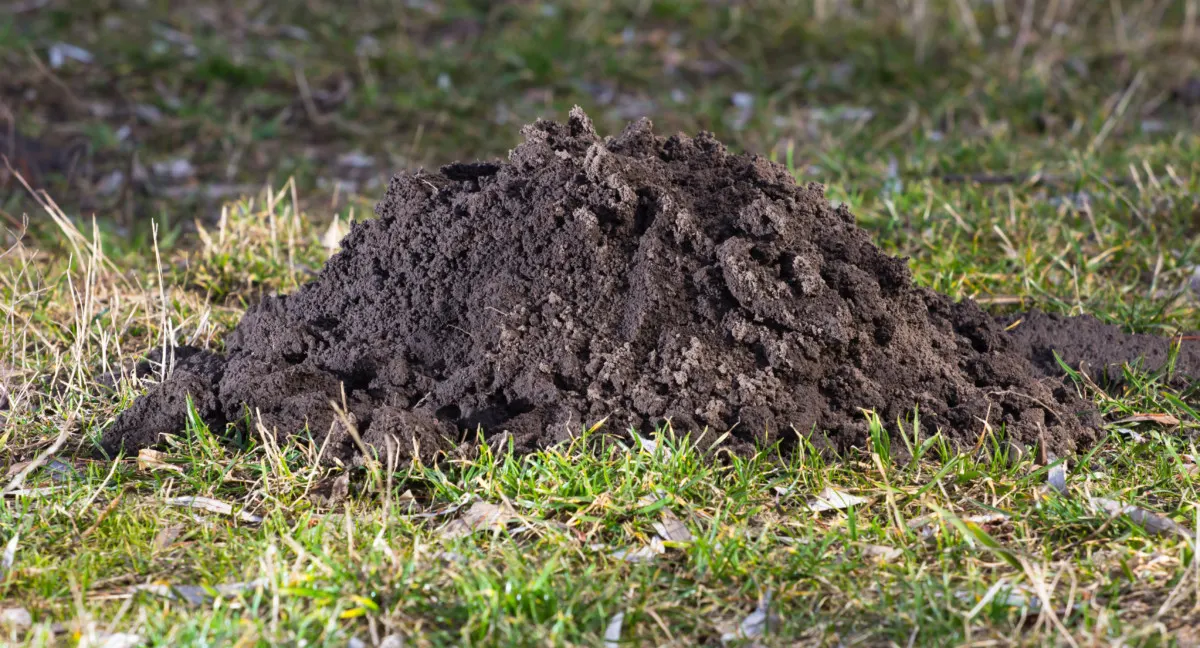
You can build one of these mounds right on top of your existing sod or soil in your yard somewhere. There’s no need to dig anything up; in fact, it’s better if you don’t.
The mound should be about two cubic feet per plant, with a compost to worm casting to sand to blood meal ratio of 6:2:2:1. Once you heap up the mound, create a small crater at the top about the width and depth of a cereal bowl. (Think 4th-grade volcano science project.) Plant your seeds or transplants in the little crater.
Mulch around the mound, outside the crater to help hold in water.
Growing your watermelon this way means you’re creating the perfect basin for watering your watermelons right where they need it – directly at the base of the plant. Plus, you’re giving them the chance to develop nice, deep roots.
5. It’s All in the Name
And speaking of watering, this is one of the most important tips in this entire article. Watermelons need a lot of water every day, and then one day, they don’t. And suddenly, too much water is bad.
See? Divas.
But seriously, it’s right there in the name – watermelon. These juicy fruits are 90% water, so it makes sense that they would require a lot of it to grow well.
And unlike pumpkins and other creeping cucurbits, they can only take up water at the base of the plant. A pumpkin will put out smaller taproots at every joint in the vine where it touches the ground. Watermelons don’t do that; they have one point of contact with the soil where they put down roots.
So, it makes sense that they would need a lot more water than the average plant when you start looking at how much has to be sustained from that single point.
Once watermelons begin growing out, you need to keep the soil at the base of the plant moist. In the mid-summer heat, that could mean watering them every day. But be careful; keep the water where it’s needed, at the base. If you soak a large area around the plant, you may find yourself dealing with powdery mildew.

You want to water deeply, directly at the base of the plant. Water in the morning and give the plant a thorough soaking. Watch the water soak in, and repeat until the soil around the base of the plant is dark and damp. I know it sounds labor-intensive; that’s because it is. But keep your eye on that delicious prize!
But, and it’s an important one, once the watermelon stops growing in size, you need to lay off the water. This is how you get exploded melons or melons that are very juicy with little flavor. Once you notice that the melons have stopped growing in size, you can cut back on your watering routine. Let the top inch or two of soil dry out between waterings.
6. Watermelons Have a Big Appetite

Watermelons are heavy feeders; in particular, they require a lot of nitrogen to get started. That’s why we put the blood meal in the mound when we plant them. This gives the soil a direct boost of nitrogen, which the plants need to grow all those vines.
Once the plants begin to set flowers and fruit, give them a fertilizer lower in nitrogen but higher in phosphorous. (You want to choose a fertilizer with a higher P number in the NPK ratio.) At this point, you want the plant to put its energy into fruit rather than covering more ground.
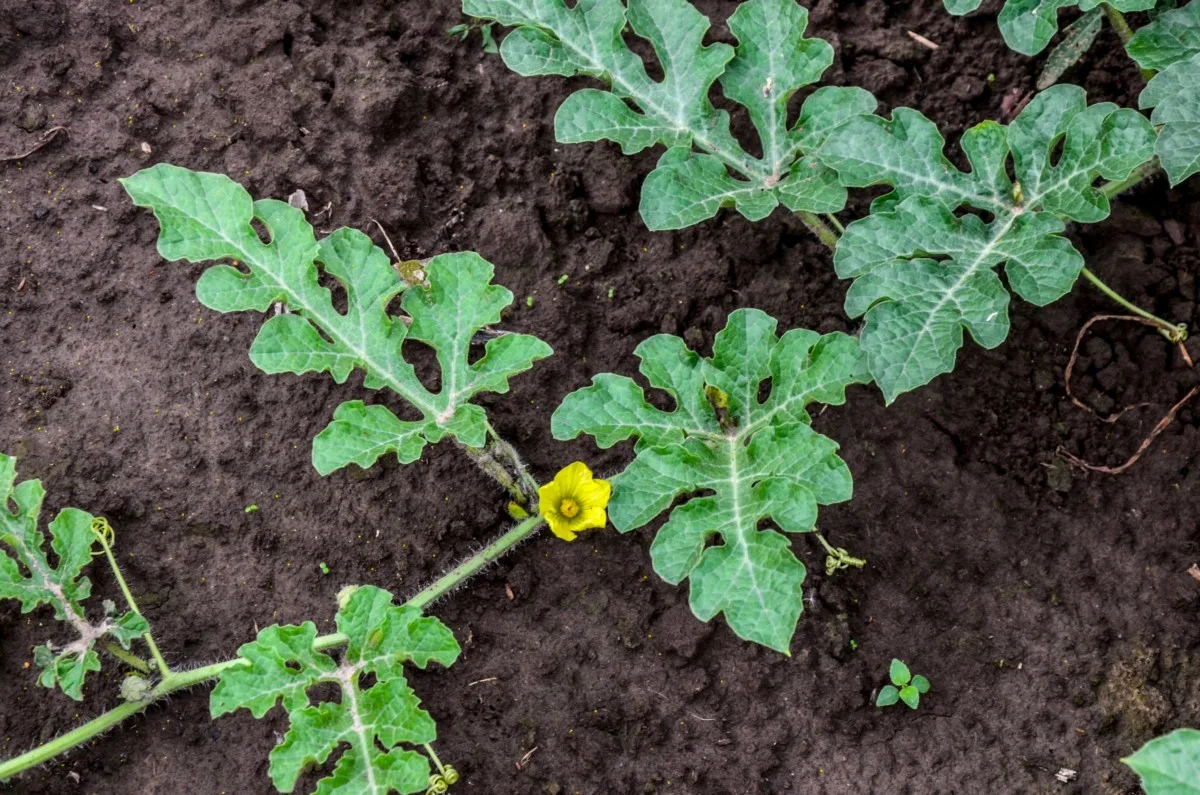
7. Pollination Station

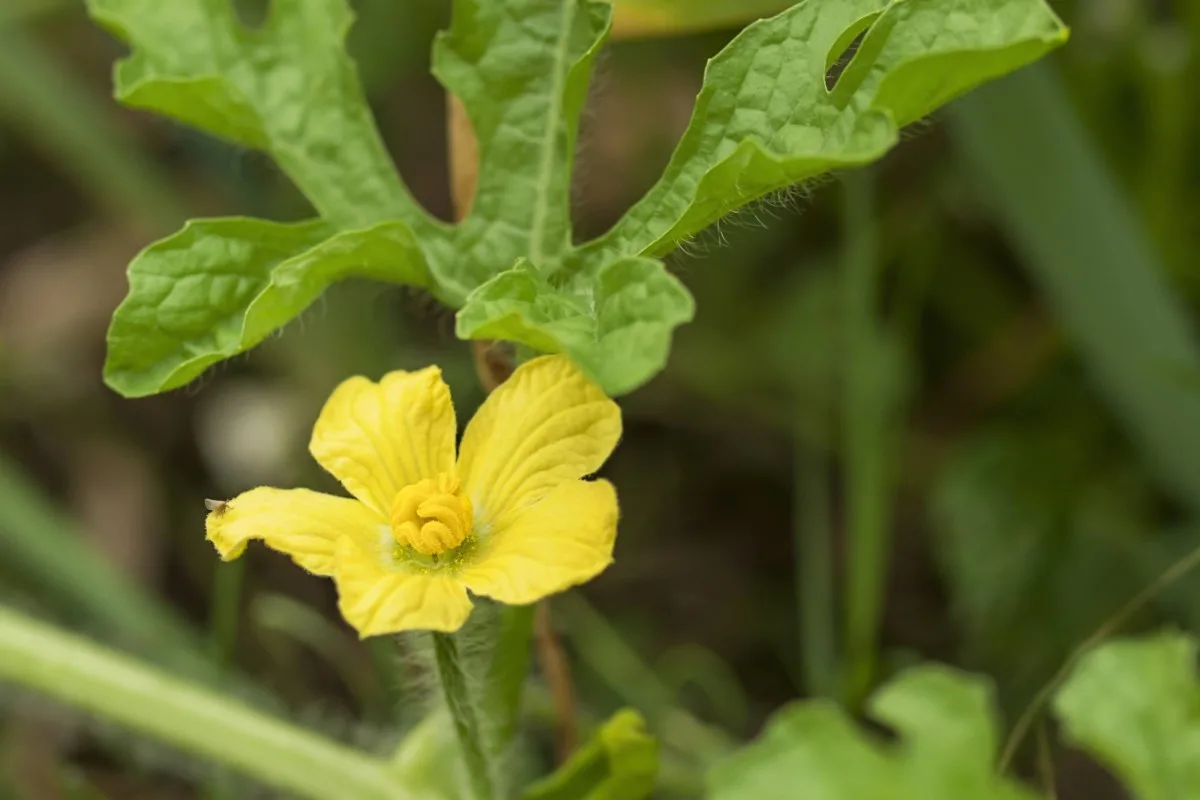
There’s nothing more frustrating than putting all that work into growing watermelon only never to have it develop fruit. To increase the odds of pollination, grow a few flowers close to your watermelons, such as sunflowers or marigolds to attract bees and other pollinators.
However, if you want to be sure you get fruit, hand-pollinate your watermelons with a toothbrush.
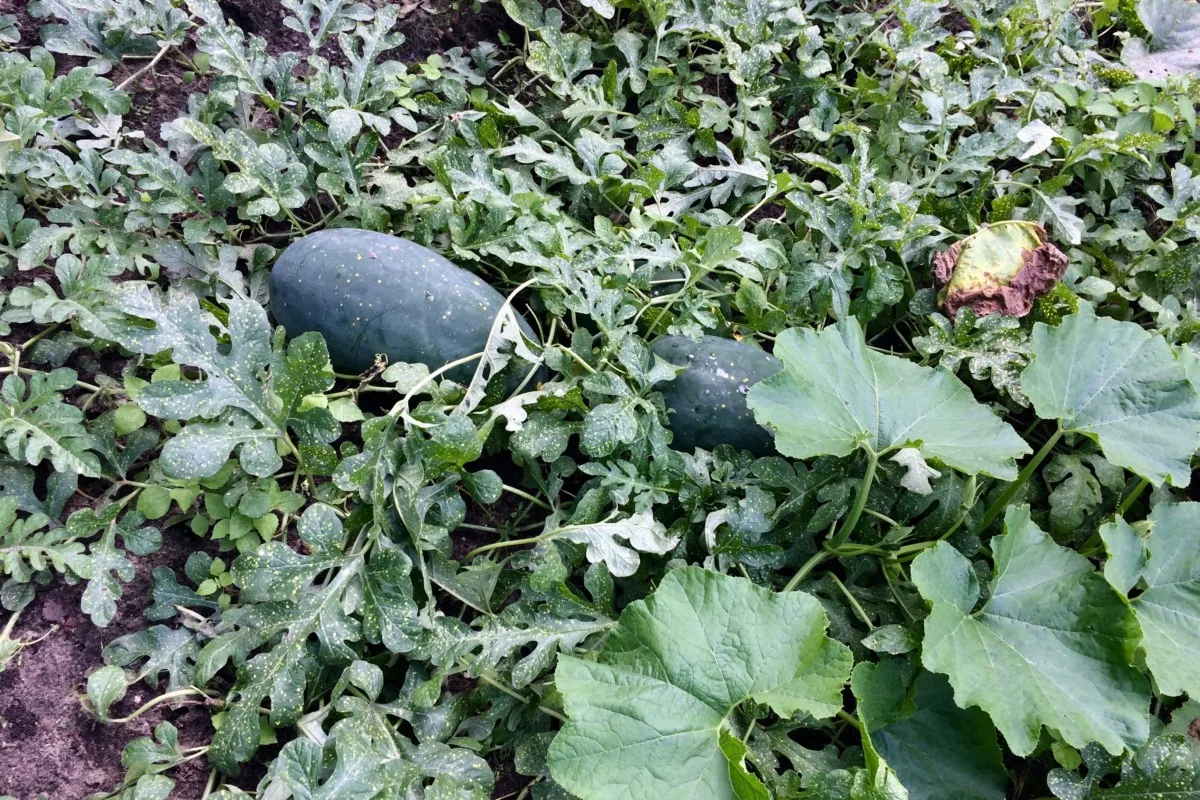
8. Melon Control

Here’s the thing about plants. They don’t really care about tasting good or growing enough fruit to feed us. What they care about is making enough copies of themselves and spreading out as far as they can go to ensure that their species will continue. (Kind of like the rest of us.)
To achieve delicious watermelons, we need to curb this natural habit.
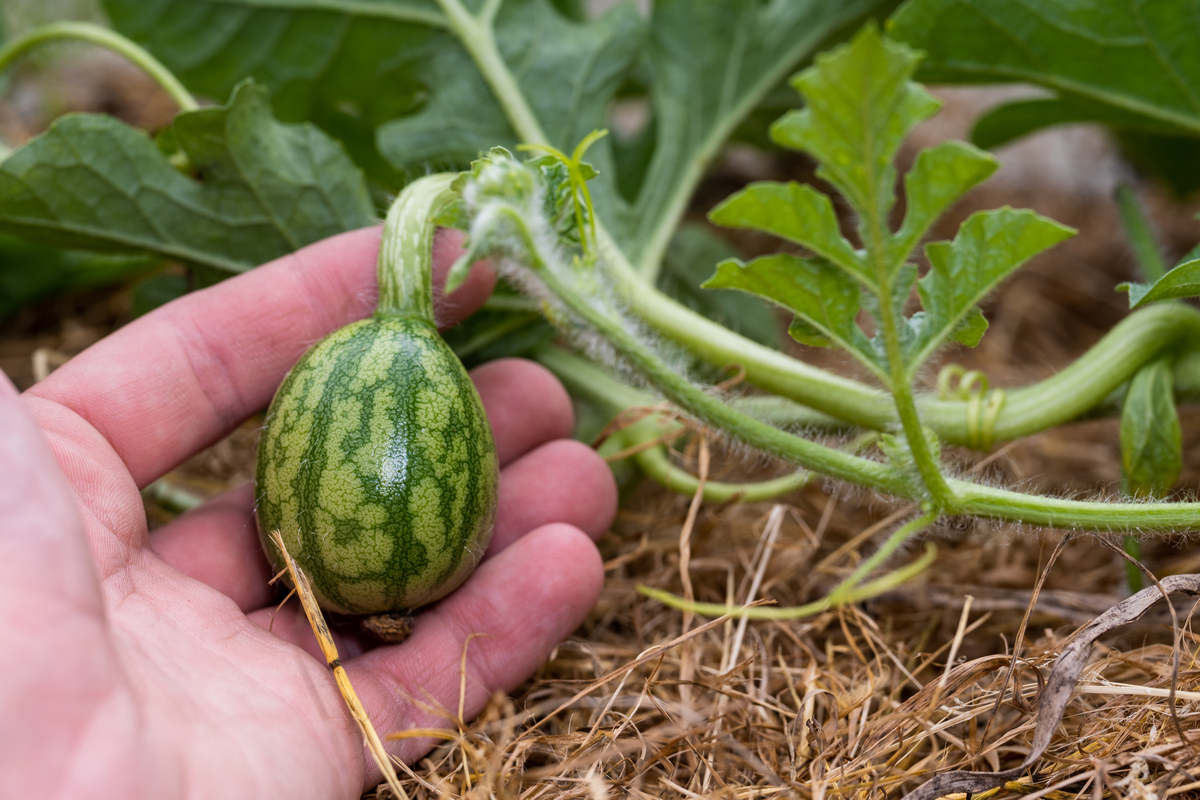
For traditional-sized watermelon varieties, pinch back flowers and fruit to two melons per vine. Remember, they’ve got to pump water and nutrients all from the base of the plant. When you let fruit production go unchecked, you will rarely have all those melons ripen. In fact, most won’t. By pinching off new growth, you’re getting the plant to put all of its energy into the two melons on each vine.
If you’re growing smaller, personal-sized watermelons, you can bump this number up to four melons per vine.
The No-Fail Super-Secret Way to Tell When a Watermelon is Ripe

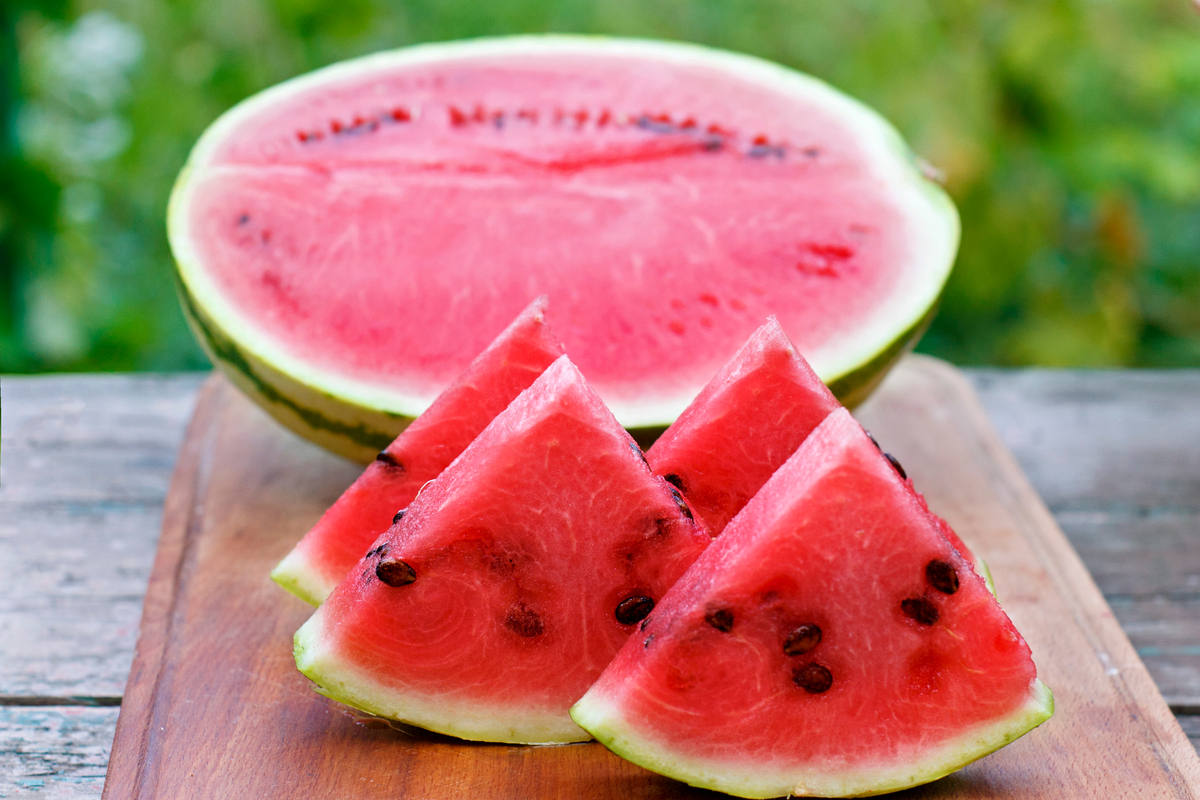
One of the most frustrating aspects of growing watermelons is that when you manage to grow a few, it’s tricky to figure out when to pick them. I can’t tell you how much cussing I’ve done when I’ve picked a homegrown watermelon and sliced it open to find a barely pink, flavorless melon.
All of the previous few months of work just goes up in smoke.
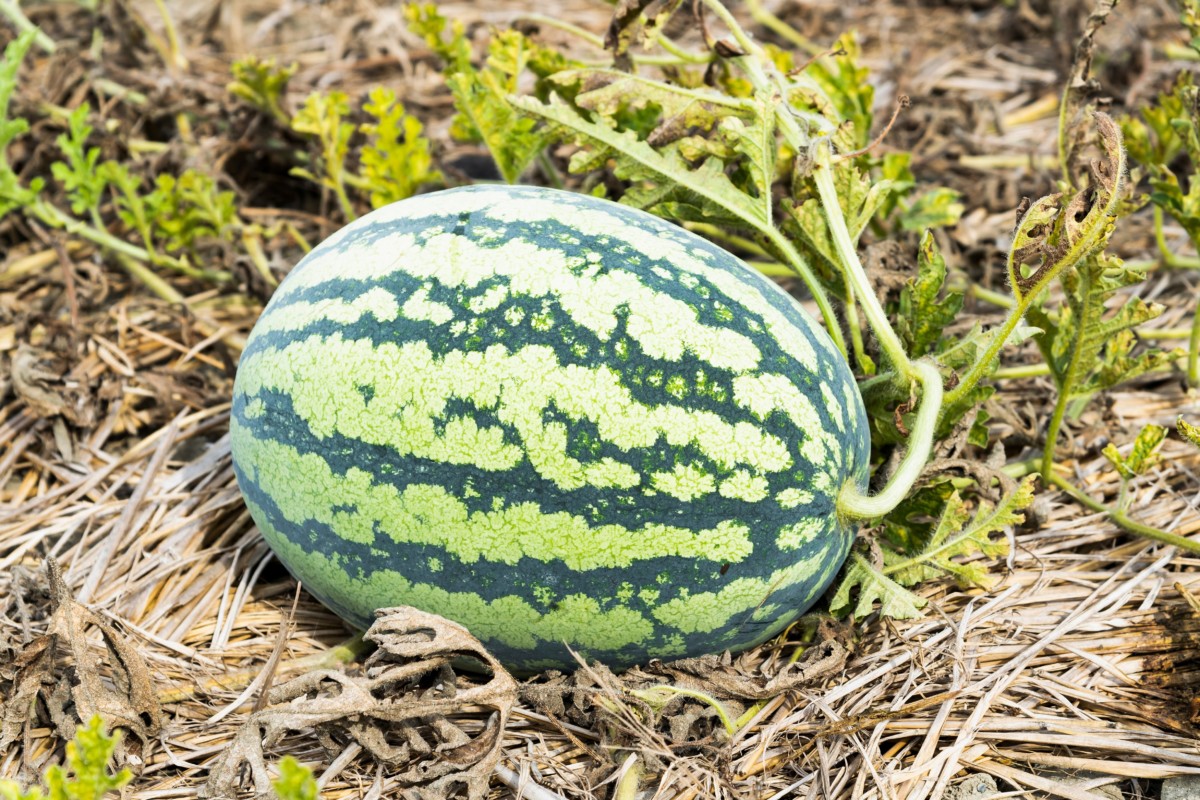
We’ve all heard about thumping a watermelon looking for a nice, hollow sound. Another indicator is the field spot or where the watermelon was lying on the ground. It should be a lovely cream or butter-yellow color. And finally, the skin should be a dusky matte green, and it should no longer be shiny.


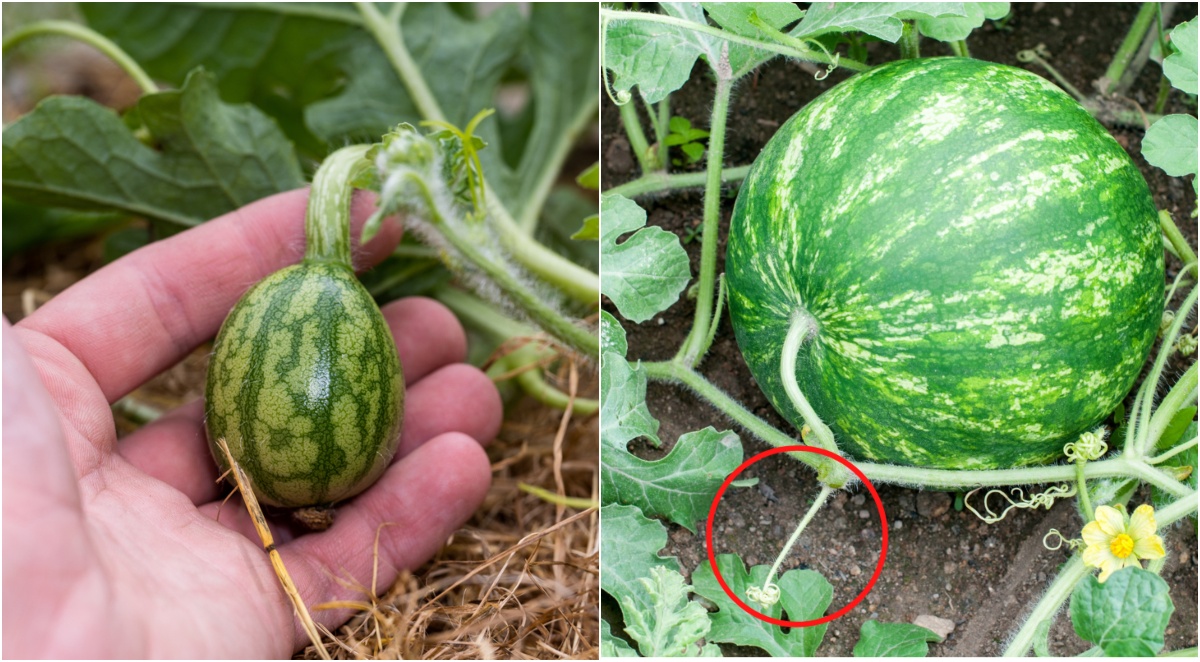
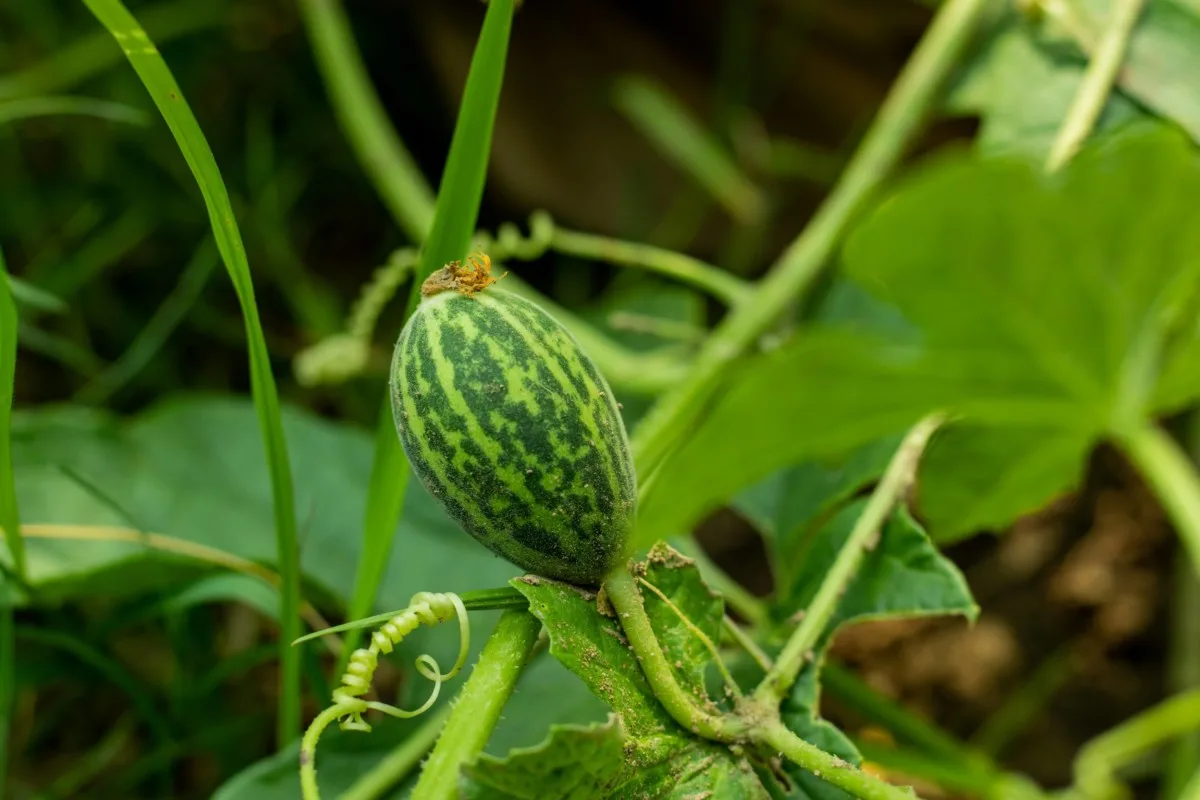
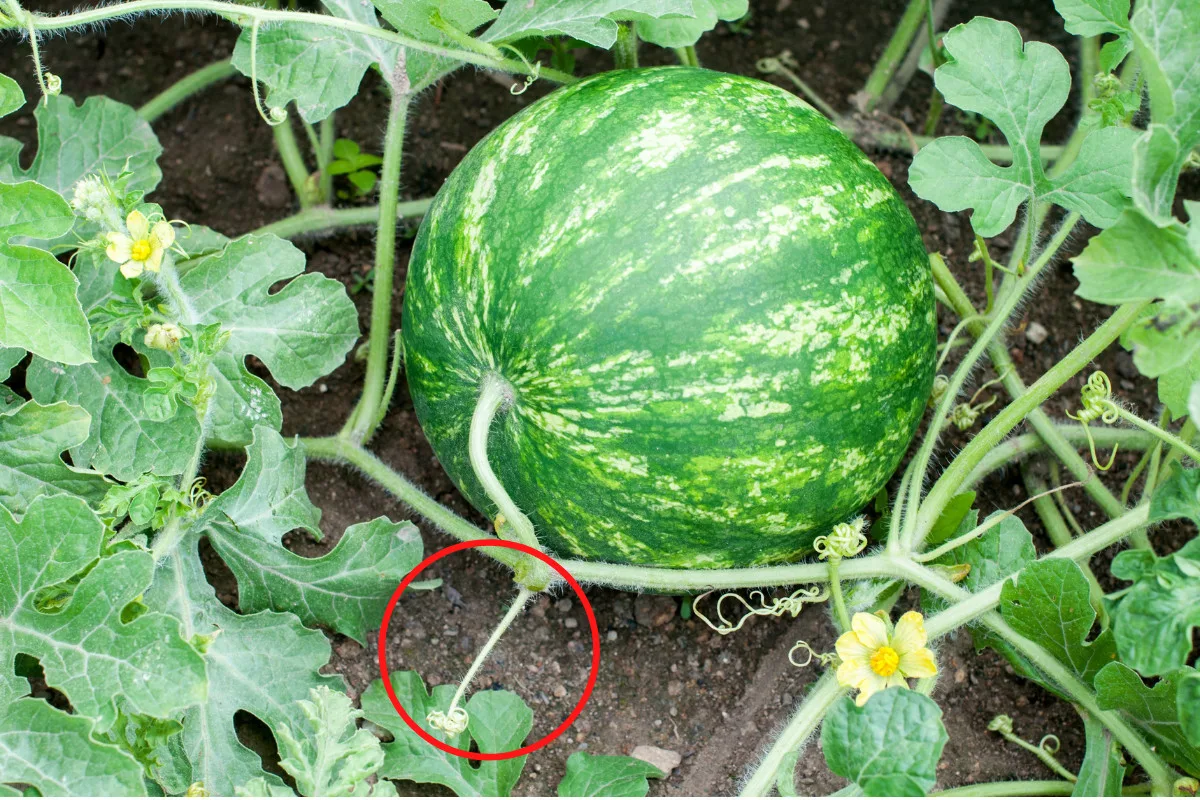
While all of these can help (especially when selecting a watermelon that’s already been picked), there is an indicator right on the vine that will tell you when it’s time to pick your watermelon.
If you look at the stem of the watermelon where it connects to the vine, there will often be a small leaf and a little curlicue. The tiny leaf will wither up over time, but more important is the little curlicue. Keep an eye on this guy. When it starts to dry up and brown, it’s time to pick your watermelon. As long as it’s still fresh and green, your watermelon is still ripening.

And that’s that! Follow these tips and come August, you’ll have sweet, sticky watermelon juice running down your chin. But don’t forget to save the rinds for pickled watermelon rind.

Get the famous Rural Sprout newsletter delivered to your inbox.
Including Sunday ramblings from our editor, Tracey, as well as “What’s Up Wednesday” our roundup of what’s in season and new article updates and alerts.