


Have you seen our article, “25 Edible Wild Plants to Forage for In Early Spring”?
Getting into foraging is a great way to supplement your diet with free, nutritious food.
The benefits go beyond adding some tasty plants to your pantry – foraging gets you outside in nature in a way that heightens your awareness of your surroundings.
When I first started foraging, I thought, there can’t be that much to eat around here, can there be? Now that I know – I see food everywhere, on every walk I go on, whether it’s in the woods or downtown.
Edible plants surround us; you just have to know what you’re looking for.
But once you know what you’re looking for, you’re hit with another problem.
“Okay, now that I have all these plants, what the heck do I do with them?”
I’ve got you covered.
In this post, we’re going to discuss my Fabulous Foraging Five – these are five plants that are beginner-friendly foraging finds, easy to cook, and easy to find.
You’ll be amazed how many times you’ll look down and find all five of these plants growing within several feet of each other.
Before we go any further, please remember to be careful when foraging.
The five plants we’re going to cook with are all beginner foraging finds, meaning they have few or no look-a-likes that can make you sick.
When you’re just starting, it’s best to get help from someone knowledgeable in edible wild plants. Facebook is an excellent resource for local foraging clubs. It’s also a great way to find out what grows in your area and when.
If you don’t have access to a person, a book is your next best bet. There are many great foraging books. A couple of my favorites:
Edible Wild Plants: A North American Field Guide to Over 200 Natural Foods
The Forager’s Harvest: A Guide to Identifying, Harvesting, and Preparing Edible Wild Plants
When it comes to identifying plants, the internet should be your last resource. There is a lot of great information online about foraging and what plants are and aren’t edible. However, the internet shouldn’t be used as your primary source to identify plants. People and books first, the internet last.
And of course, follow proper foraging etiquette.
- Know the area and whether or not it’s been treated with chemicals.
- Know if you are allowed to forage in that area and if there are limits.
- Forage responsibly, leaving behind plenty for the animals that make that land their home.
Let’s eat some weeds!
1. Stir-Fried Dandelion Greens

First up is the humble dandelion. Most people know that this common flowering plant is edible, but few bother to eat it. There are many ways to use the flowers, but fewer think about eating dandelion greens.
This is one of the first flowers we see each spring. Dandelions are also bees’ first food for the spring, so forage the actual flowers responsibly.
I’m going to show you how to stir fry dandelion greens. Oh my gosh, they’re so tasty!
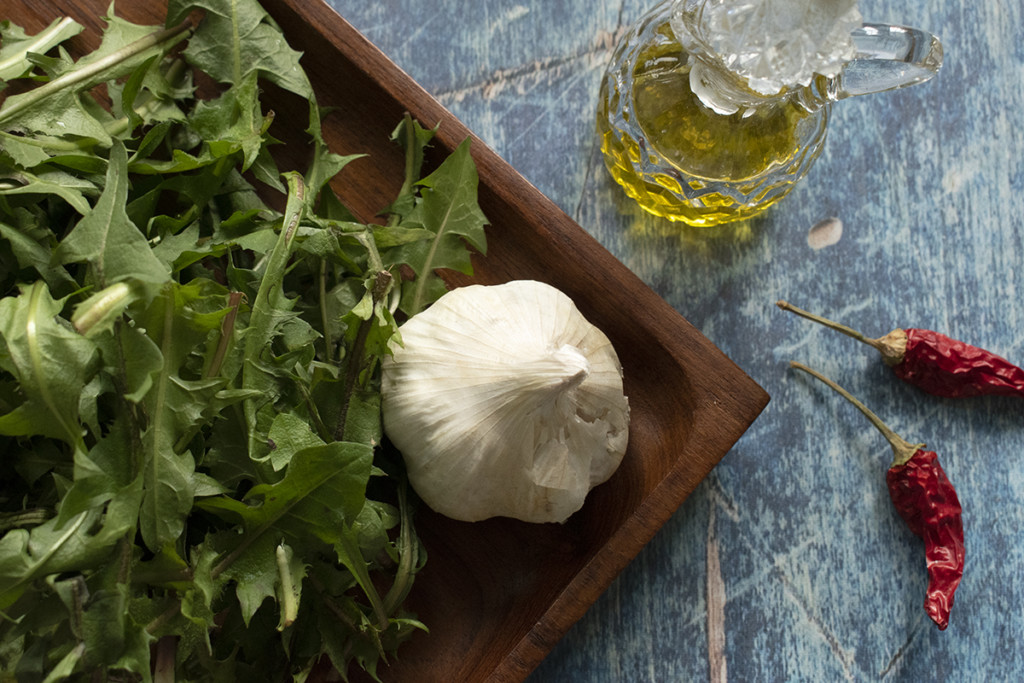
Ingredients
- 3-4 cups of freshly picked and washed dandelion greens
- 1-2 cloves of garlic, finely minced
- ¼ tsp of red pepper flakes
- 1 tbs olive oil
- Salt and pepper to taste
When picking dandelion greens, I try to find short ones in the early spring. The taller they are and the hotter it gets, the more bitter they become. You can still eat them, of course, they are just less bitter in early spring.
Plunge your freshly picked greens in a bowl or sink full of cold water and swirl them around. Let them soak for a few minutes, so dirt and debris can fall to the bottom. Now spin them dry in a salad spinner (I love this one!) or pat them dry with a clean kitchen towel.
Heat the tablespoon of olive oil over low-med heat in a skillet. I prefer cast iron for stir-frying my greens. Add the garlic and red pepper flakes, gently stirring them, so the garlic doesn’t brown. When the garlic has softened, turn the heat up to medium and toss in your dandelion greens.
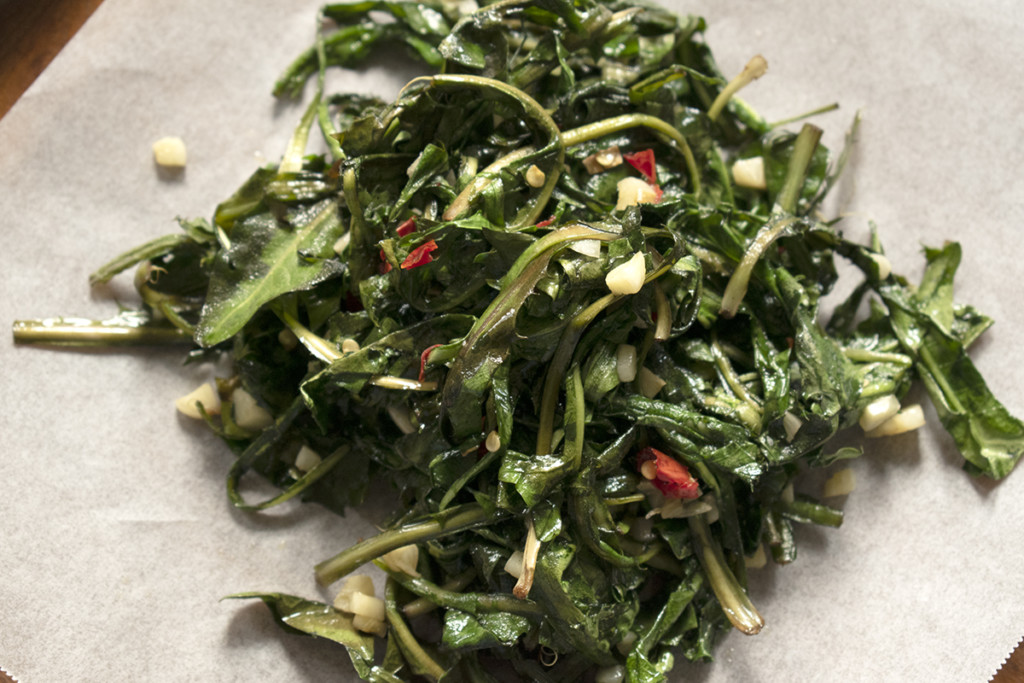
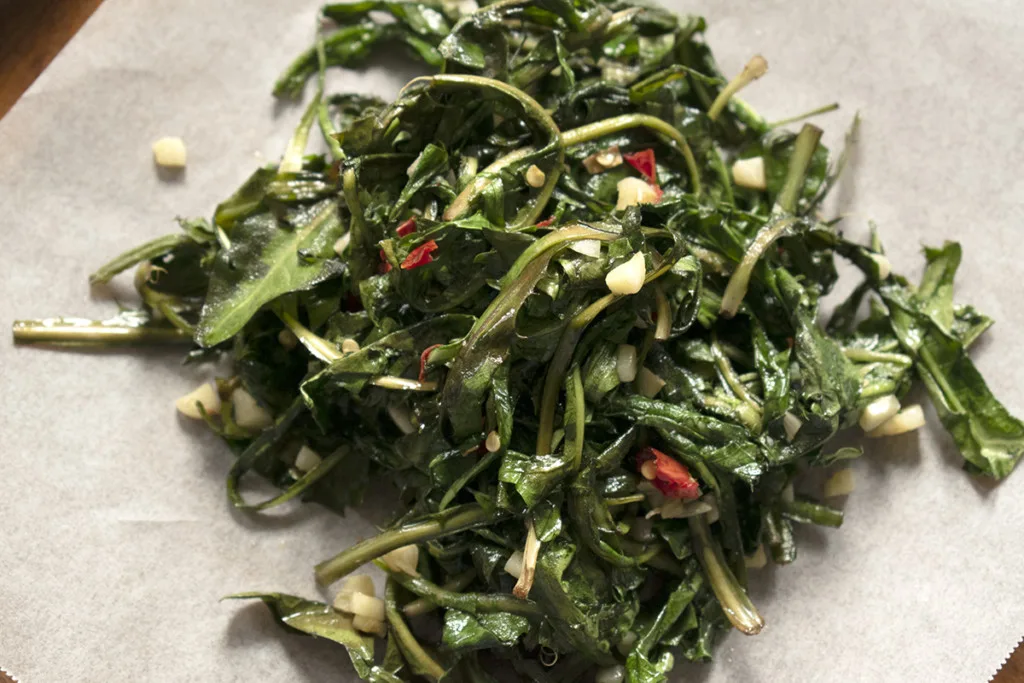
Gently pat and stir the greens, so they are all equally coated with the oil. You want to keep stirring and moving them, so they all come in contact with the bottom of the pan. You’re aiming for them to be wilted, but not limp and soggy. This takes between 5-8 minutes.
Transfer to a dish and serve immediately. The slight bitterness of the greens goes so well with the garlic and the kick from the pepper. This is a fantastic and impressive side dish for any meal.
Or lightly chop your finished greens and –
Use them as a pizza topping – seriously, this makes for an incredible pizza!
Toss them with pasta, olive oil, and parmesan cheese.
Add them to a frittata, omelet or quiche.
Once you give these a try, you’re going to be grabbing dandelion greens as often as you see them.
2. Garlic Mustard Pesto
Next up is a tried and true classic that shows up on every forager’s table each spring – and with good reason.
Garlic mustard is an invasive species here in the US. It’s one of those plants that you can forage to your heart’s content. Seriously, eat as much as you can!
Garlic mustard is a biennial plant, meaning it will grow for two years. Lucky for us, though, it can easily be found year-round. I’ve picked this stuff out of the snow in the middle of the winter when I wanted something fresh and green to eat.
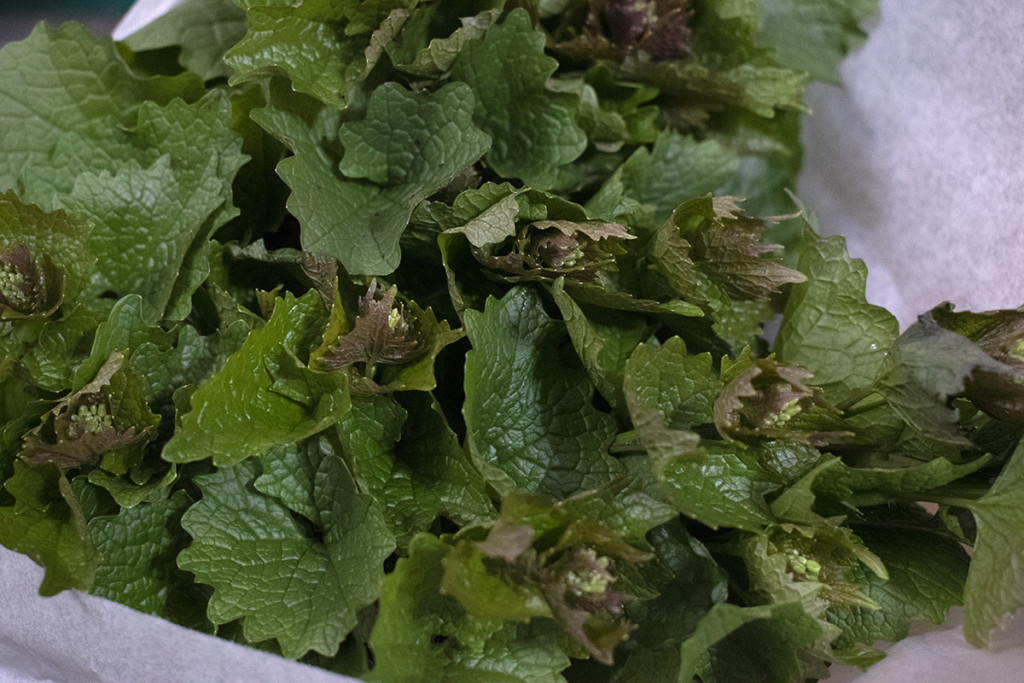
My favorite way to enjoy it, though is in the spring when it’s in its second year.
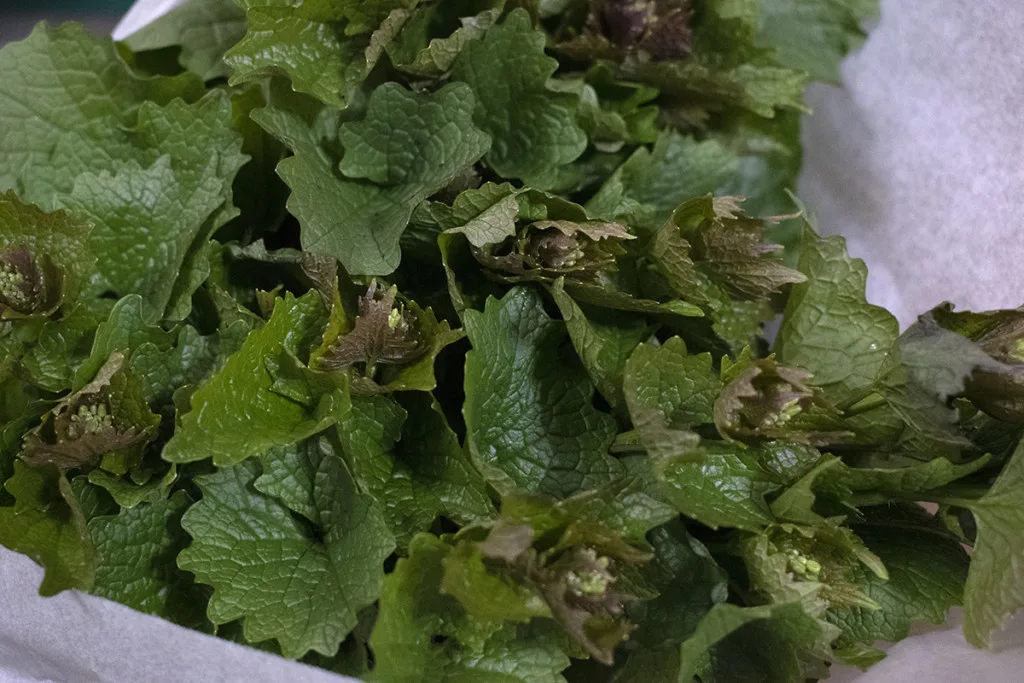
I love to pick garlic mustard right before the flowers open. Picked in this way, it’s a lot like eating another one of my favorite greens – rapini or broccoli rabe, and you cook it the same way. It’s so much more tender than rapini, though, and easier to find, and cheaper! Yum.
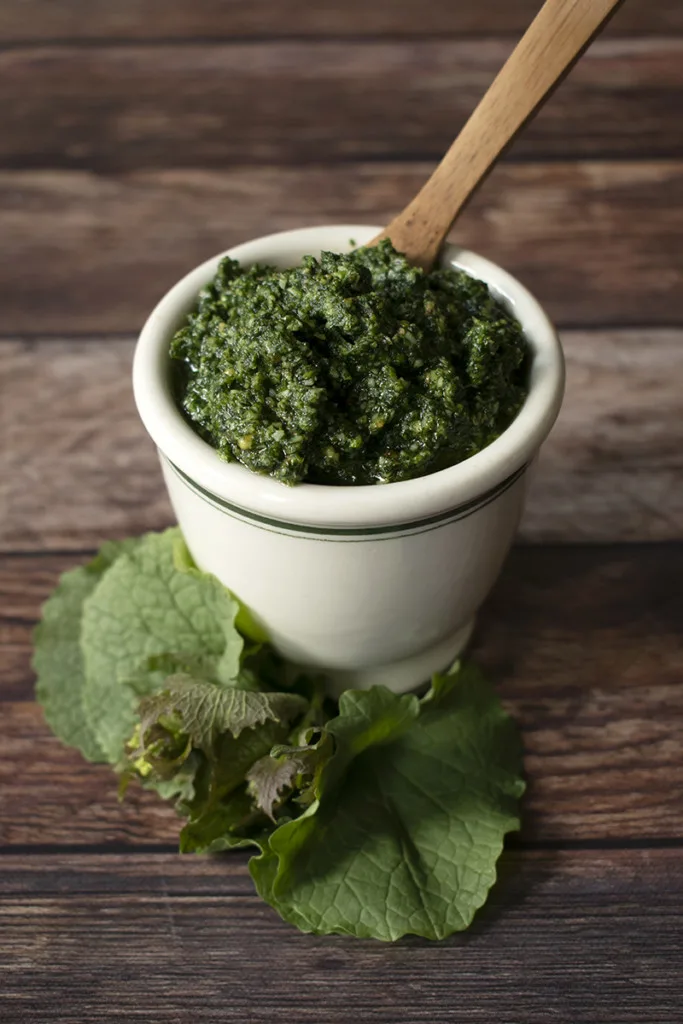
Today though, we’re going to make pesto with it. Garlic mustard tastes exactly like its name, making it a perfect pesto plant.
Ingredients
- ¼ cup of pine nuts, almonds, or walnuts (I rarely have pine nuts on hand, so I just use whatever nuts I happen to have in the pantry.)
- 4-5 cups of freshly washed and destemmed garlic mustard leaves (You can leave the skinny stems that are attached to the leaf, you just want to remove the larger stalks.)
- 1 cup of freshly grated parmesan cheese
- 1/3 to ½ cup of extra virgin olive oil
- ½ tsp of salt or more to taste
Using a food processor, pulse the nuts several times until they resemble large crumbs. Now add your garlic mustard leaves and parmesan. Pulse repeatedly until leaves are thoroughly minced, and everything blends well together.
Continue pulsing and slowly pour in the olive oil. I usually eyeball it, pouring in enough so that the mixture becomes shiny and wet in appearance. Add the salt, pulse several more times and then taste and adjust the salt if necessary.
Store your pesto in an airtight container in the fridge if you aren’t using it right away. Let it come to room temperature before using it. Use or freeze your fresh pesto within a week.
This pesto is almost better than traditional pesto.

Use it on pasta, spread it on a sandwich, mix it in with meatloaf. Heck, eat it straight out of the jar with a spoon, I know I do.
One of my favorite ways of enjoying garlic mustard pesto is to mix in a heaping tablespoon or two with cottage cheese. Oh yeah, so good!
Because of the prevalence of this invasive species, you can make quite a few batches of this delicious pesto and freeze them to enjoy in the winter months.
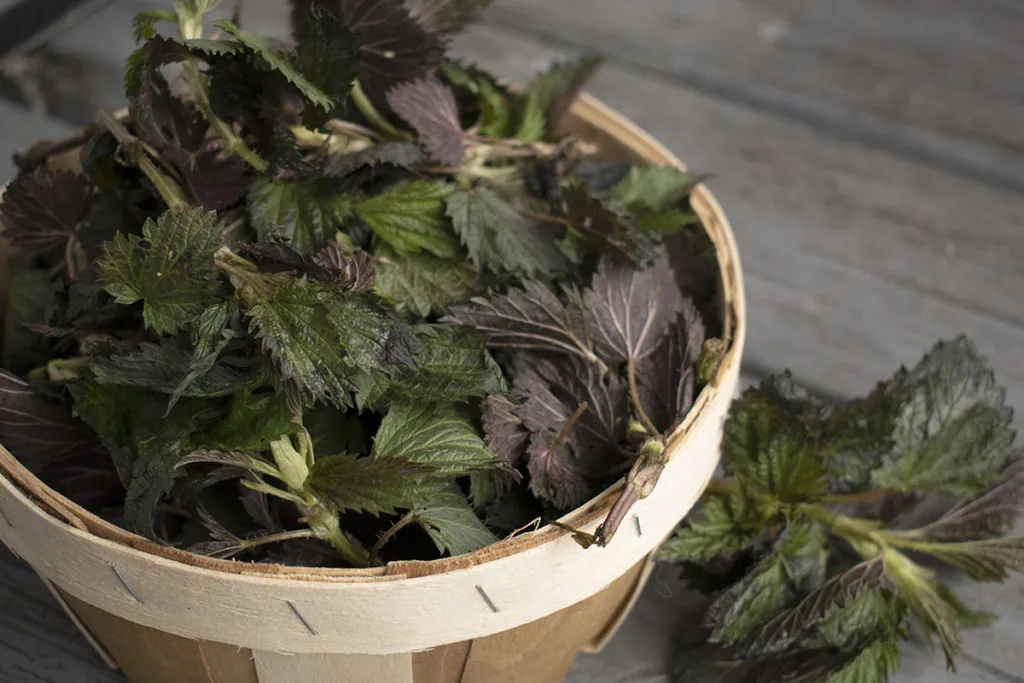
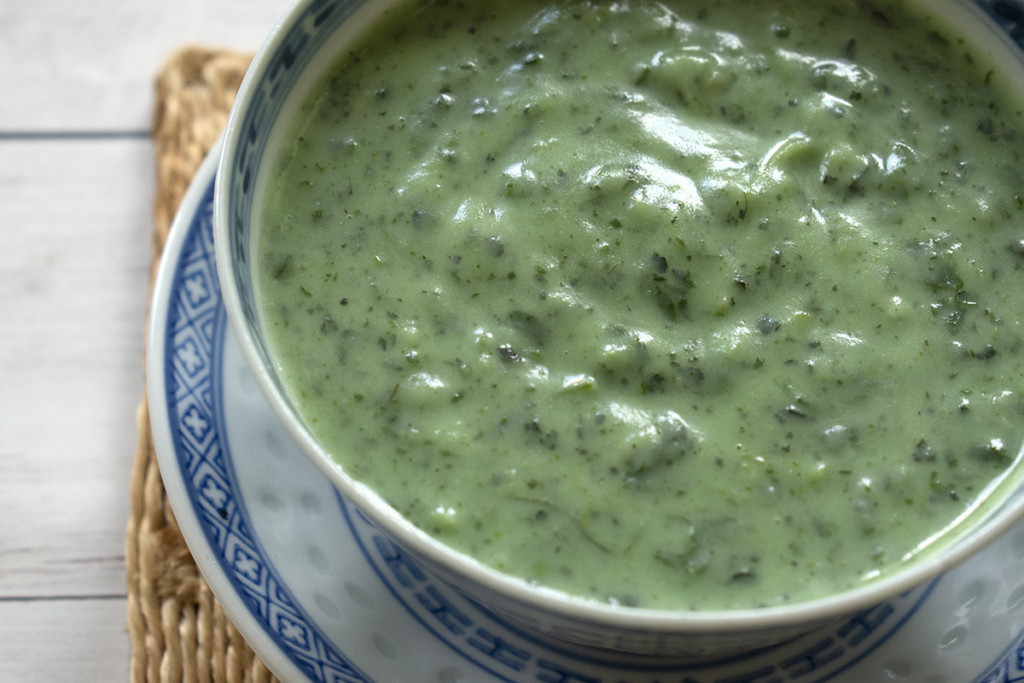
3. Stinging Nettle Soup
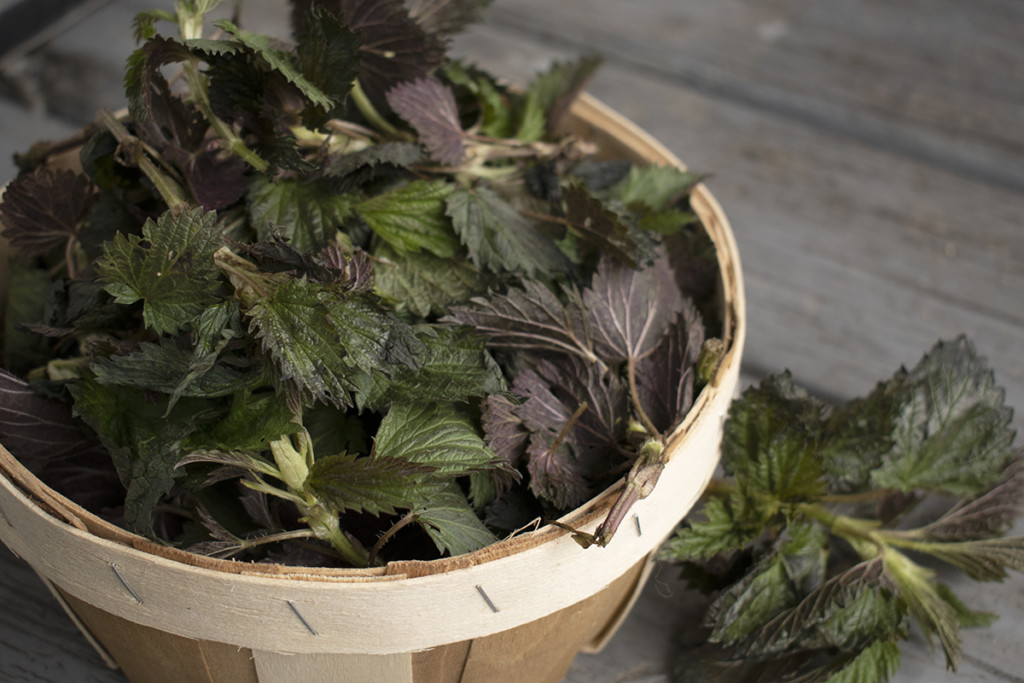
Nettle soup is a foraging classic, and for many folks, it’s the first foraged dish of the spring.
This bright green soup is wonderfully nourishing on those chilly days when winter is still hanging around, but green things start to promise warmer days to come.
Always wear gloves when picking and preparing uncooked nettles. Even the new buds can still give you a good zing if you aren’t careful. Once you have blanched the nettles, you can handle them with bare hands. I don’t bother with the gloves in the kitchen, as I find using tongs to wash them and get them into the pot for blanching easier.
Ingredients
- 4-6 cups of stinging nettle buds
- 2 tablespoons of olive oil
- 1 cup of chopped celery
- 1/2 cup of chopped onion
- ½ tsp of dried thyme
- 2 tsp of salt
- 4 cups of vegetable or chicken stock
- 5 or 6 small to medium-sized potatoes, washed, peeled and quartered
- 1 cup of buttermilk or heavy cream
Heat a large pot of water to boiling. While you wait, wash the nettles in a sink full of cold water, using gloves or tongs. Plunge the nettles into the boiling water, keeping them submerged for two minutes. Pour the nettles into a colander in the sink and run cold water over them to stop them cooking.
In a stockpot, heat the olive oil over medium heat. Add the celery and onion and stir occasionally sweating the vegetables until the onion is translucent. Add in the thyme and stir for another minute.
Pour in the stock and the salt and bring to a boil. Once the stock is boiling, add the potatoes. While the potatoes are cooking, finely chop the nettles and add them to the soup. Stinging nettle tends to be pretty stringy, so chop them well.
Simmer on low heat, occasionally stirring for half an hour to an hour. Remove the soup from the heat and stir in the buttermilk or heavy cream. Pulse or blend the soup in a blender, food processor, or with an immersion blender until smooth and creamy. Season to taste with salt and pepper. Enjoy!

This soup is excellent with crumbled sausage added to it as well. And like most soups, it tastes much better the second day.
4. Purple Dead Nettle Tea
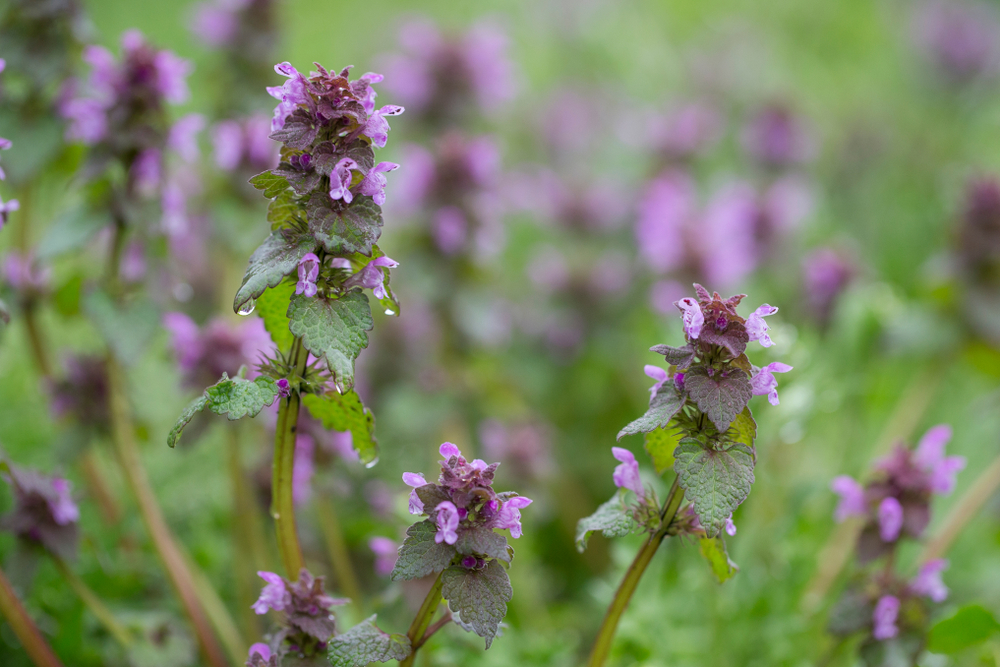

This is one of those plants that is everywhere once you know what you’re looking for. I see it all the time. Again, this is a favorite of bees, so harvest responsibly. It’s hard to over-pick purple dead nettle, though.
Purple dead nettle makes a wonderful tea for spring allergies. This stuff is a lifesaver!
Simply put three or four rinsed heads per cup of water in a teapot and pour boiling water over them. Let the tea steep for five minutes, then strain and serve.
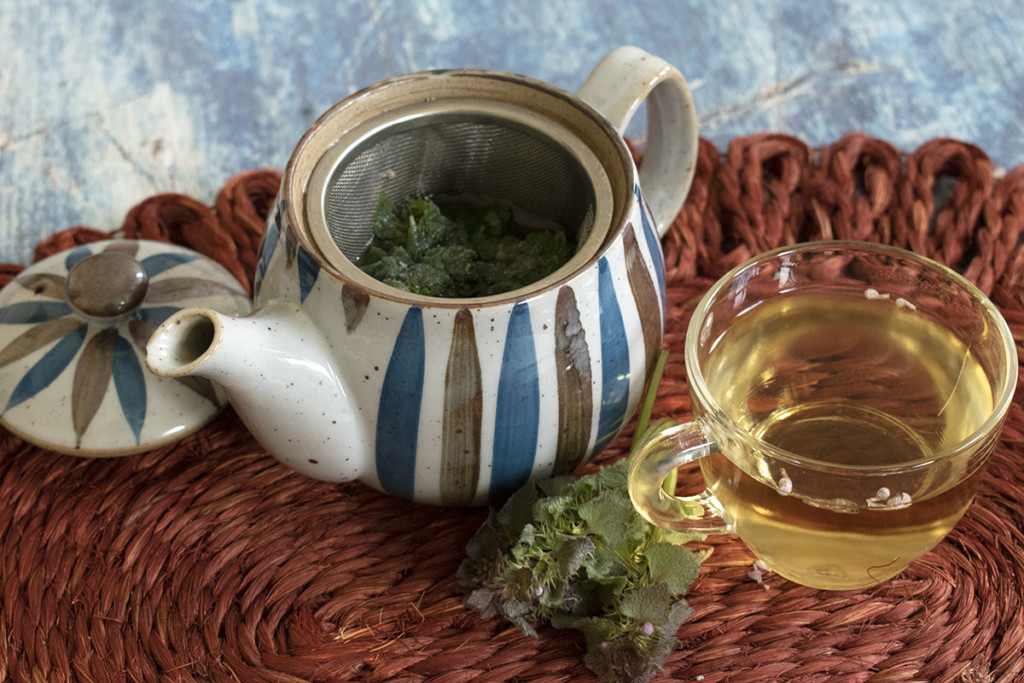

I will warn you, served as is, this tea is very astringent tasting. I always add a liberal amount of local honey. It becomes a one-two punch to my allergies!
I begin drinking the tea as soon as I start seeing purple dead nettle, and it dramatically reduces my allergy issues.
If you wish, you can dry the heads of the leaves and flowers to make tea with year-round. Check out our post on ways to dry herbs at home.
And finally…
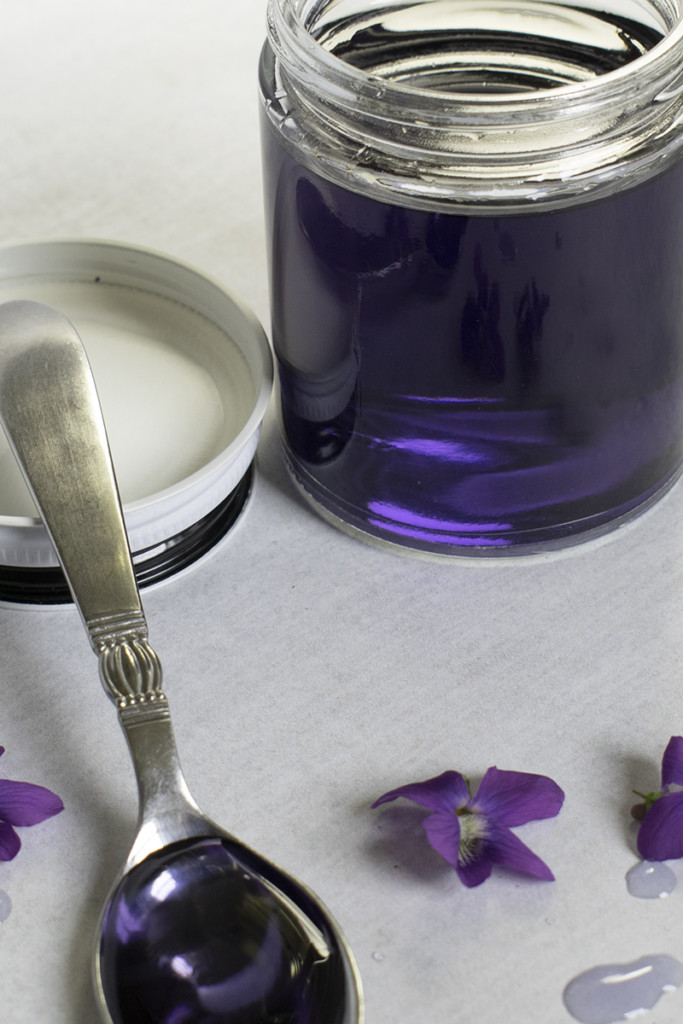
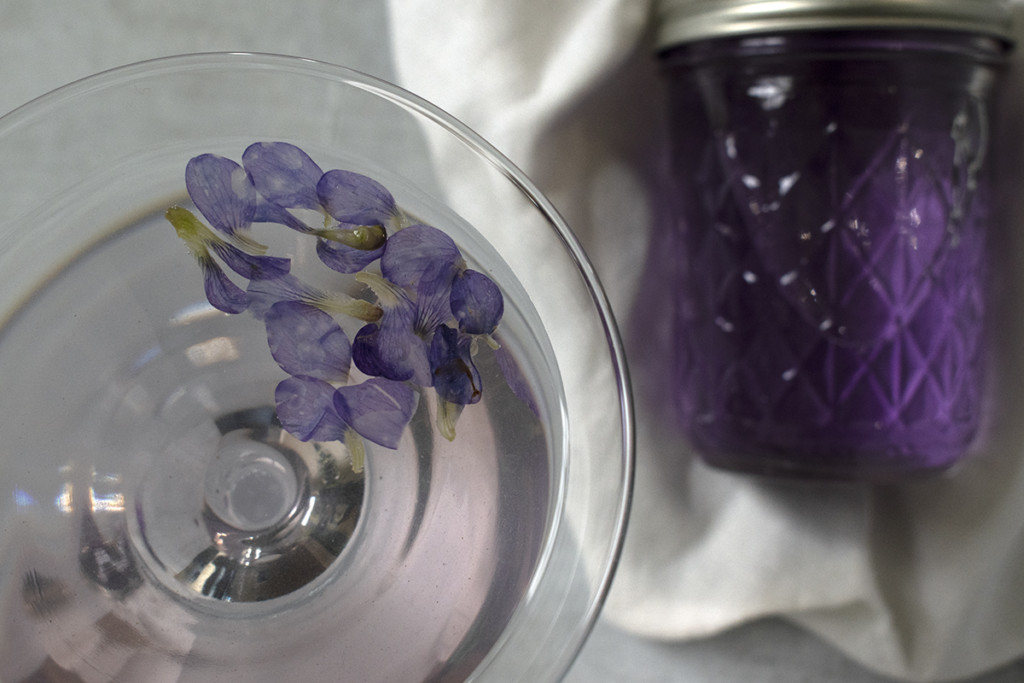
5. Violet Infused Syrup or Gin
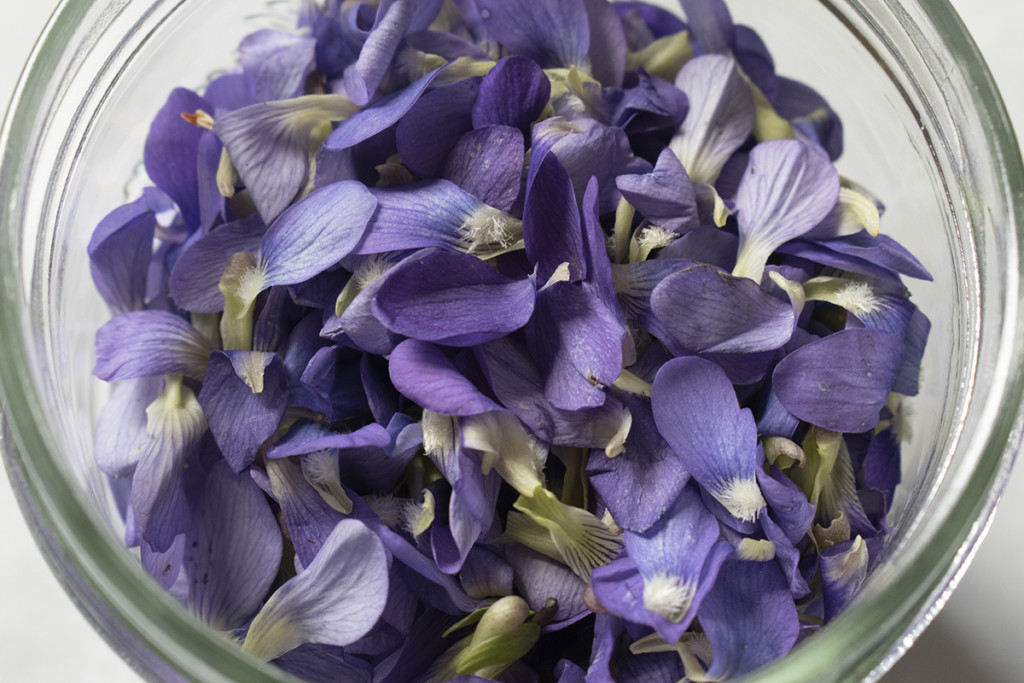
Yes, making this treat means you have to pull the petals off a bunch of violets, but the effort is worth it when you see the result – bright purple-blue gin or syrup!
You only have a few short weeks a year to enjoy this gorgeous treat, don’t miss it.
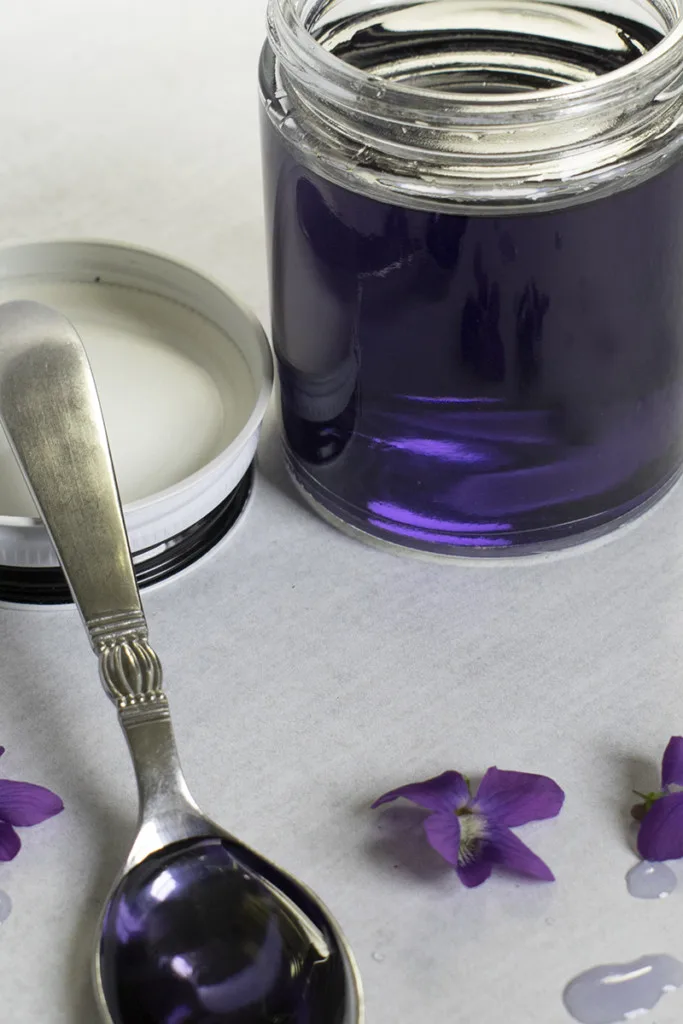
Violet syrup is a wonderful addition to cocktails; the taste is light and refreshing and green. It’s like drinking spring!
Violet syrup also makes for a tasty and beautiful soda when mixed with seltzer or club soda. My 12-year-old asks for this treat every spring! It also makes a delicious flavoring for buttercream icing.
Violet infused gin makes an incredible martini or gin and tonic. If you add a twist of lemon or lime, the acid will turn the gin pink!
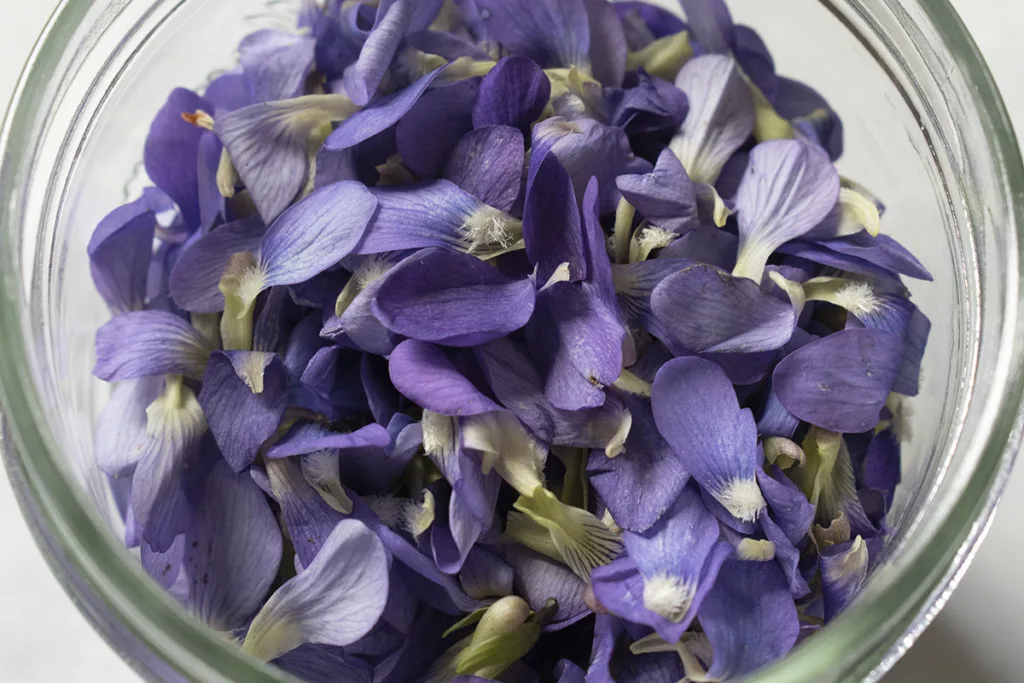
You’ll need purple violets for the color; I try to pick the most purple ones I can find to achieve the most intense color.
Ingredients
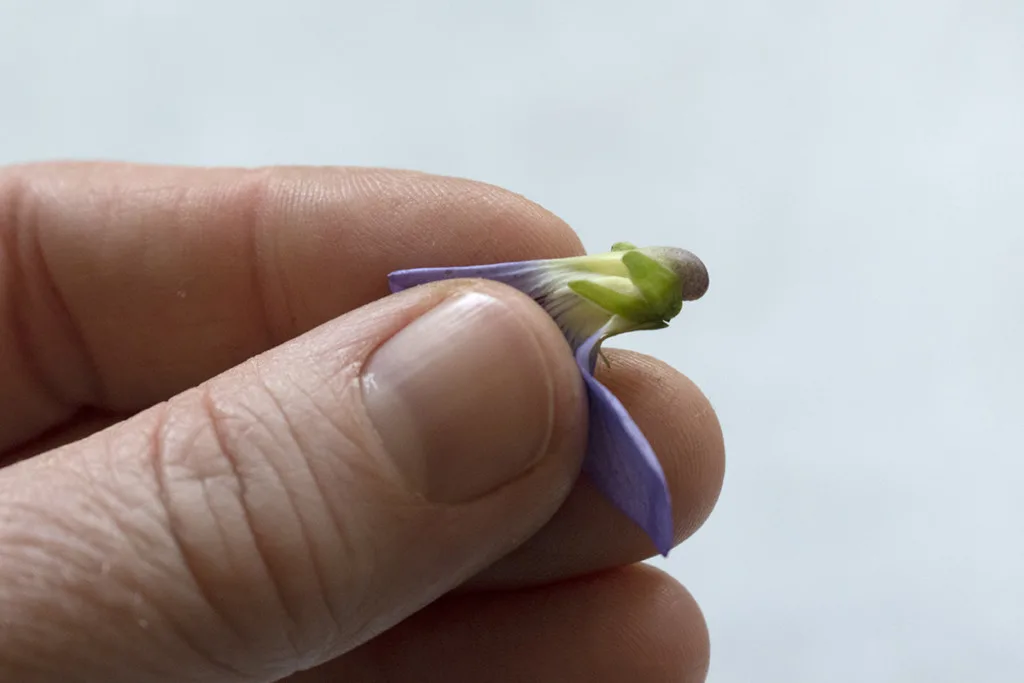
- 1 cup of violet petals, gently packed (You need to remove the stem and the tiny little green parts at the base of the petals. This is easily achieved by pulling the top petal off first, then the rest of the petals come off quite easily.)

For syrup
- 1 cup of water
- 1 cup of sugar
Heat the water to boiling, then remove from the heat, add the petals and cover the pan. Let the petals sit in the covered pan for 24 hours. Using a double boiler, heat the water and petals over steam and stir in the sugar.
Bring the syrup to a boil, stirring frequently, then remove from the heat and strain into a clean jar or swing-top bottle. This beautiful syrup will keep refrigerated for six months.
For gin
- 1 cup of gin
Add the petals and the gin in a clean jar and seal tightly with a lid. Gently shake the jar every day until the gin becomes a lovely shade of purple. Strain and enjoy the taste of spring. (The color for the gin fades much quicker than the syrup, so use it immediately.)

I hope these recipes make it easier for you to get into eating the wild edible plants growing around you.
Once you taste a few of these, you’ll likely add more foraged food dishes to your table year-round. Edible plants are everywhere.

Get the famous Rural Sprout newsletter delivered to your inbox.
Including Sunday ramblings from our editor, Tracey, as well as “What’s Up Wednesday” our roundup of what’s in season and new article updates and alerts.