

Like most people these days, we’ve cut way back on red meat.
Setting aside the environmental impact of raising cattle and the moral hazards of the beef supply chain, it turns out that eating a lot of red meat simply isn’t good for you.
But there are times, especially in late summer, with its bounty of sweet corn and garden tomatoes, when a person can’t resist the sweet smoke of steak on a grill.
At least, this person can’t.
If steak is a rare treat for you, as it is for us, and you want to make the most delicious steak possible, consider dry-aging a whole ribeye in your refrigerator.
All it requires is a bit of equipment; some real estate in your fridge; and about six weeks of staring at that ribeye and resisting the impulse to eat it.

What is “Dry-Aging?”
Perhaps you’ve seen big cuts of beef aging behind glass at a fancy butcher shop, or noticed the words “dry-aged” on the menu in a high-end steak house – right next to an astronomical price.
A dry-aged steak in a butcher shop can cost three times as much as an ordinary one!
Dry-aging is a process that, over time, reduces the moisture content of beef, concentrating its flavor and at the same time tenderizing the meat with its own natural enzymes.
The reason for the big price tag is twofold: only fancy cuts of beef benefit from dry-aging, so you’re already starting out with a relatively expensive cut, and the process involves weeks of storage in a temperature and moisture-controlled locker.
The good news is that you can get excellent results in your own kitchen.
All you’ll need is a vacuum sealer; some special bags for aging the meat; and a good knife for cutting and trimming the steaks.

The Secret Is Controlling the Moisture
It’s important to keep the meat cold while it ages so it doesn’t spoil. But you also need an environment that’s relatively low in humidity to help draw out the excess moisture.
Problem: refrigerators are terribly humid places.
Enter the Umai dry-aging bag. It looks like any other plastic bag you’d use with a vacuum sealer, but the Umai dry bag has a secret: it’s permeable in one direction.
Moisture and gases from your aging beef can escape through it, but humidity and odors from your refrigerator can’t get in.
Other companies make bags suitable for dry aging, but a whole ribeye is a very expensive piece of meat. I’ve had excellent results with the Umai bags, so I stick with them.

Preparing Your Ribeye
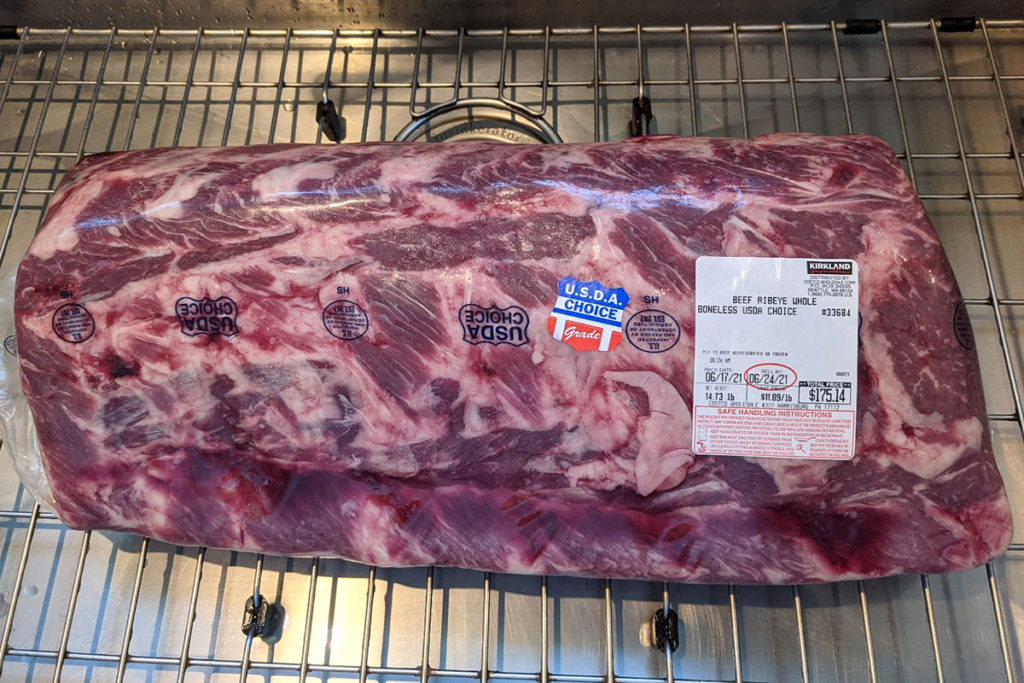
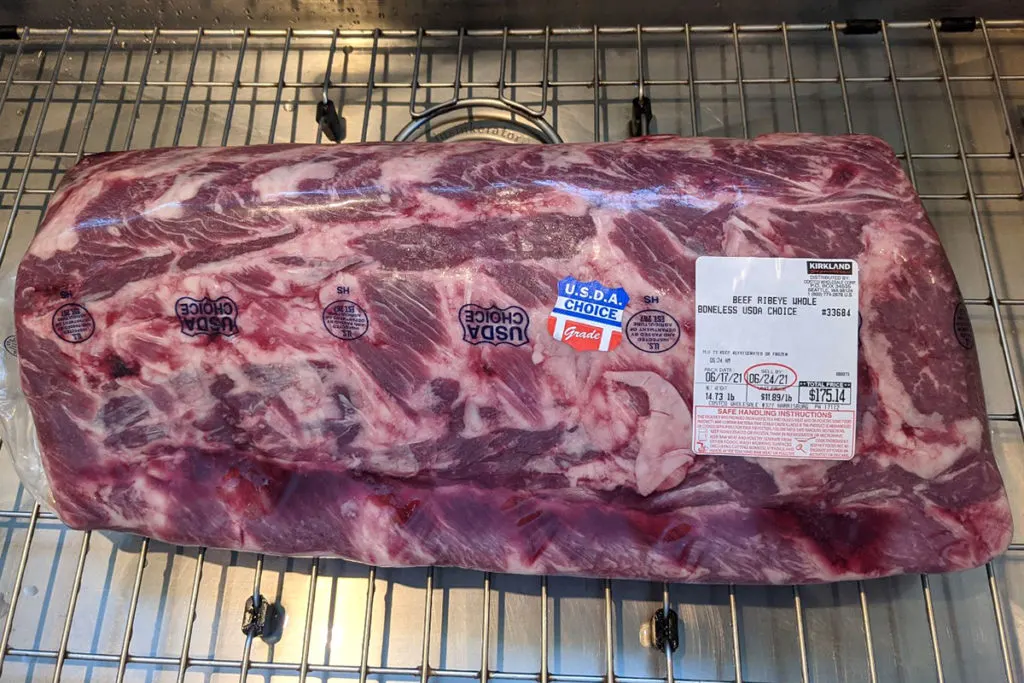
Once every few weeks, we pile in the car and make a pilgrimage to Costco, where we load up on fresh fish and meat that simply isn’t available near our little farm in southcentral Pennsylvania. Costco reliably has whole ribeyes – sometimes bone-in, but most of the time, already boned.
You can use this process with a bone-in ribeye, but there’s an additional step of cushioning the sharp edges of the bones with paper towels so they can’t poke holes in the vacuum bag. The Umai website details the process in this very helpful video.
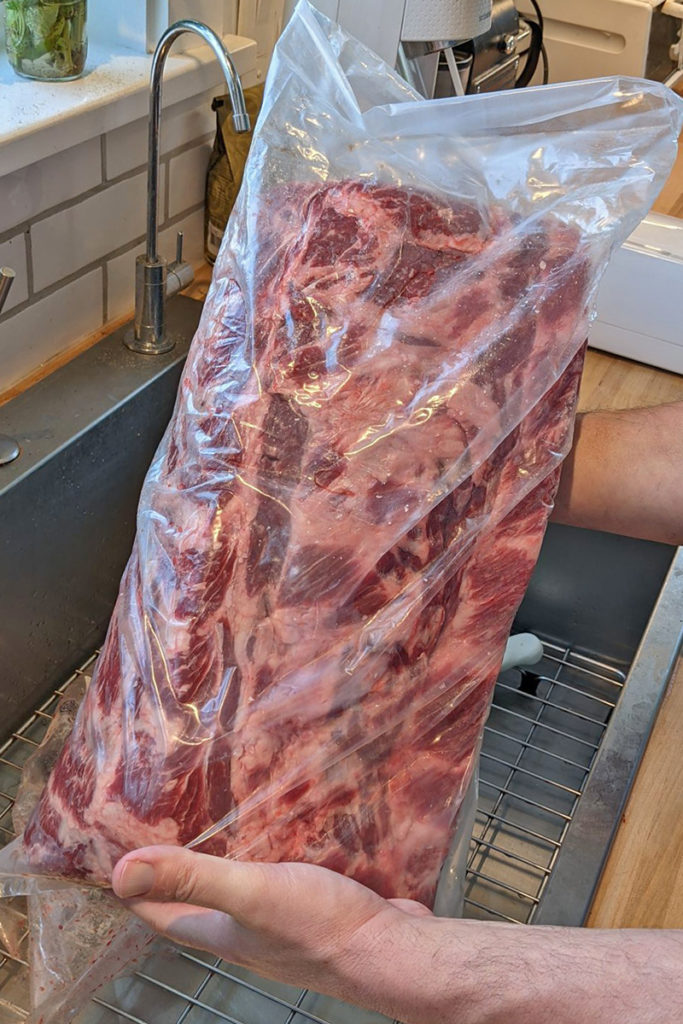
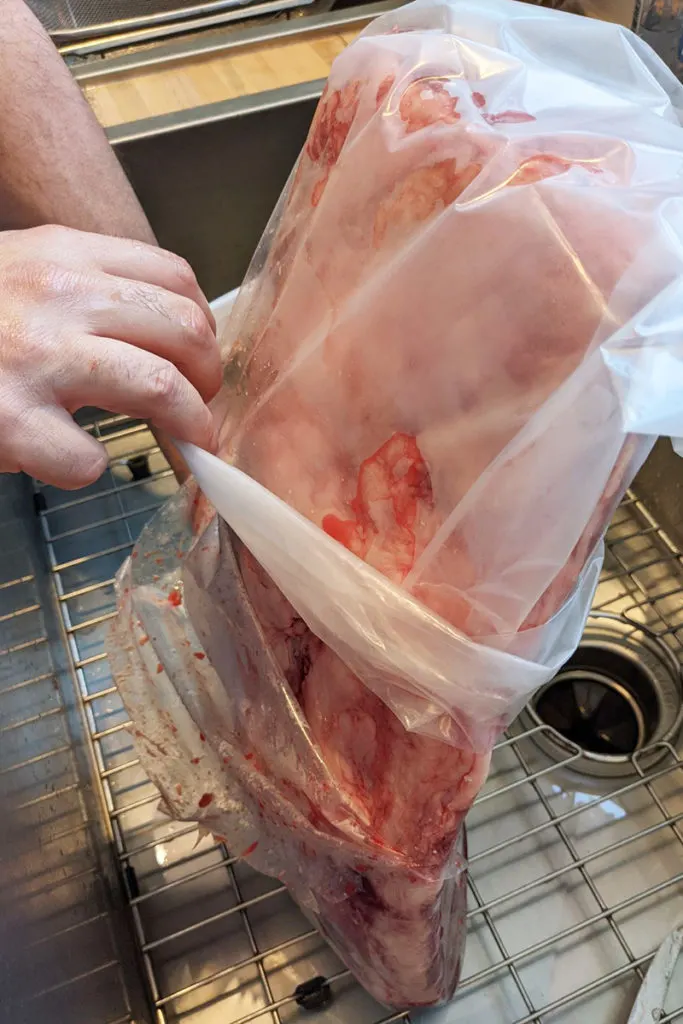
When you get home, the goal is to transfer the meat quickly and cleanly into the special vacuum sealer bag.
You don’t rinse the ribeye; all of those juices are full of good enzymes. You want to avoid touching the meat with your bare hands, if at all possible.
We’ve found that you can unroll the packaging a bit at a time and simultaneously sheath the ribeye in the gas-permeable bag. Just take it slow and be mindful of your hands.

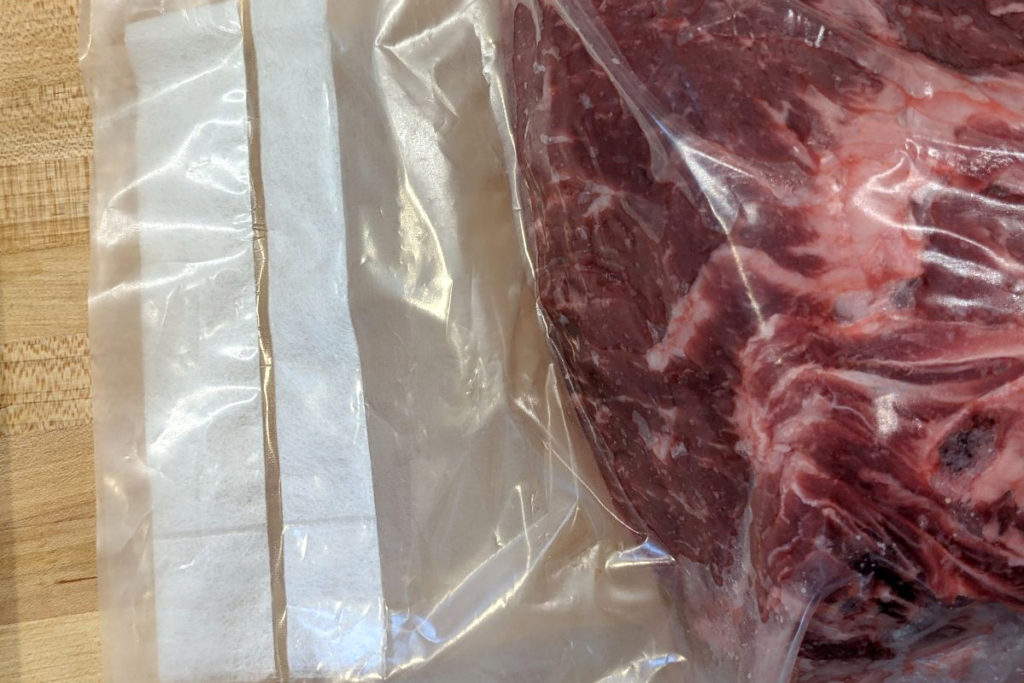
Once the ribeye is in its bag, you seal it up, making sure to use Umai’s gauzy spacer strip, the “VacMouse,” at the top. The strip aids in the vacuum sealing process. Instructions for using it come with the bags.

Follow the instructions for your vacuum sealer. Ours has a “moist” setting for situations like this one.
Don’t worry if the Umai bag doesn’t squeeze the ribeye as tightly as an ordinary vacuum bag. The goal is to evacuate the air around the meat, not to make a super tight fit.
Now All it Needs Is Space and Time
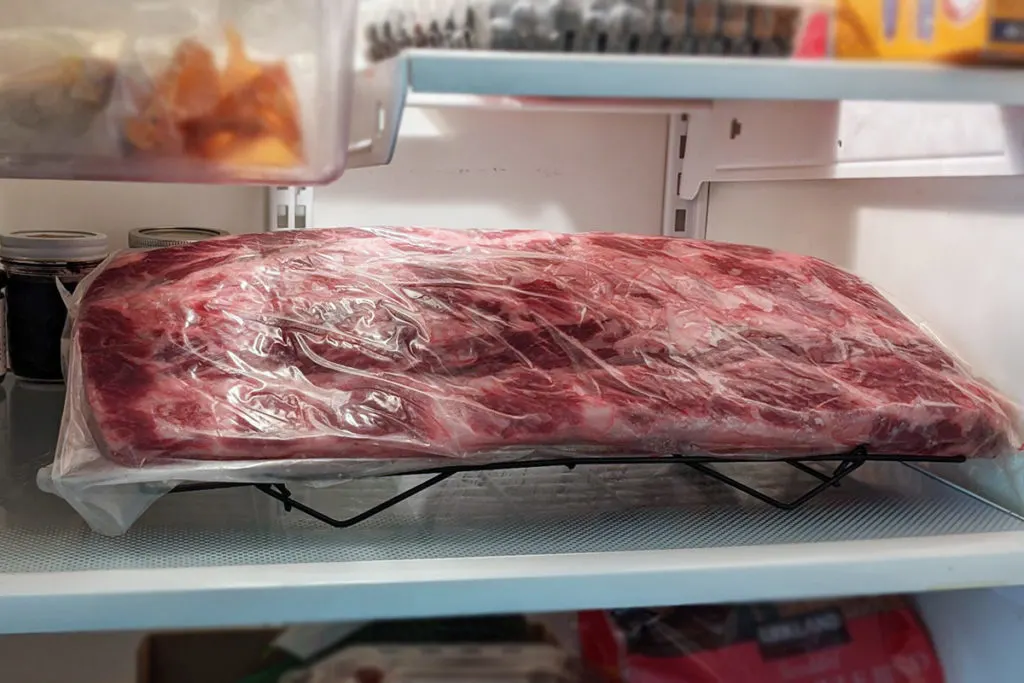
A whole ribeye takes up a lot of space in a refrigerator, and you don’t want to crowd it while it’s aging.
We put the vacuum-sealed ribeye on a metal cooling rack to aid air circulation under the meat, and make sure to rotate and turn it over once a week or so.
We’ve found that the sweet spot for aging is between six and eight weeks.
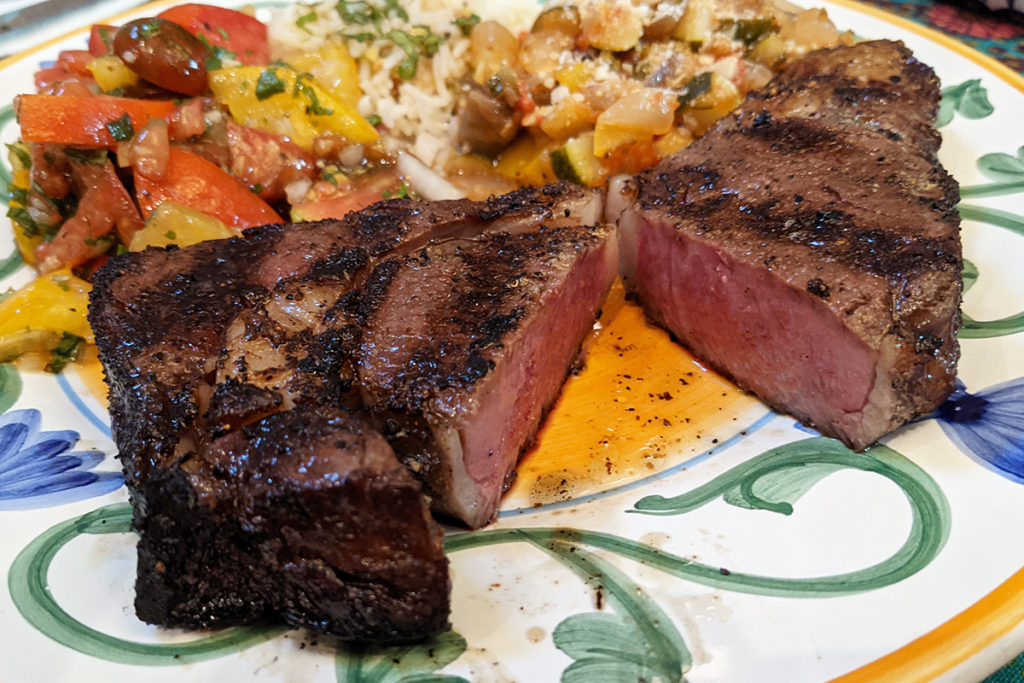
At six weeks, the enzymes will have tenderized the meat and concentrated the flavor nicely. By the eighth week, the flavor of your steaks will be surprisingly nutty and complex.
Don’t be alarmed if your ribeye seems a bit smaller at the end of the aging process. The ribeye in this article started out weighing nearly fifteen pounds; at trimming time, it weighed perhaps a pound and a half less.
Just keep in mind that cooking any steak involves a loss of moisture. A dry-aged steak has simply lost its water weight in your refrigerator, rather than on the grill.
Trimming and Butchering Your Steaks

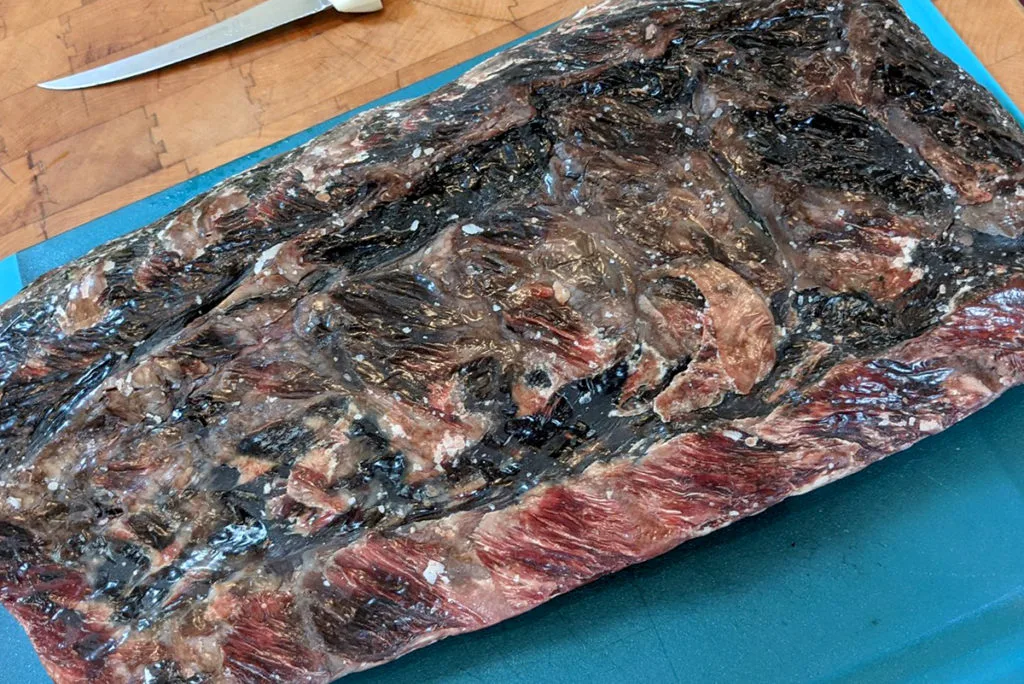
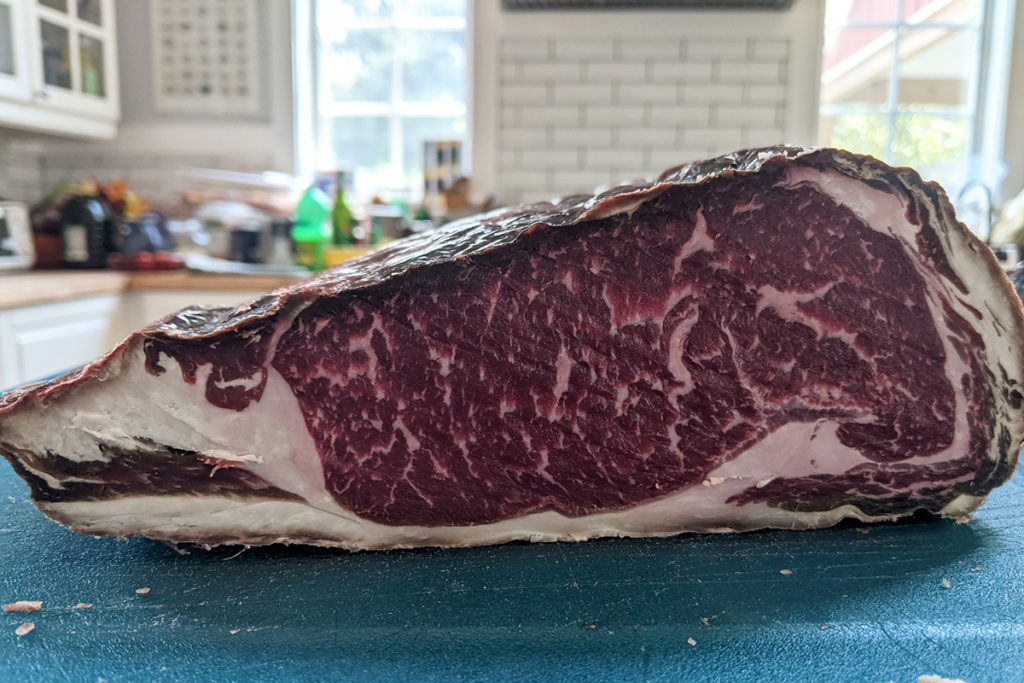
When you remove your ribeye from the bag at the end of the aging process, you’ll encounter a thick, shiny layer of “bark.” The bark needs to be trimmed, but it’s not waste: you can use the scraps for ground beef or for stock.

I used to trim the bark from the entire ribeye before cutting it into steaks, but lately, I’ve been cutting the steaks first. I’ve found that trimming the bark from an individual steak is much easier than trimming the whole ribeye.
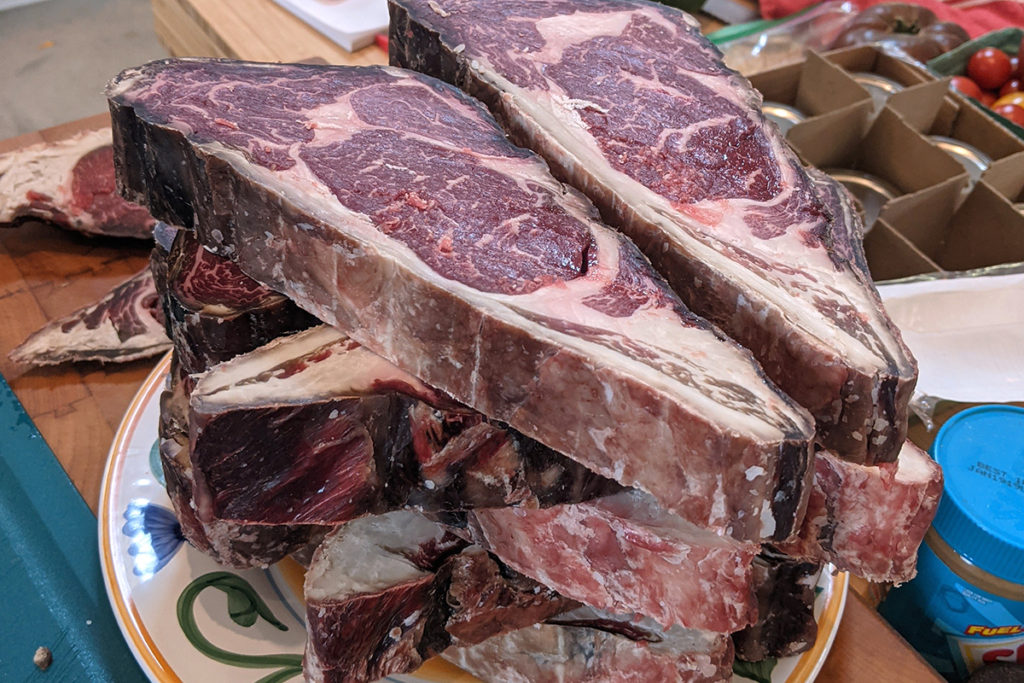
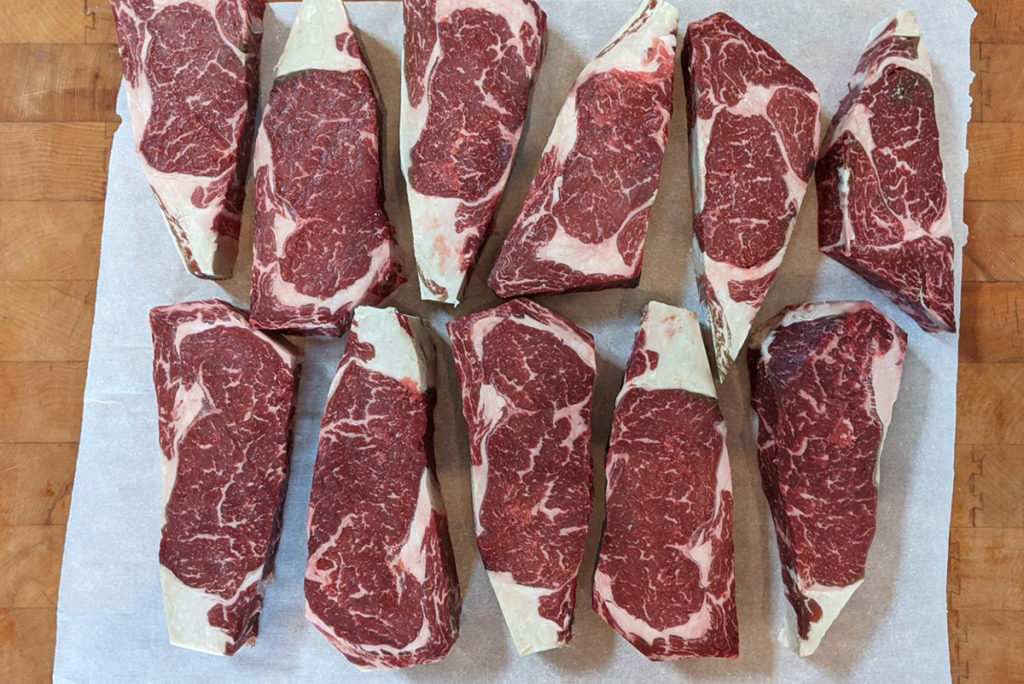
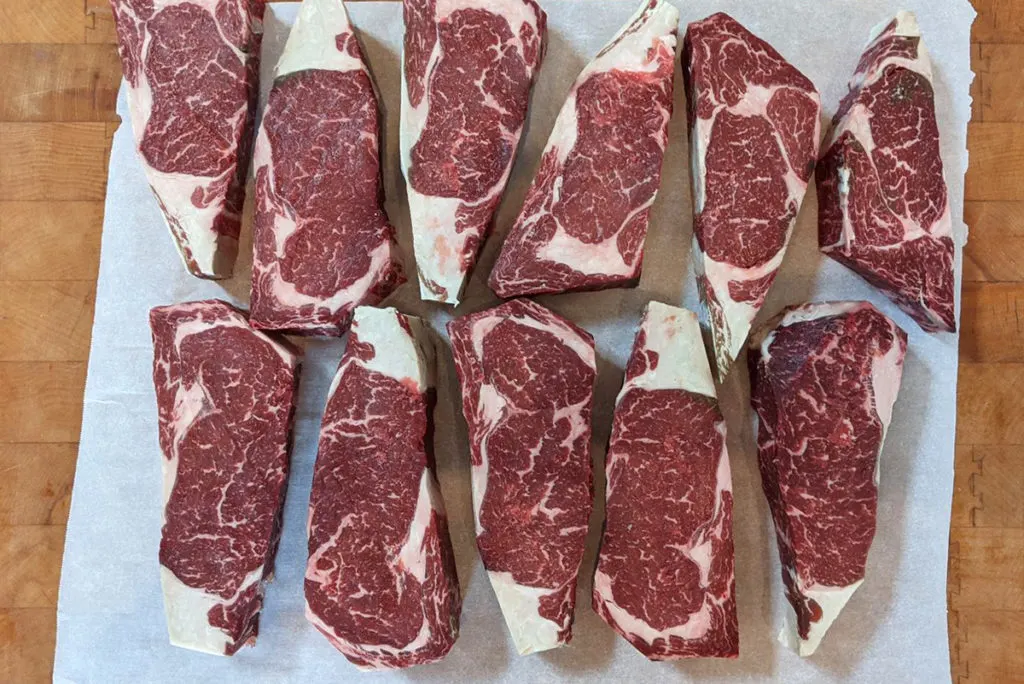
Make your steaks as thick as you’d like and trim the fat to taste – keeping in mind that a lot of the flavor is concentrated there.
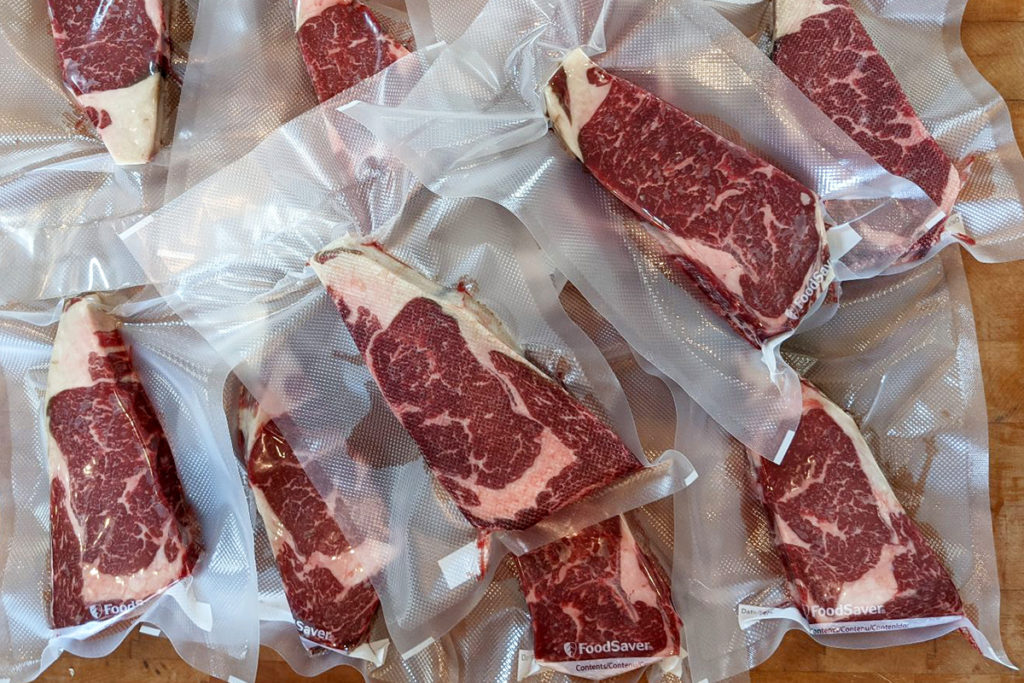
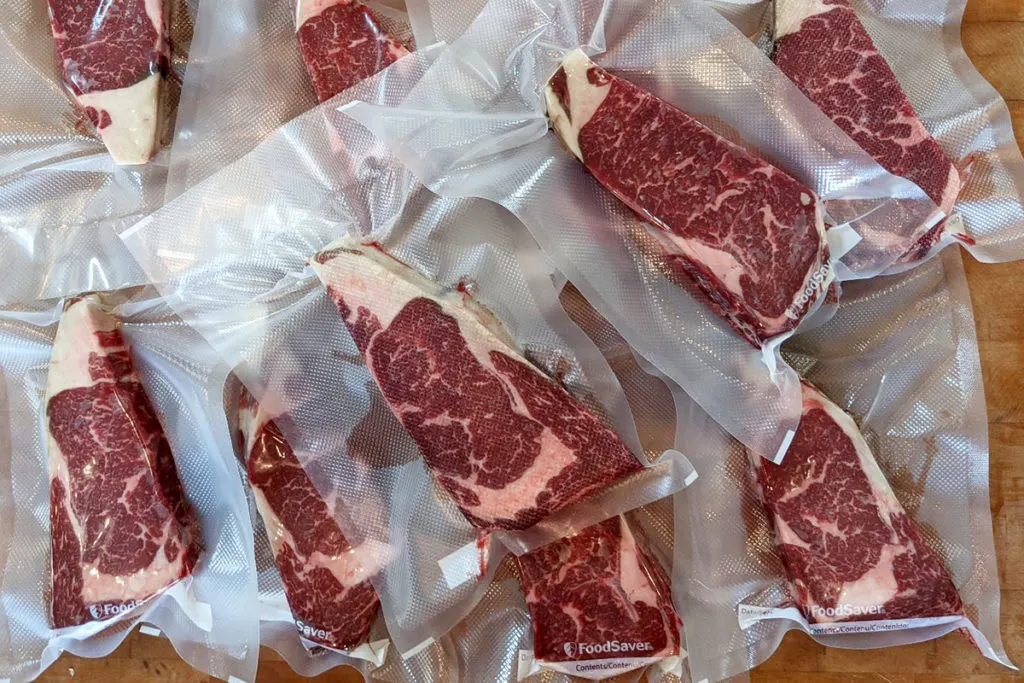
I like to vacuum seal the individual steaks right away. This serves several purposes.
It prolongs their life in a refrigerator; makes for a nice presentation if you’re planning to give steaks as a gift; and prepares them for sous-vide cooking, which, when coupled with a reverse sear on a grill, is an almost unbeatable way to cook your amazing dry-aged ribeye steaks.
Don’t forget the fresh parsley garnish from your garden and a nice glass of red wine to go with it.

Get the famous Rural Sprout newsletter delivered to your inbox.
Including Sunday ramblings from our editor, Tracey, as well as “What’s Up Wednesday” our roundup of what’s in season and new article updates and alerts.